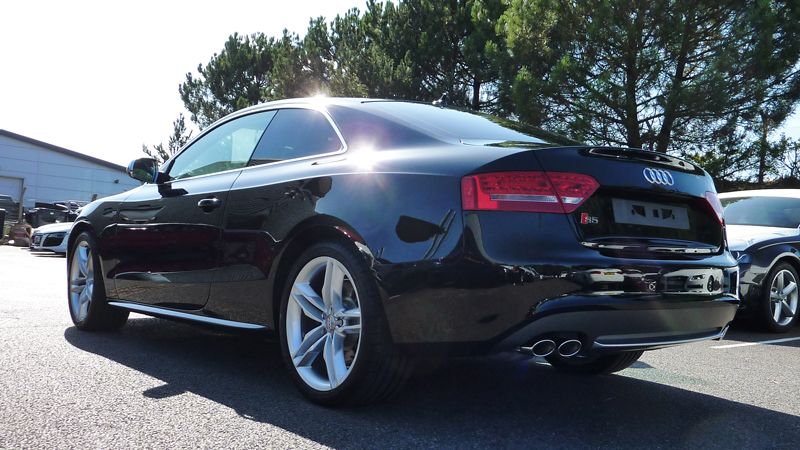
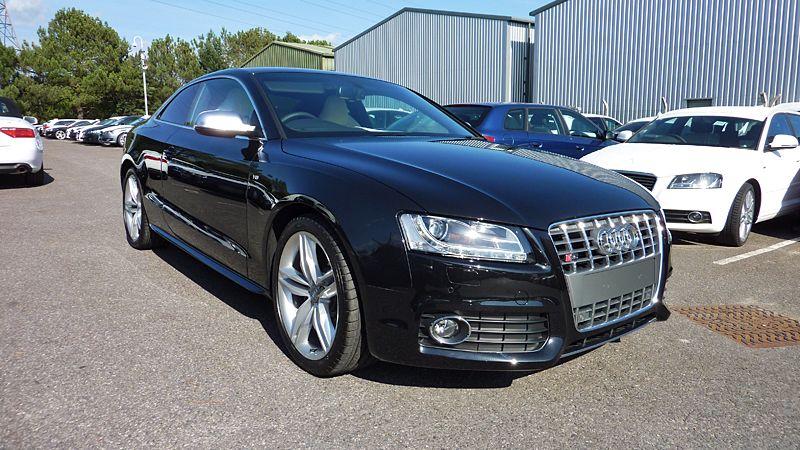
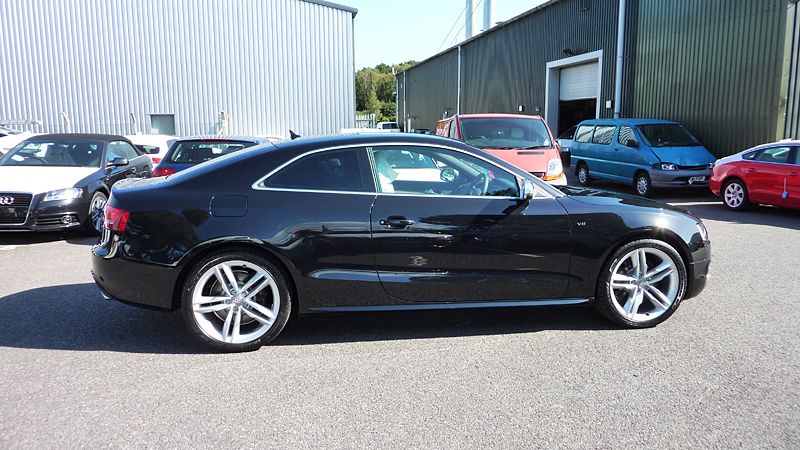
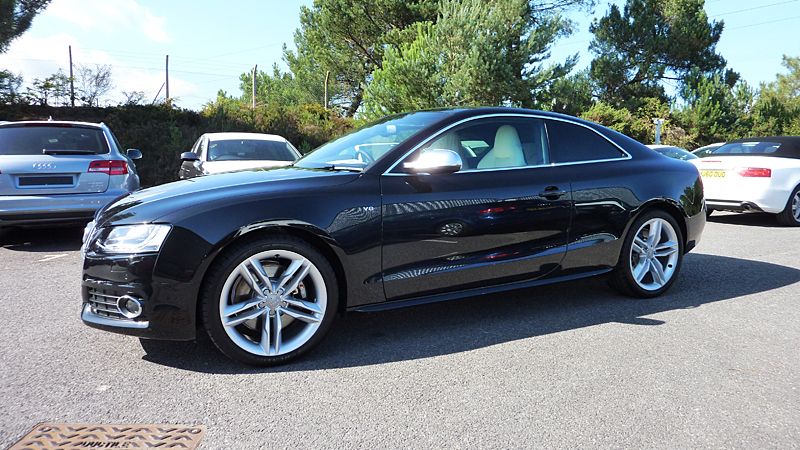
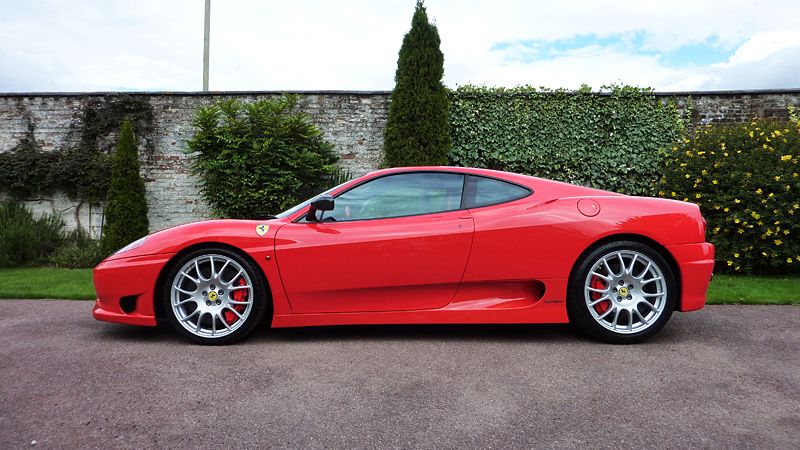
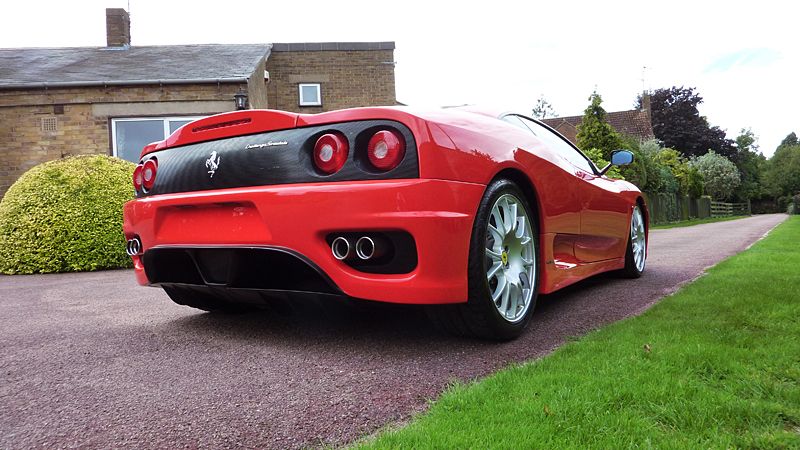
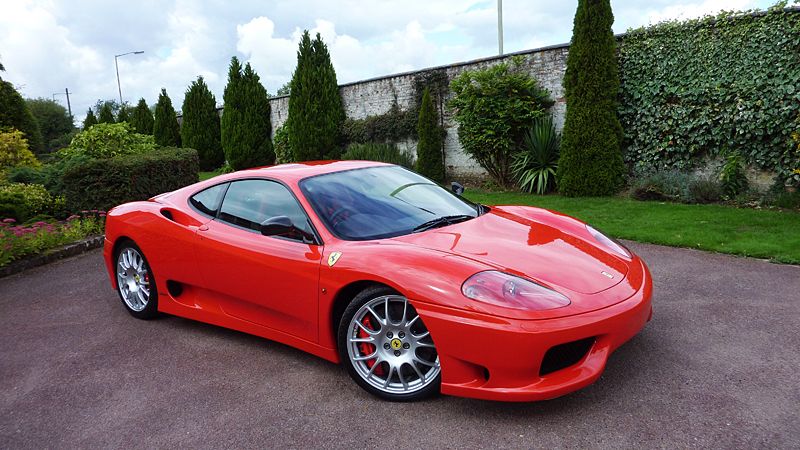
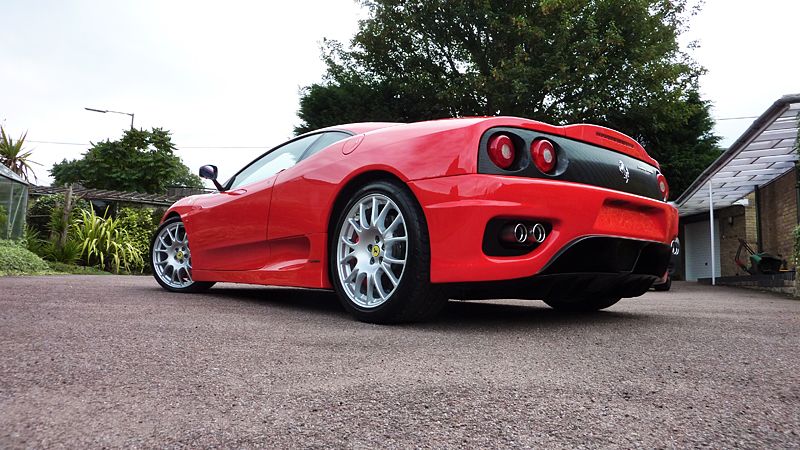
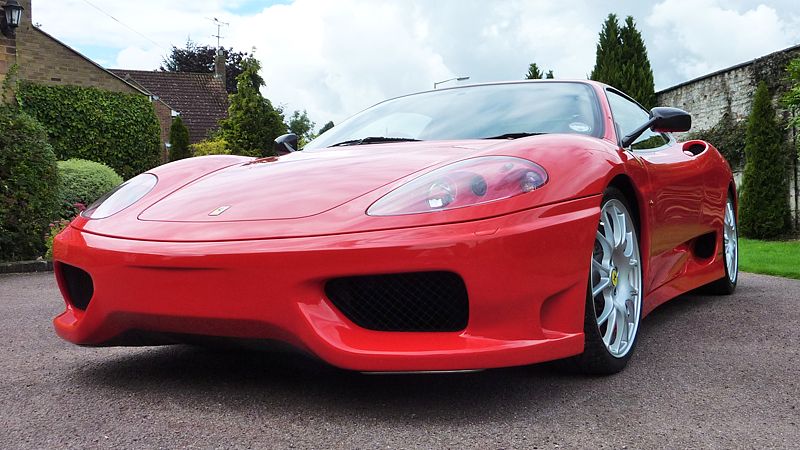
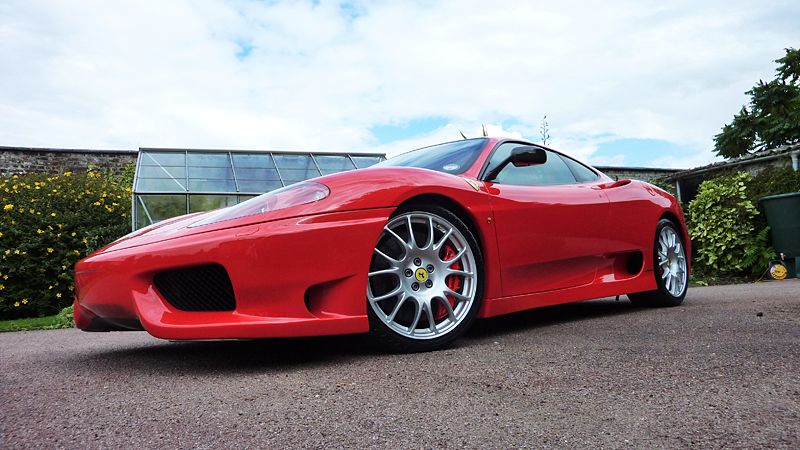
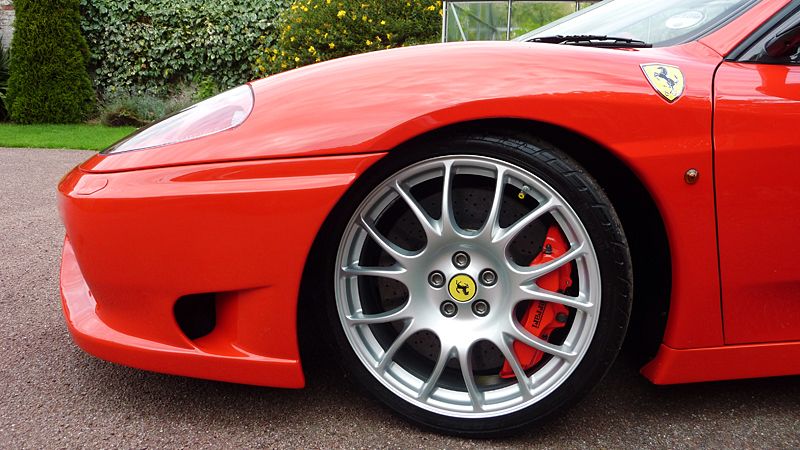
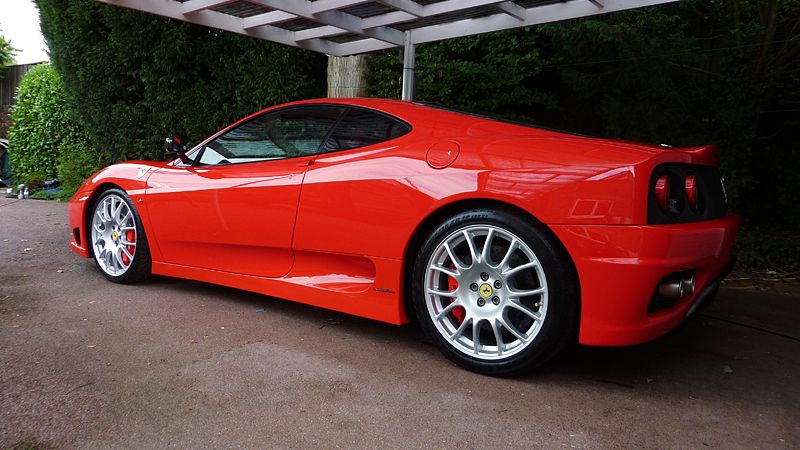
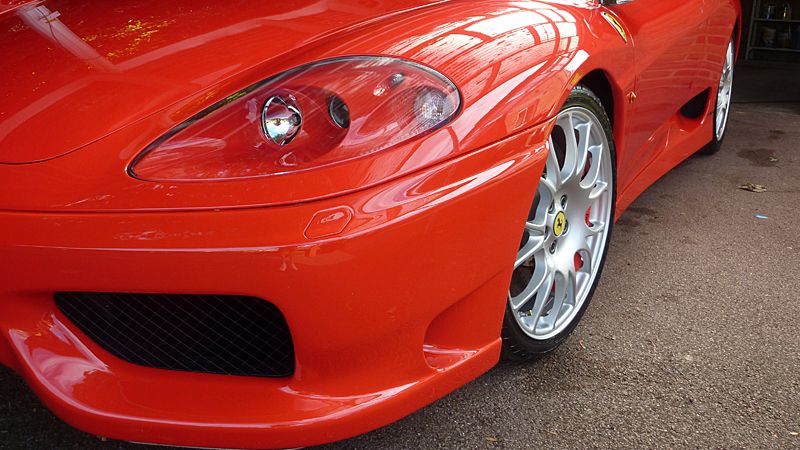
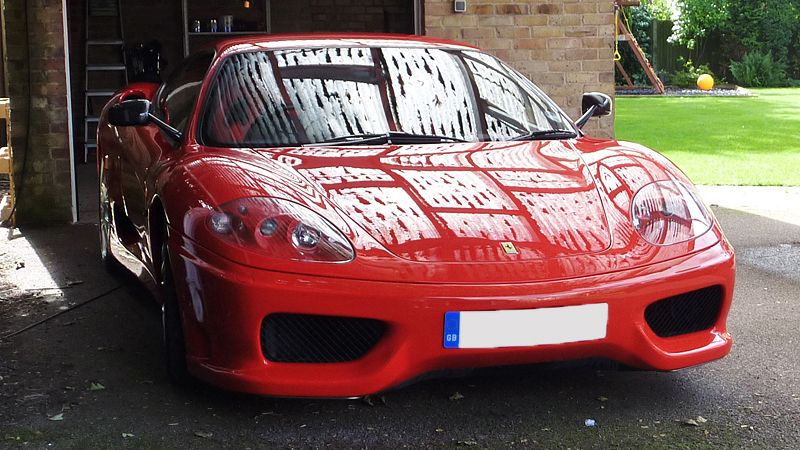
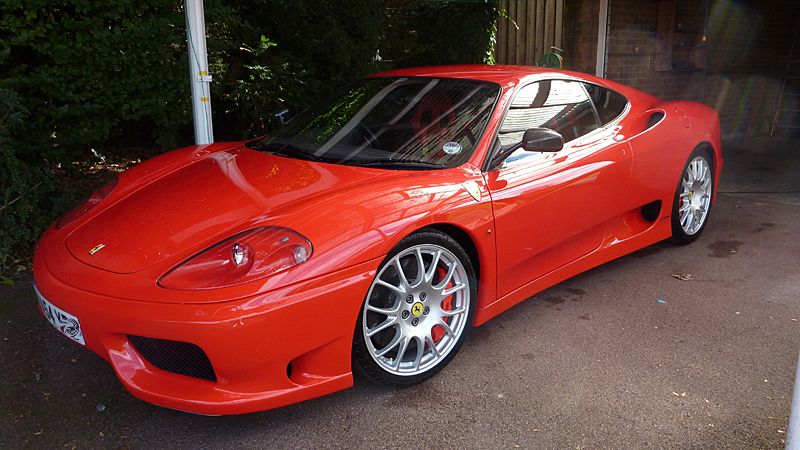
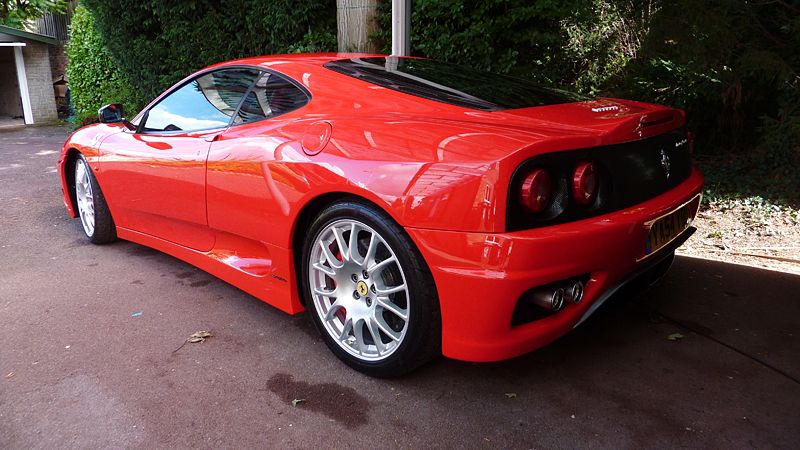
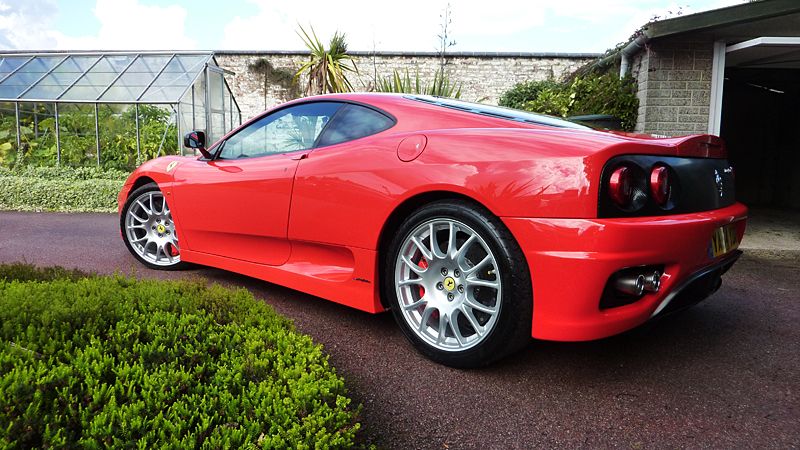
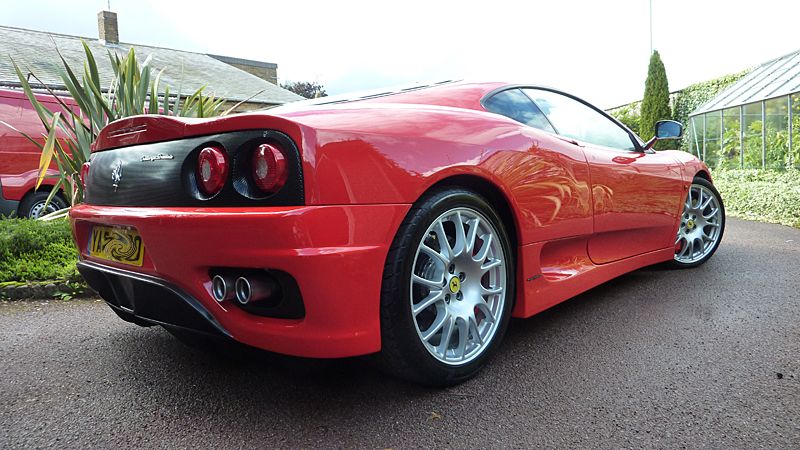
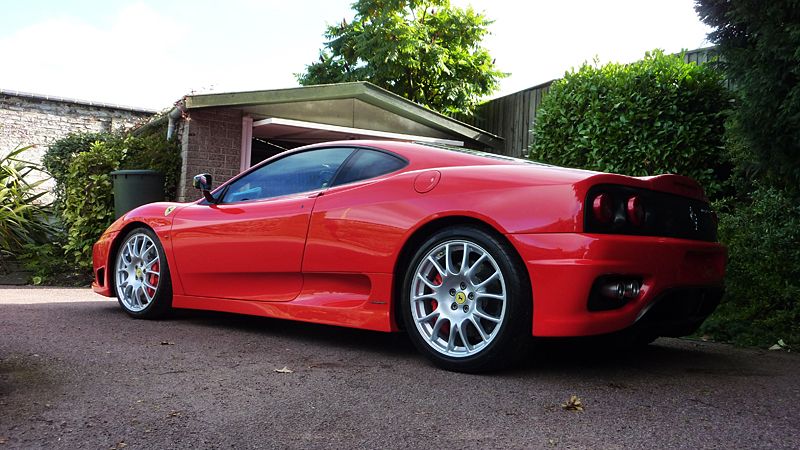
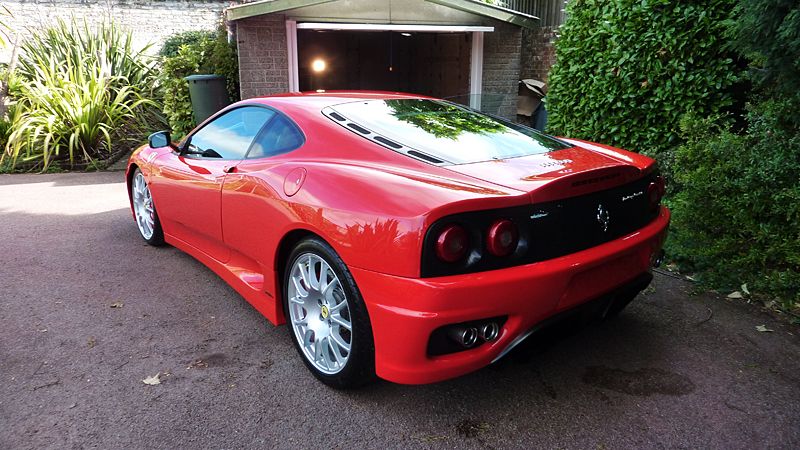
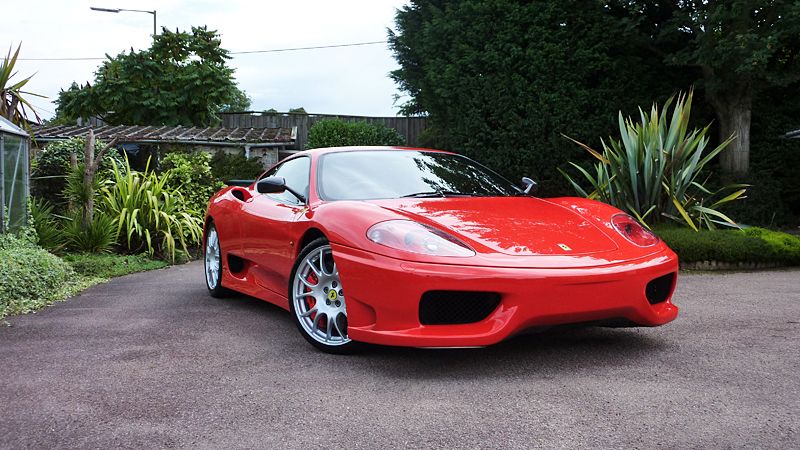
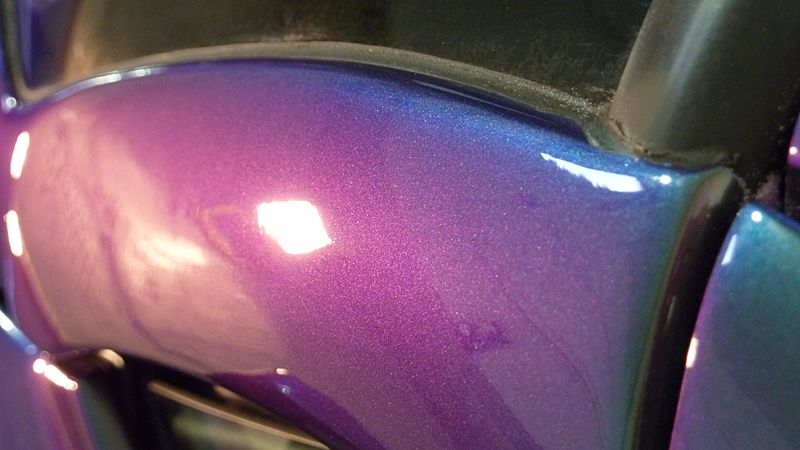
Ferrari 360 CS
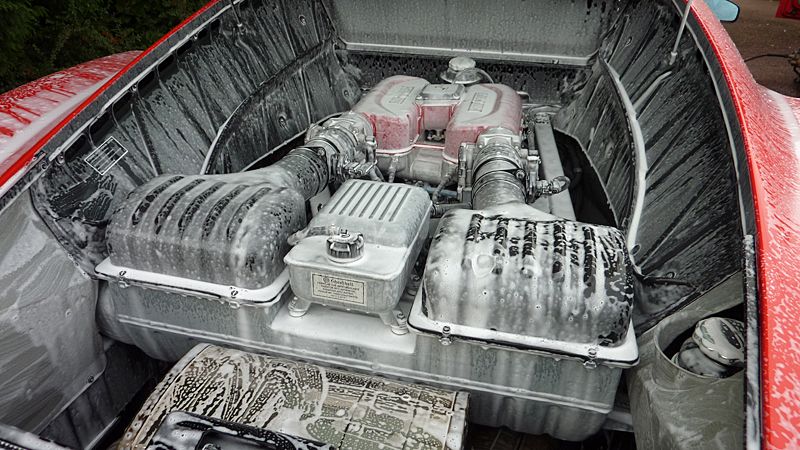
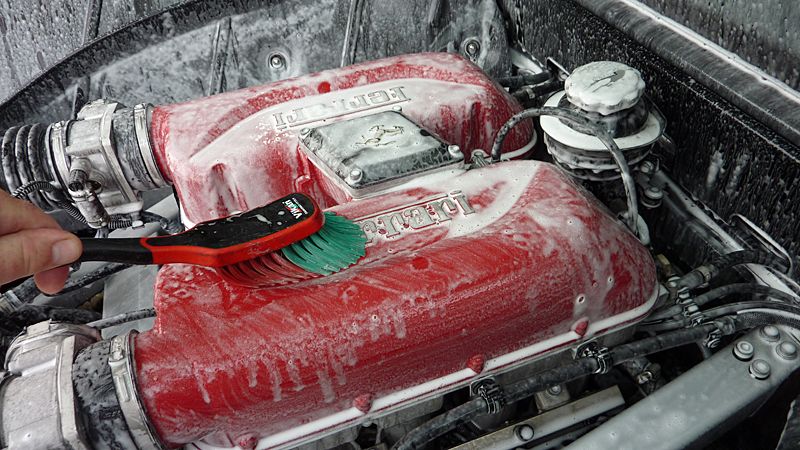
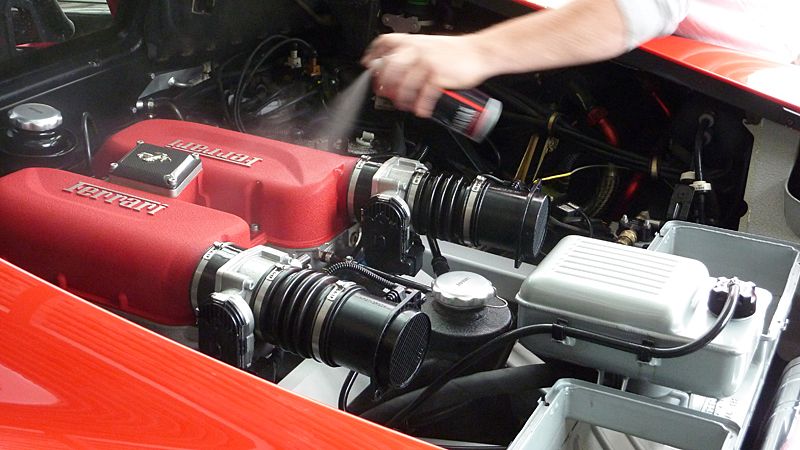
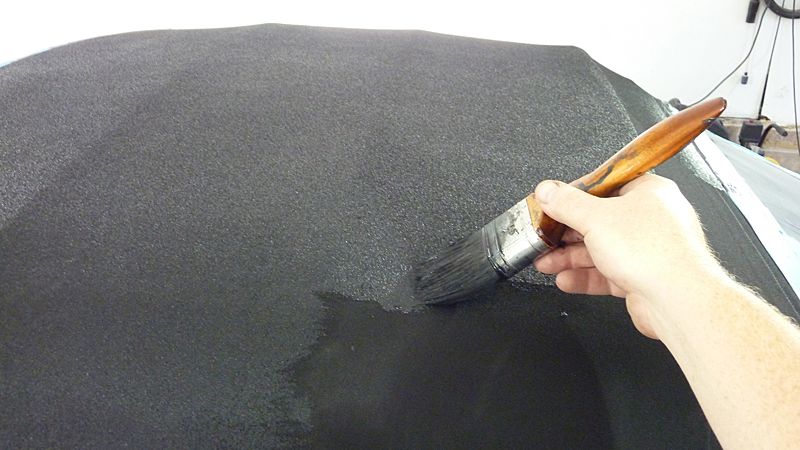
Engine bay was given a foam with AG Powermax 3 and then worked into area's with various brushes and a microfiber cloth
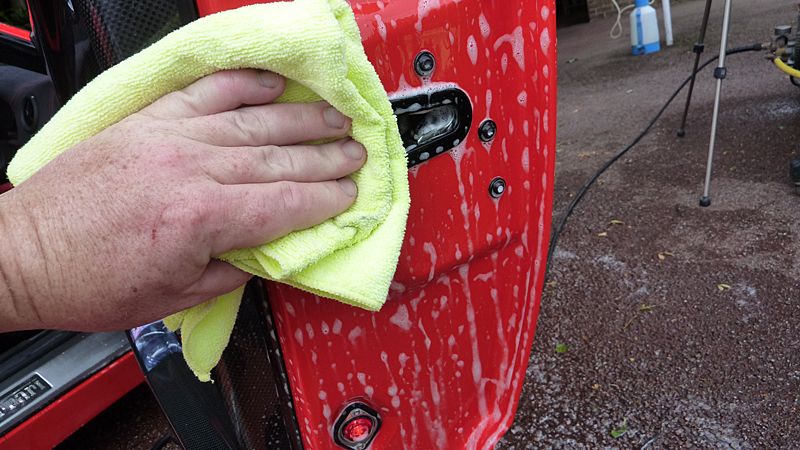
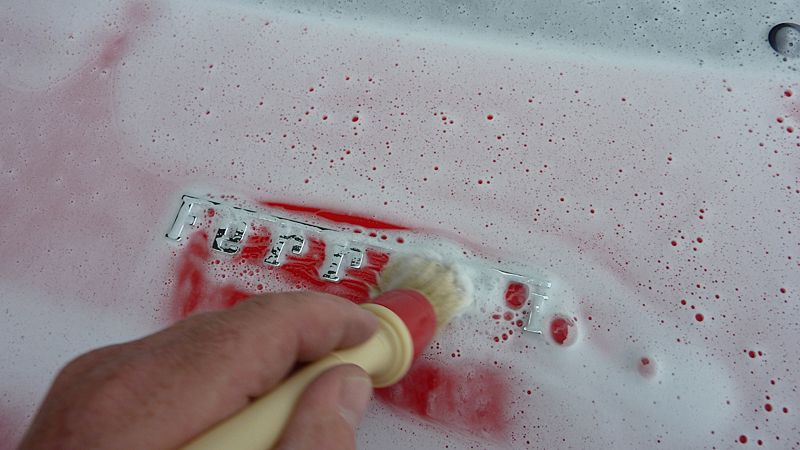
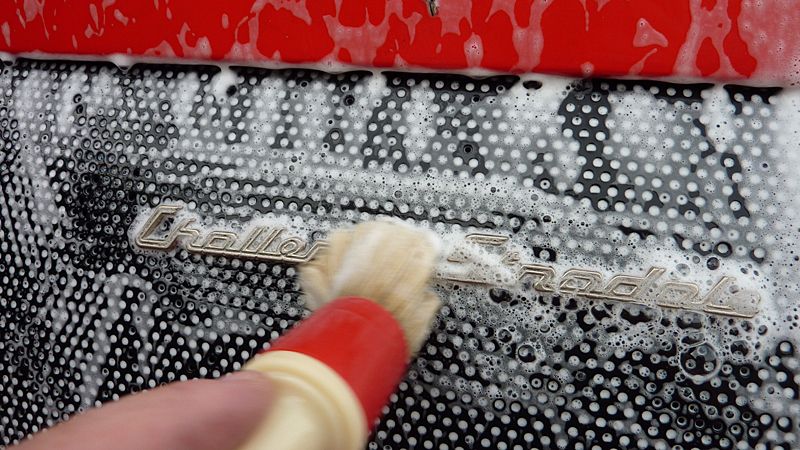
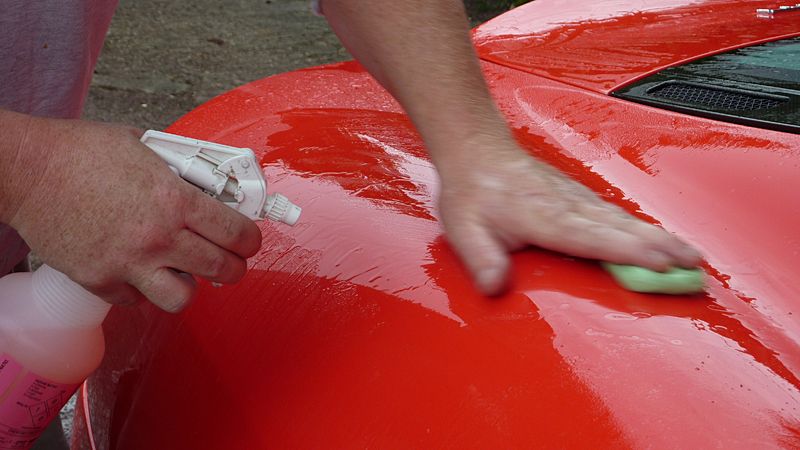
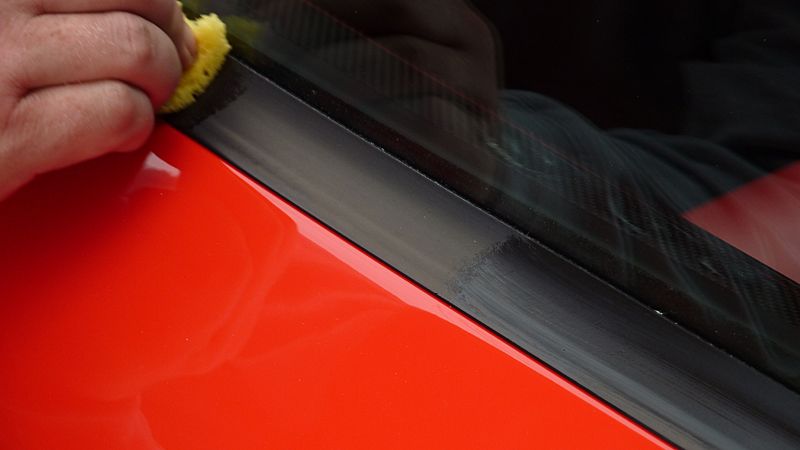
After engine bay was clean I started the wash and deconyamination stages on the exterior including all door shuts. All shuts, panel gaps and trim were sprayed with AS G101 and worked in with a Envy brush and then wiped clean with a microfiber
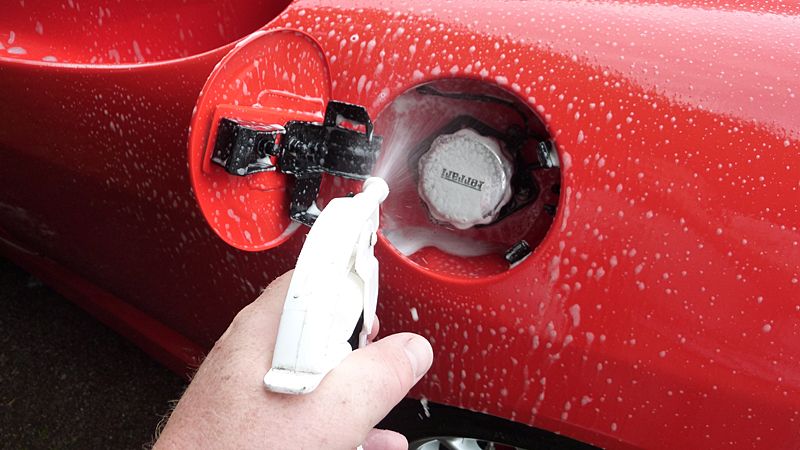
Vehicle was foamed with AG Powermax 3 and this was worked into all emblems to looosen the buid up of polish residue
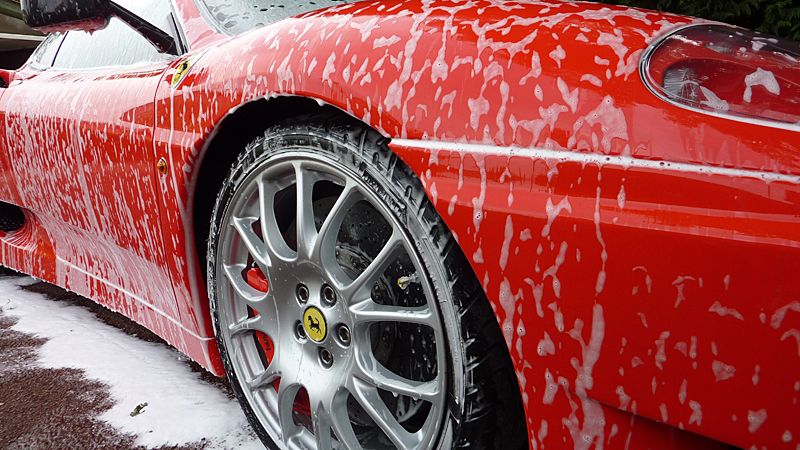
Foam was left to dwell for a few minutes before being pressure rinsed off
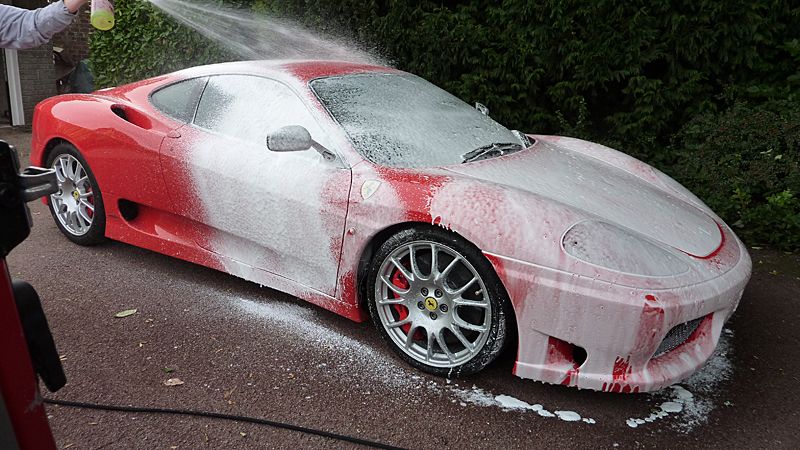
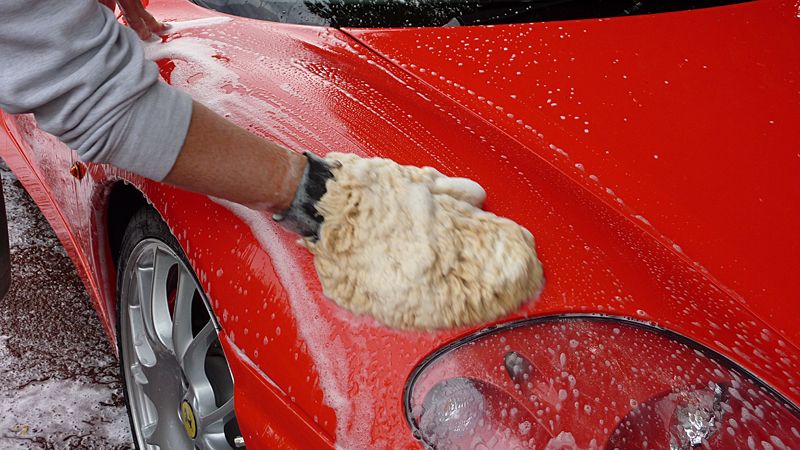
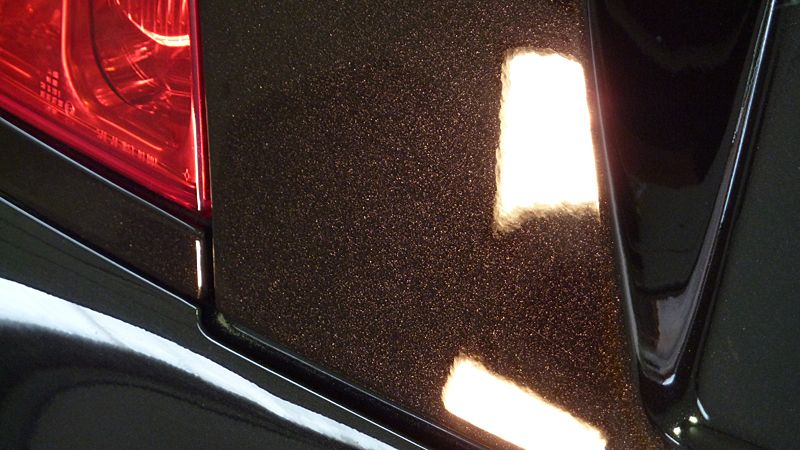
vehicle was then washed with a lambswool wash mitt and Megs Hyper Wash, rinsed off and then all paintwork and glass was clayed using Sonus SFX and Megs Last Touch as lube. Once claying was complete the vehicle was quickly foamed again, rinsed and then dryed using a thick microfiber drying towel.
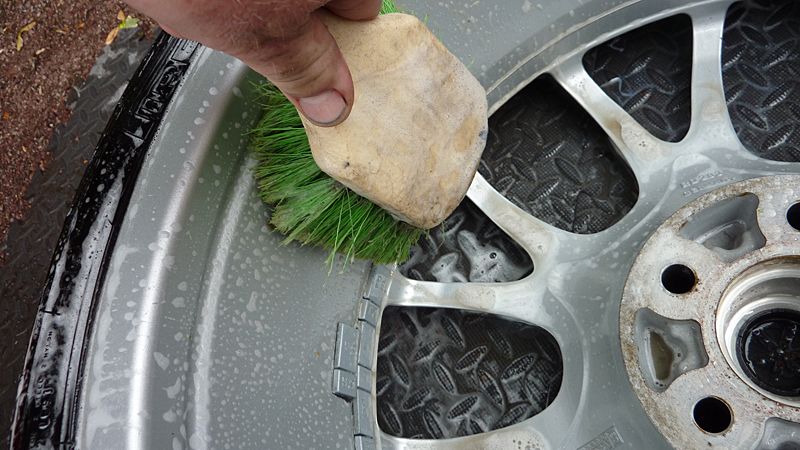
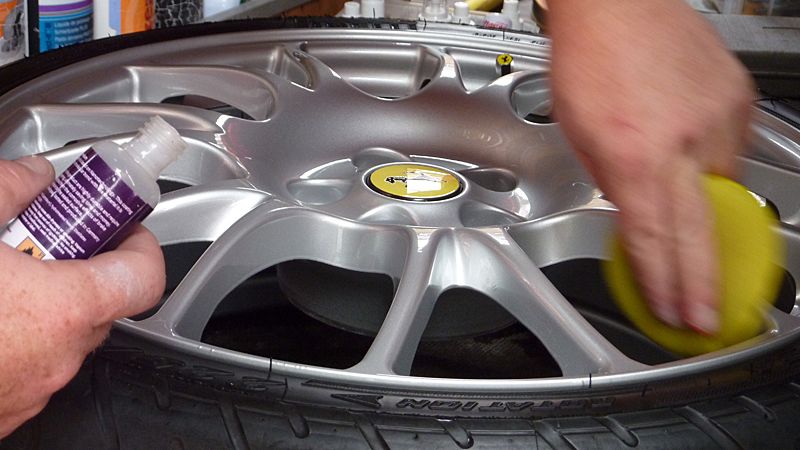
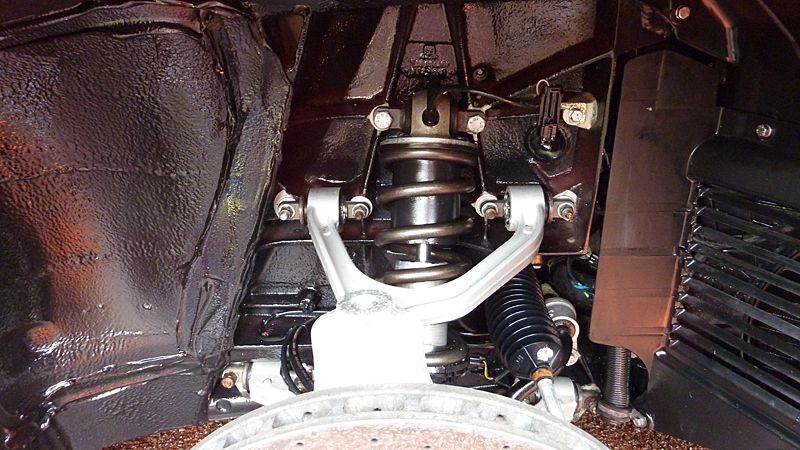
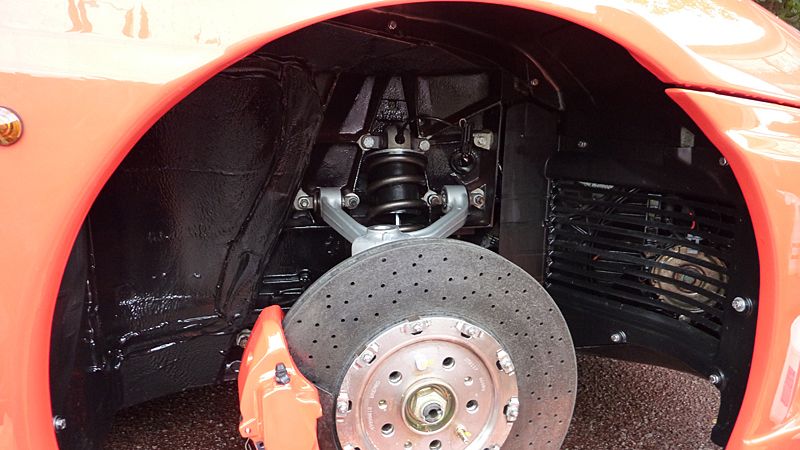
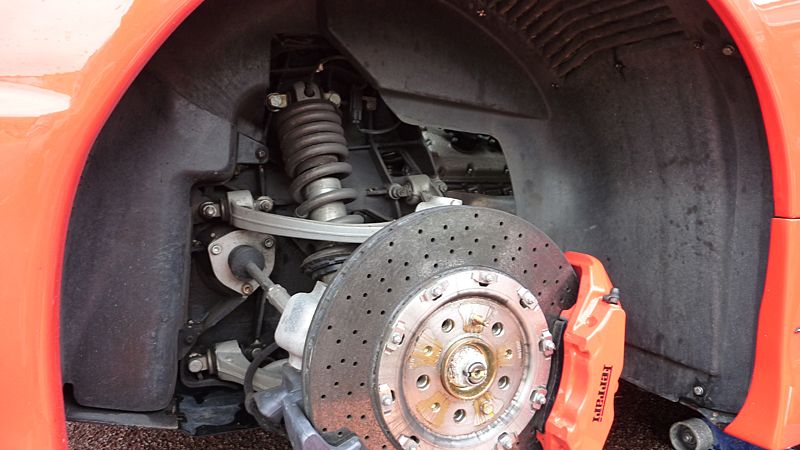
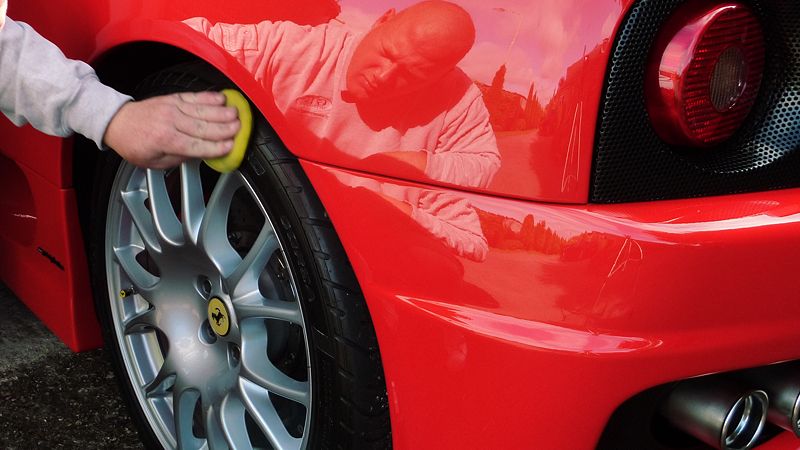
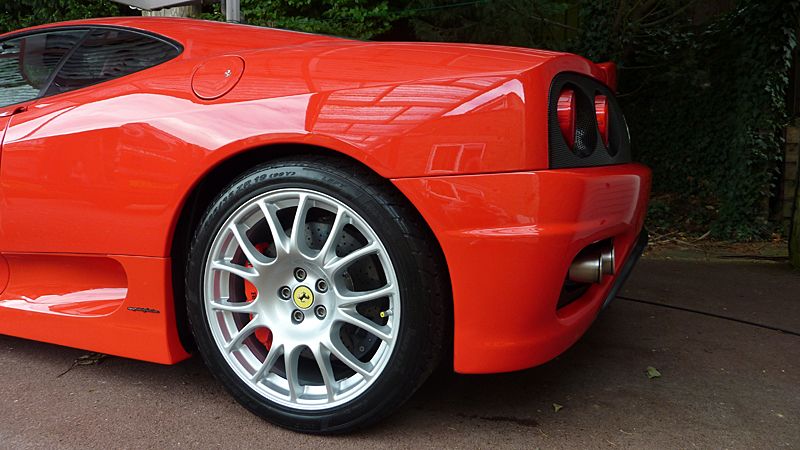
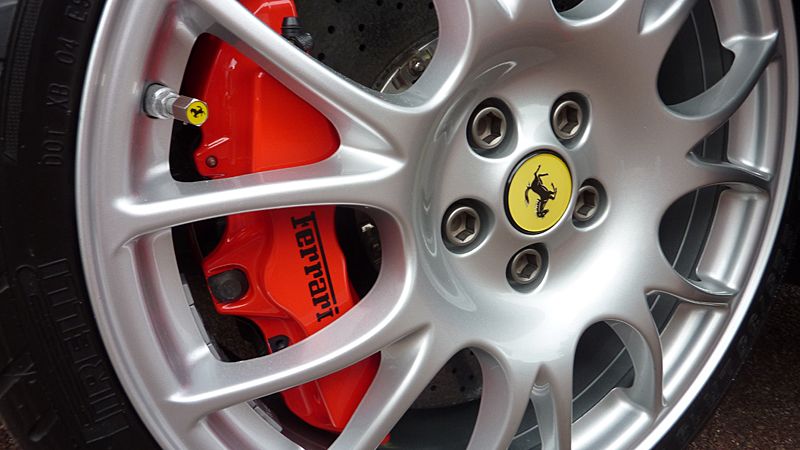
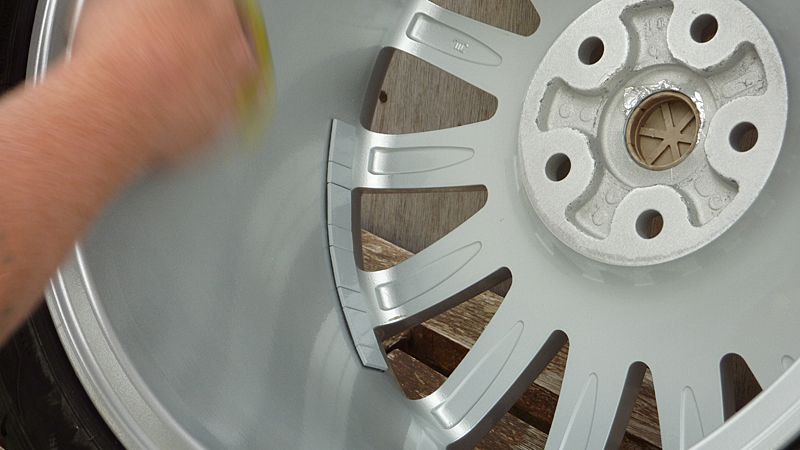
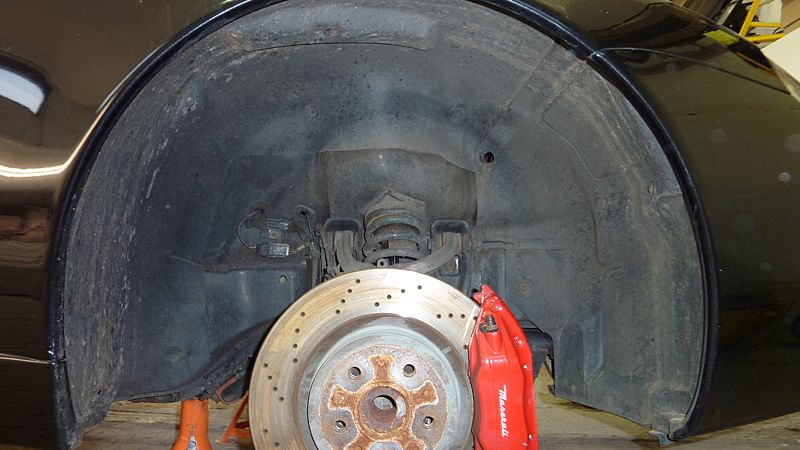
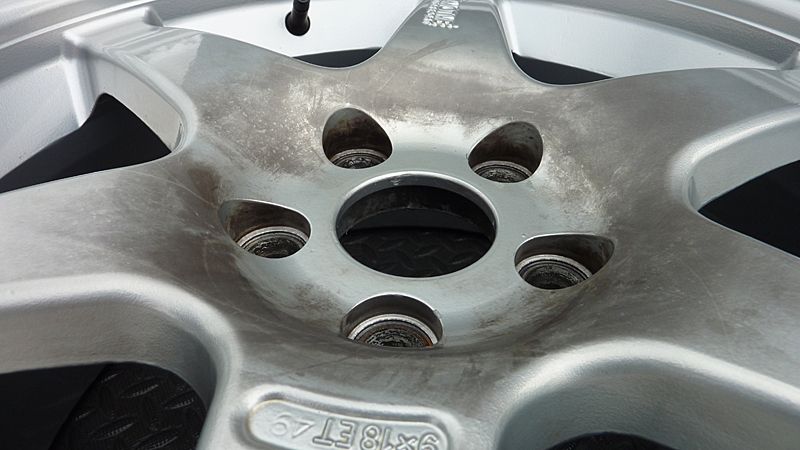
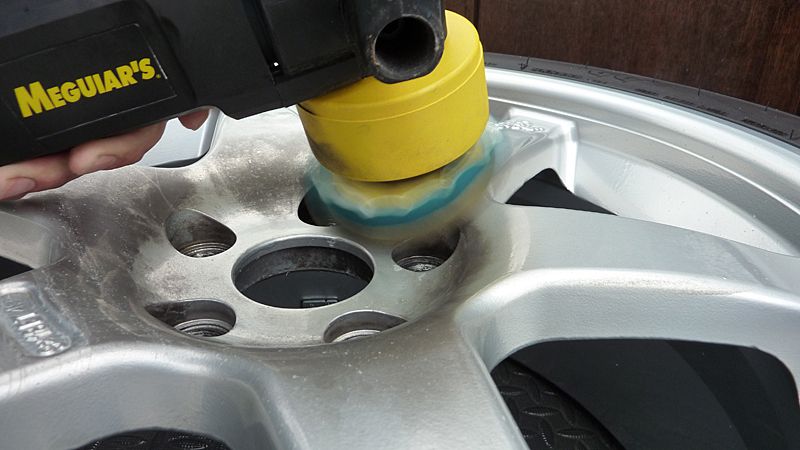
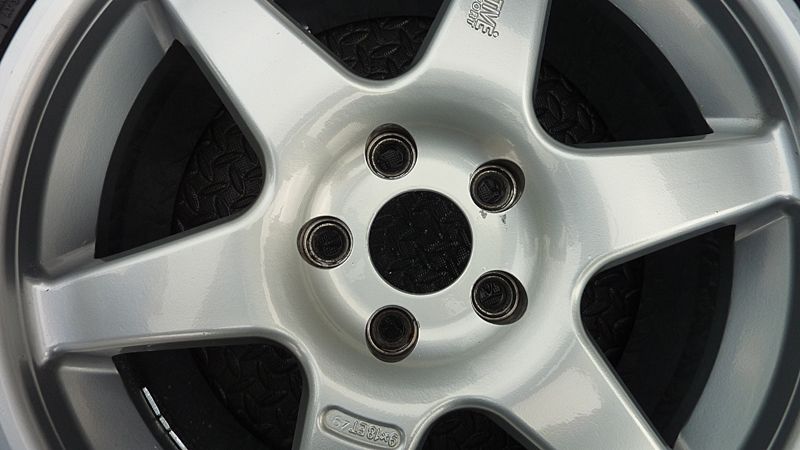
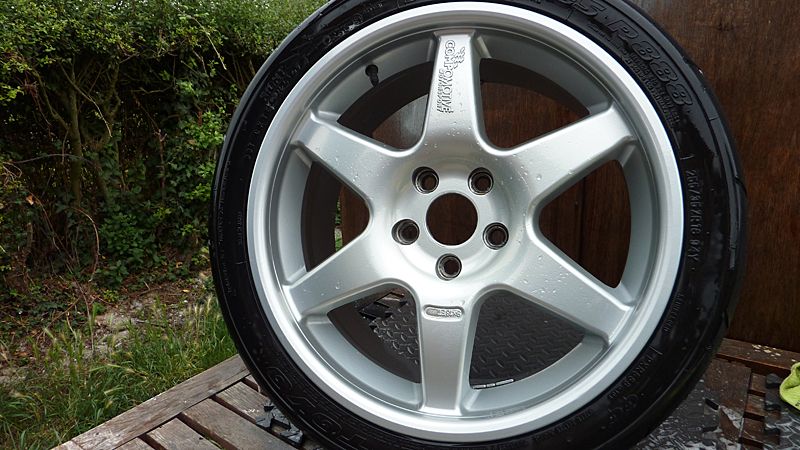
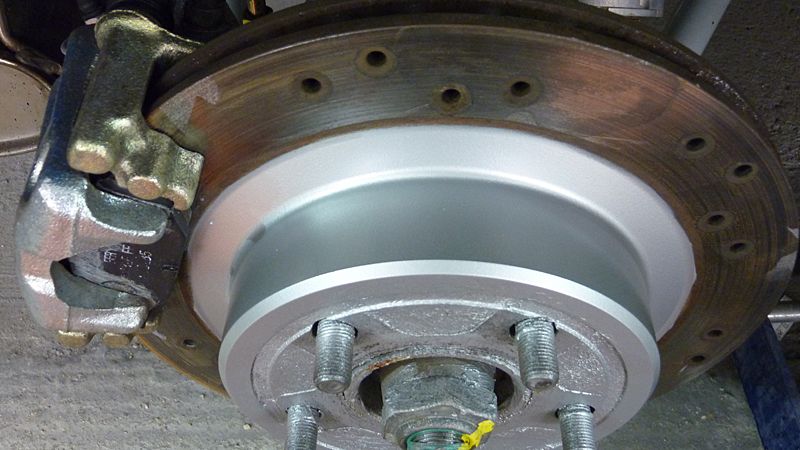
Wheels were then removed to allow me to add some protection to the inner area's of the wheels that would have otherwise been hard to get to with the wheels are on the car. These were first cleaned with P21S and then given a good spray of Iron Cut to remove any remaining decontaminates before being clayed. Once clean they were given a good wipe down with IPA and Nanolex Premuim Alloy Sealant was applied.
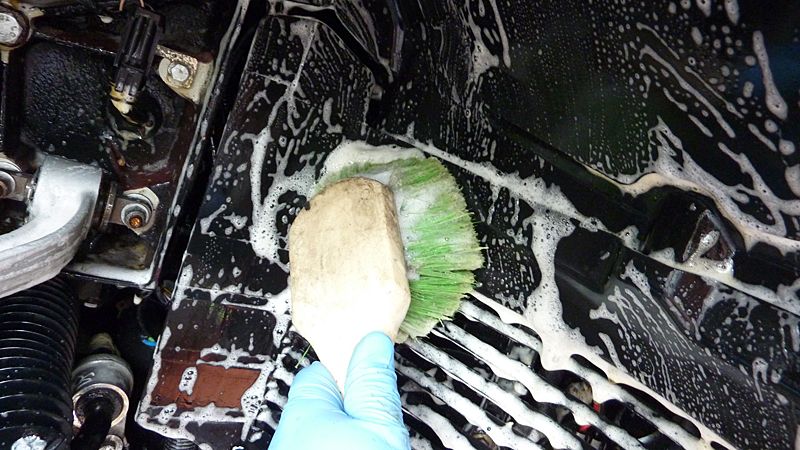
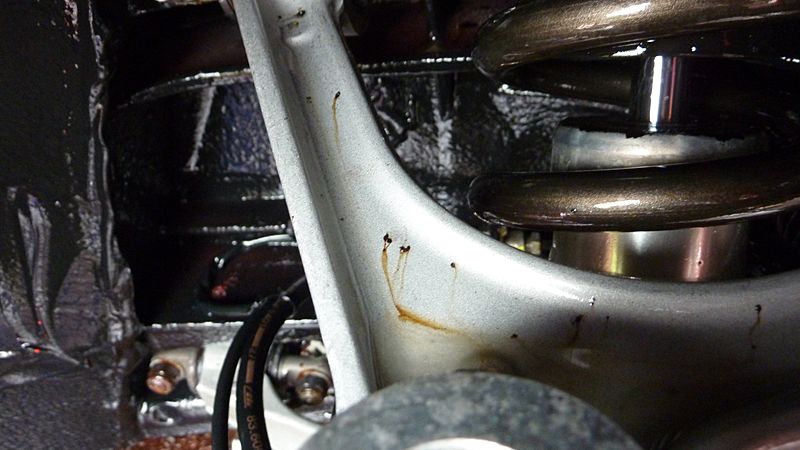
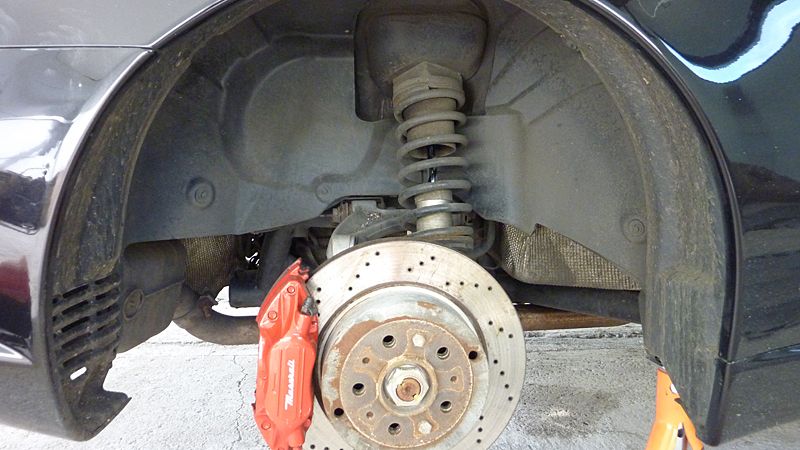
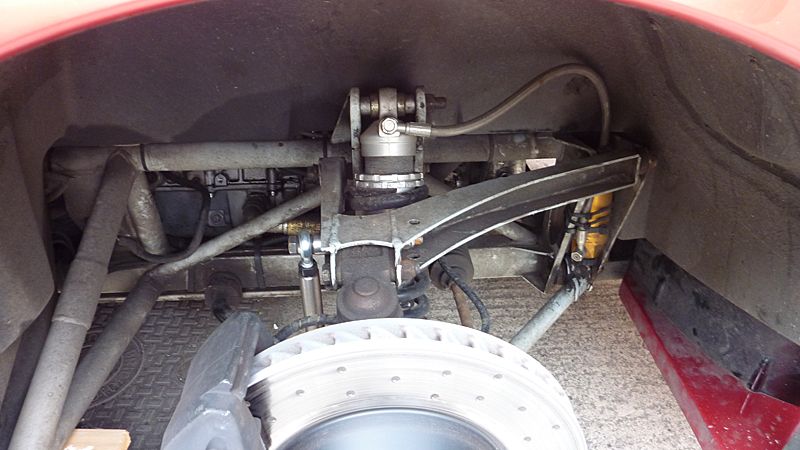
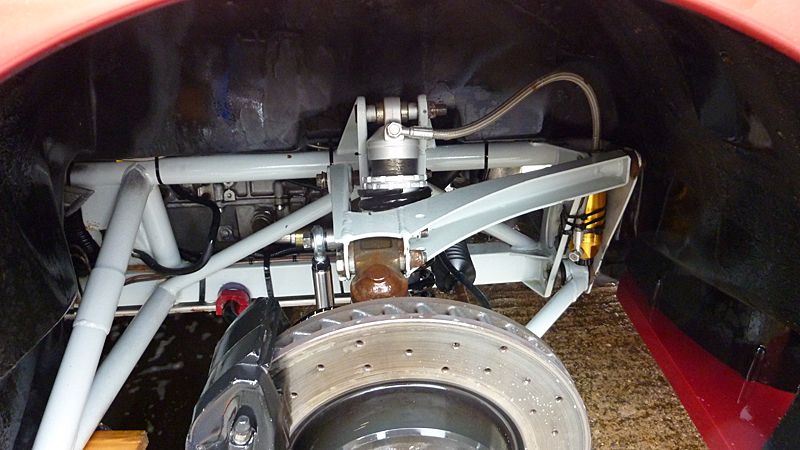
Arches were given a thorough clean and degrease
Before...
BH Surfex being worked in with a brush
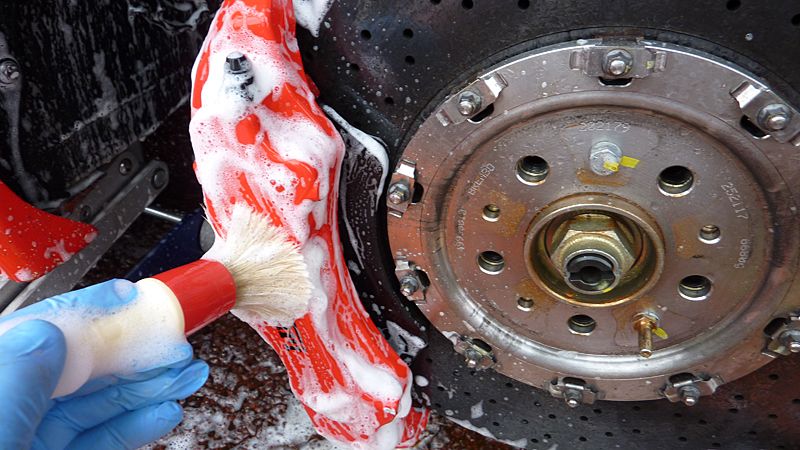
paying attention to the calipers...
Tardis used to remove any stubborn tar...
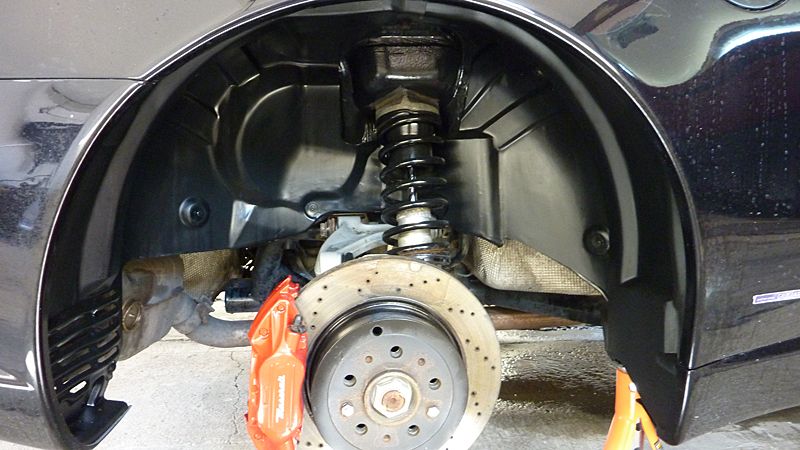
Wheel arch clean and dressed with Megs ASD...
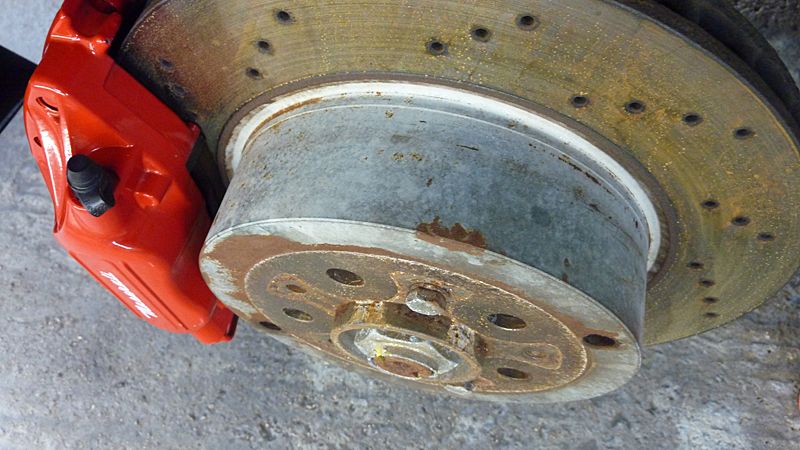
Rear before...
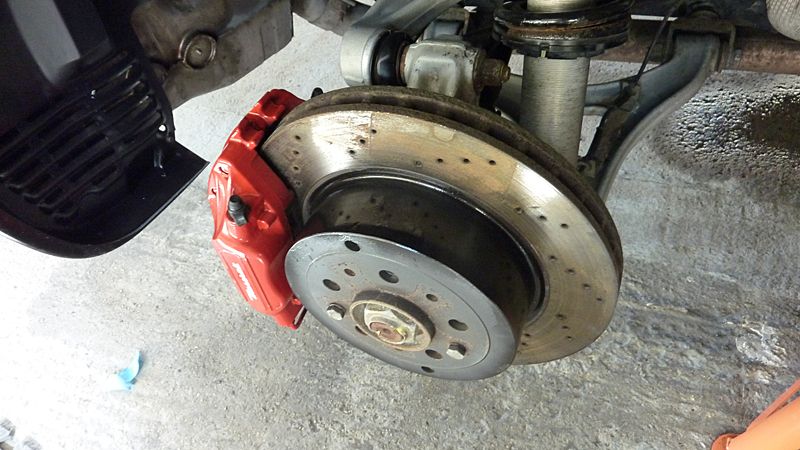
and rear after...
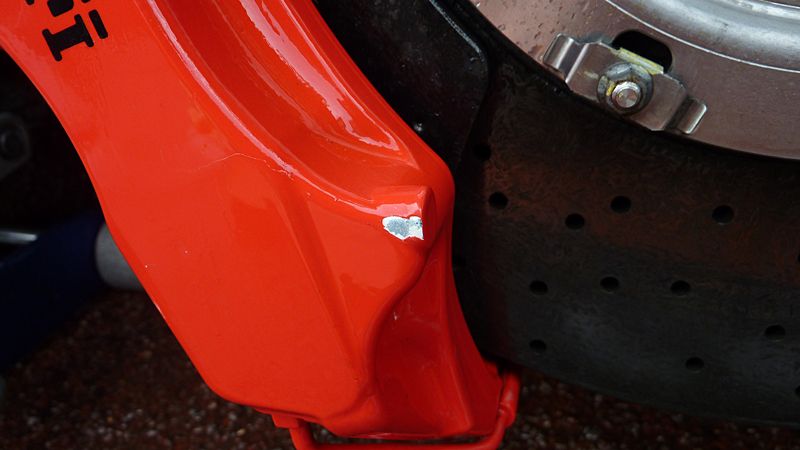
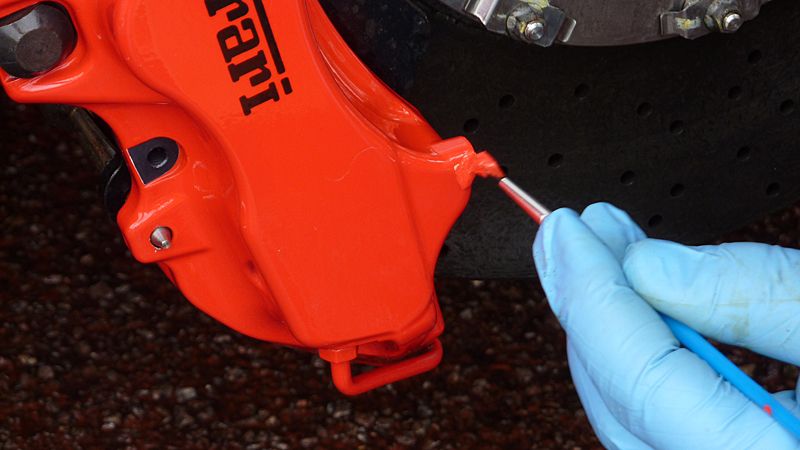
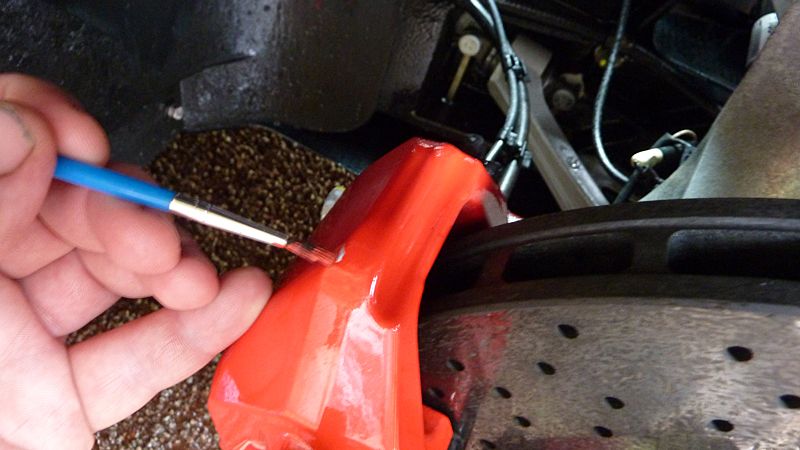
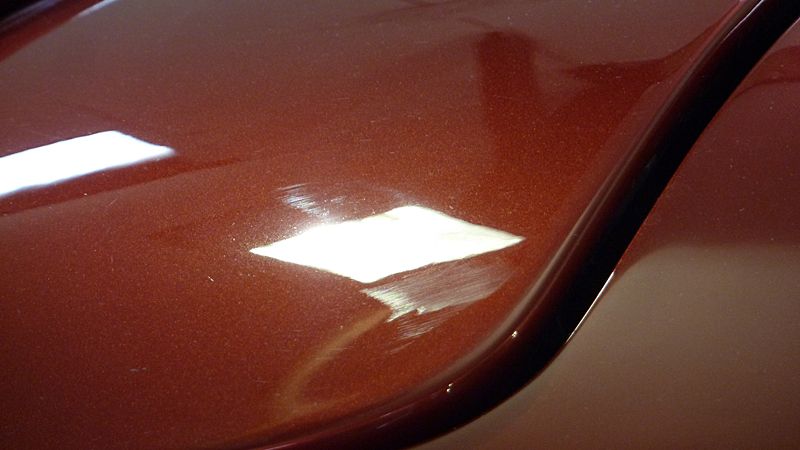
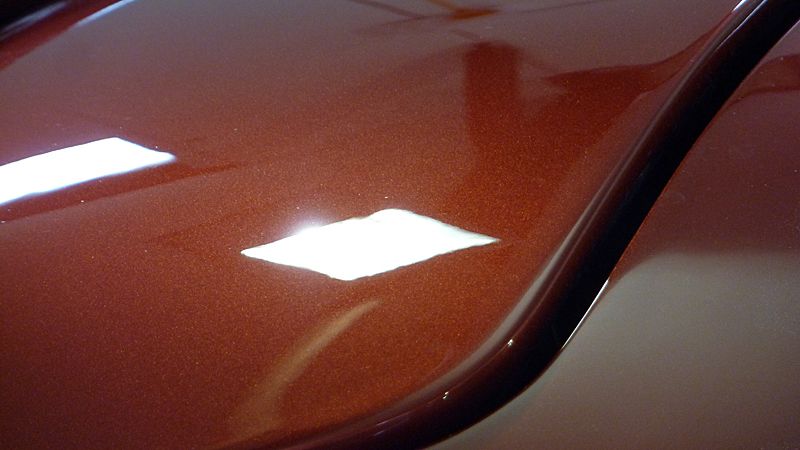
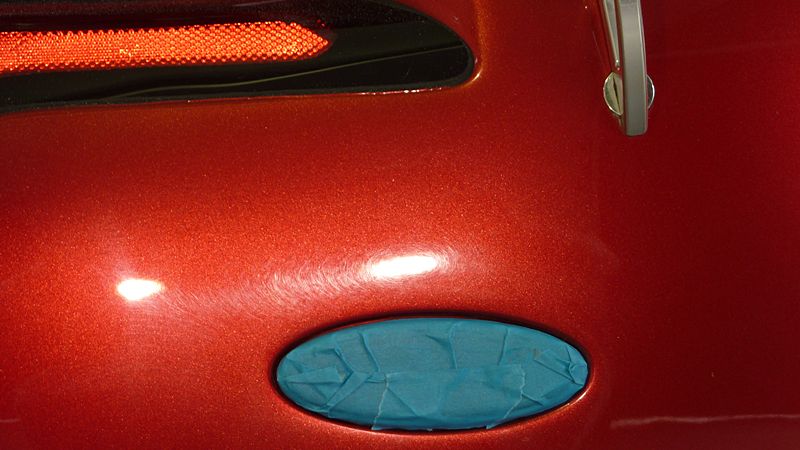
There was a chip on one of the front and rear calipers so this was touched in..
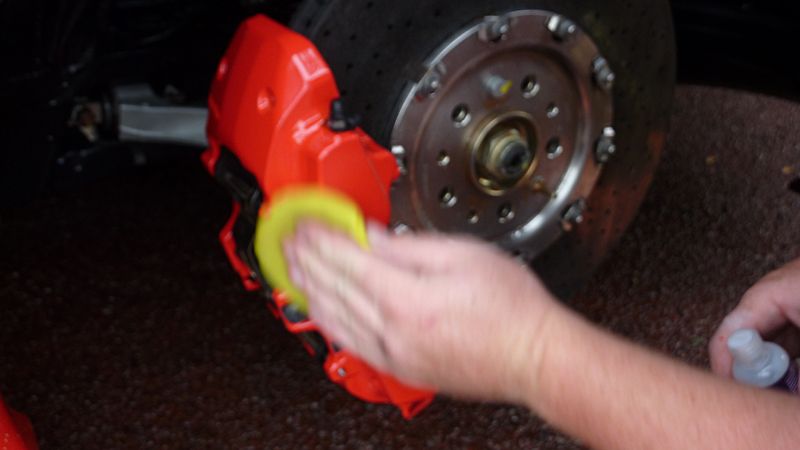
These were then sealed with Nanolex Premuim sealant
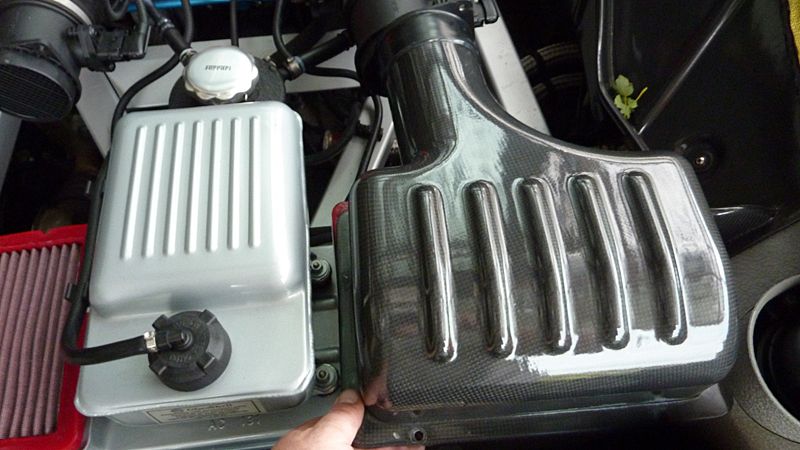
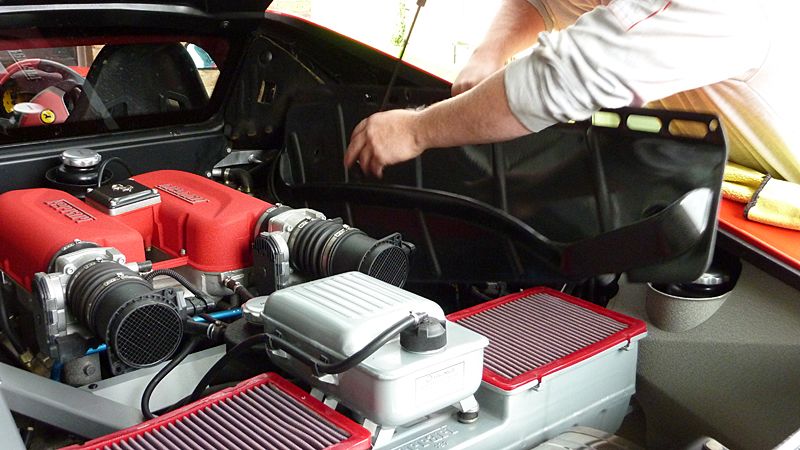
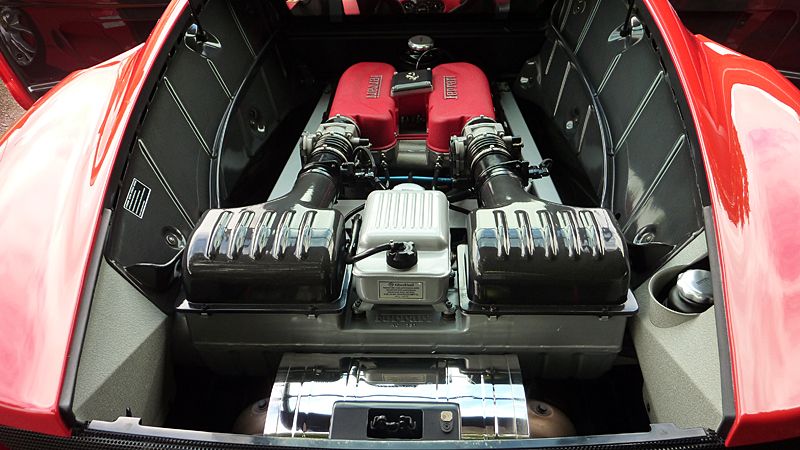
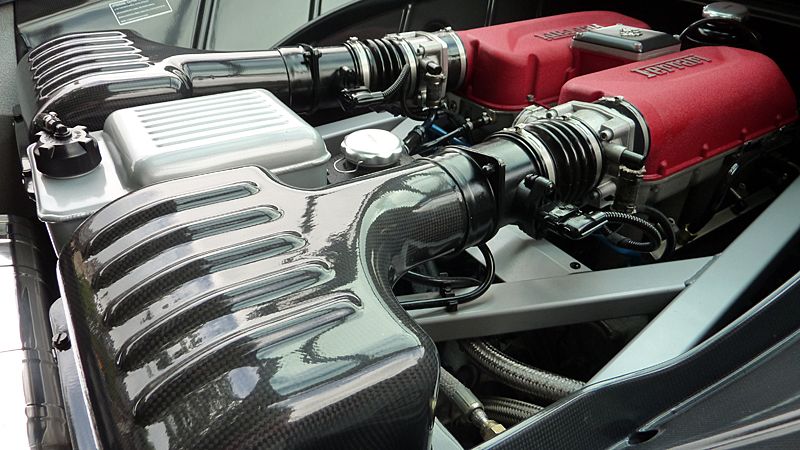
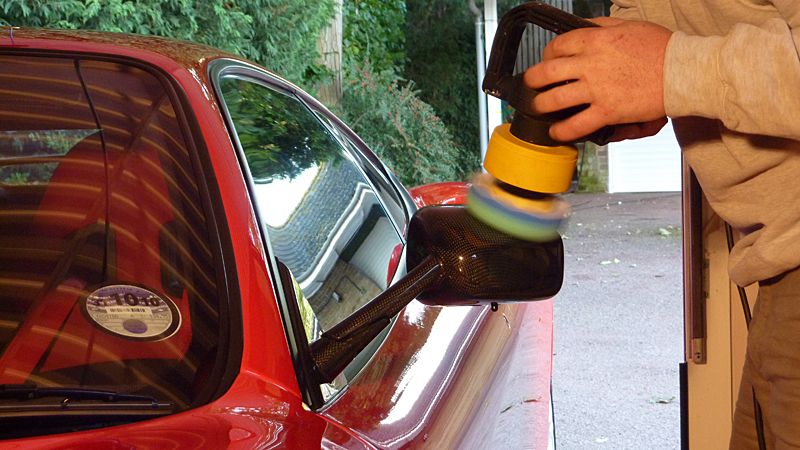
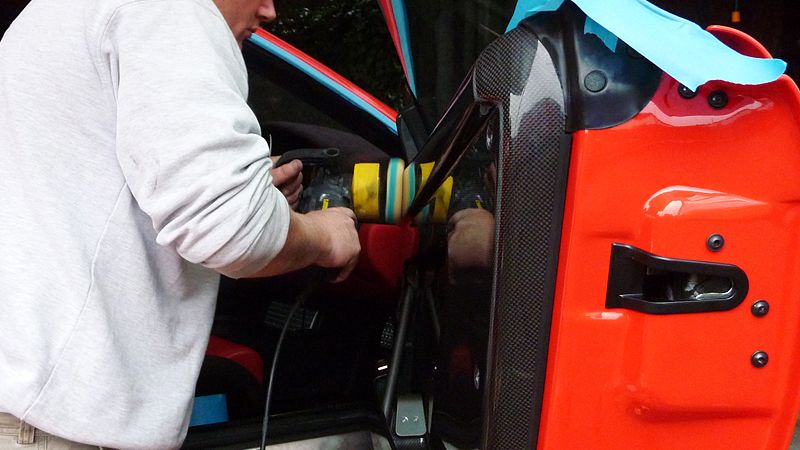
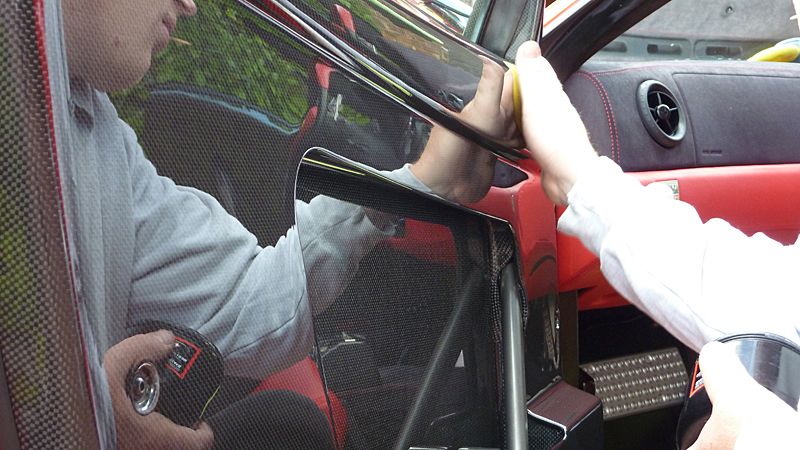
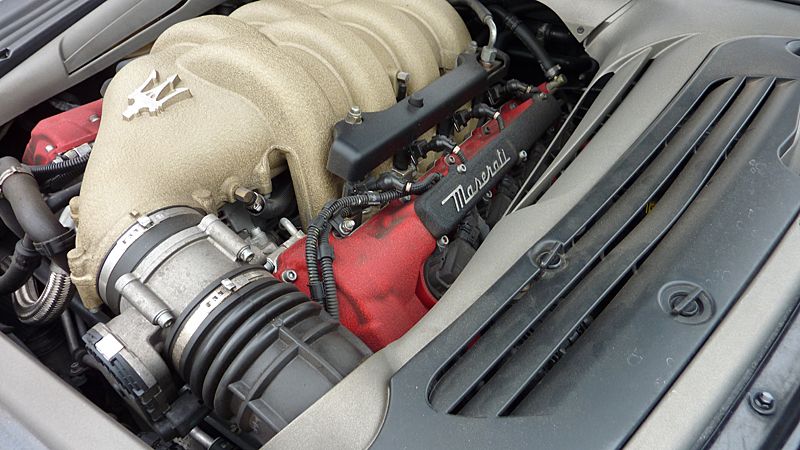
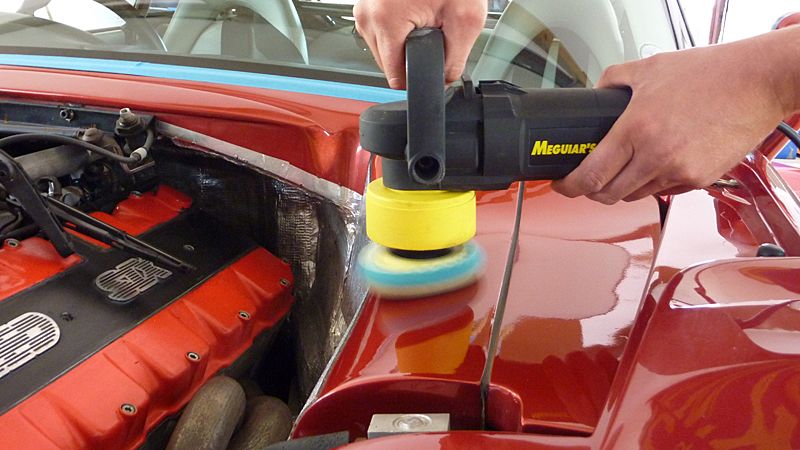
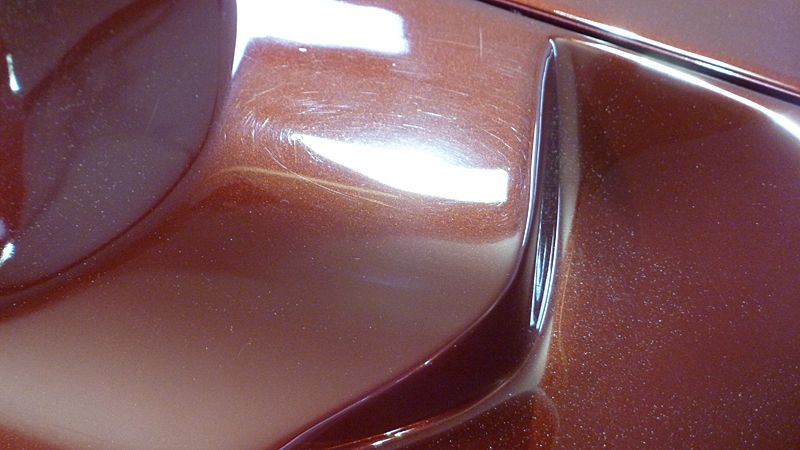
With the exterior complete I turned my attention to the engine bay, I removed all carbon fiber parts to be machine polished
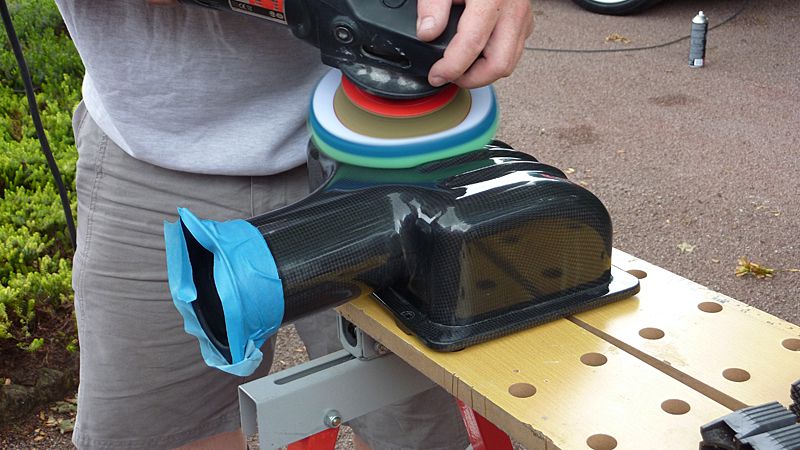
I used a workbench to screw down the parts then machine polished them using Menz 3.02 and then followed up with Menz 106 on a finishing pad. Different size pads were used to allow me to get to some of the more tighter areas.
These bits are prone to go milky looking over a period of time due to the heat in the engine bay so I used Nanolex Professional Sealant.
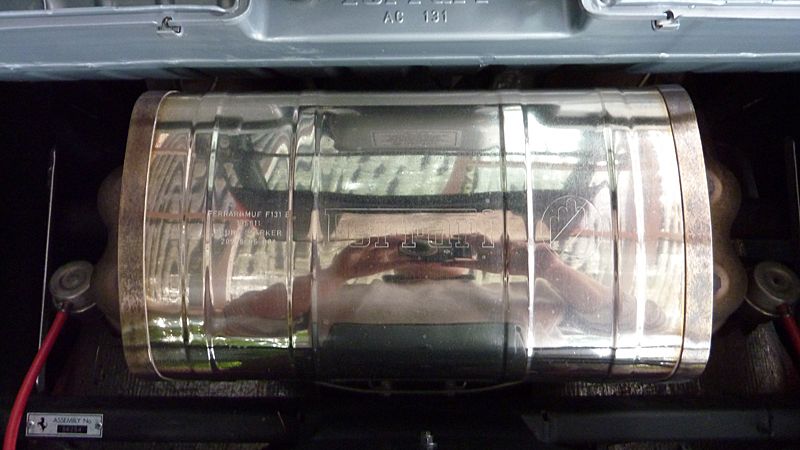
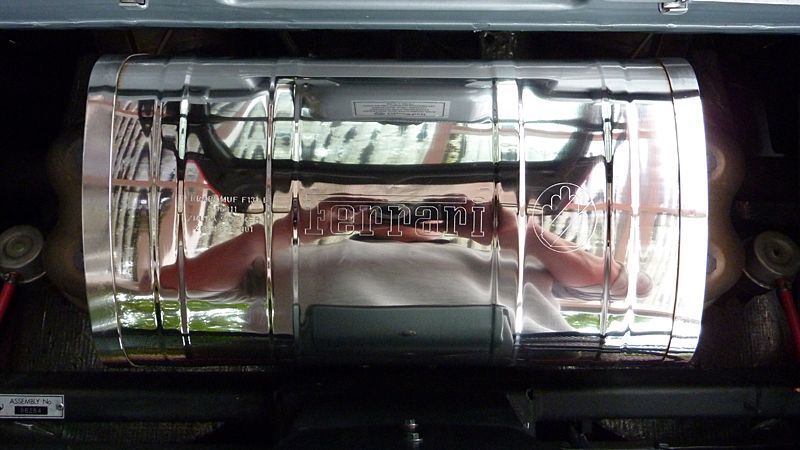
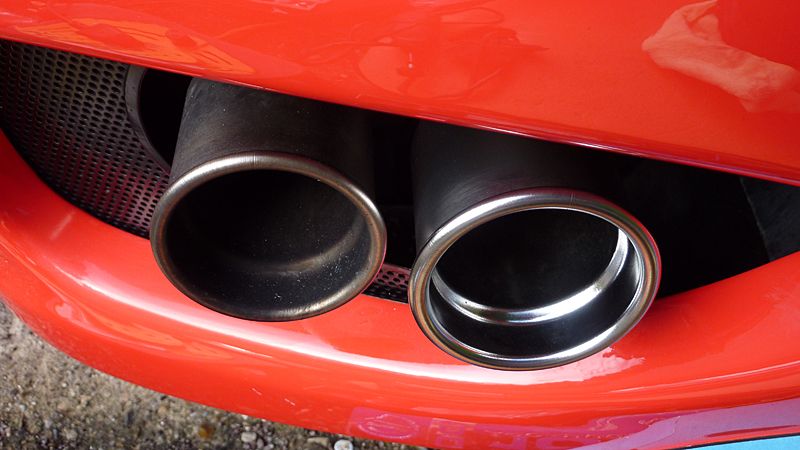
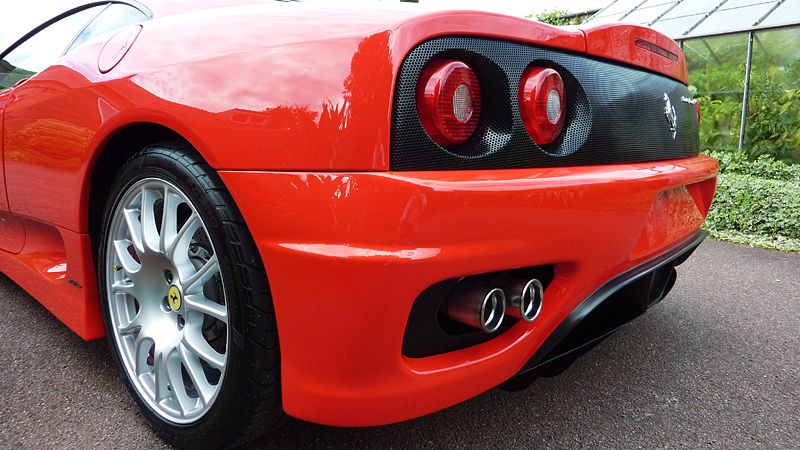
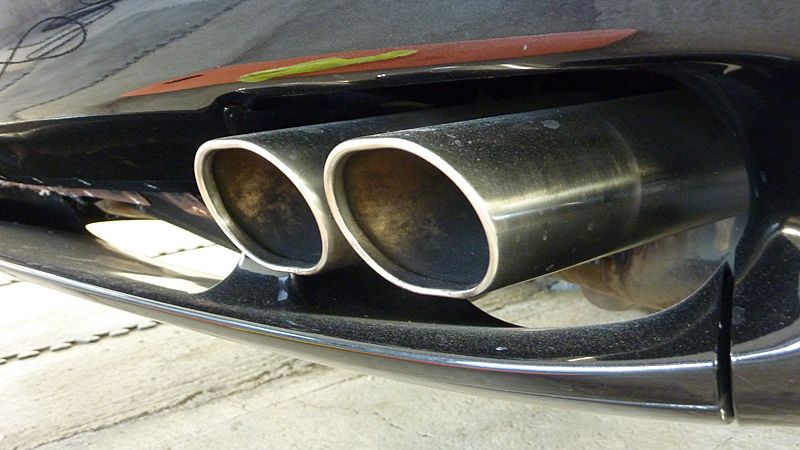
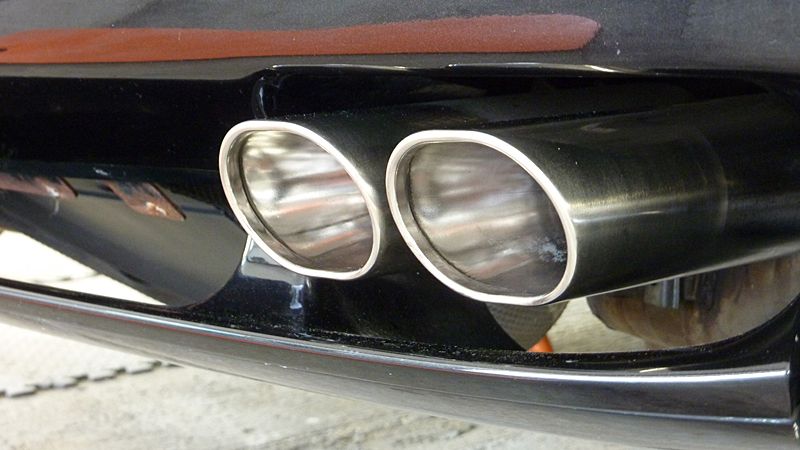
Exhaust box polished using Brillant Metal Polish's and various pads on the DA, this was then sealed with Blackfire Metal Sealant
Before...
and after.
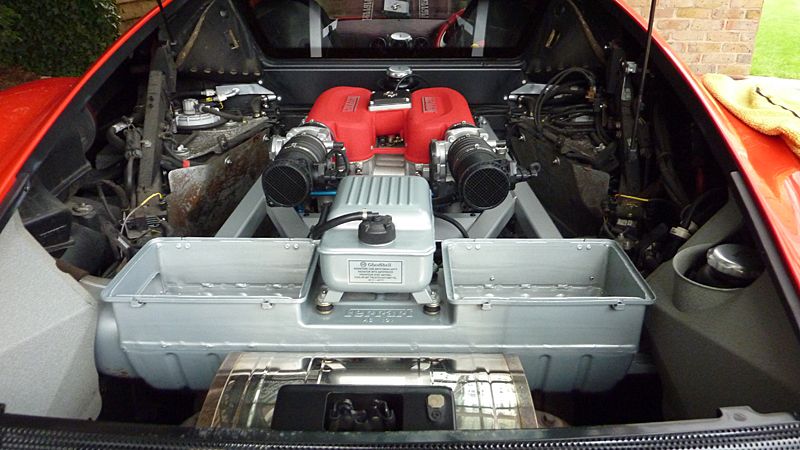
Swissvax Pneu as used to dress some area's and then Swissvax MotorShine was used to seal the the engine bay
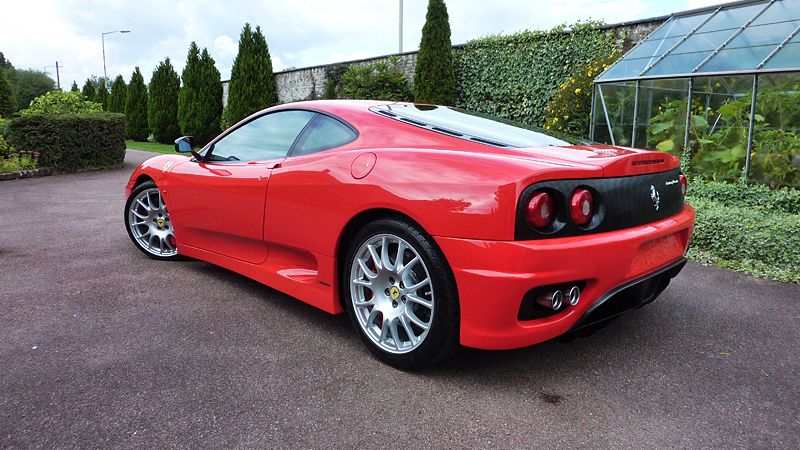
All completed
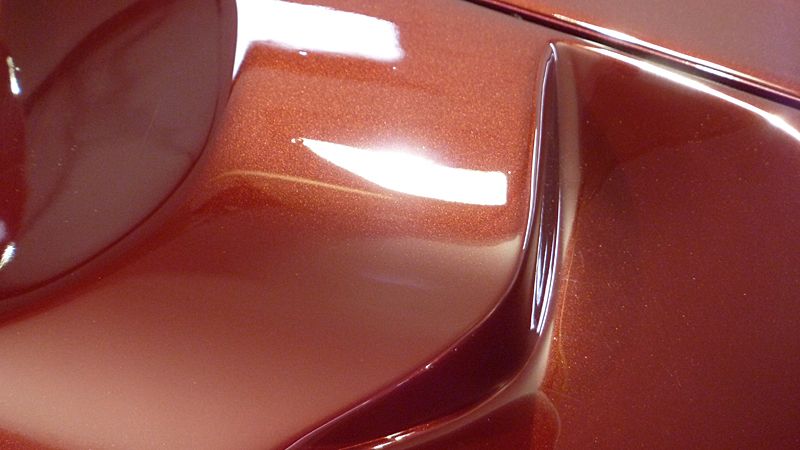
With engine bay completed I then turned my attention to the paint,
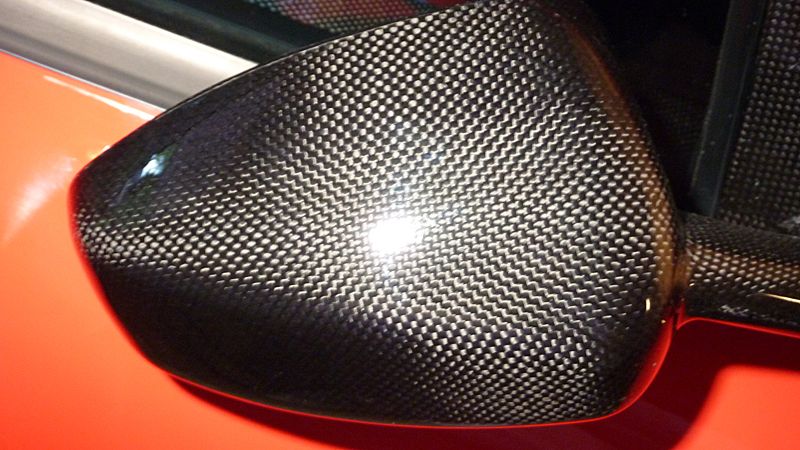
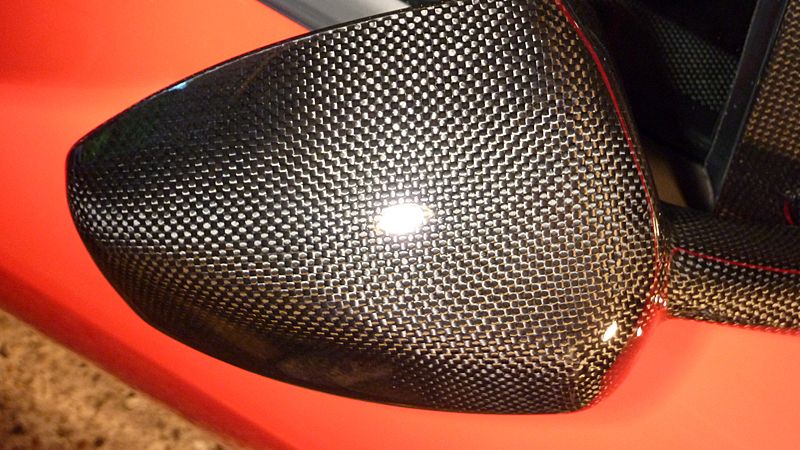
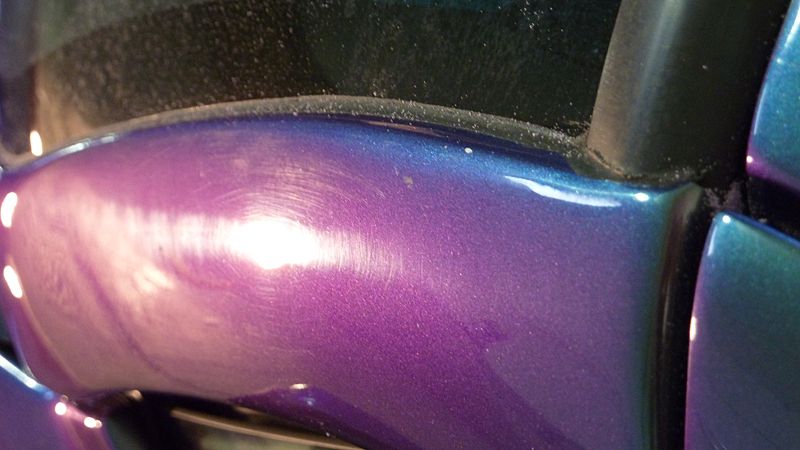
Carbon fiber wing mirrors
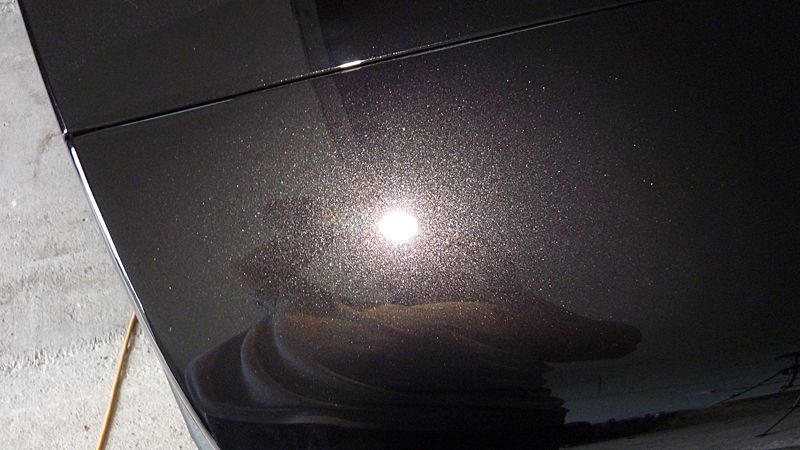
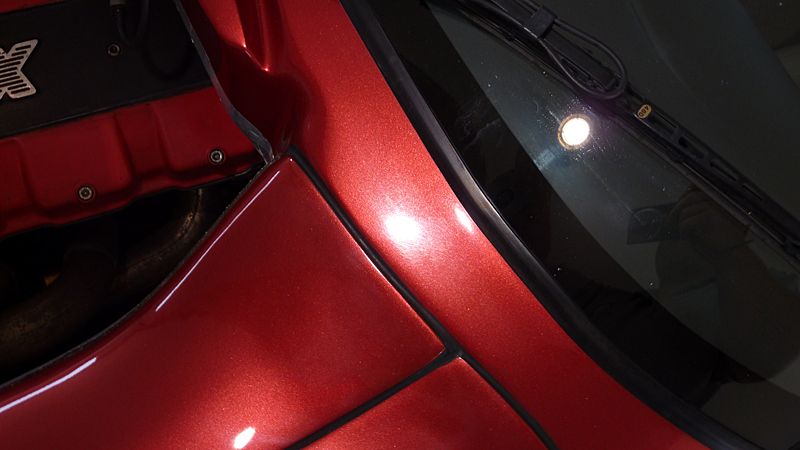
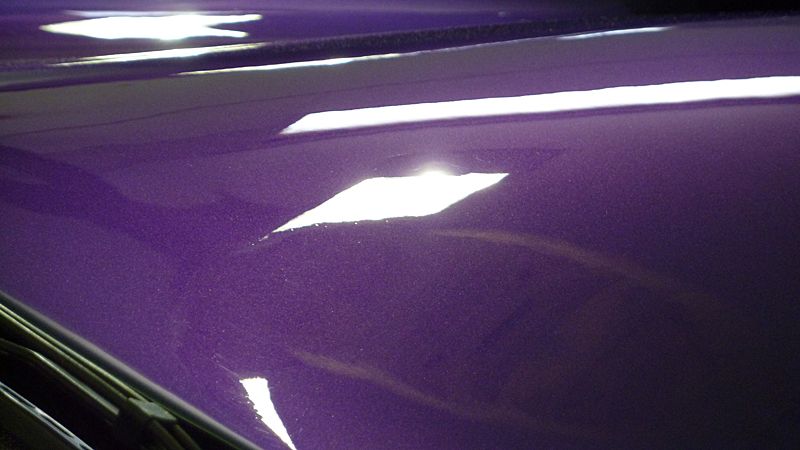
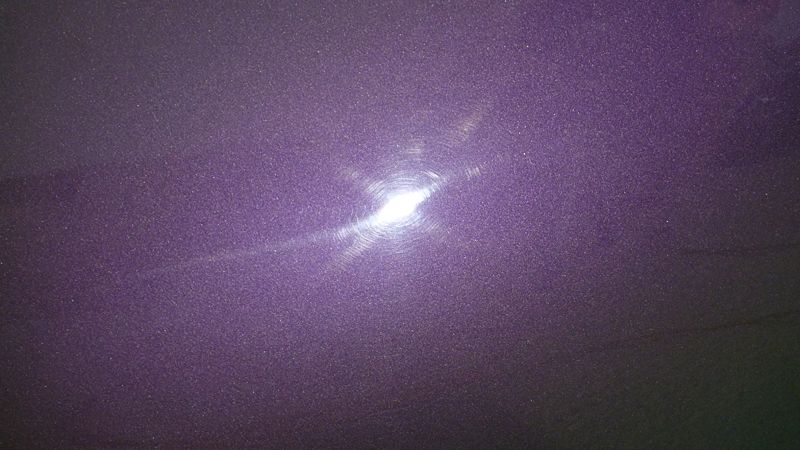
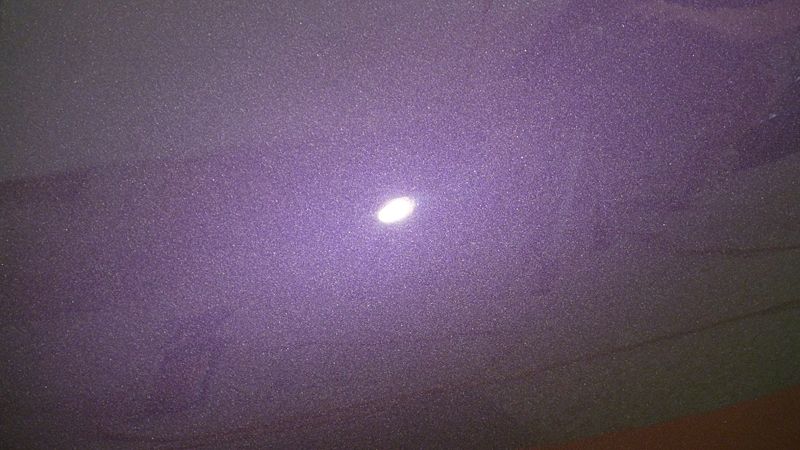
Paint refined with Megs 205
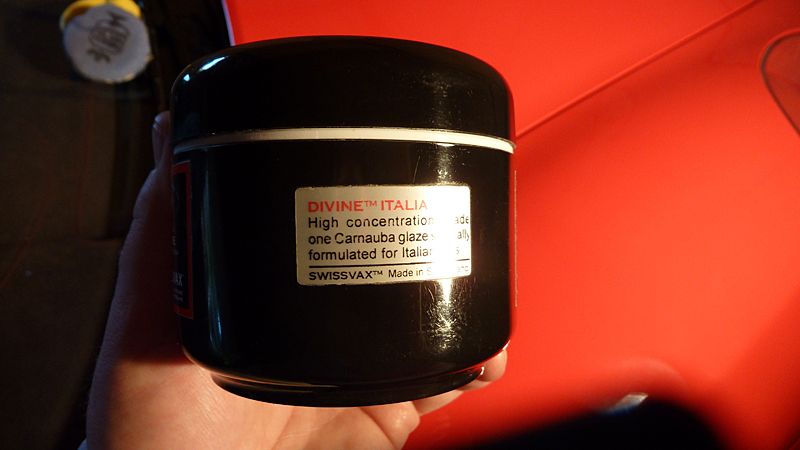
Once all maching stages were completed vehicle was given a IPA wipedown and then a coat of sealant was applied and then was topped with Swissvax Divine. A second coat of Divine was applied the following day
Whilst wax was left to cure for a few hours I set about doing some of the smaller jobs
Exhausts were cleaned with Autosal and 0000 wire wool and then I used a Dremel and Brillant Metal Polishes and then sealed with Blackfire Metal sealant
Right exhaust done and left still dirty
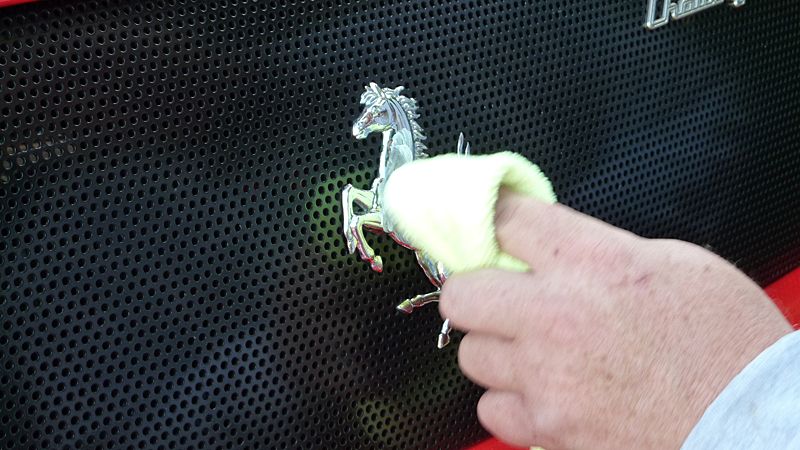
Emblem polished also with Billant Metal Polish's
Tyres dressed with Swissvax Pneu
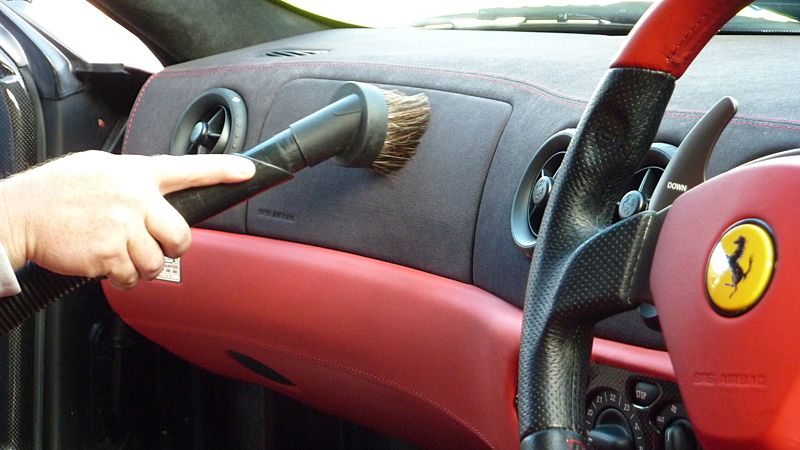
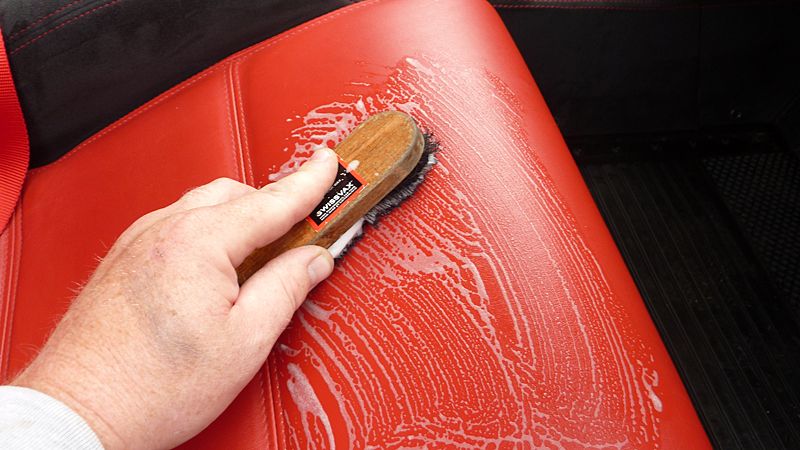
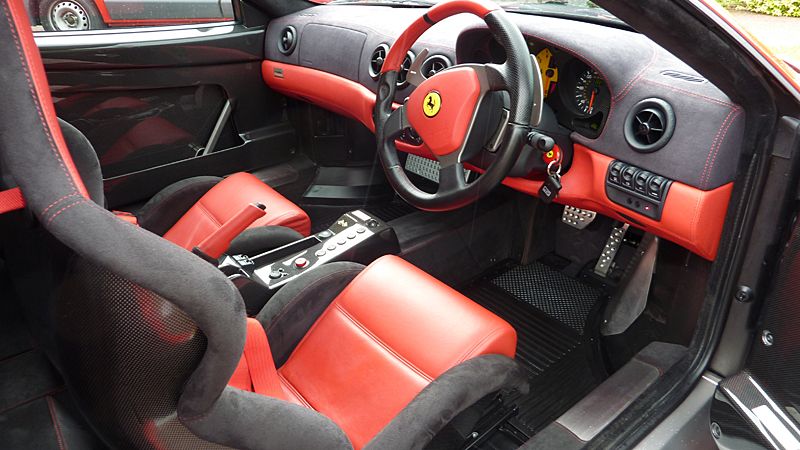
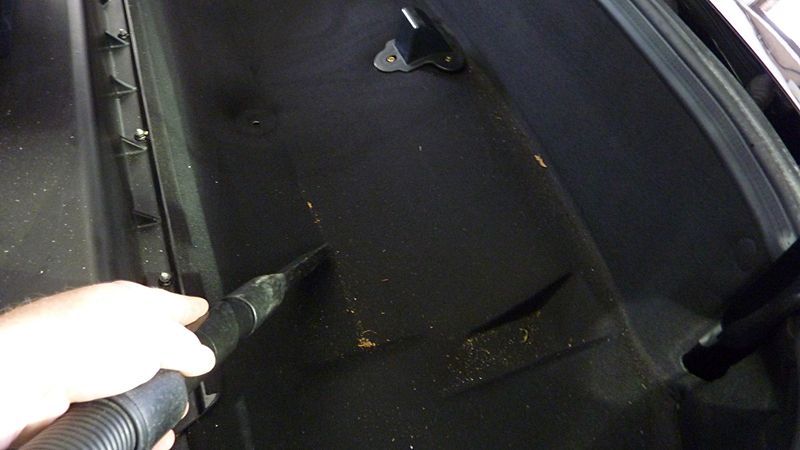
Interior was given a very good vacuum
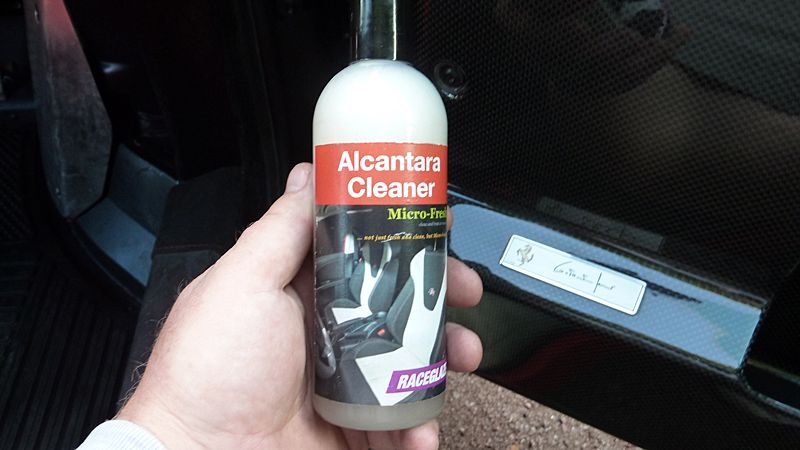
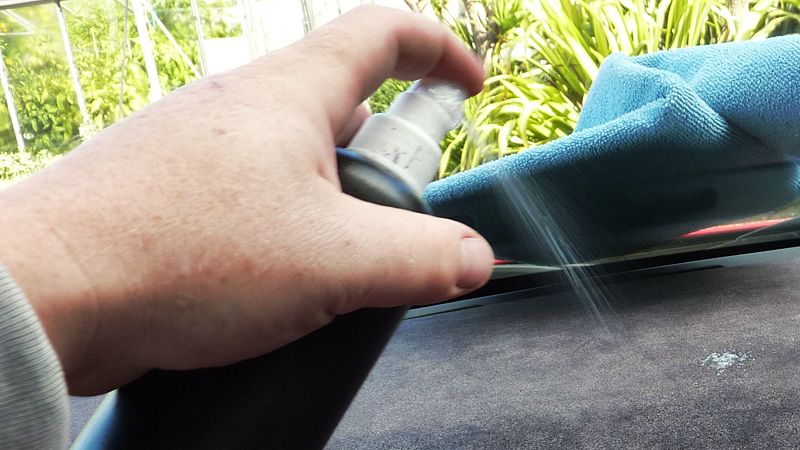
I used Raceglaze Aclantara cleaner, this was decanted into a bottle with a sprayer to make things a bit easier and this was sprayed on and then worked in with a cloth and left to sit a few minutes to allow the product to left the dirt out which was then wiped with a damp cloth.
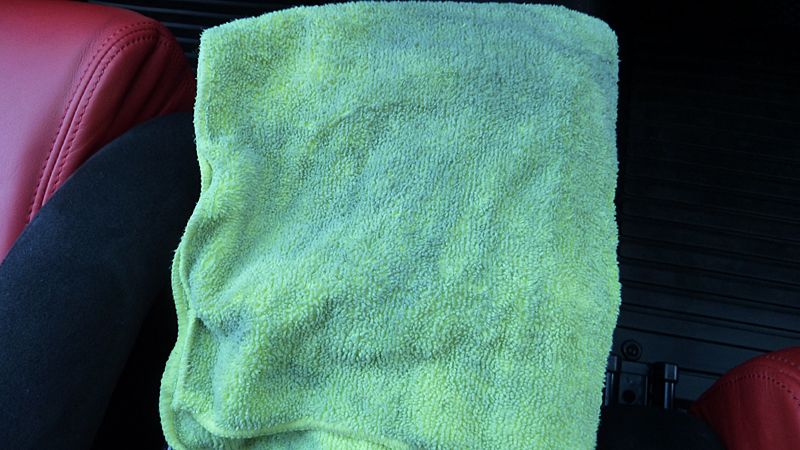
Here you can see how dirty the cloth was after wiping a section of the dash
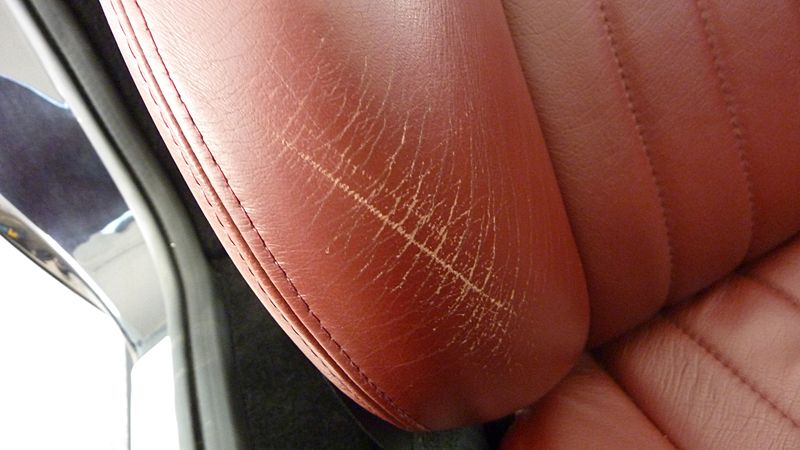
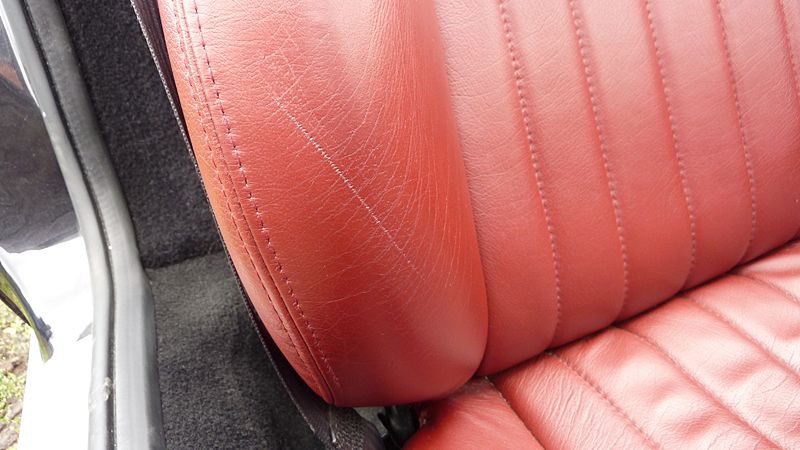
Leather cleaned with Swissvax Leather Cleaner and then Leather Milk applied
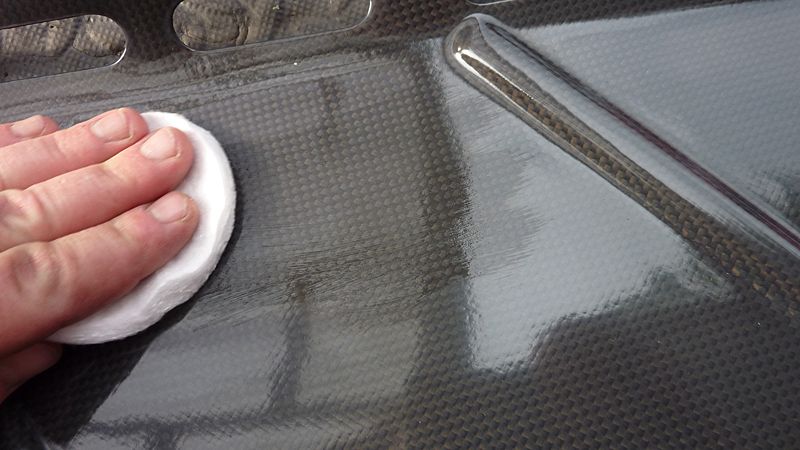
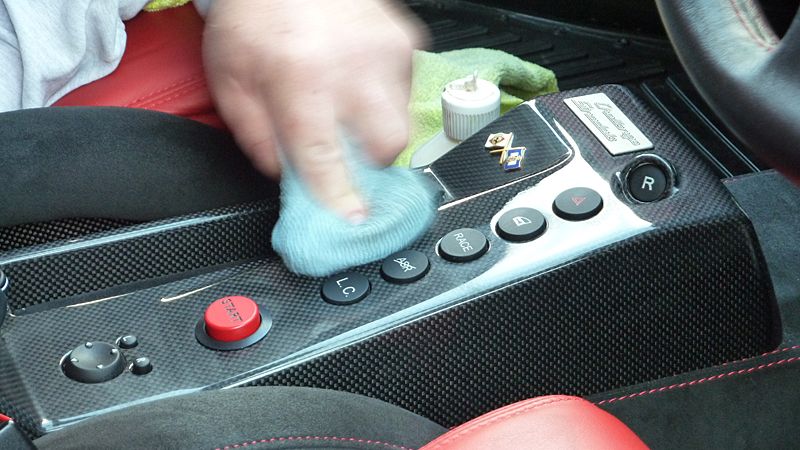
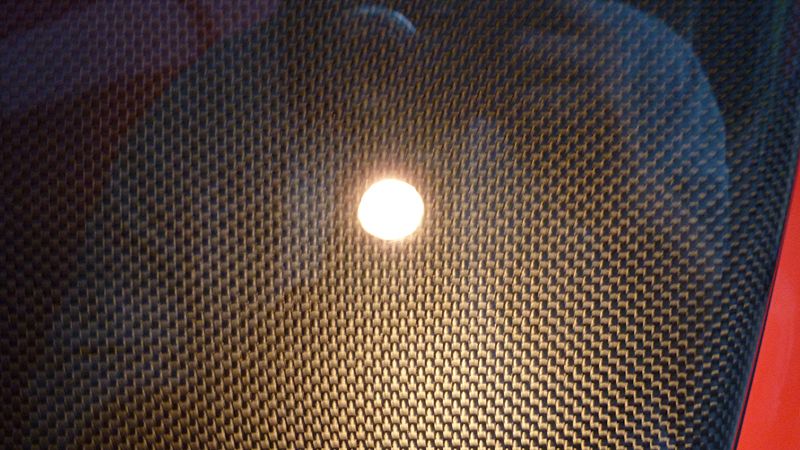
All carbon fiber was cleaned/polished with Jeffs Prime
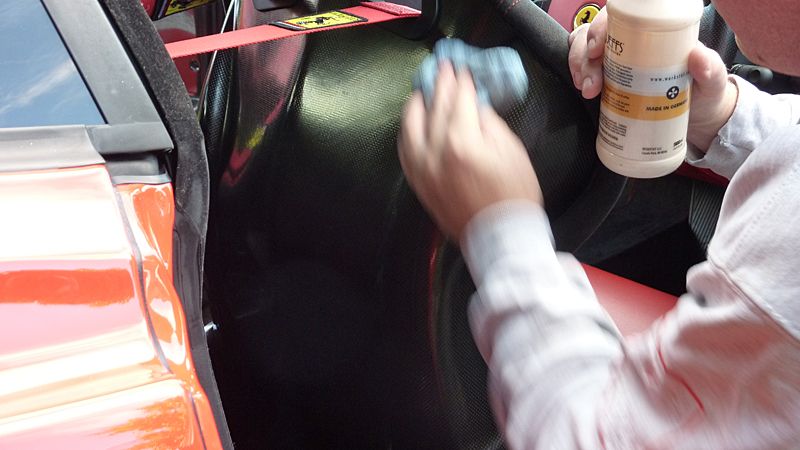
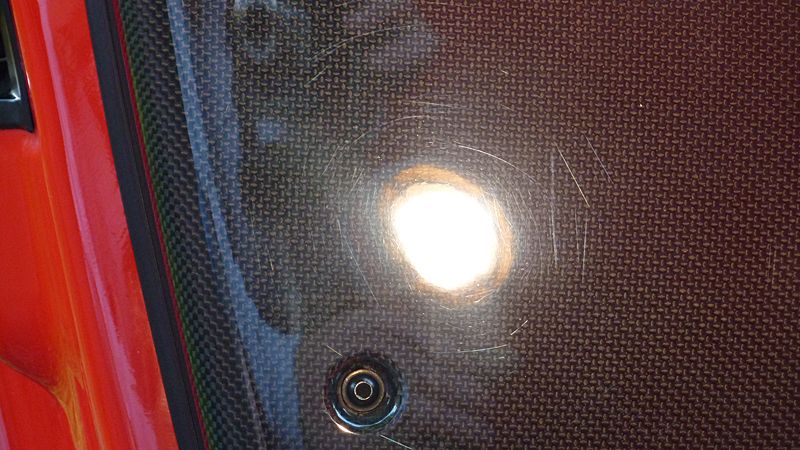
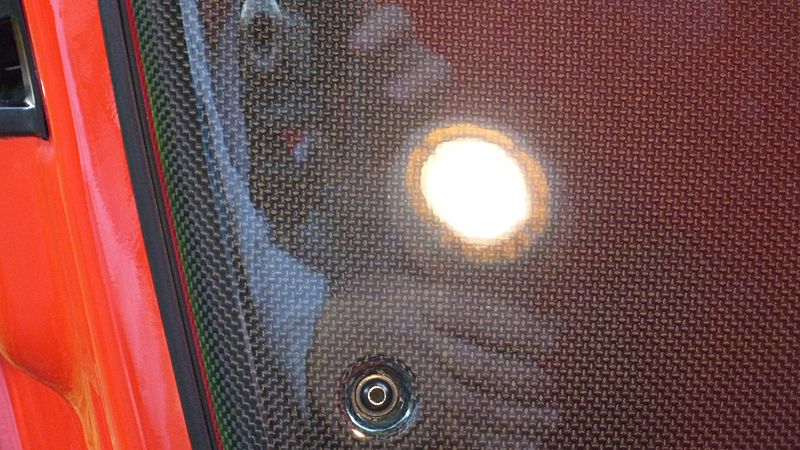
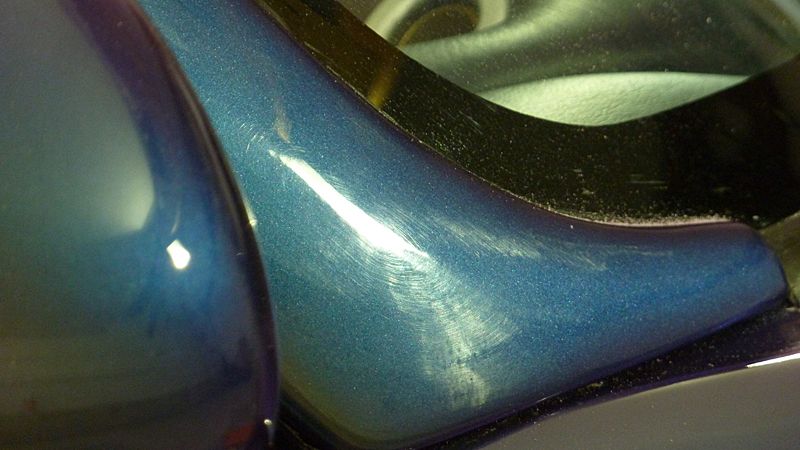
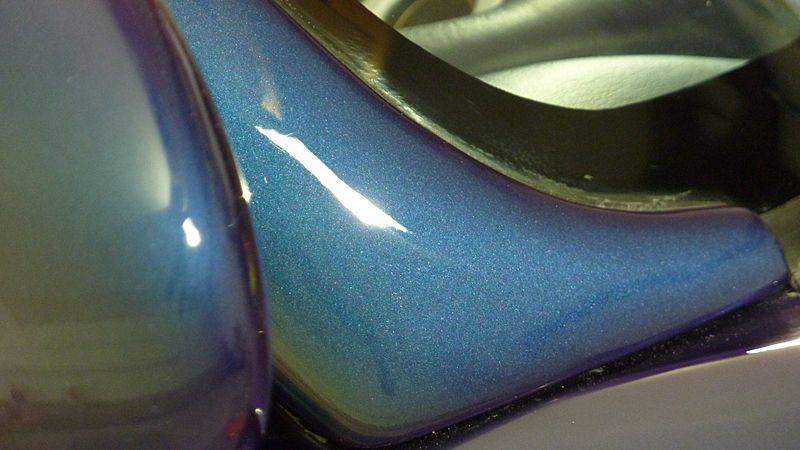
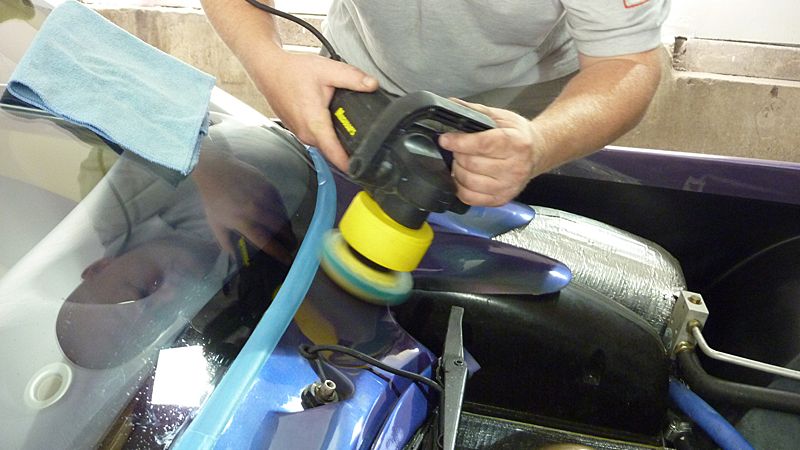
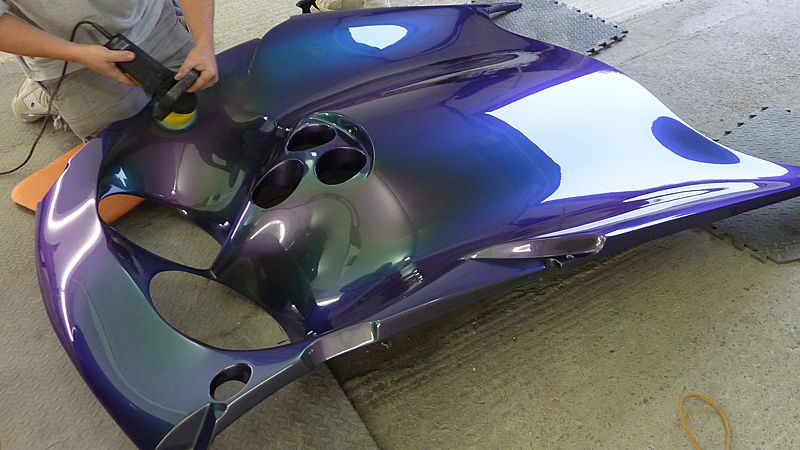
The carbon fiber on the doors were badly marked so these were machine polished with a DA, Menz 203s and a light cutting pad and then refined with a finishing polish and pad
Before...
during..
and after.
Before
and after
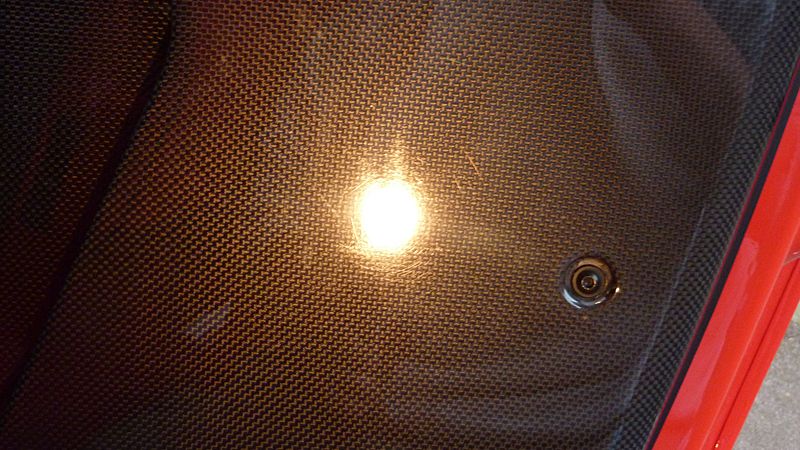
Swissvax Best of Show was applied to all carbon fiber
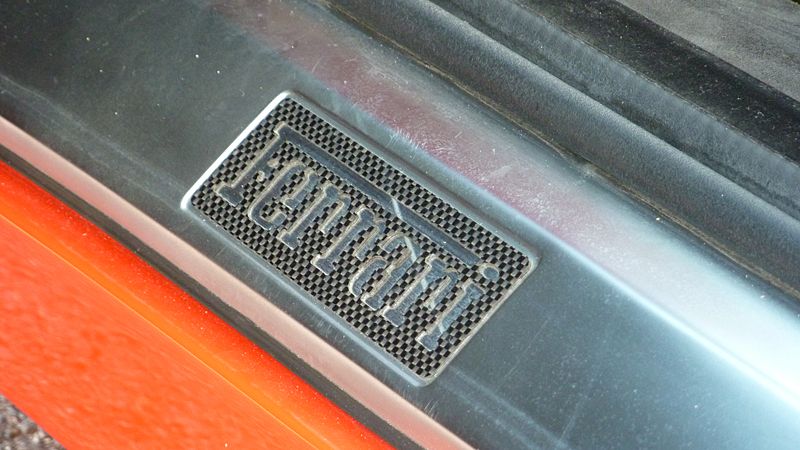
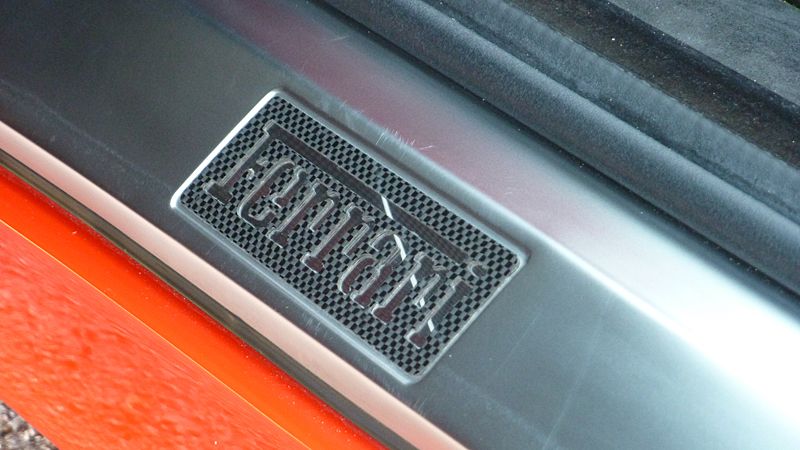
Door sills before being cleaned
and after.
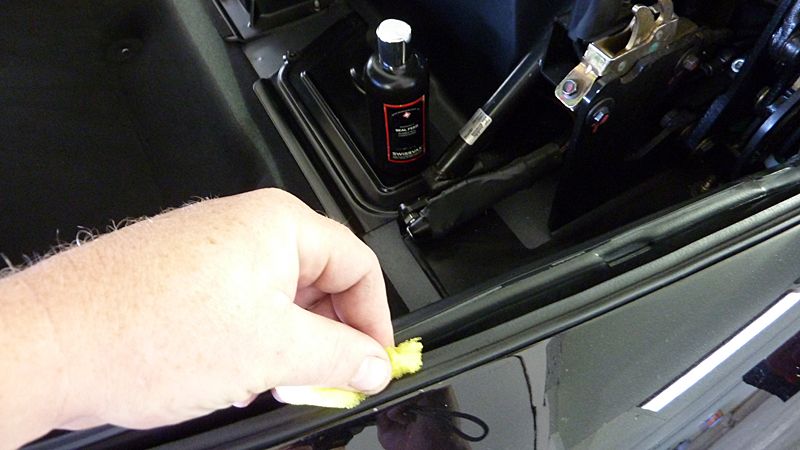
All exterior/interior rubber seals treated with Swissvax Seal Feed. Glass was cleaned with 3m Glass cleaner.
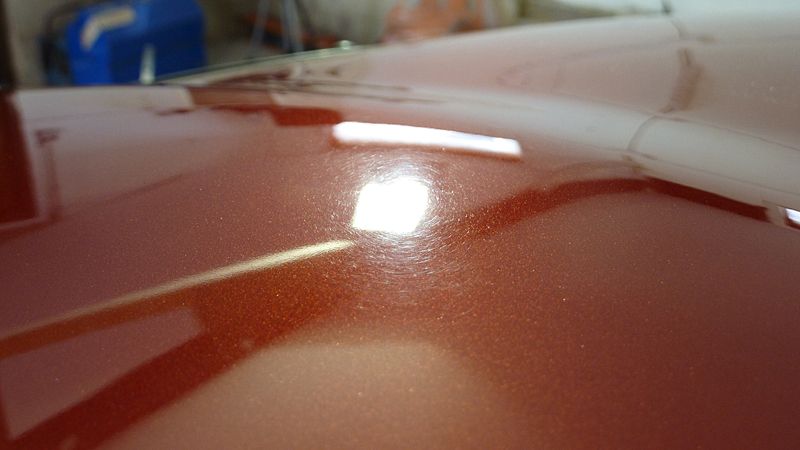
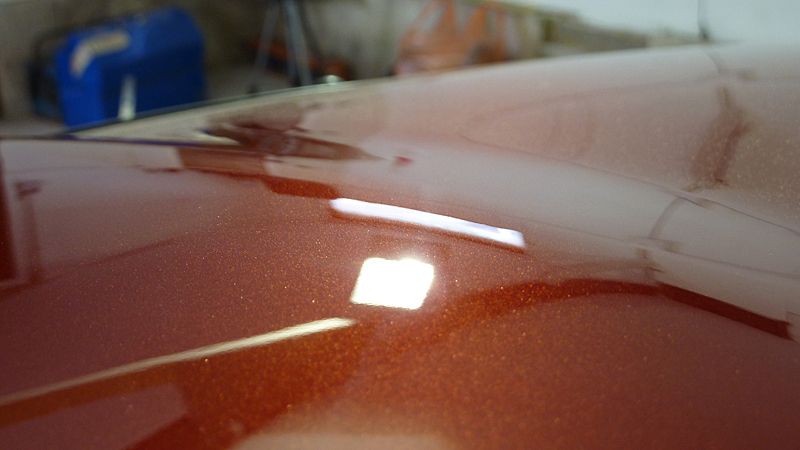
Few pics after wipe done with Swissvax Quick Finish
Thanks for looking
Regards,
Jay
10% Discount to forum members
Nationwide Detailing Services
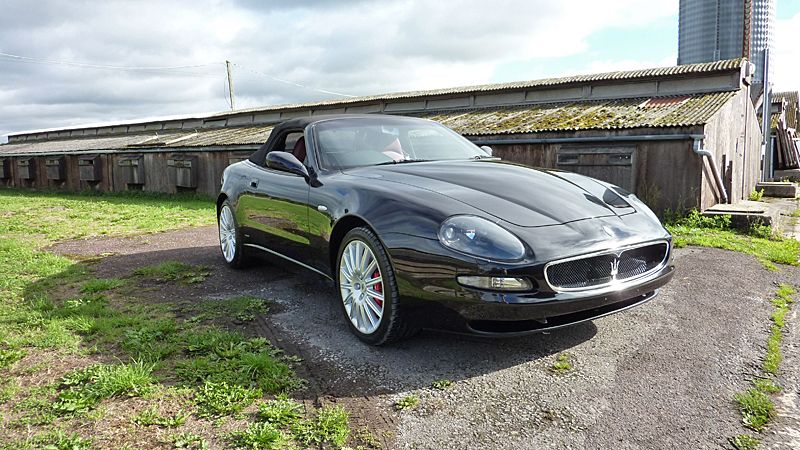
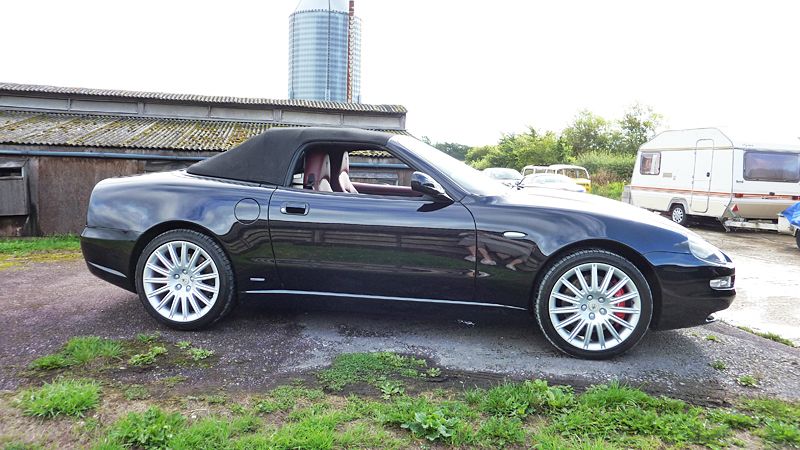
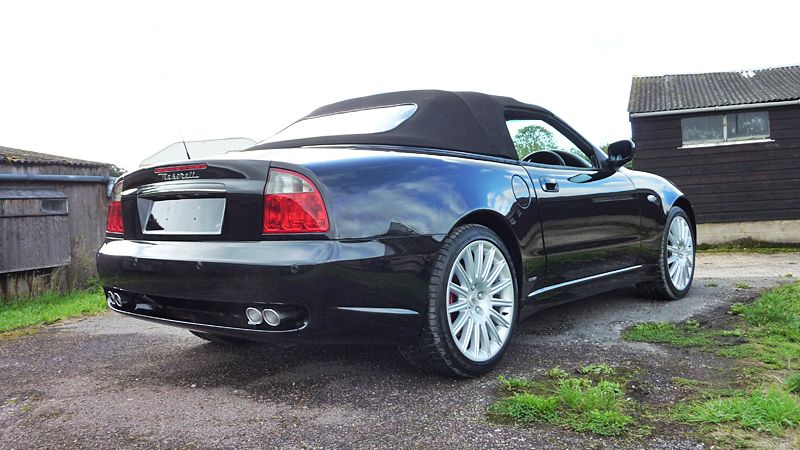
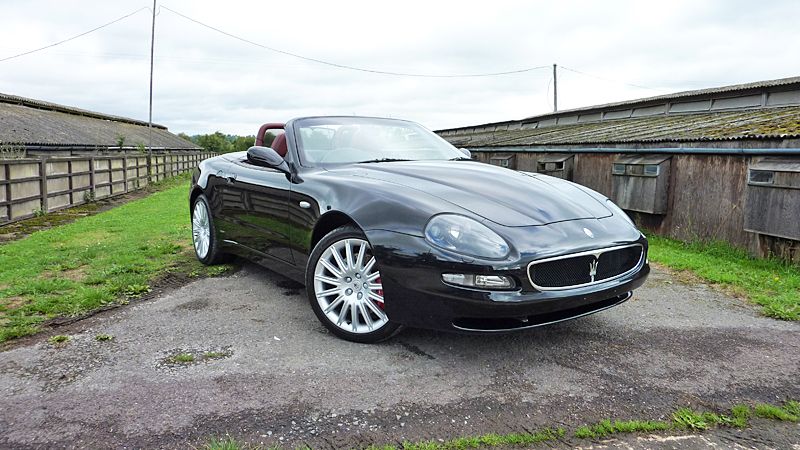
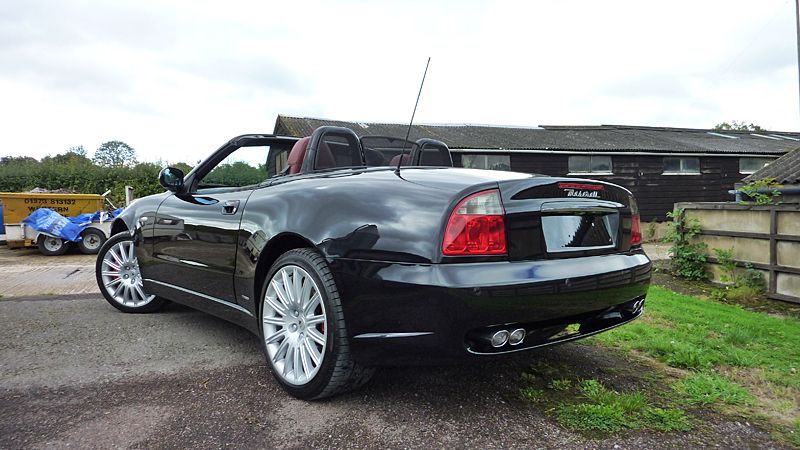
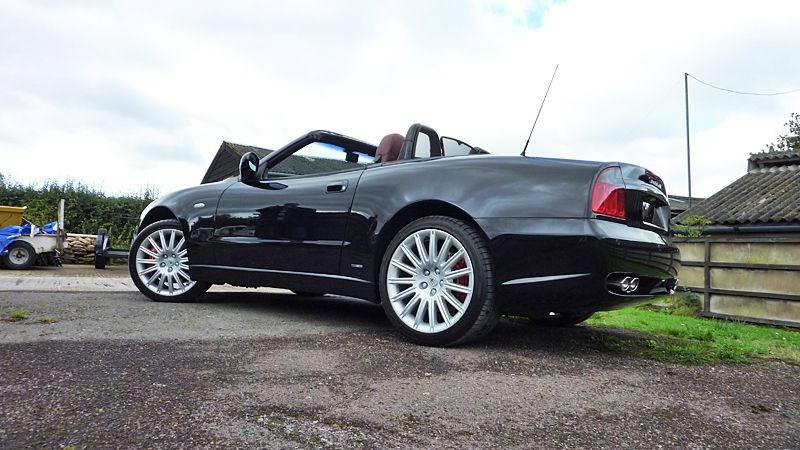
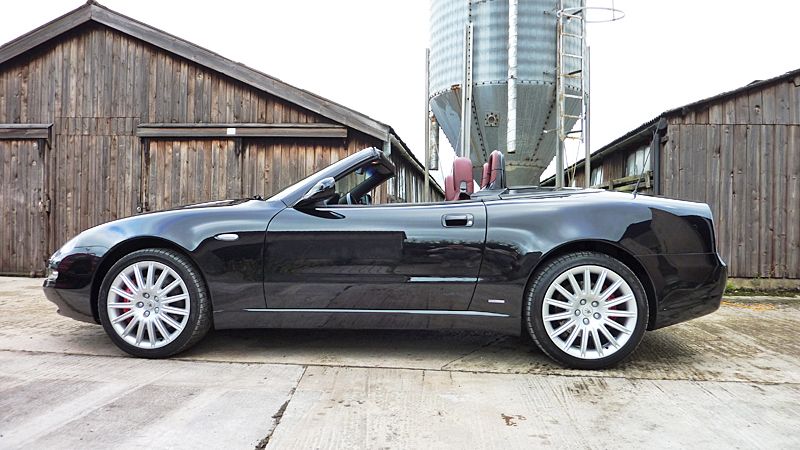
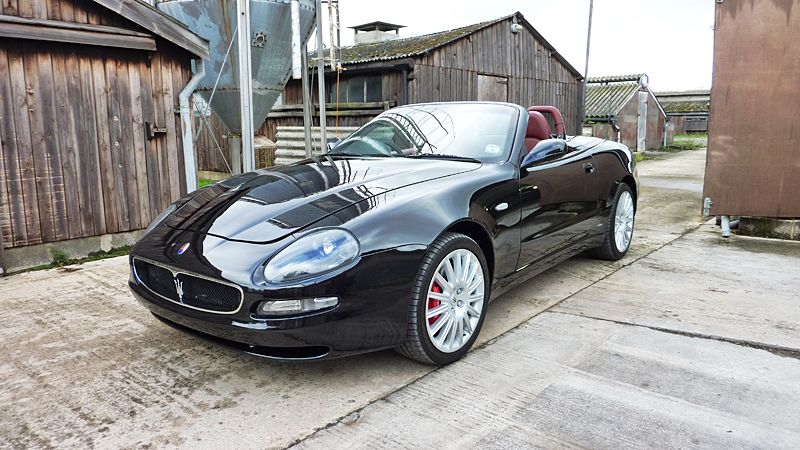
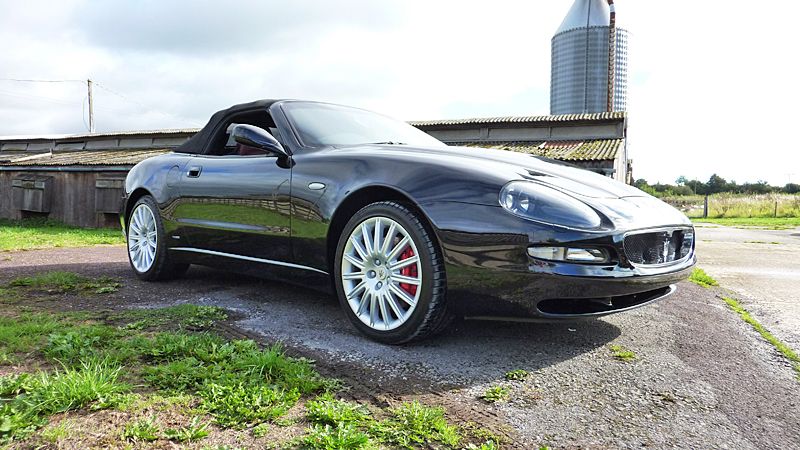
Here we have a 2002 Maserati 4200 Spyder that needed some TLC.
No pictures of wash stages as it was raining heavily so just cracked on with the job at hand at the time but here are some pics of some of the work carried out.
Engine given a good degrease with Autosmart G101
Before
Then dressed with Aerospace protectant
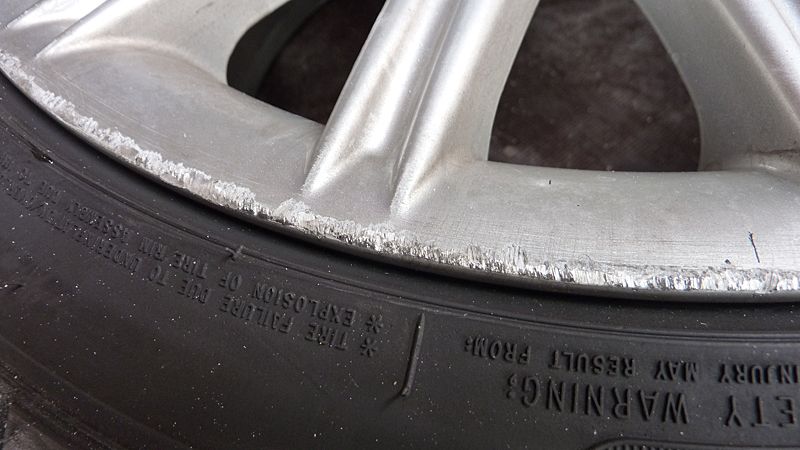
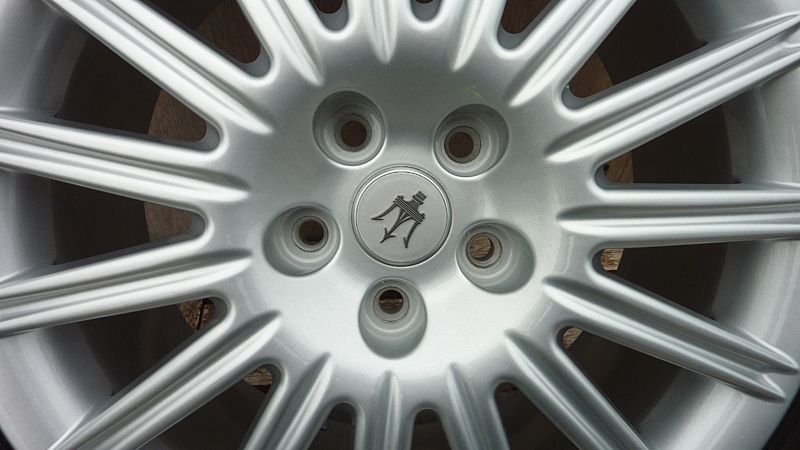
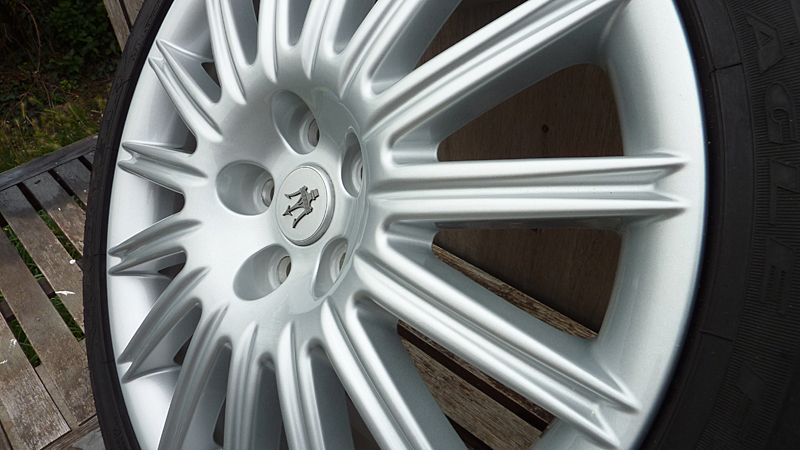
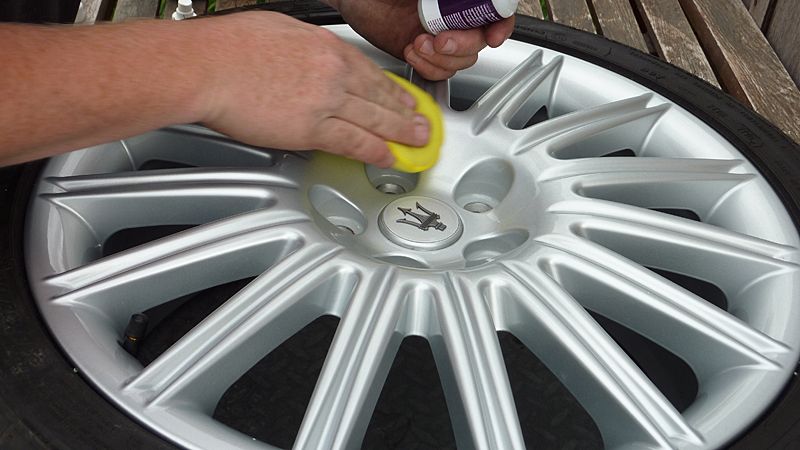
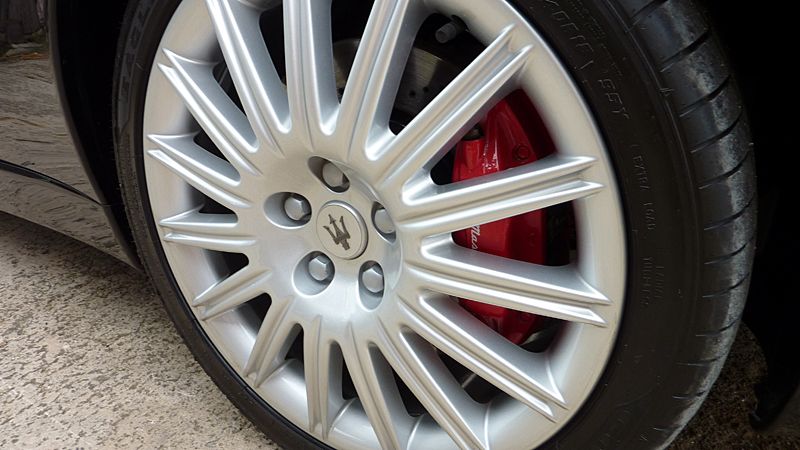
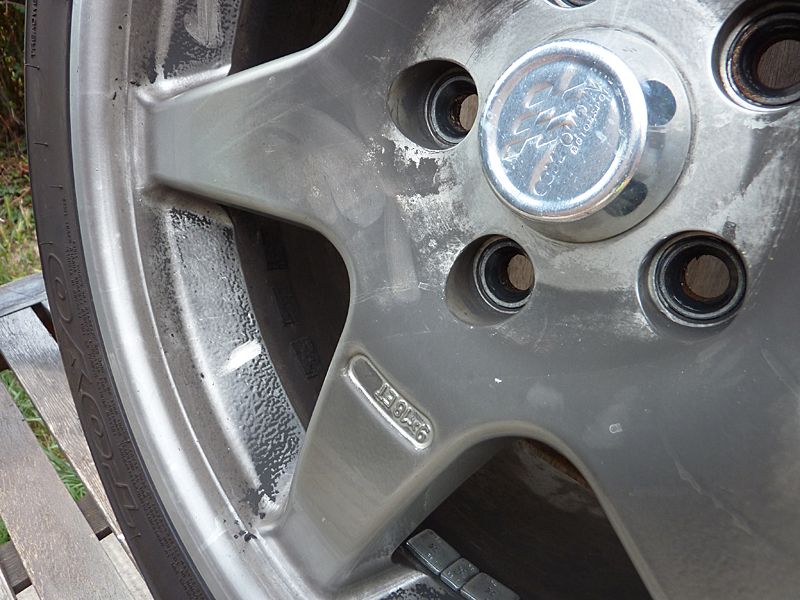
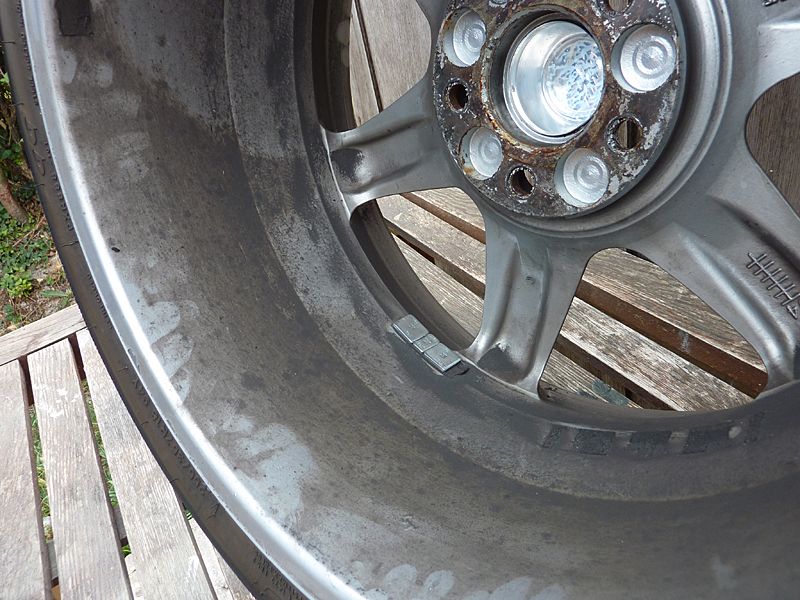
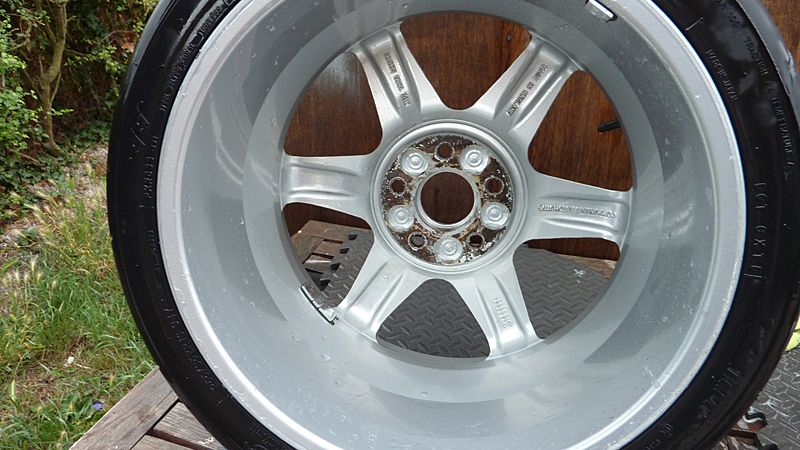
Wheels were badly kerbed so these were given a full refurb
Fully refurbished
and sealed with Nanolex Premuim Alloy Sealant
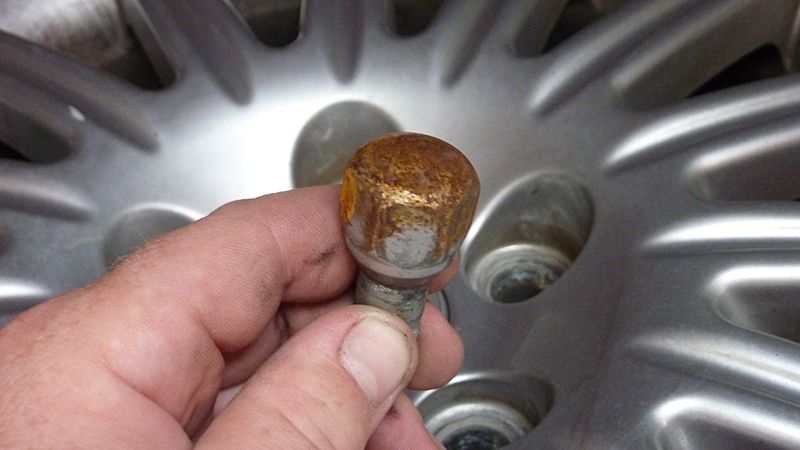
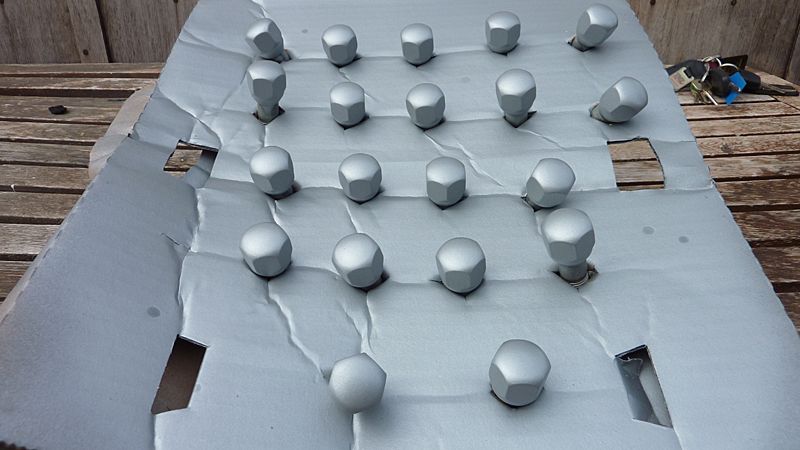
Wheel bolts also needed tidying up
These were sand blasted then given a coat of etch primer and then painted silver
Whilst wheels were off arches were given a good clean using Bilt hamber Surfex HD
Before (front)
After
Before (rear)
After
Wheel hubs were a bit rusty and lacked paint so these were painted gloss black
Before
After
Fabric roof was redyed and then waterproofed using Renovo
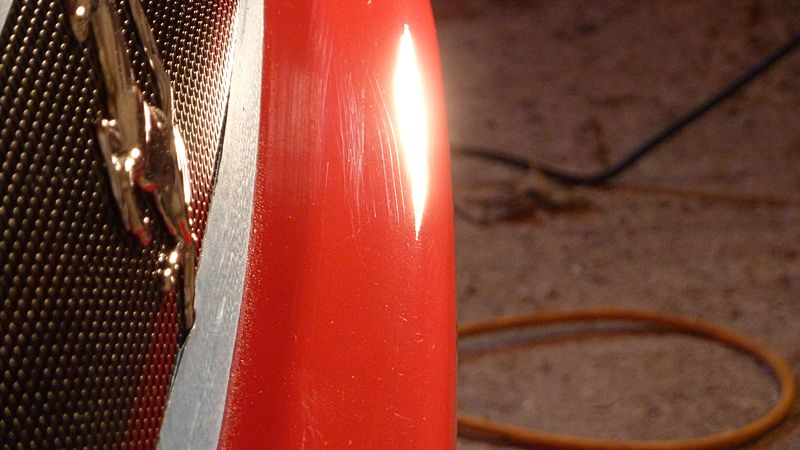
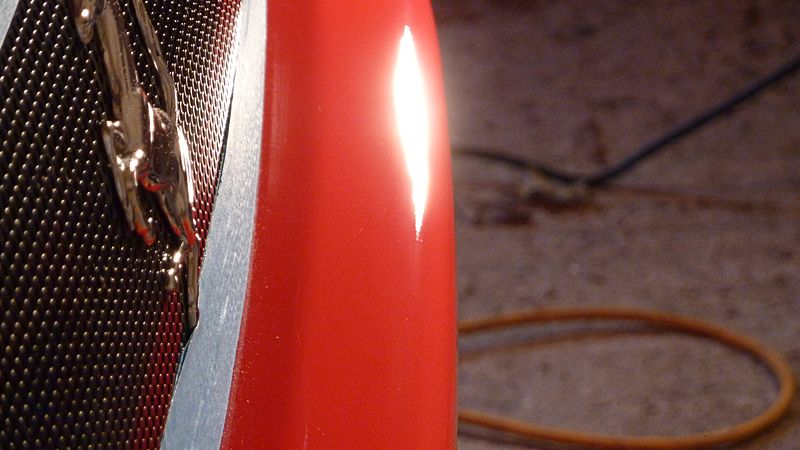
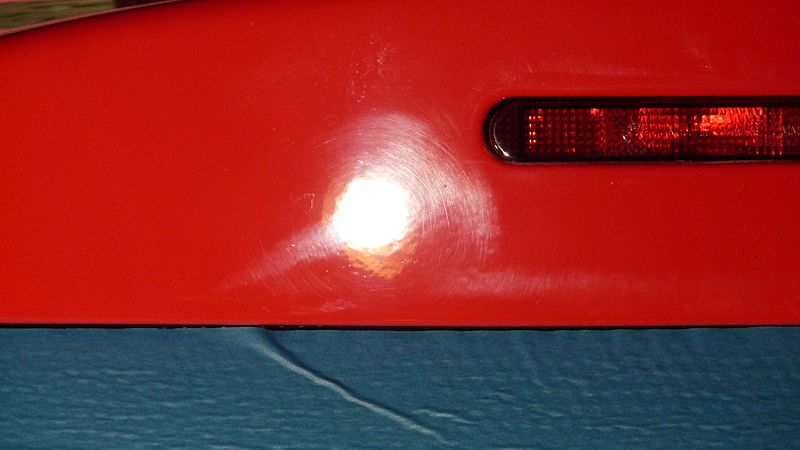
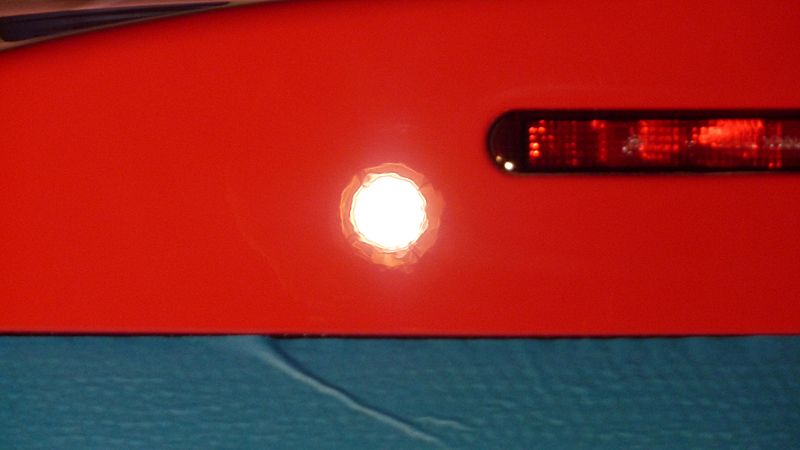
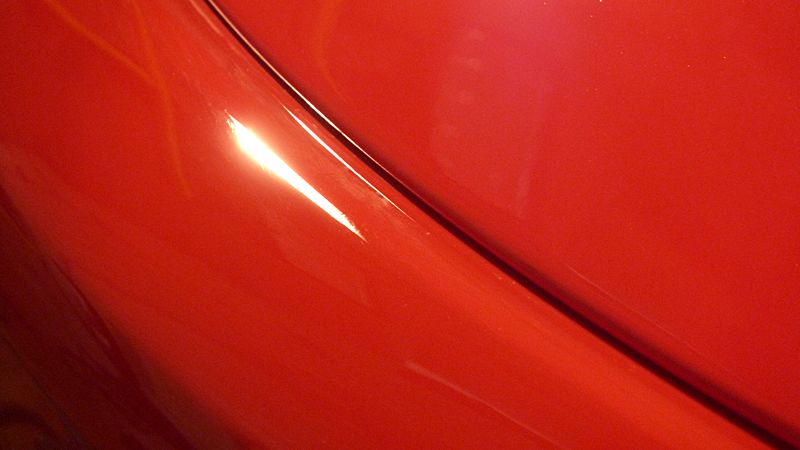
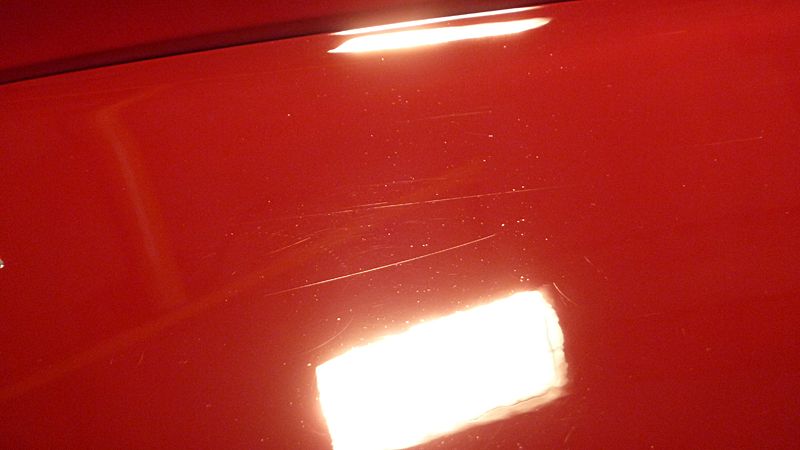
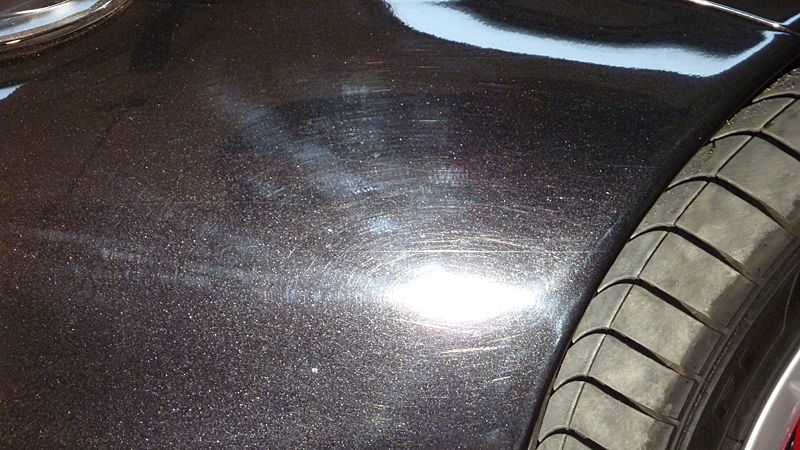
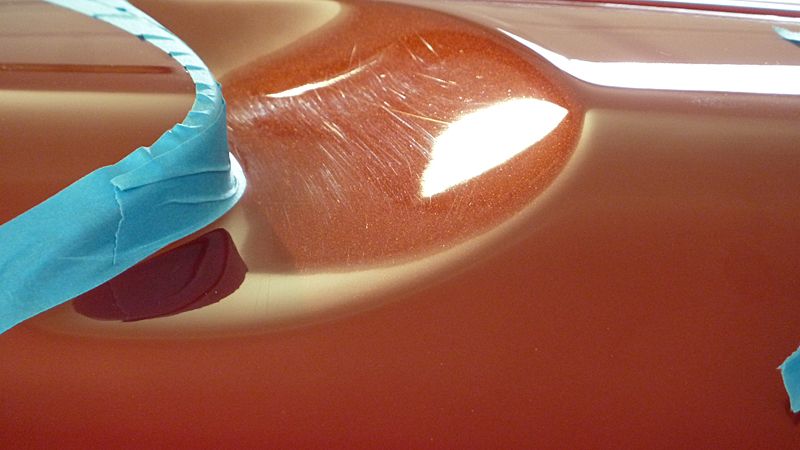
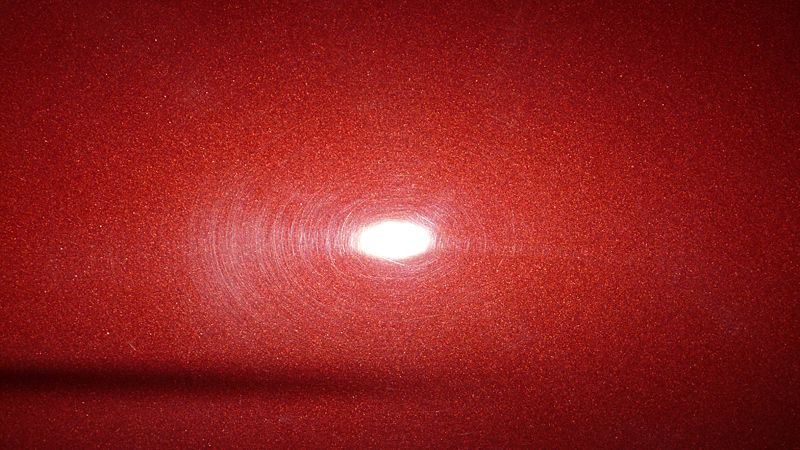
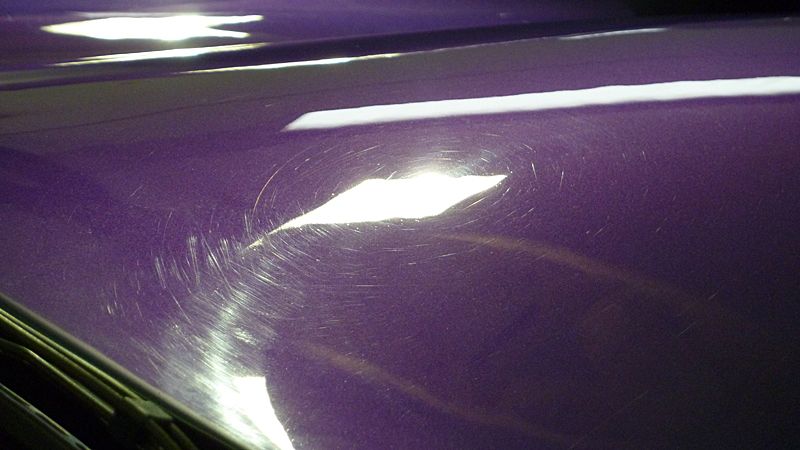
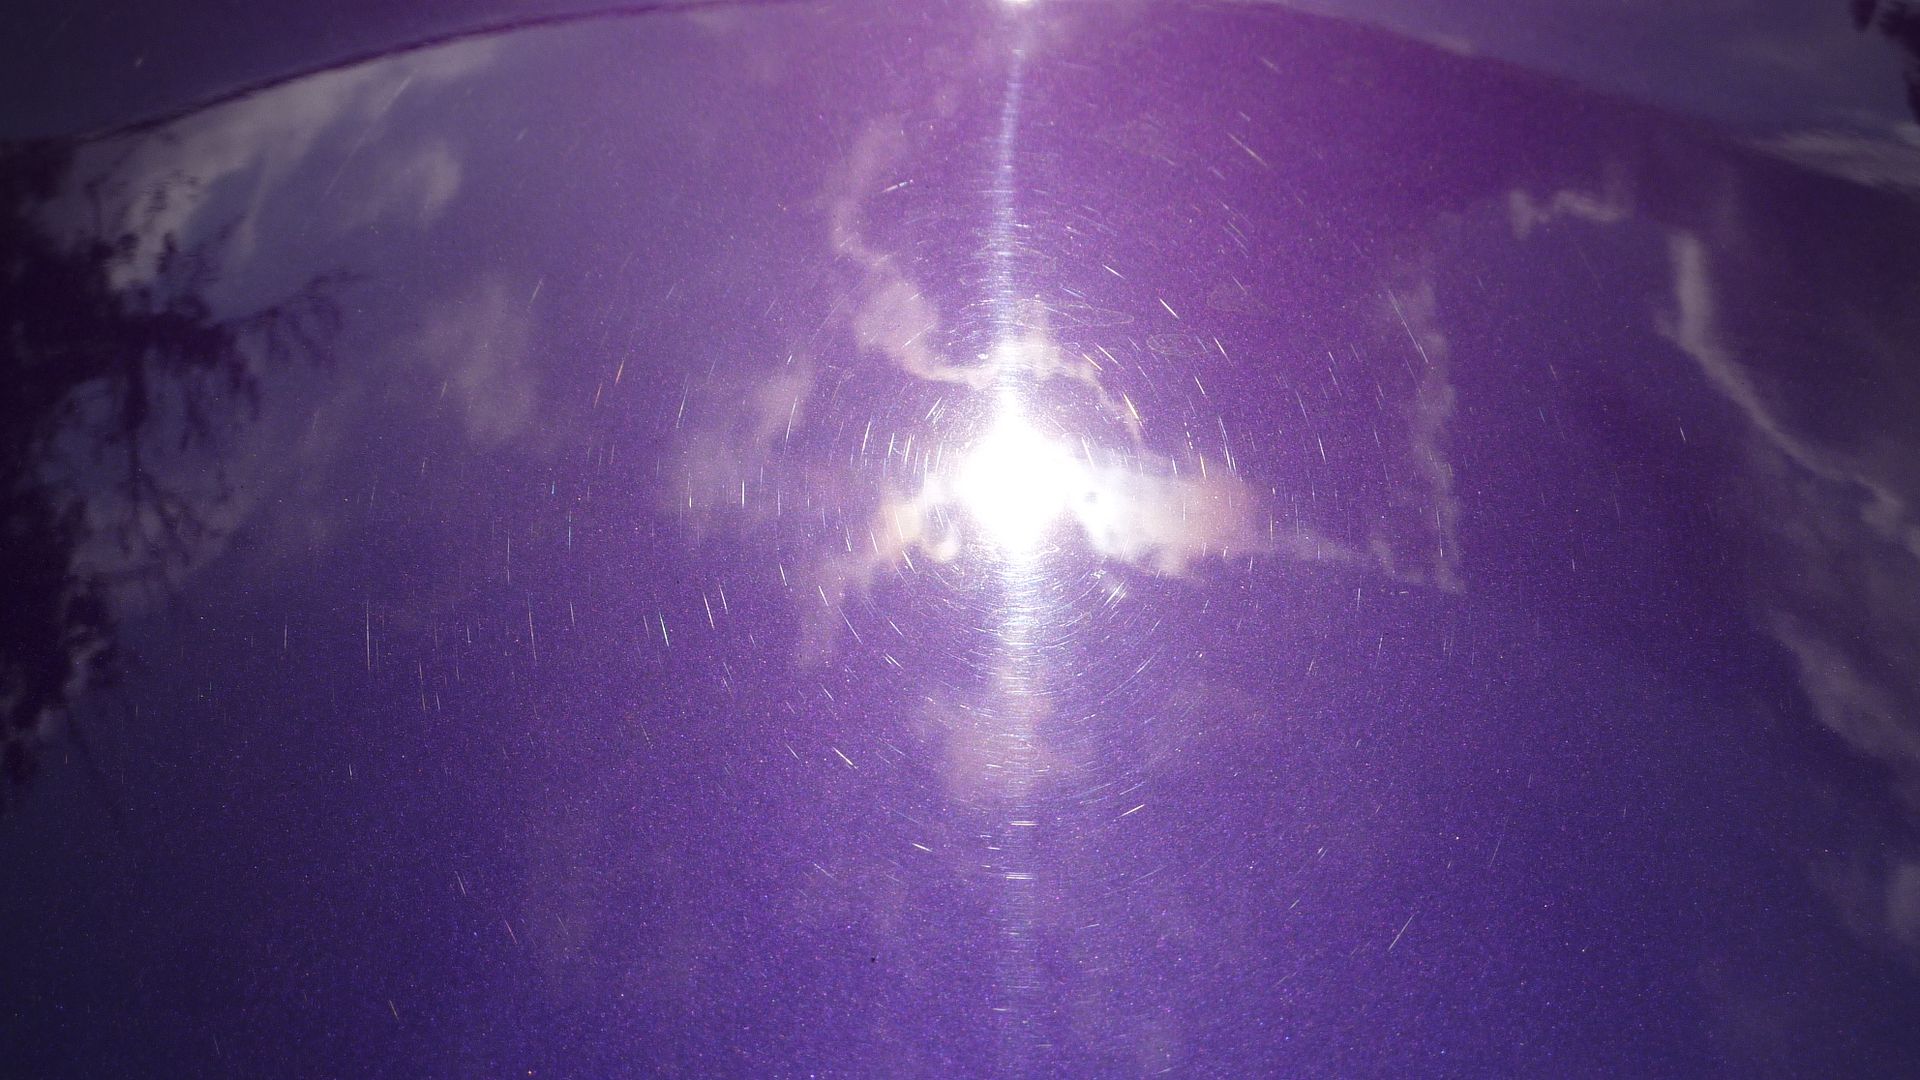
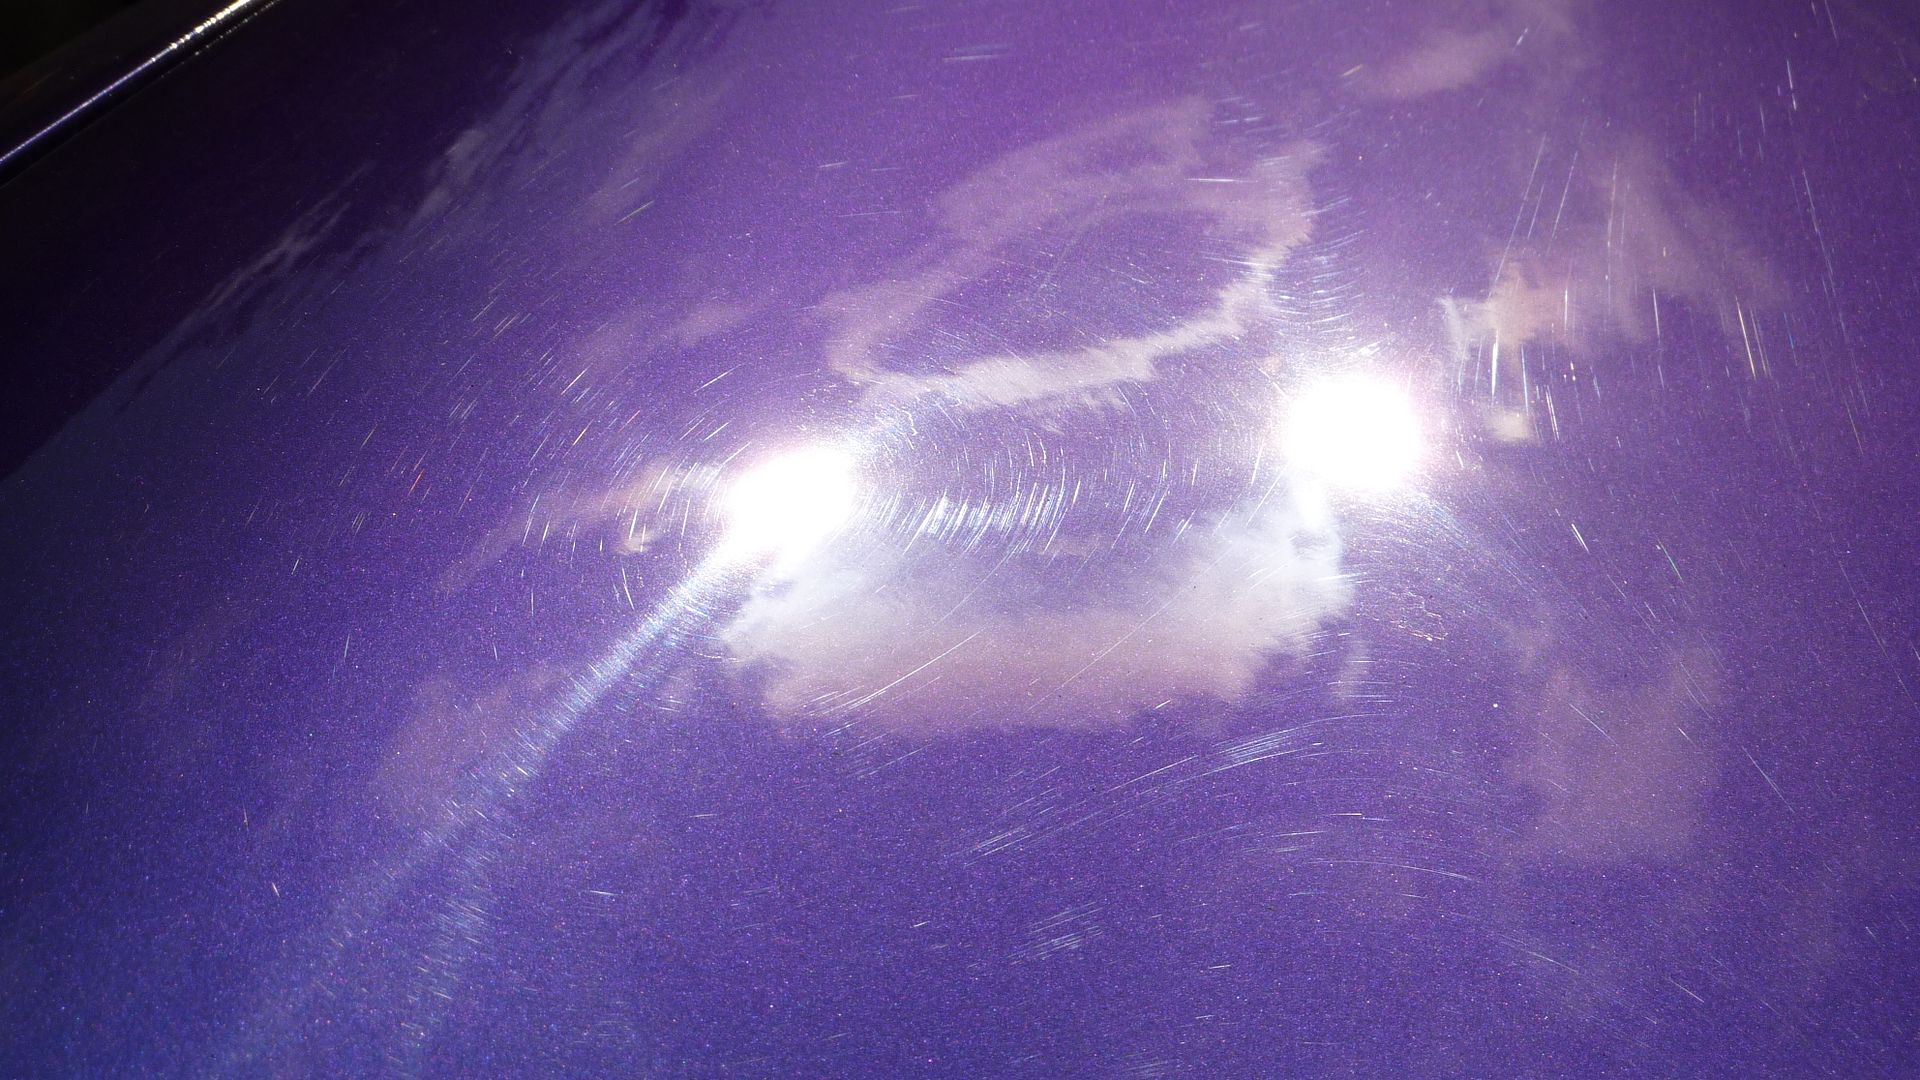
Correction was carried out using Menz 203s and a LC Polishing Pad or Light Cutting pad with a few deeper scratches requiring Menz 3.02 and a 4in cutting pad
50/50 under some metal halide lights
another 50/50 on a different panel under natural light
Few "before & after" pics
Before
After
before
after
before
after
before
after
before
after
before
after
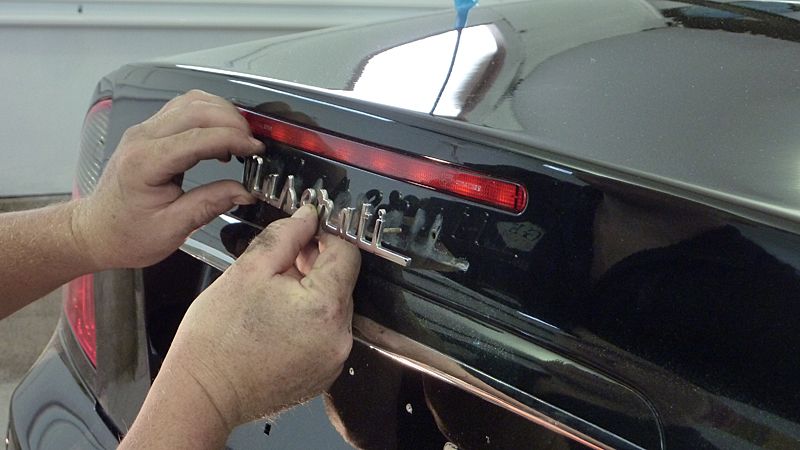
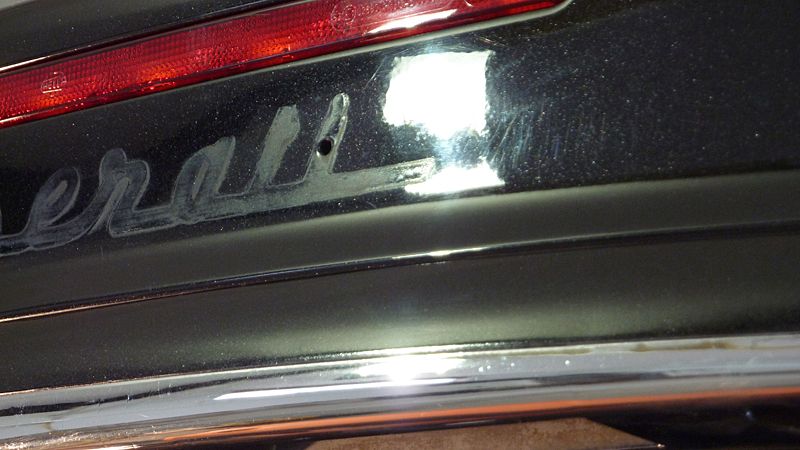
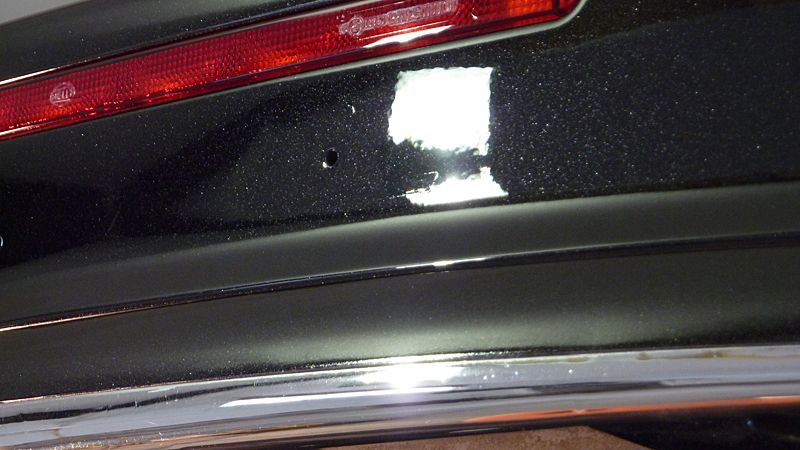
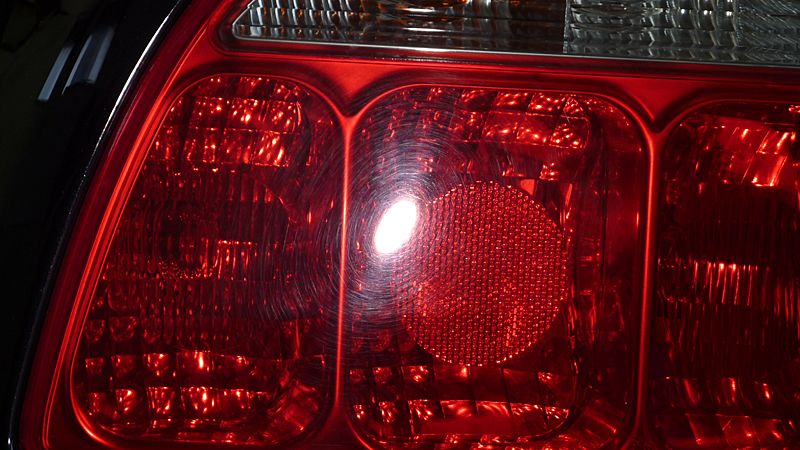
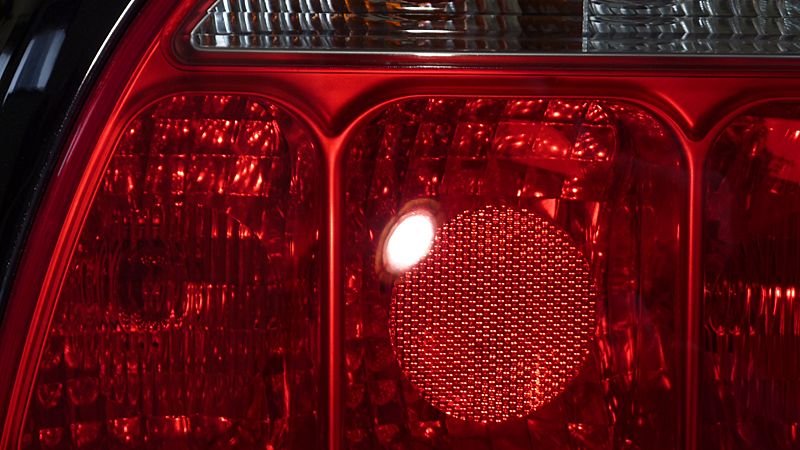
Badge removed
before
after
There was a few deeper scratches that I later went back and fully removed
Lower sills and bumpers were corrected with Menz 3.02 and a 4in LC Light Cutting pad
before
after
before
after
before
after
before
after
At this point Adam came out to remove a few dings and dents
Whilst Adam attended to the dings i started on the exhausts
before
after
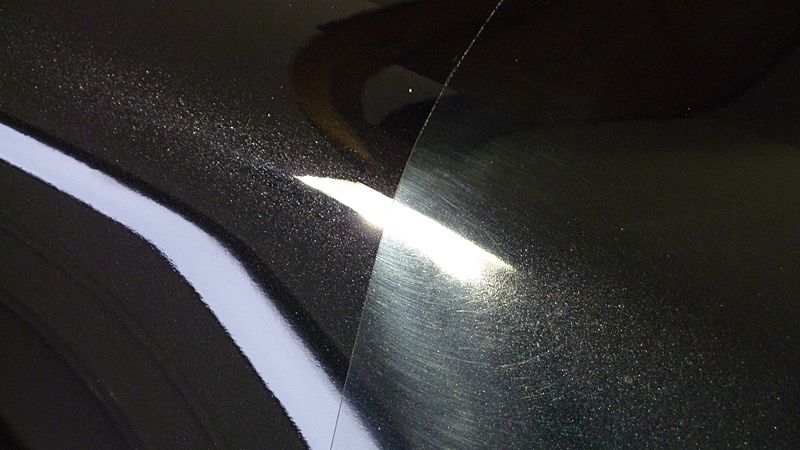
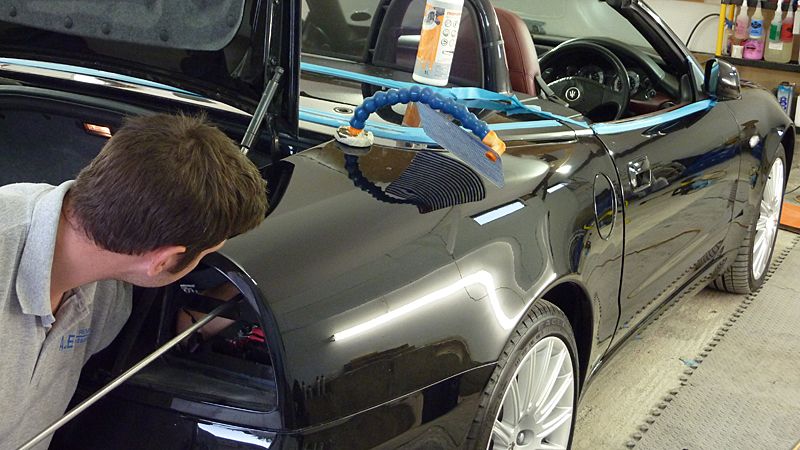
Once all paint correction was complete paint was refined
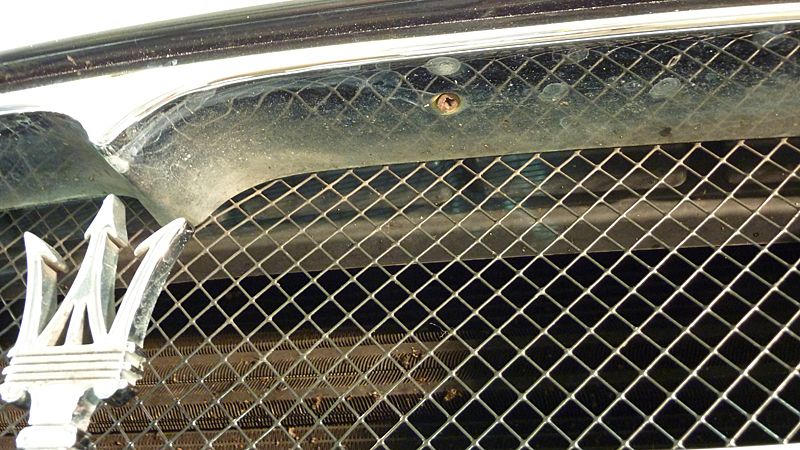
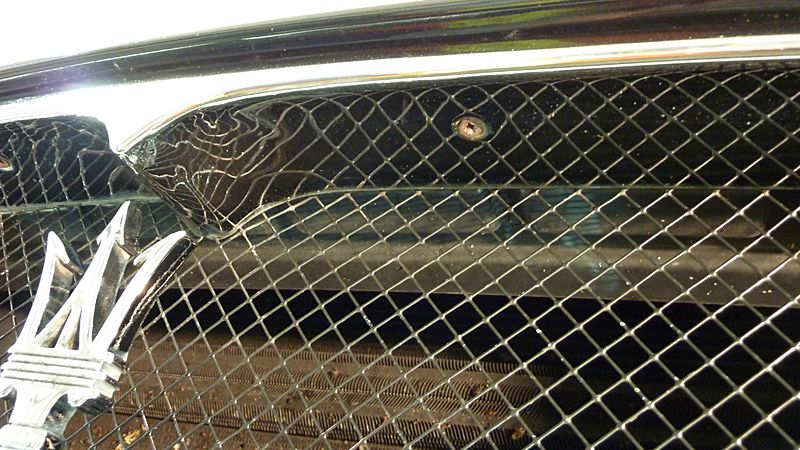
SV Cleaner Fluid was applied/removed by hand and then a the 1st coat of SV Divine was applied and left to cure whilst some of the smaller details were taken care of such as the sealing the exhausts, dressing tyres and cleaning the front grill. A 2nd coat of Divine was applied the following day.
before
after
before
after
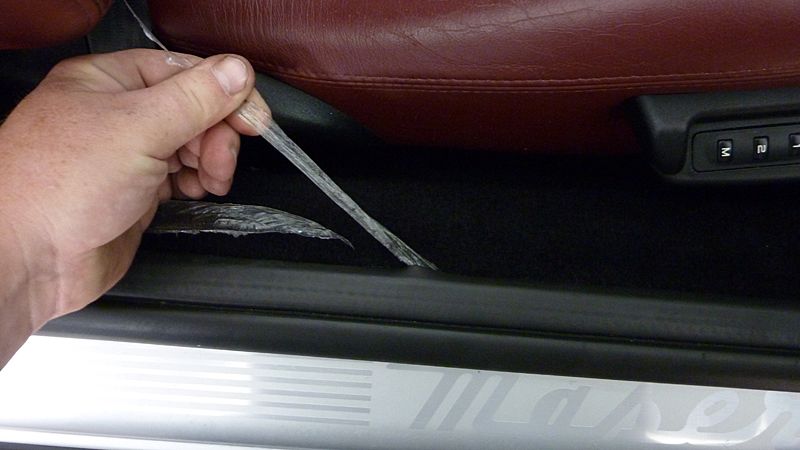
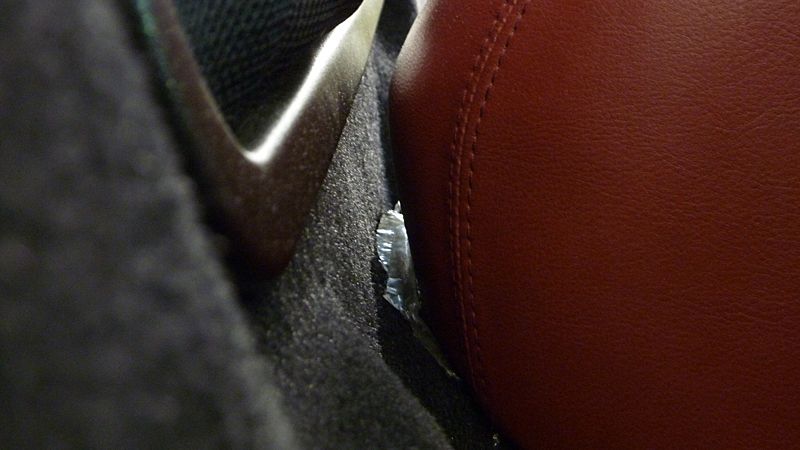
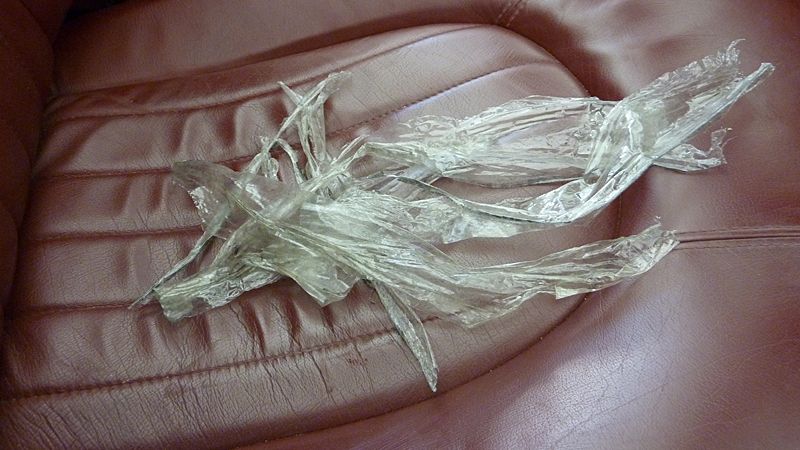
The interior seen some work also
removing the plastic missed in the PDI when the car was first sold 8 years ago
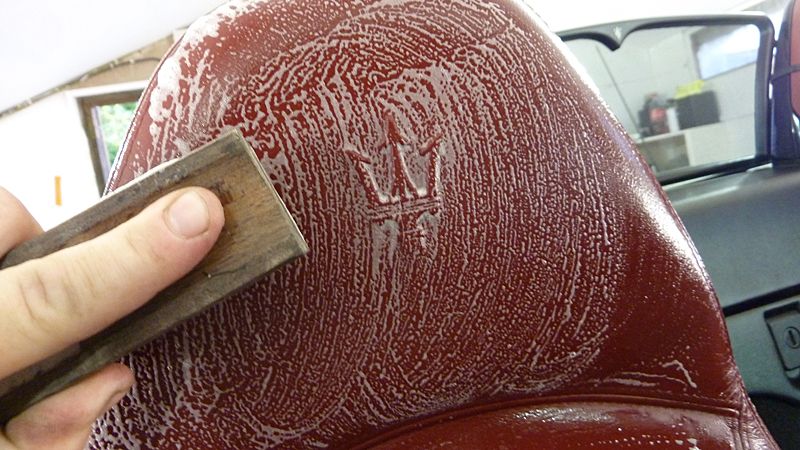
Leather given a good clean - was very shiny
I noticed a scuff on the drivers seat and luckily I had some burgundy colour dye left over from a job that i done on a Mercedes so this was used to colour wash the area and add some colour.
before
Not 100% but looking much better
Storage area for the roof was given a good vacuum, wiped down and seals treated with SV Seal Feed
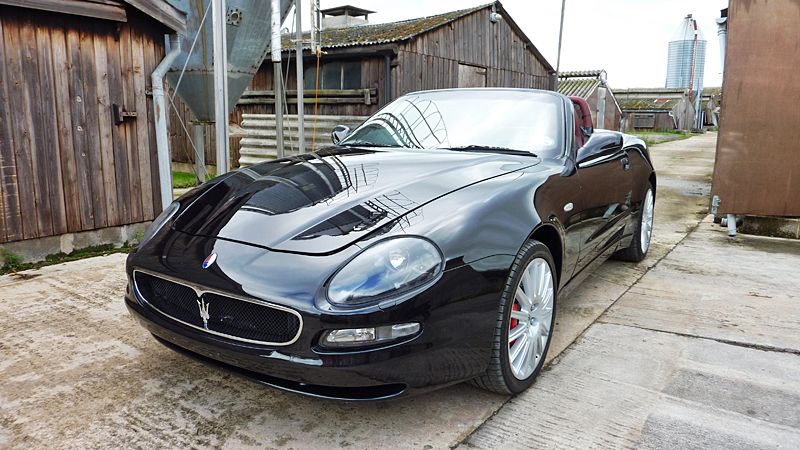
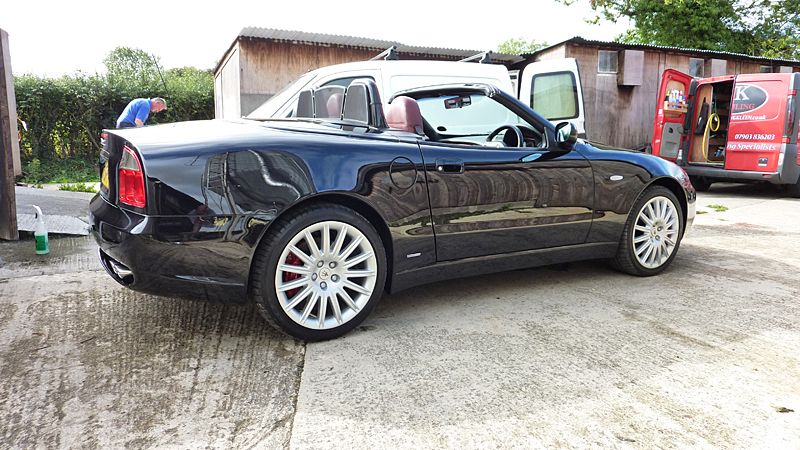
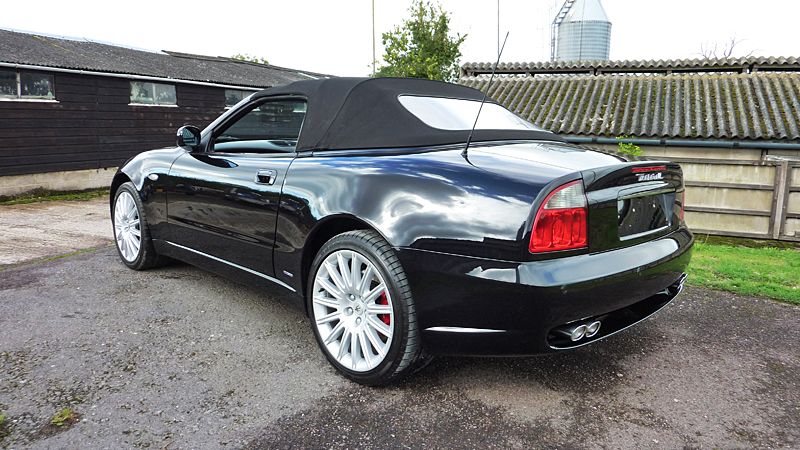
Few finished shots
Thanks for looking
Regards,
Jay
10% Discount to forum members
Nationwide Detailing Services
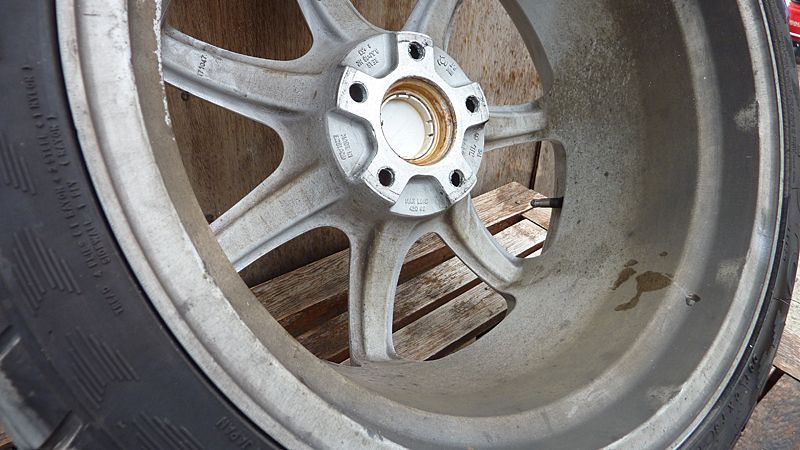
Owner of this uses it just for track purposes and wanted it looking its best again so was booked in for full paint correction along with wheels removed
Vehicle was given the usual wash and decontamination stages and then wheels were removed.
Wheels
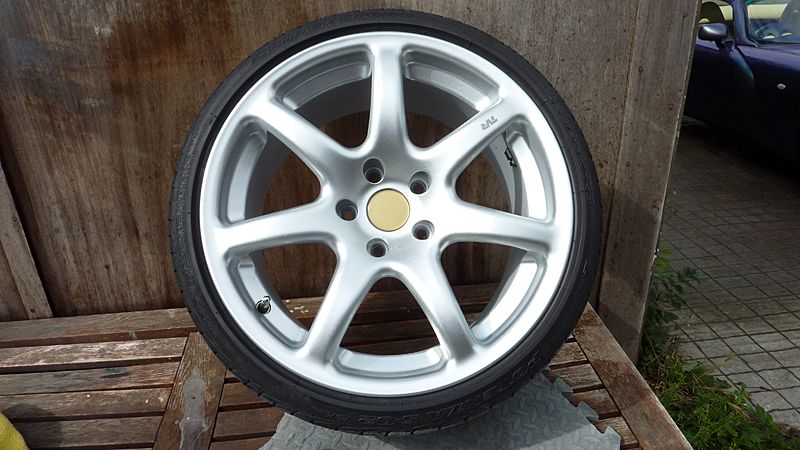
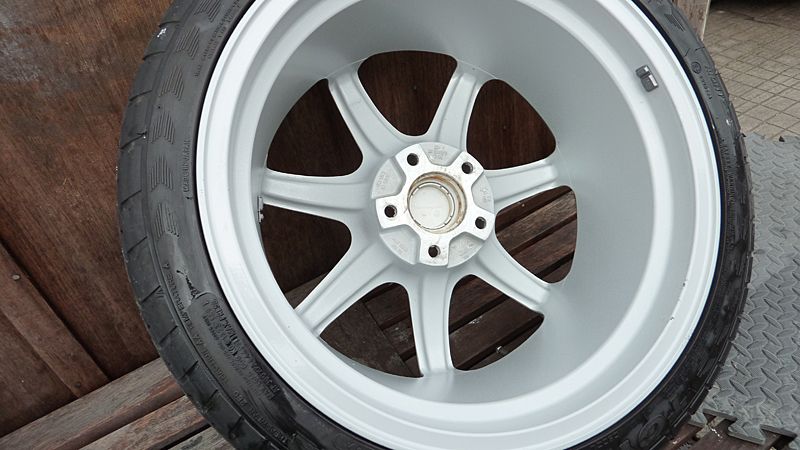
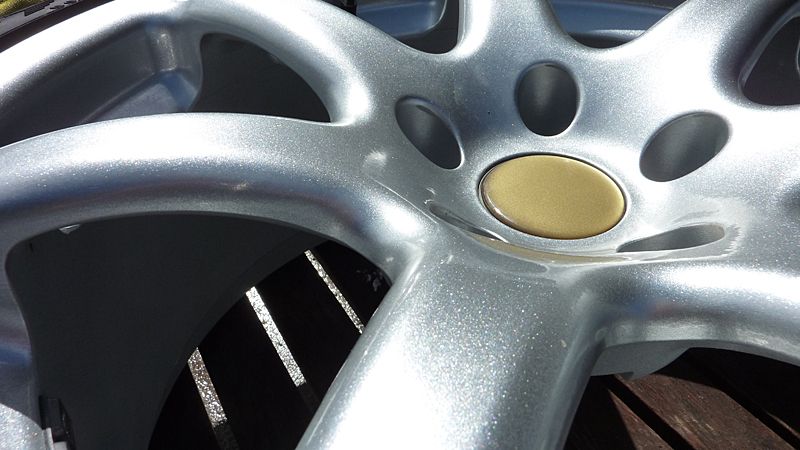
Wheels were cleaned with Epsuma Wheel revolution and de-tarred with Tardis
The wheel faces were stained and I tried several products to shift this but nothing work so ended up machine polishing these to remove the stubborn stains
Before
During
After
Wheels were then clayed and then wiped down with IPA before being sealed with Nanolex Alloy Sealant
Arches were degreased and cleaned with BH Surfex and Tardis
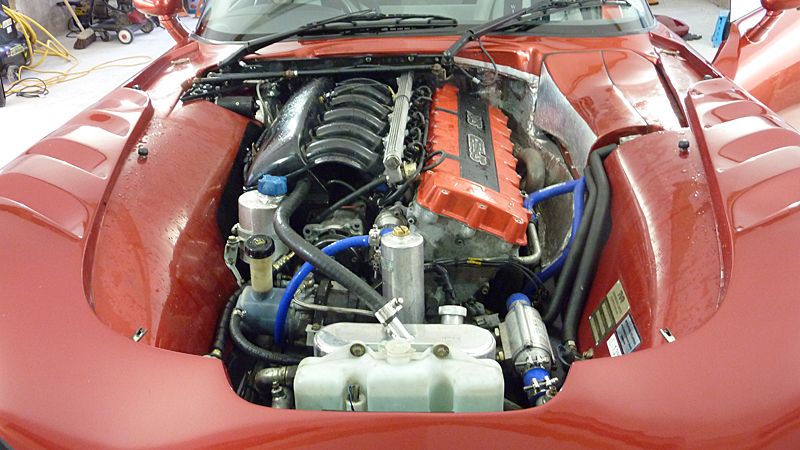
There was some painted areas under the bonnet i wanted to machine polish so the 2 sections of bonnet were removed. These areas were machine polished using a DA. This also enabled me to give the engine bay a wipe down.
Before
After
Paint correction was carried out using a Menz 3.02 and 3M Yellow Polishing pad with some areas requiring me to step up to a Lake County Light Cutting Pad
Before
After
Before
After
Before
After
Before
After
Before
After
Before
After
Before
After
Before
After
Before
After
Before
After
Before
After
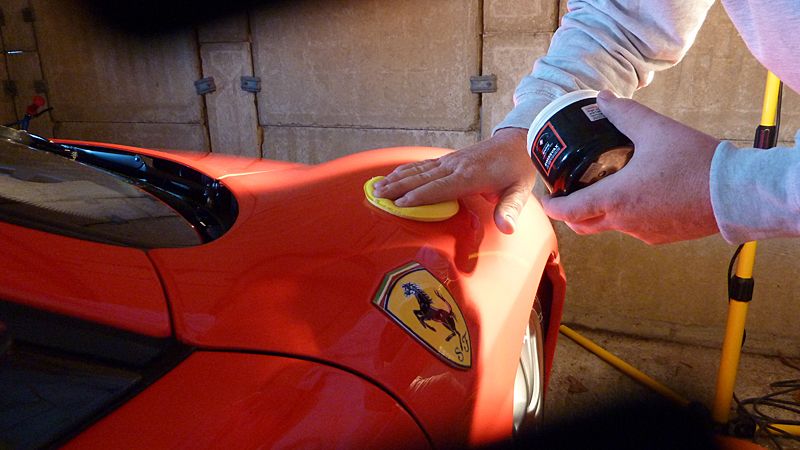
Once all correction was complete paint was refined with Megs 205 and 3m Blue Finishing Pad
Paint was then wiped down with Nanolex Paint Cleanser and then Nanolex Professional sealant was applied. Exhausts were cleaned with Autosol and protected with Blackfire All Metal Sealant and glass cleaned with 3M. Tyres dressed with Zaino Z16
A few afters out in the sun
Thanks for looking
Regards,
Jay
10% Discount to forum members
Nationwide Detailing Services
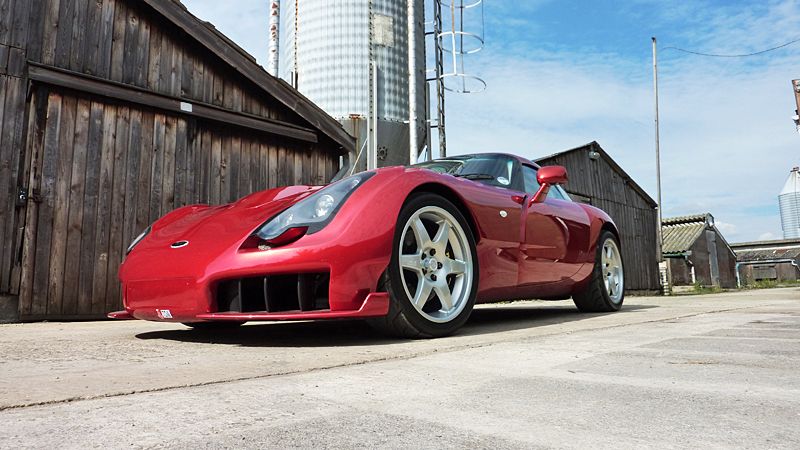
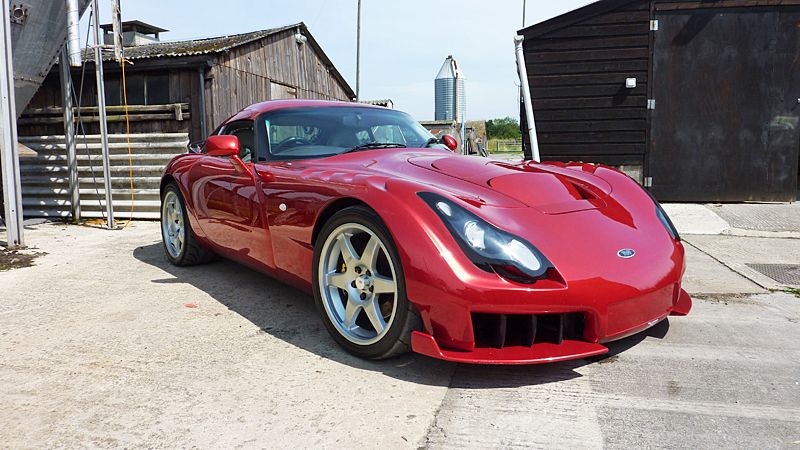
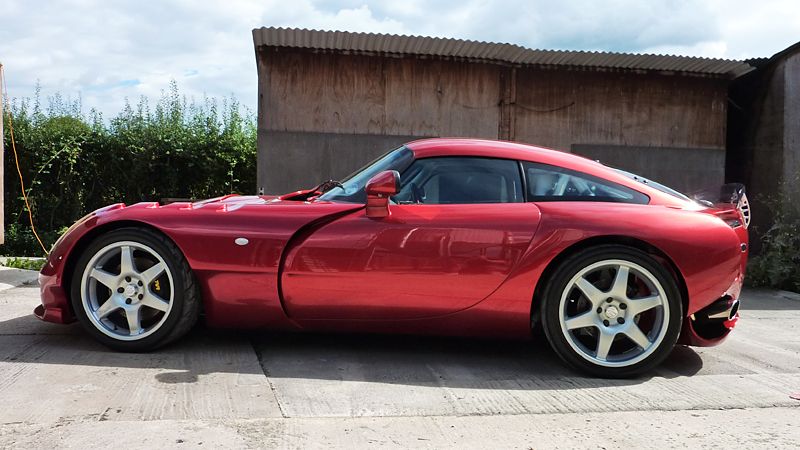
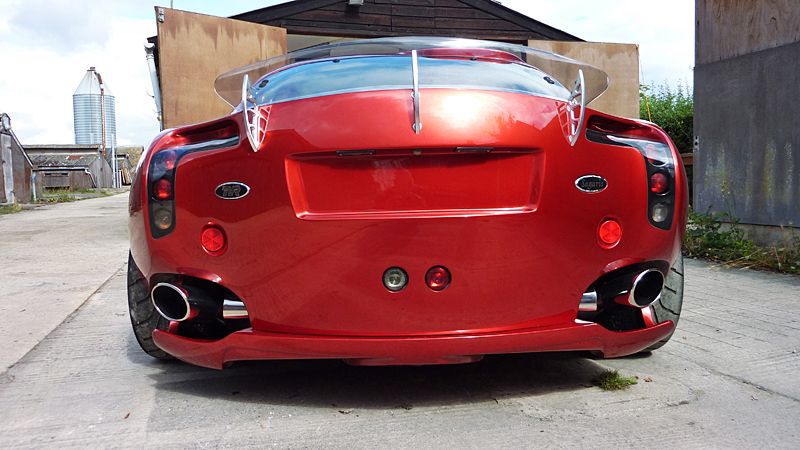
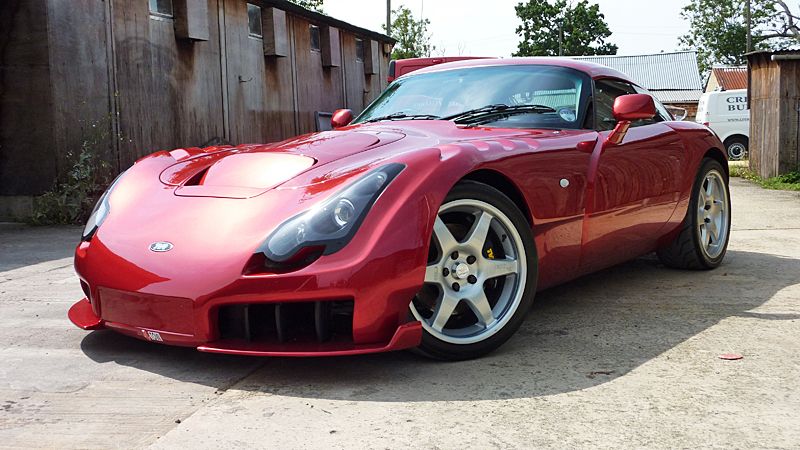
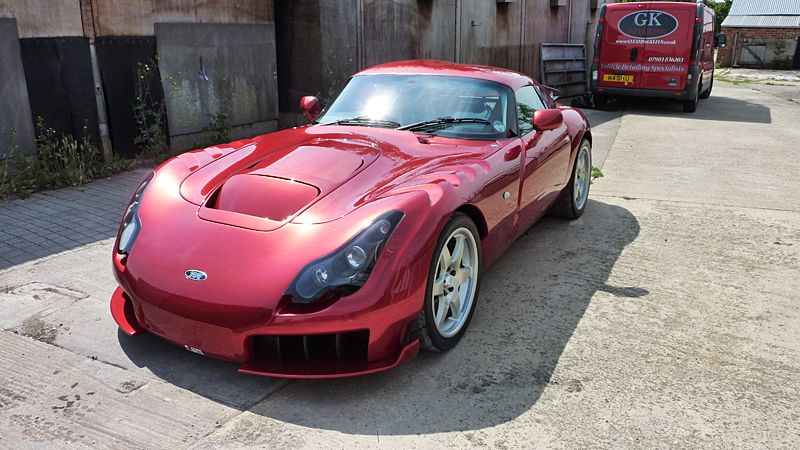
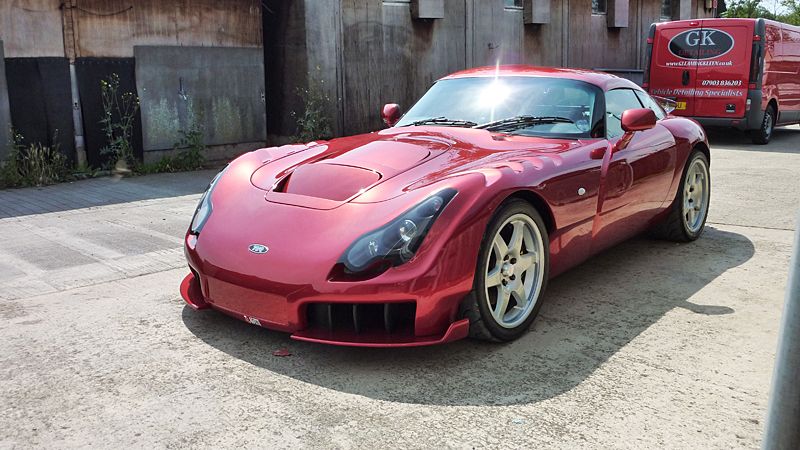
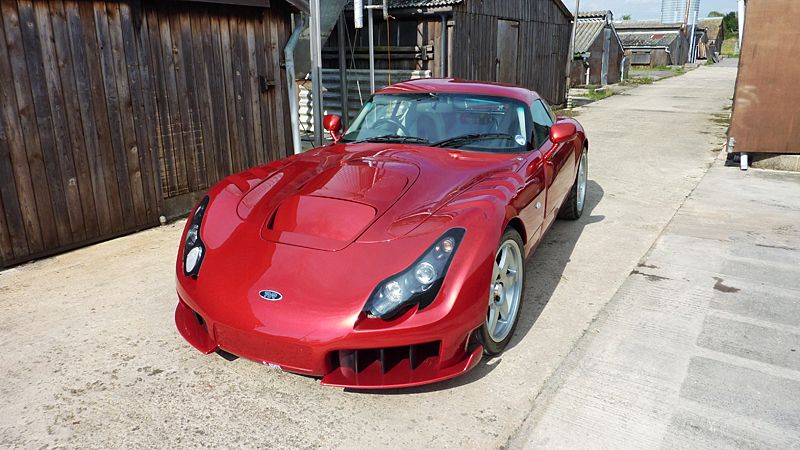
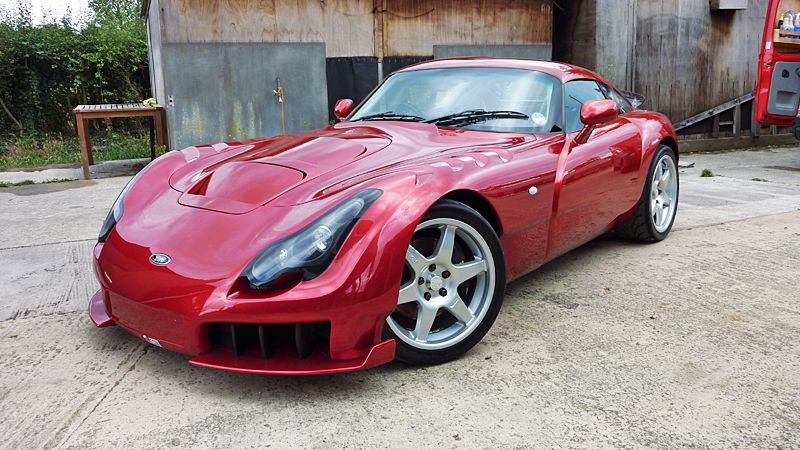
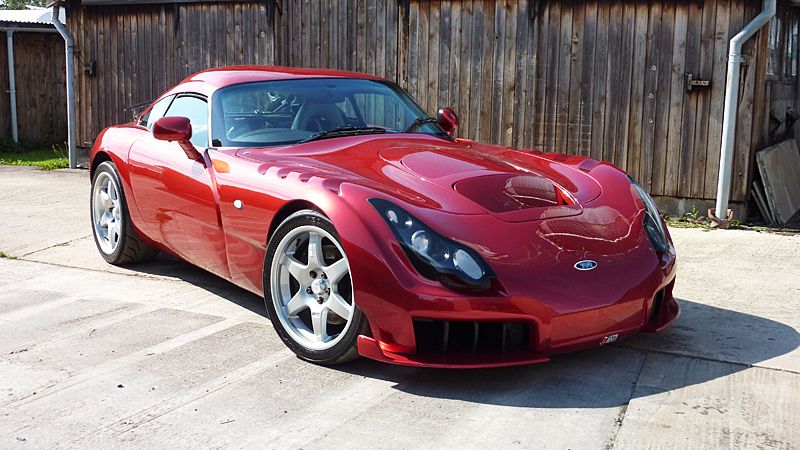
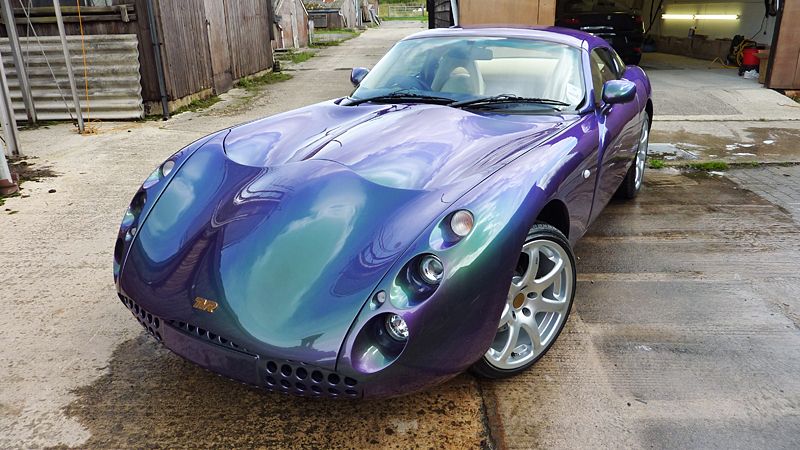
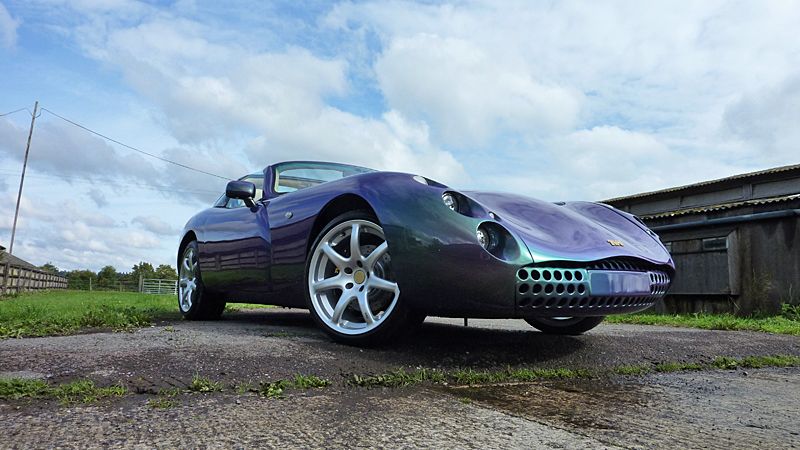
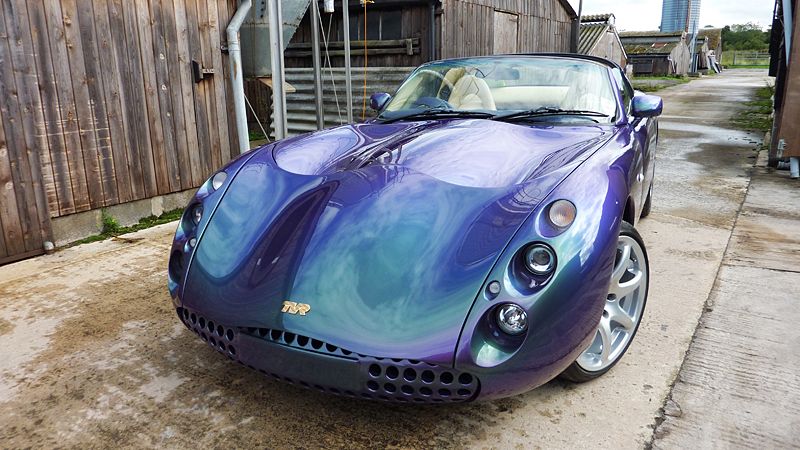
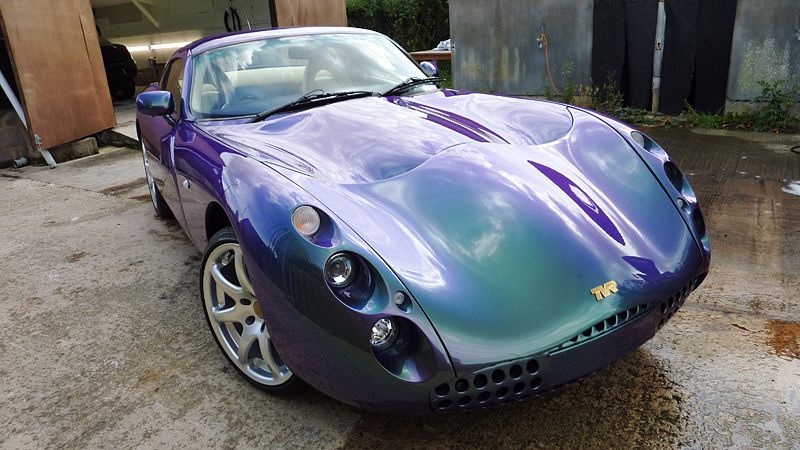
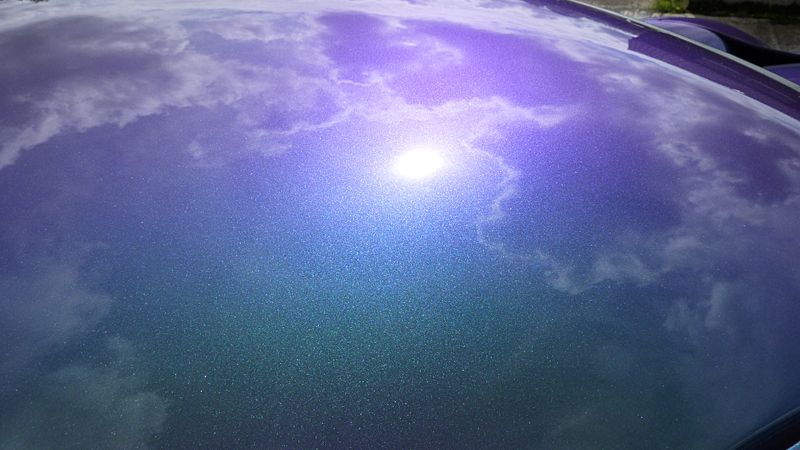
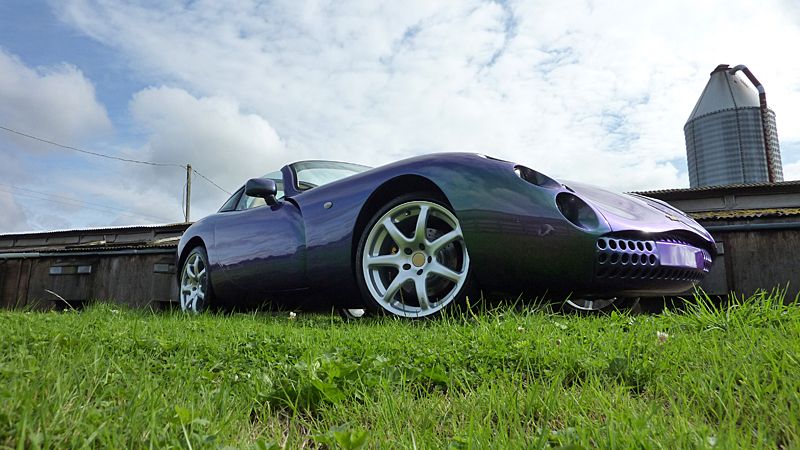
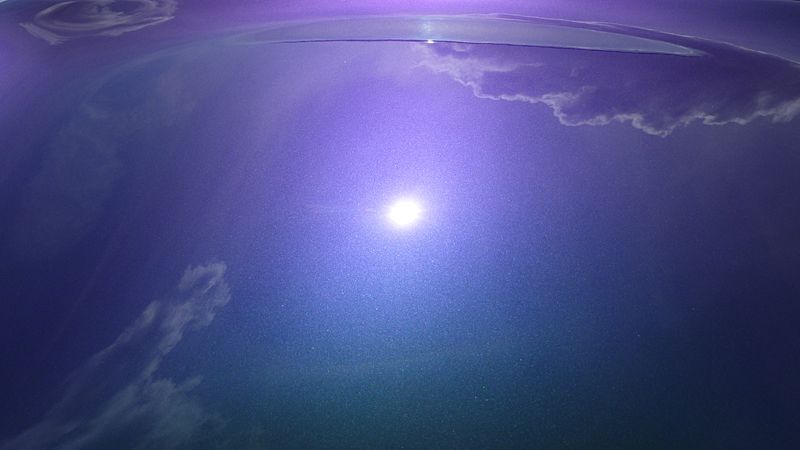
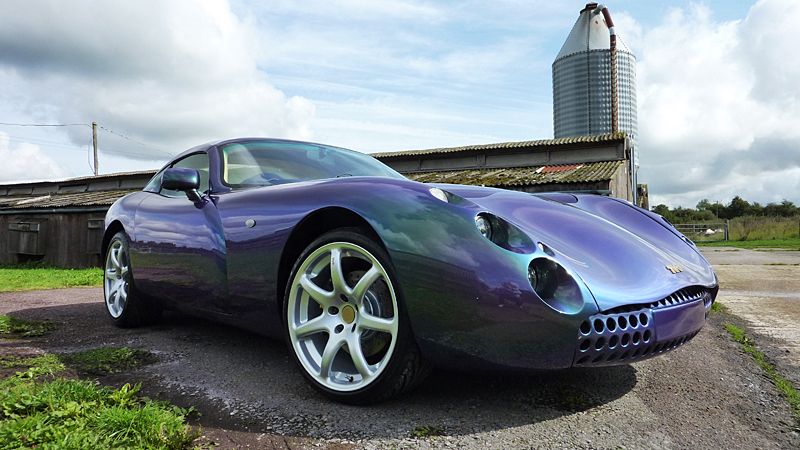
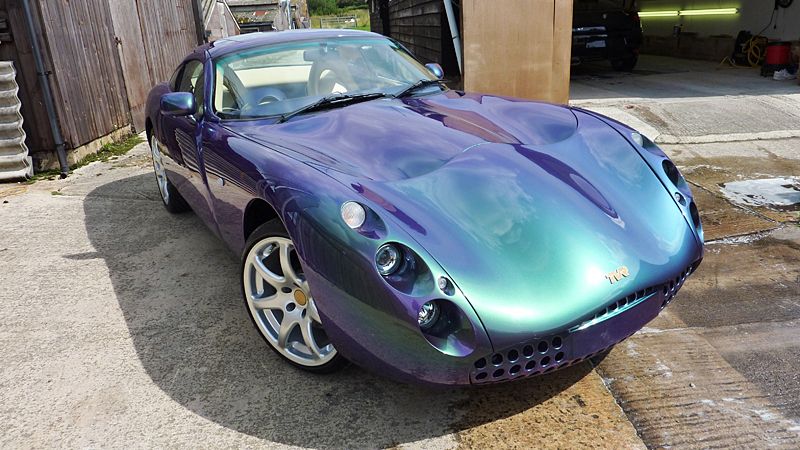
Here we have a 2001 TVR Tuscan, owner has owned this from new and it has only covered 8000 miles.
On to the detail....
No pictures of the wash stages but the usual wash and decontamination stages were carried out as usual - pre-wash, wash, clay etc
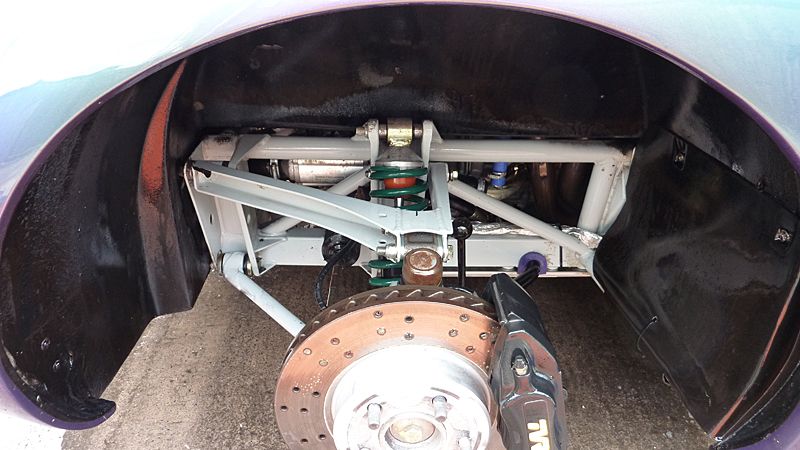
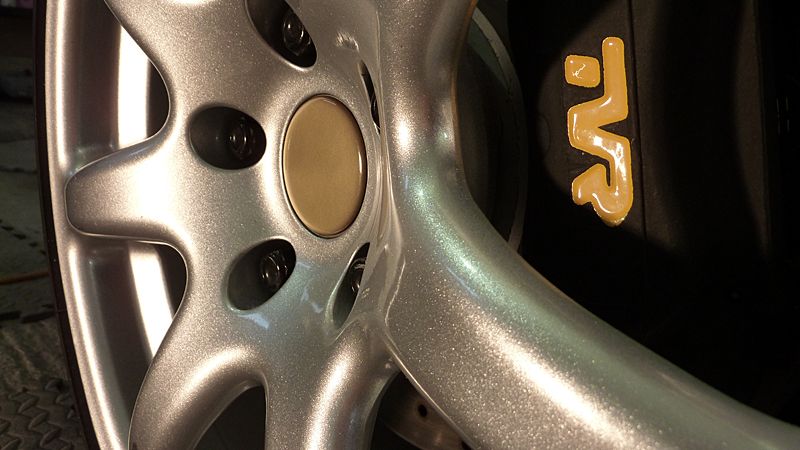
Wheels were removed to allow me thoroughly clean them and add some protection to the whole of the wheel. Whilst the wheels were off arches and chassis were cleaned with Bilt Hamber Surfex HD, this was sprayed on and left a few minutes before agitating with various brushes
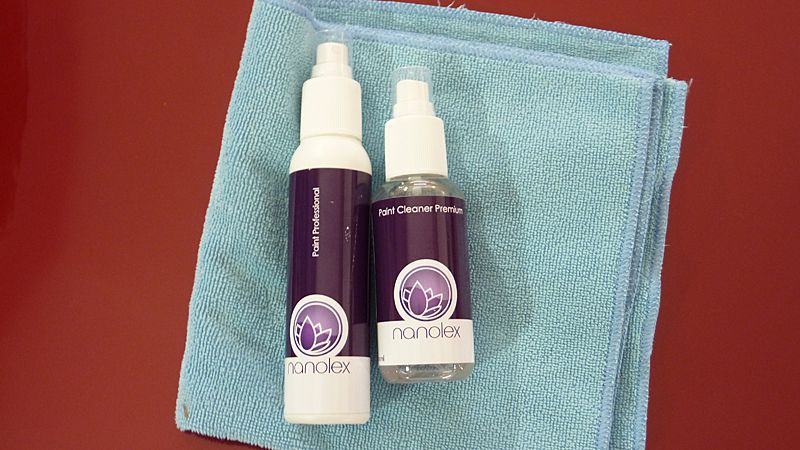
Wheels were cleaned with Epsuma Wheel Revolution, tar deposits were removed using Autosmart Tardis and then clayed. Tyres were cleaned using Autosmart G101 and a stiff brush. Wheels were then given a good wipedown with IPA and Nanolex Premuim Wheel Sealant was applied. Tyres were dressed with Swissvax Pneu.
Arches fully clean
Wheel hubs needed a bit of attention so these were sanded back and then given a coat of primer followed by a few coats of silver paint
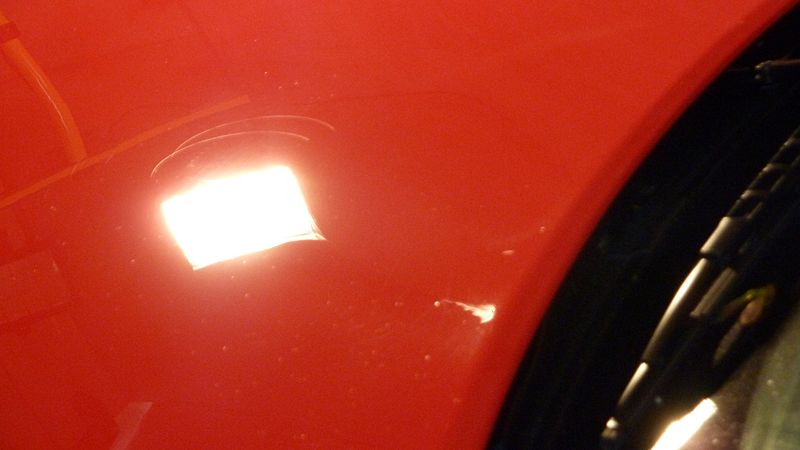
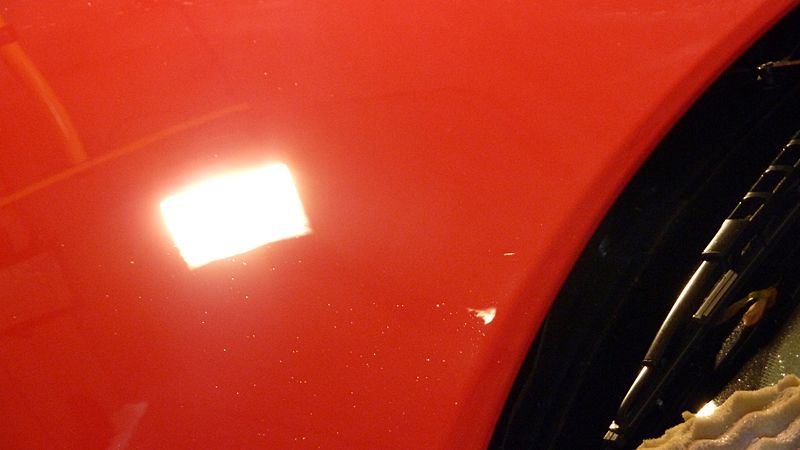
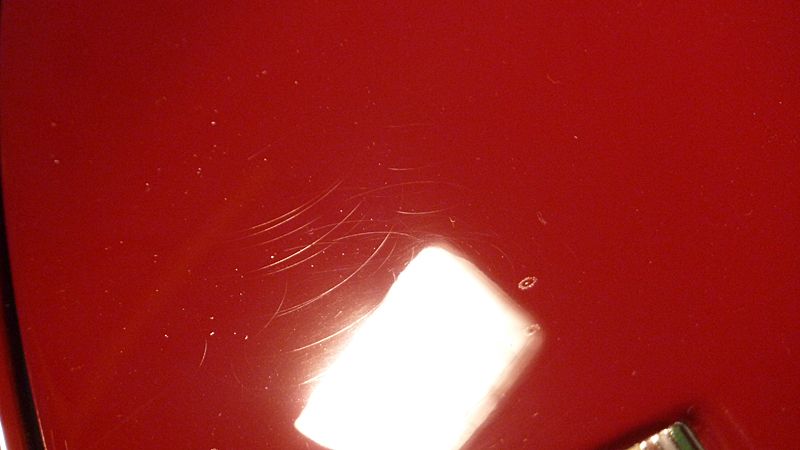
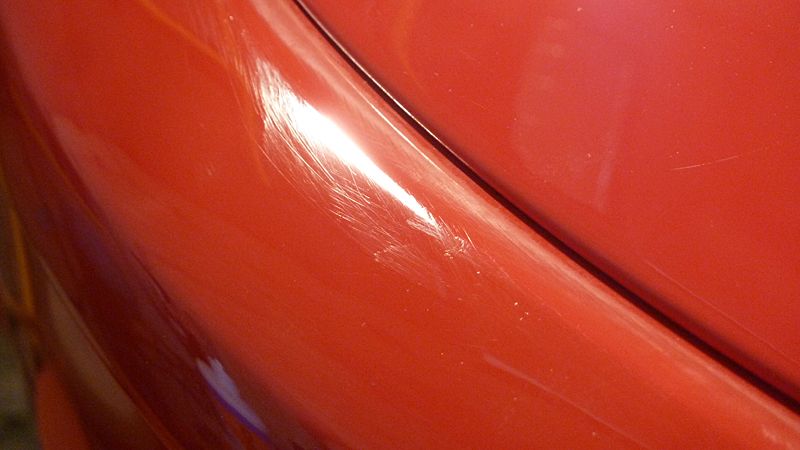
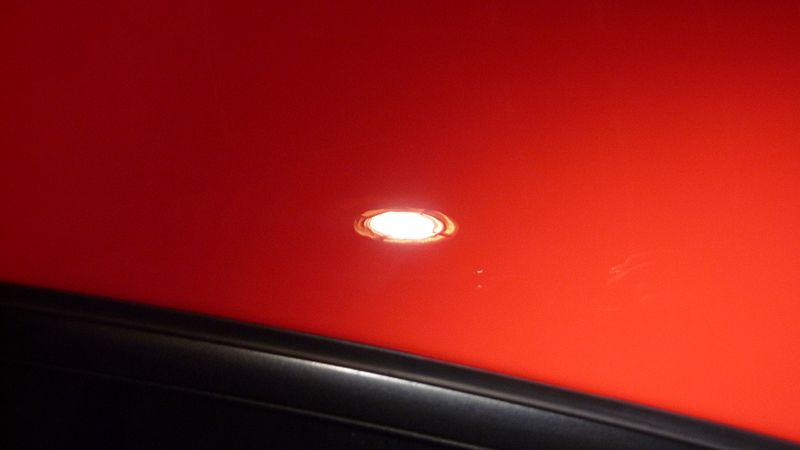
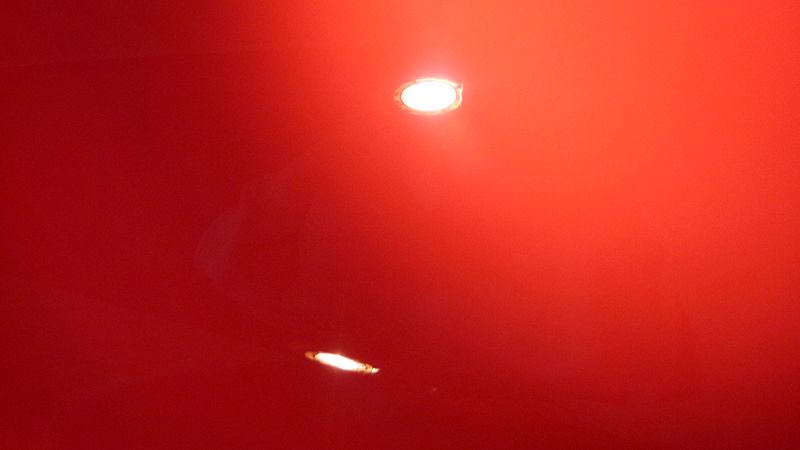
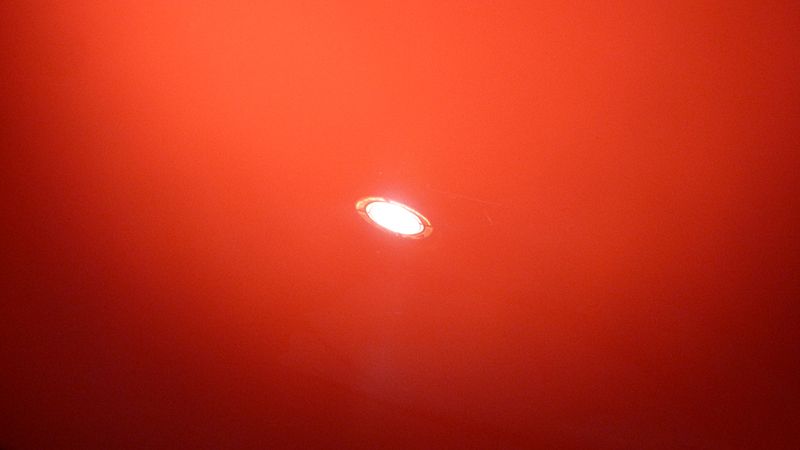
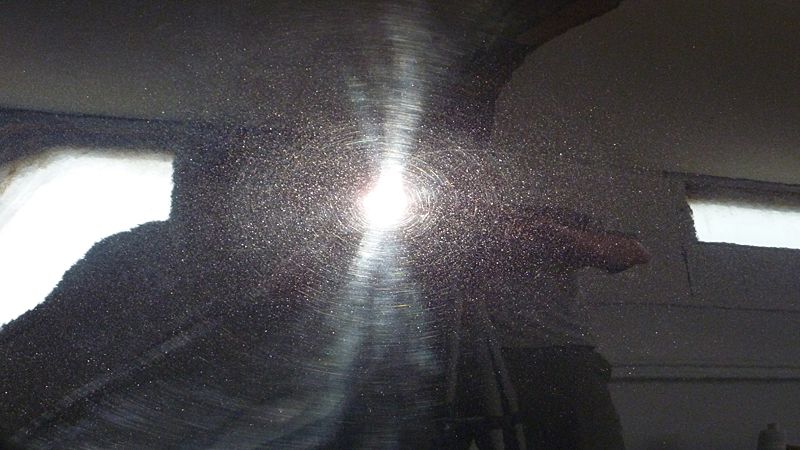
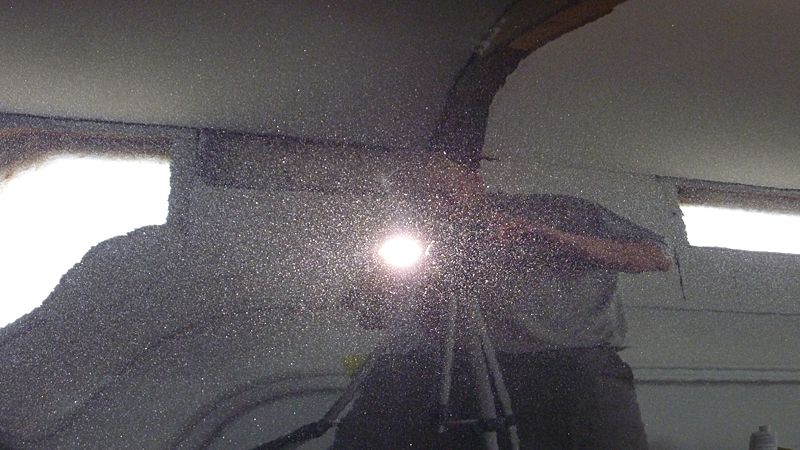
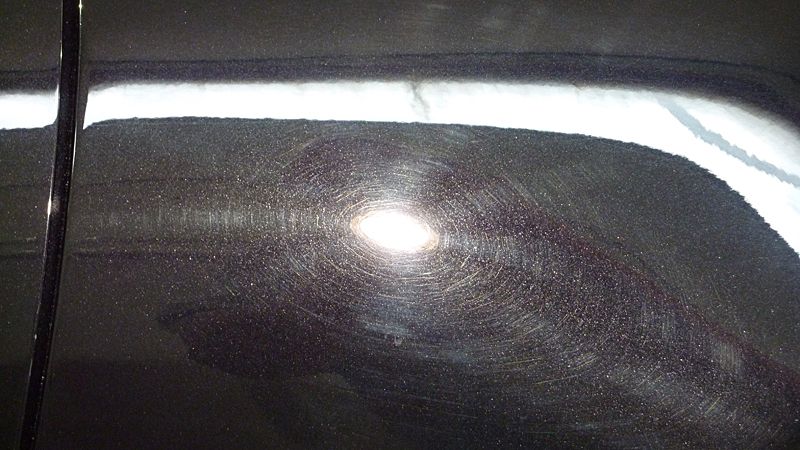
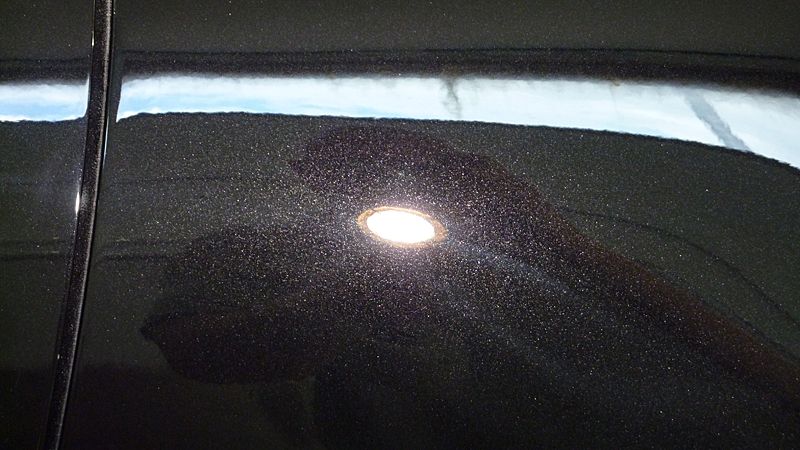
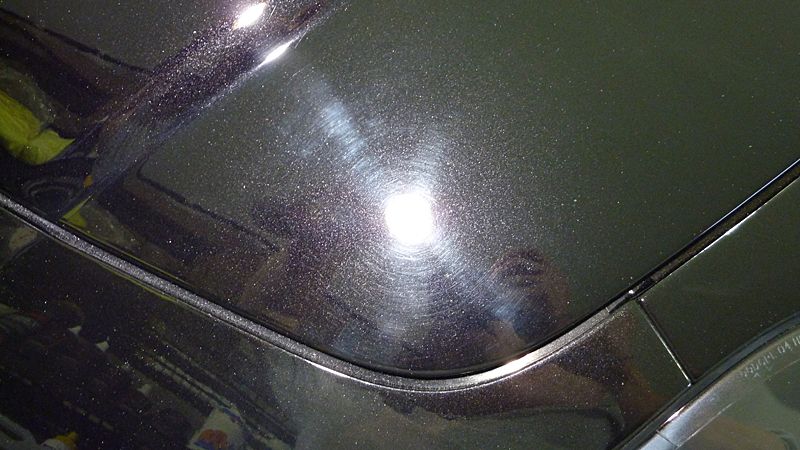
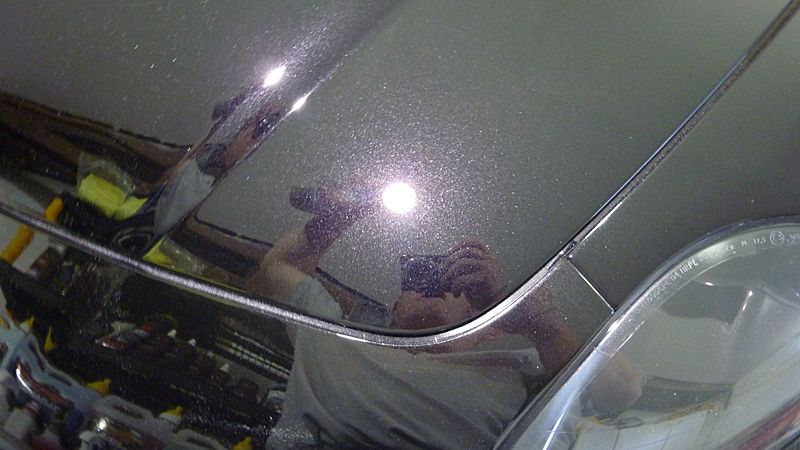
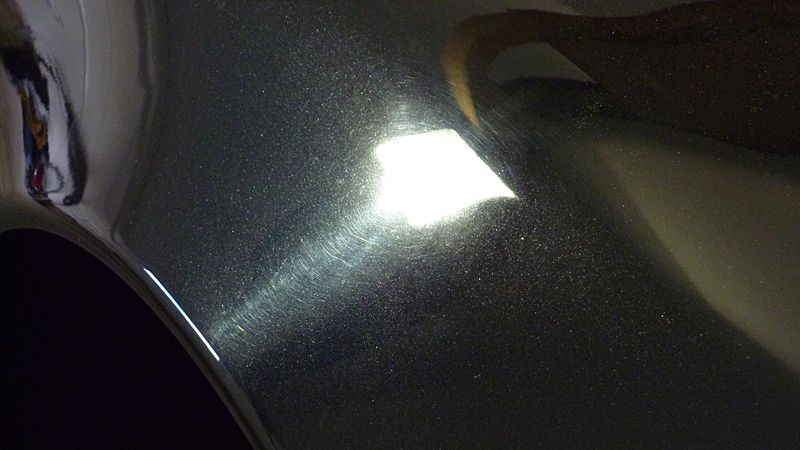
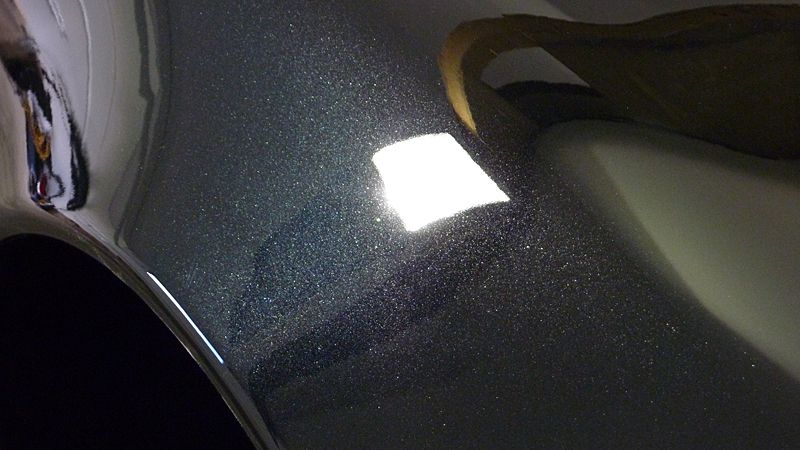
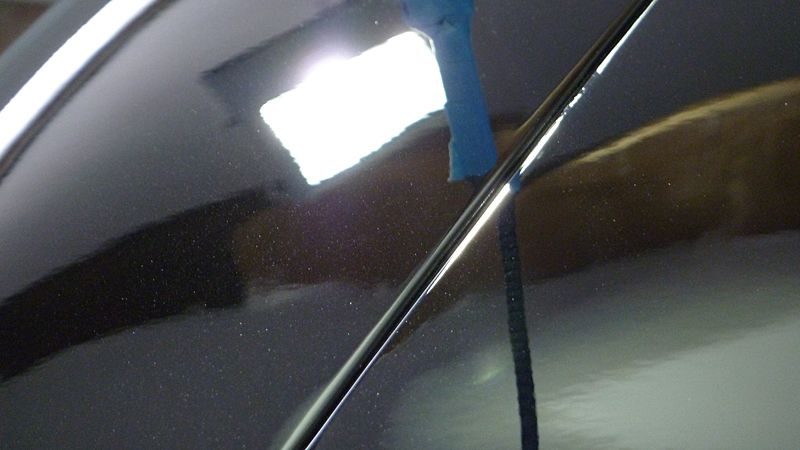
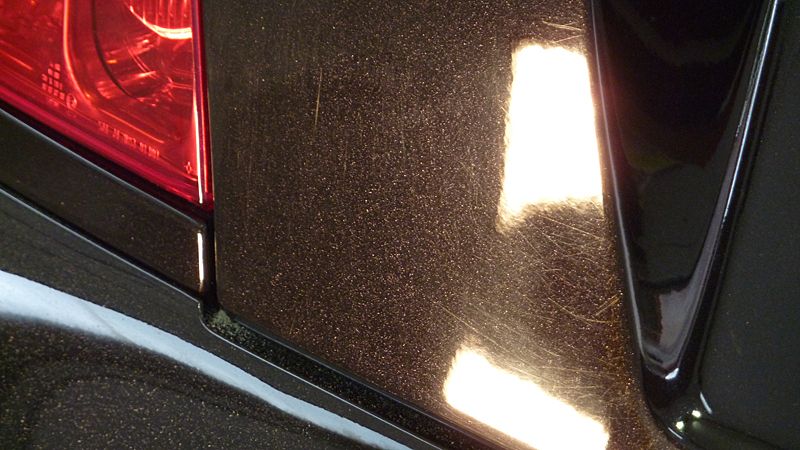
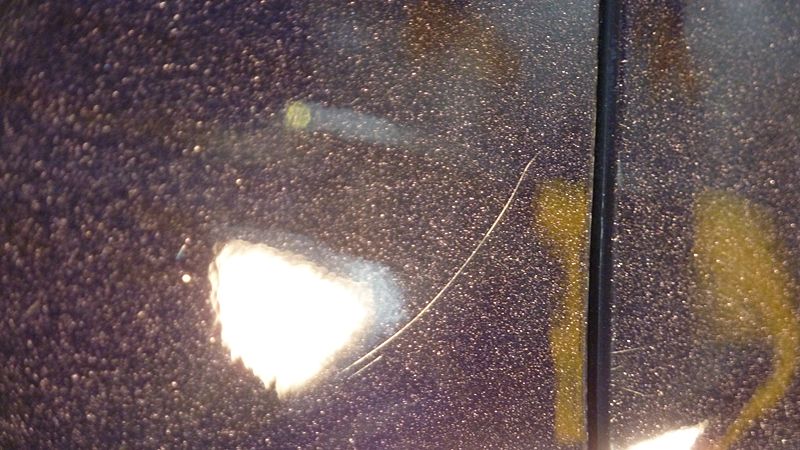
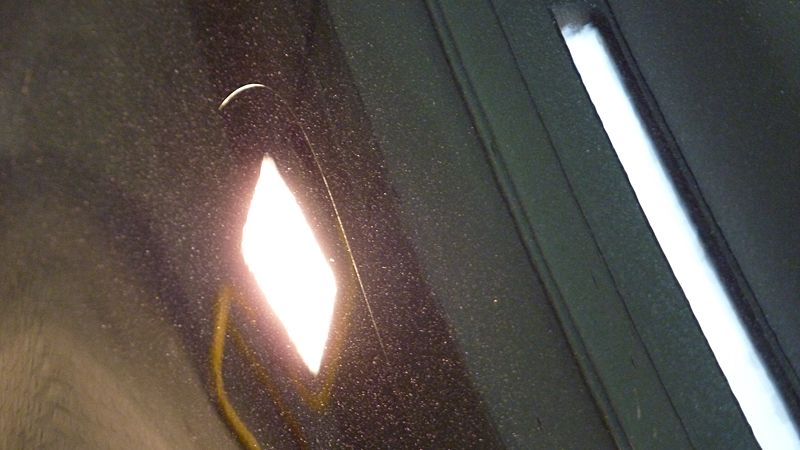
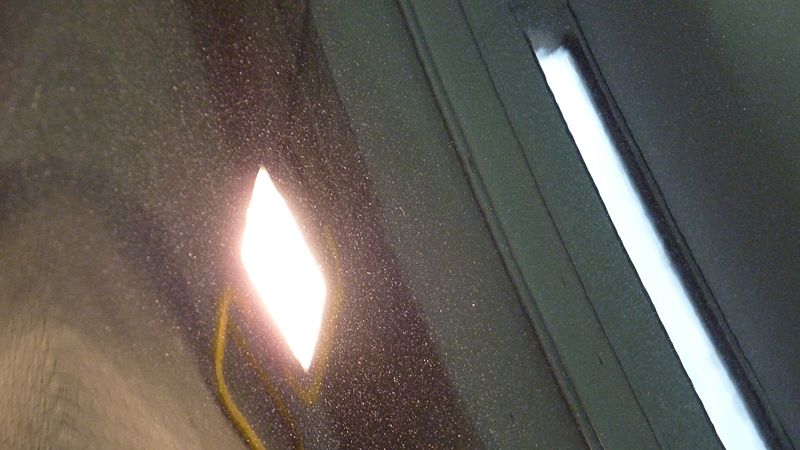
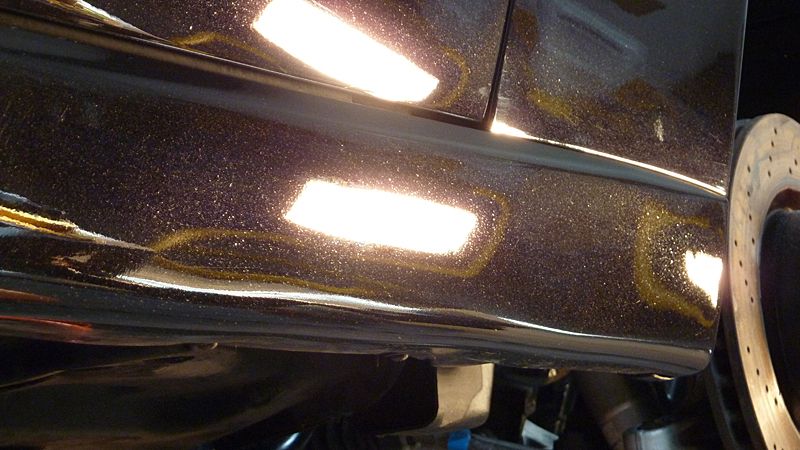
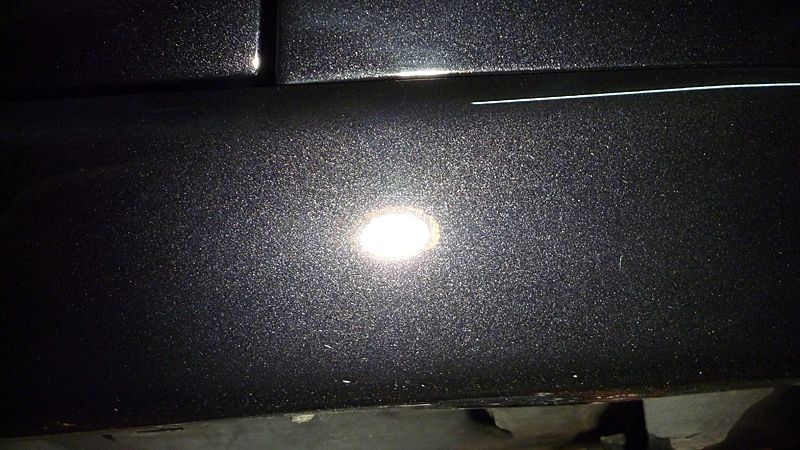
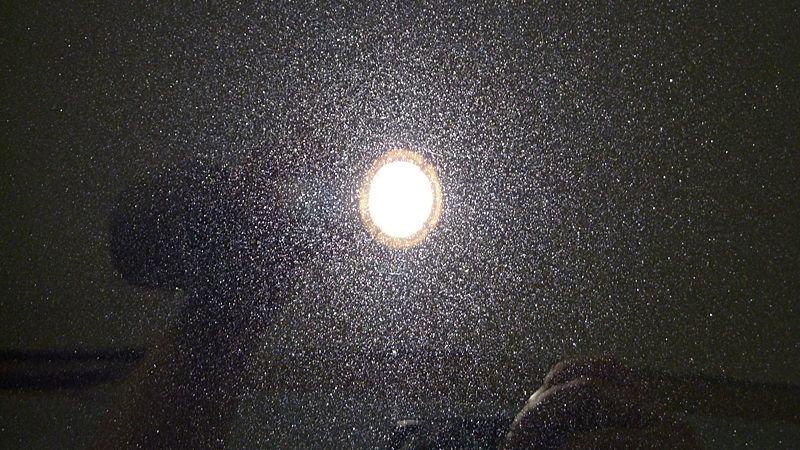
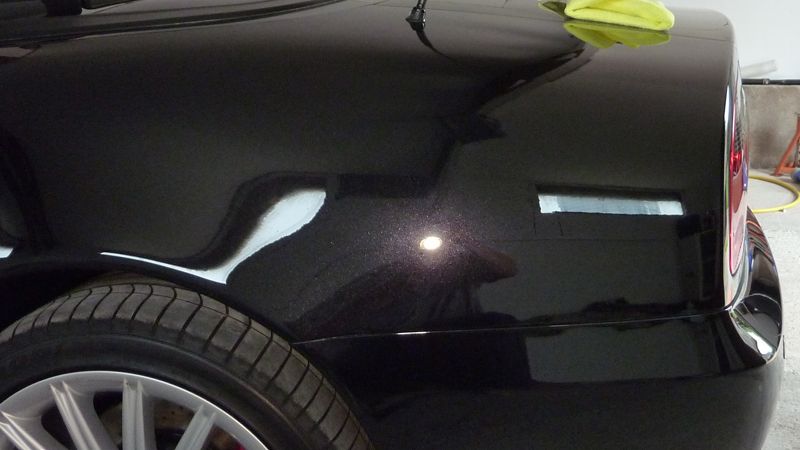
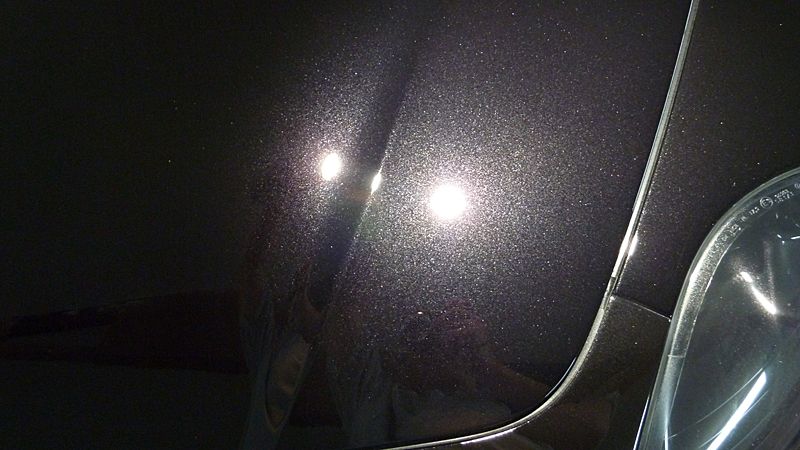
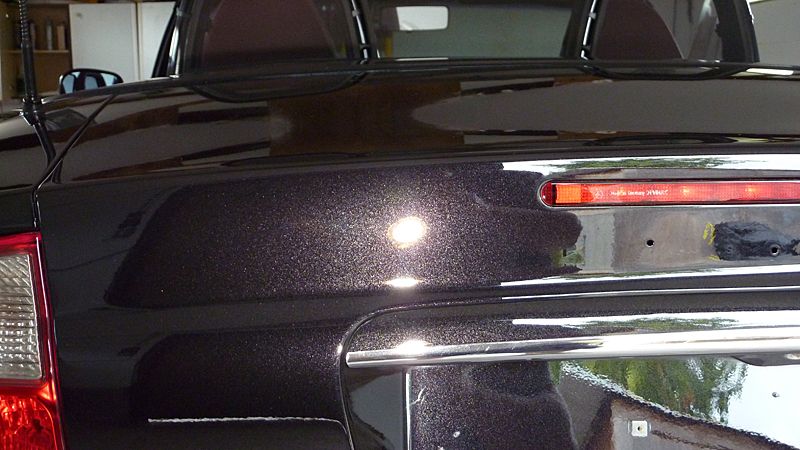
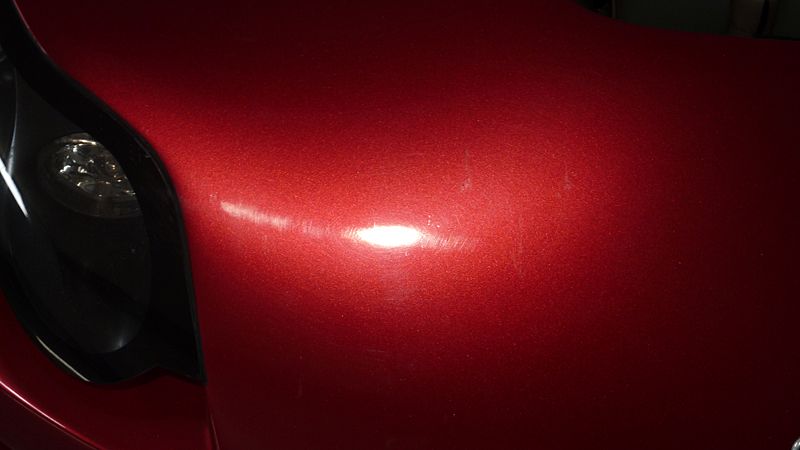
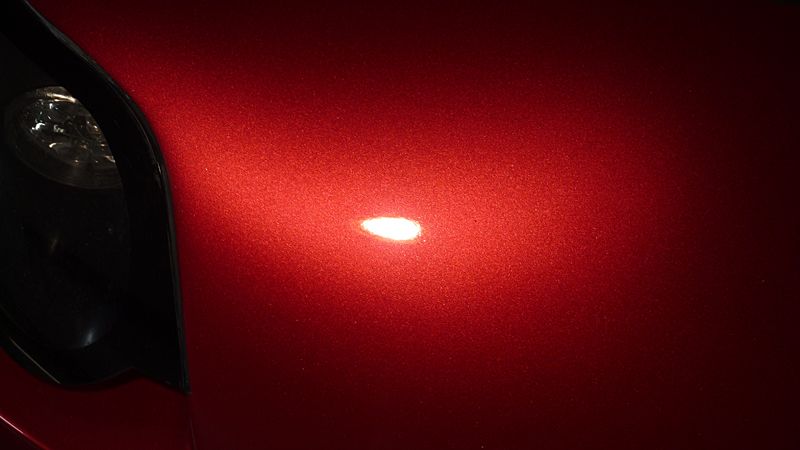
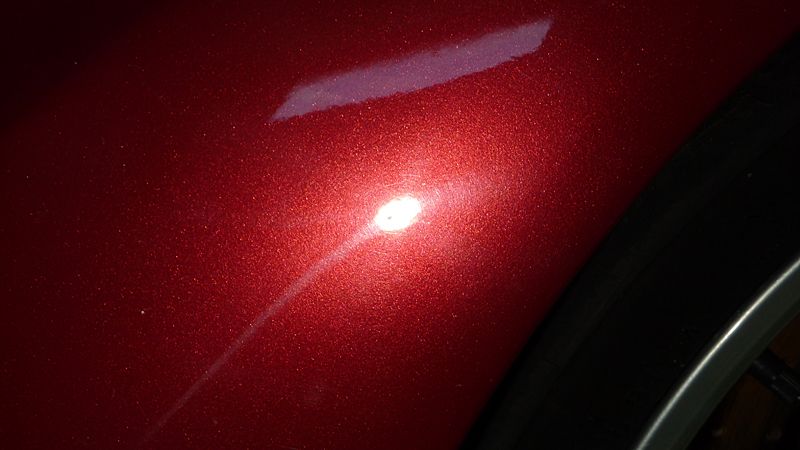
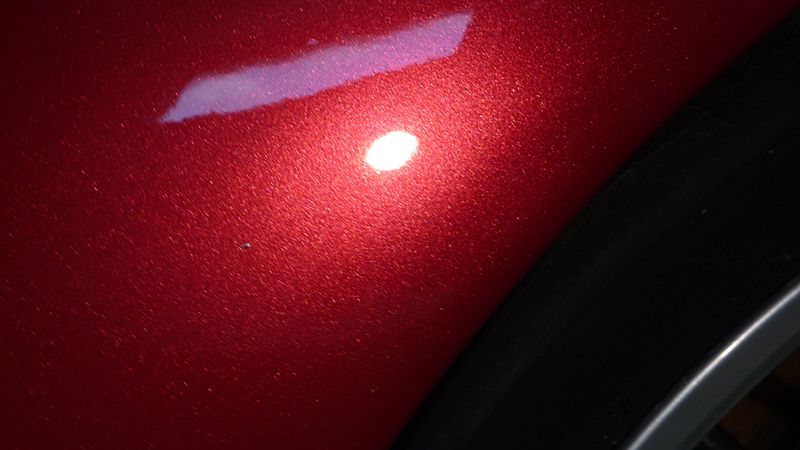
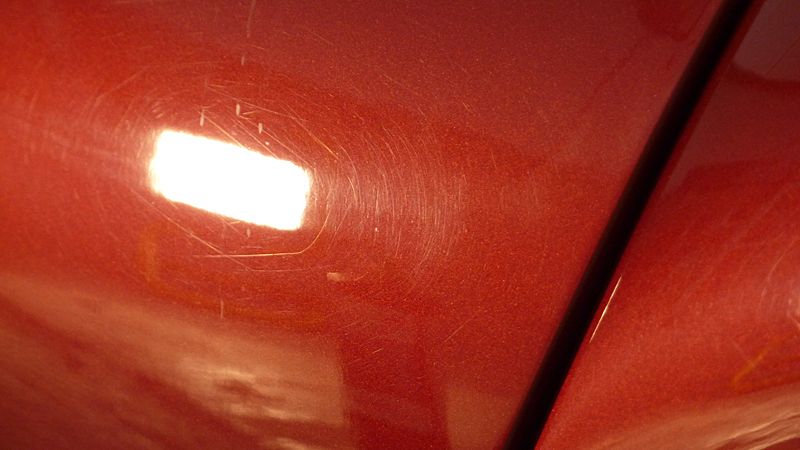
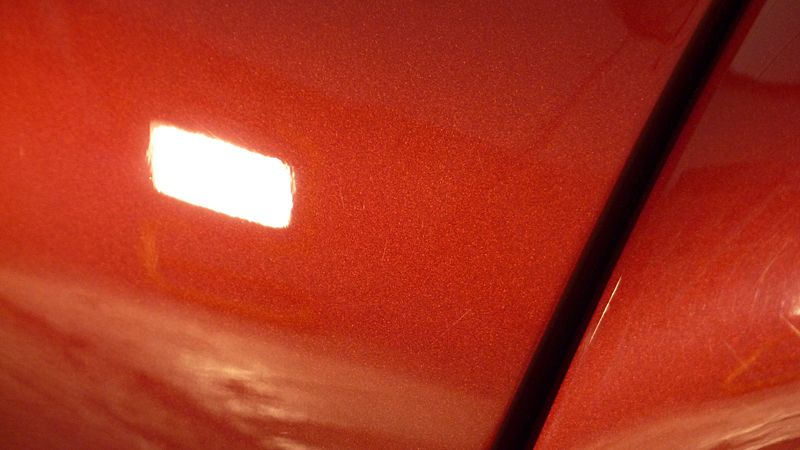
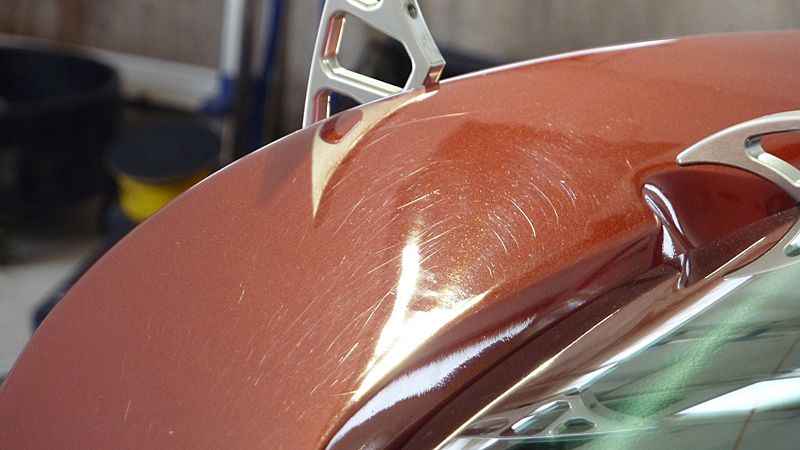
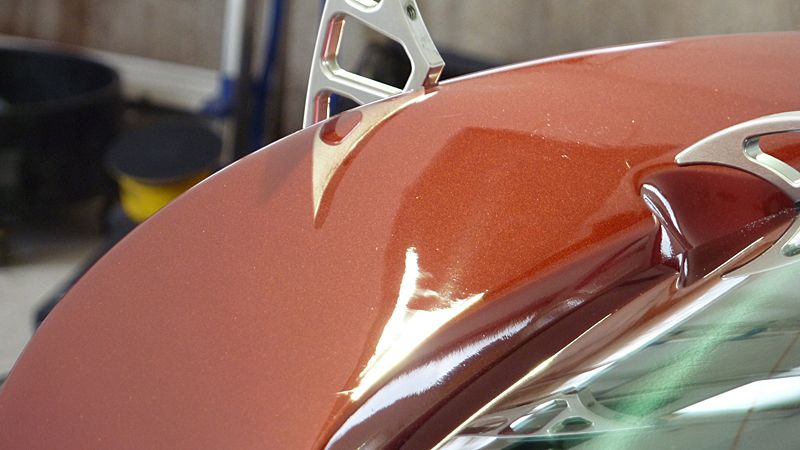
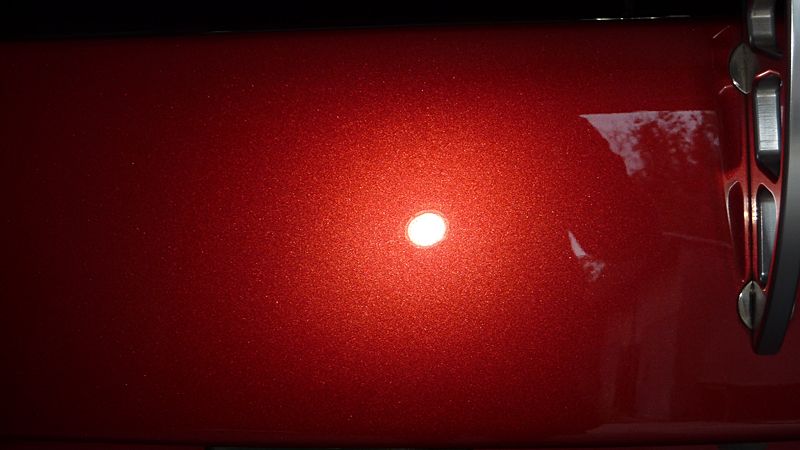
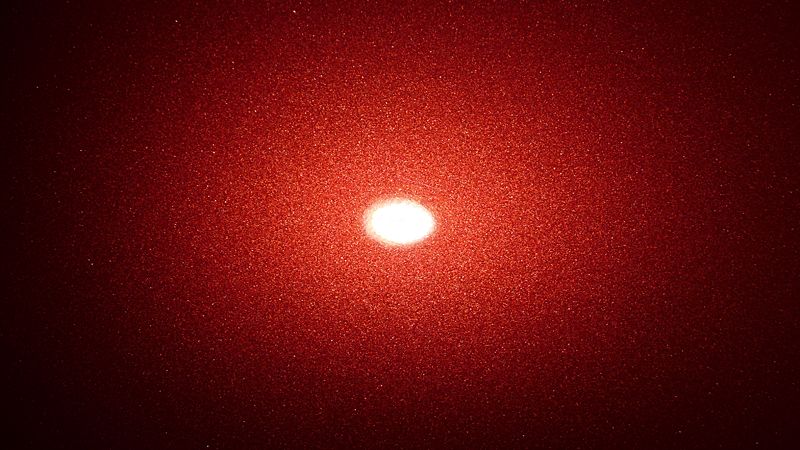
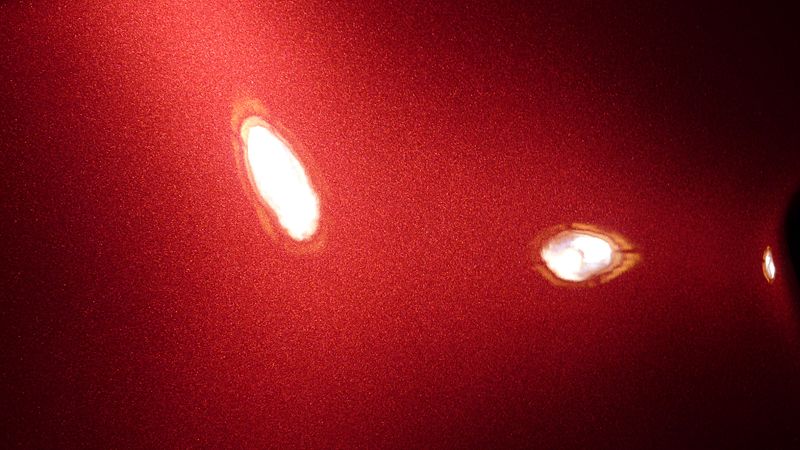
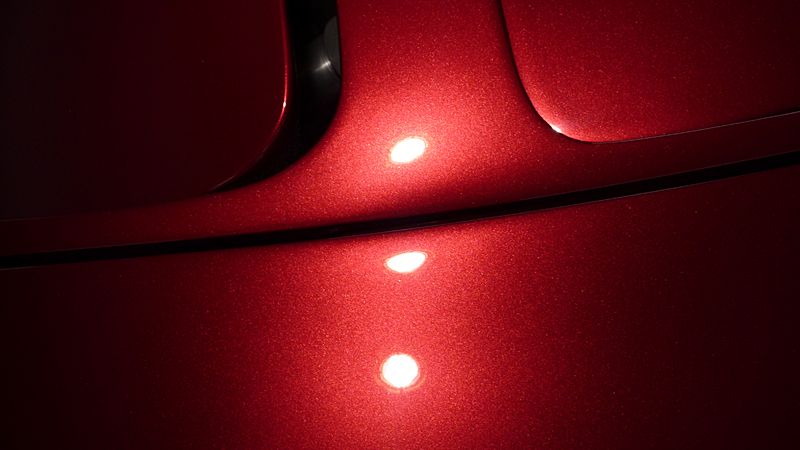
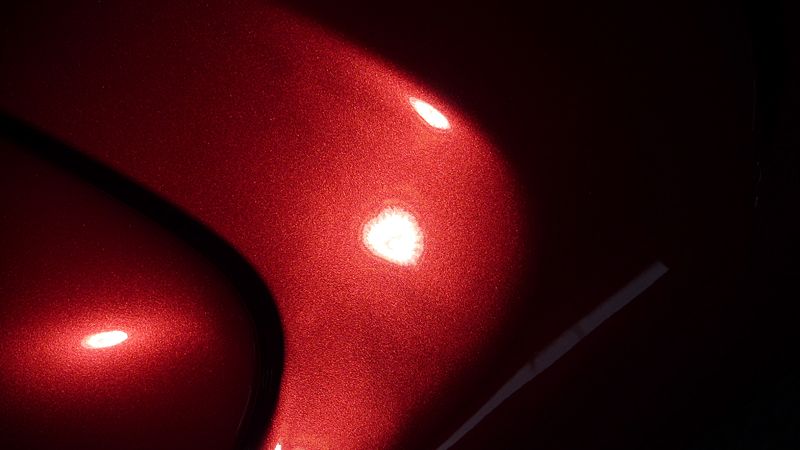
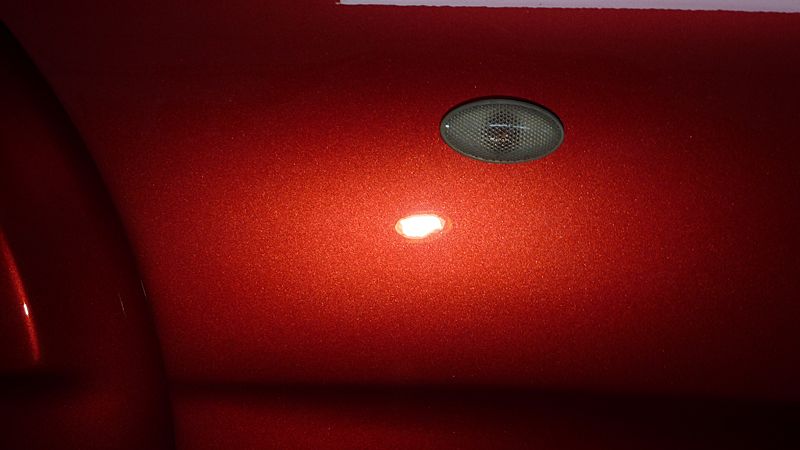
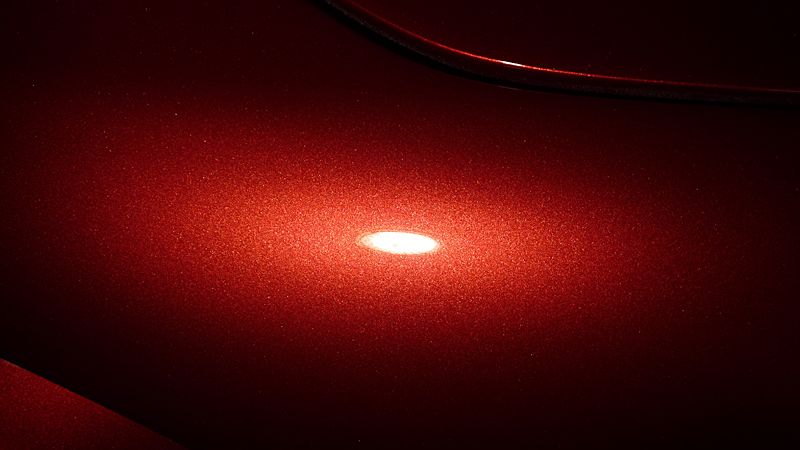
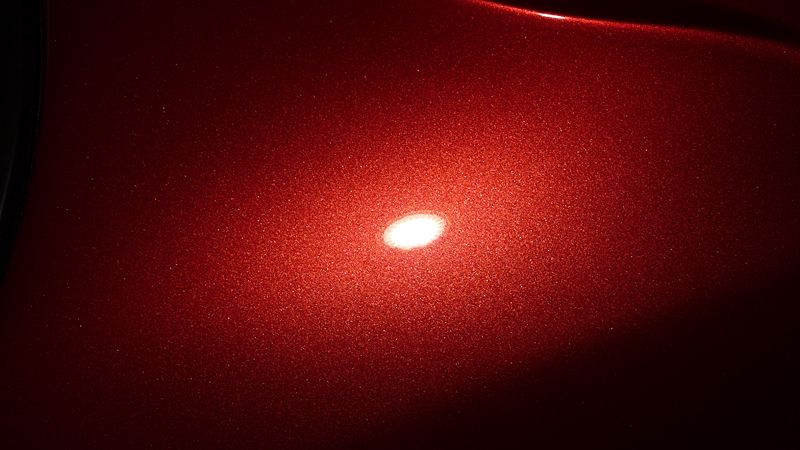
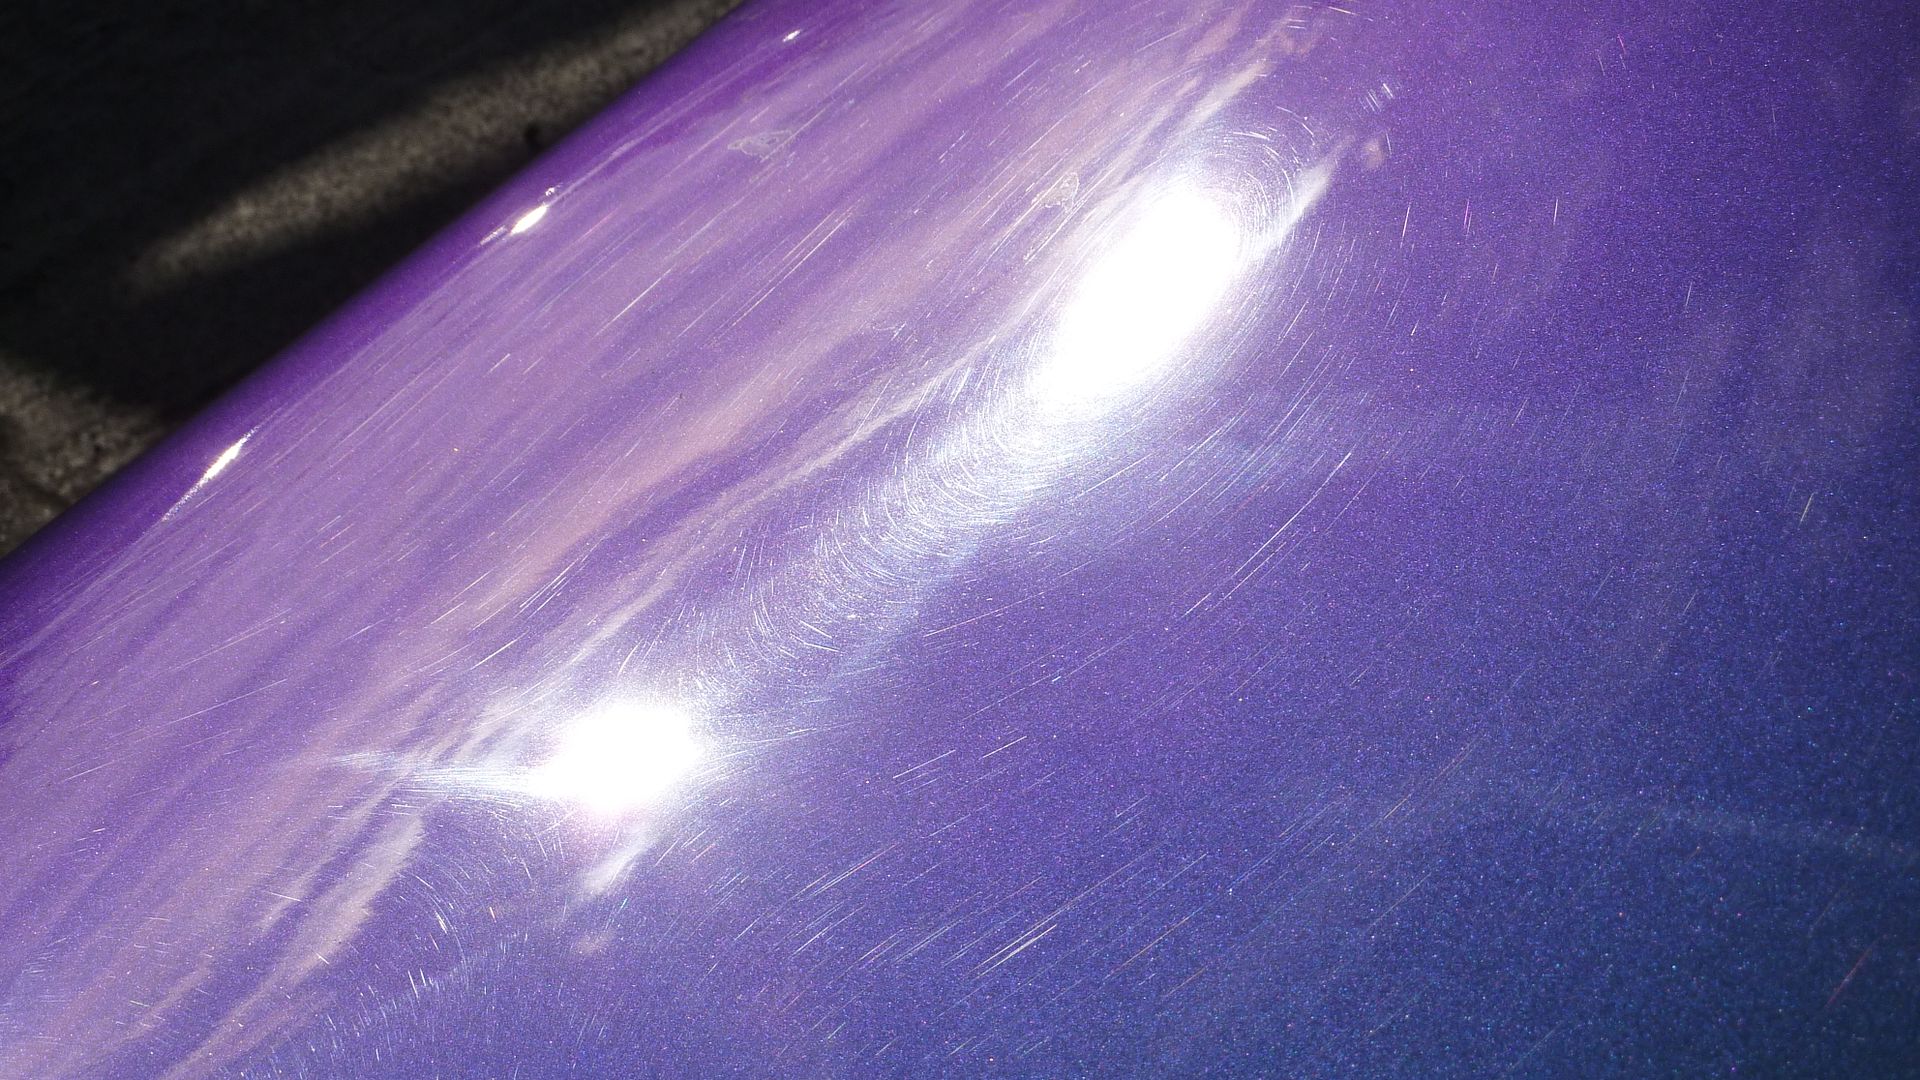
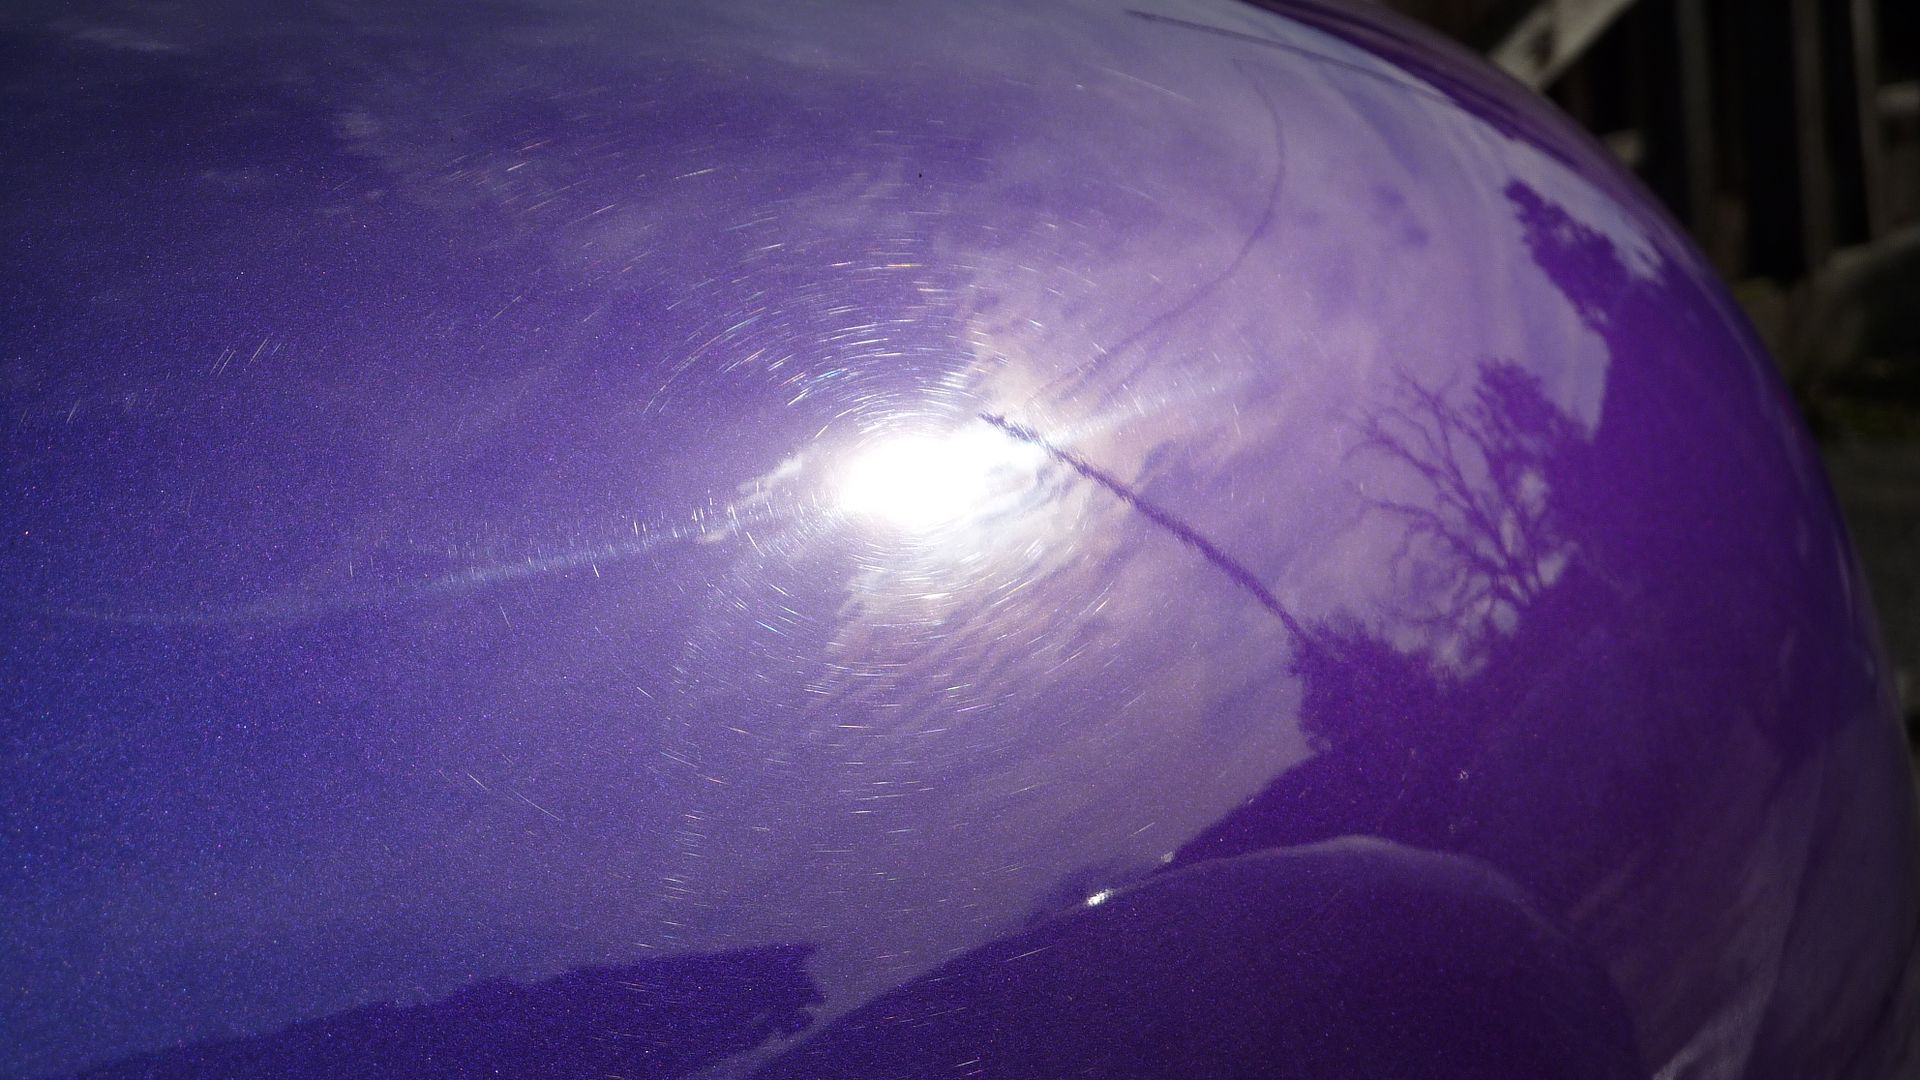
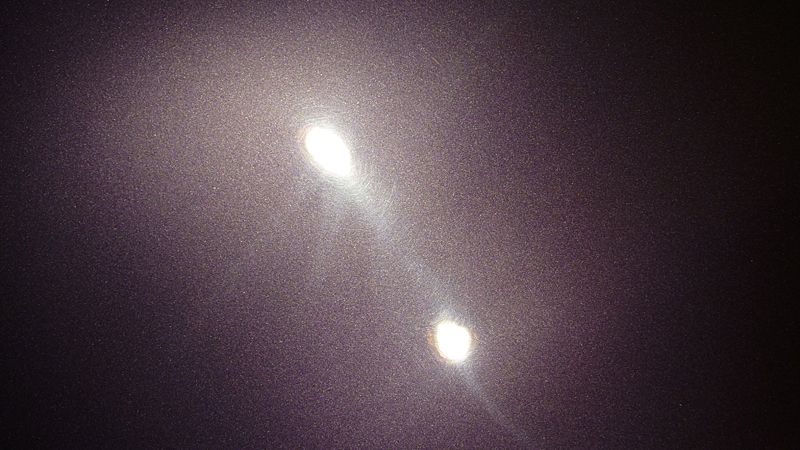
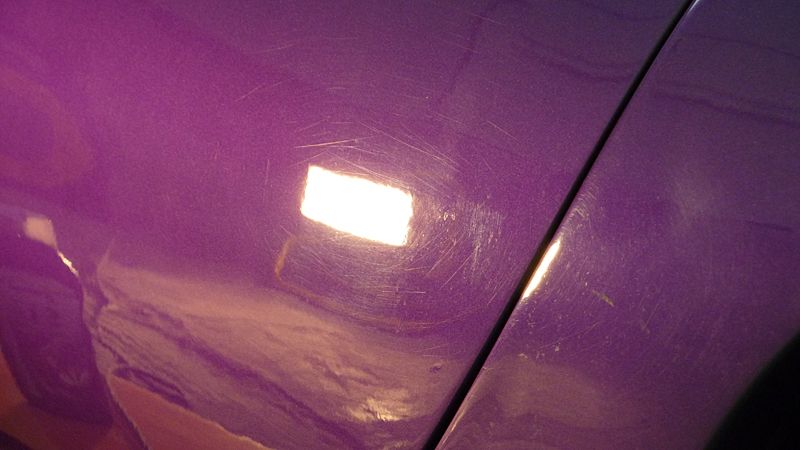
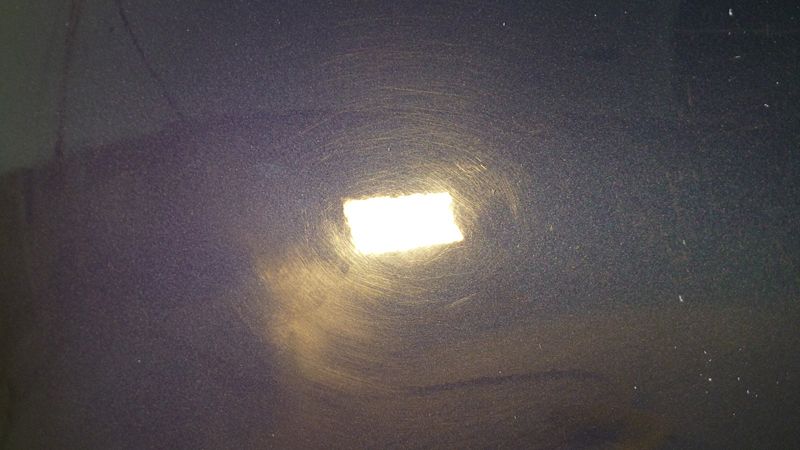
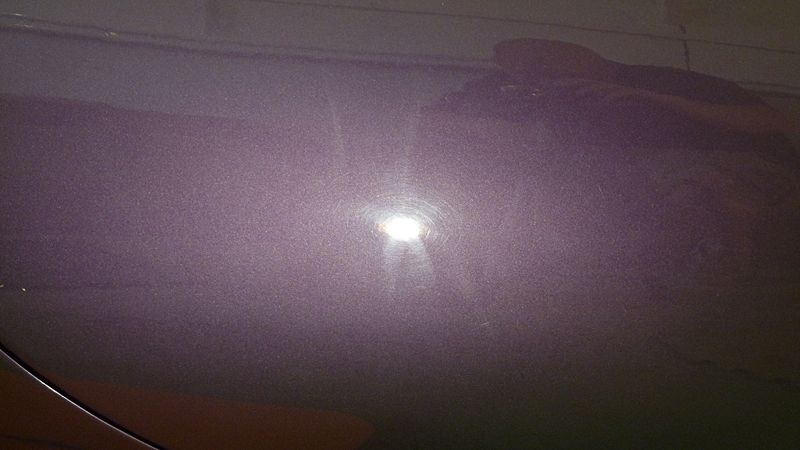
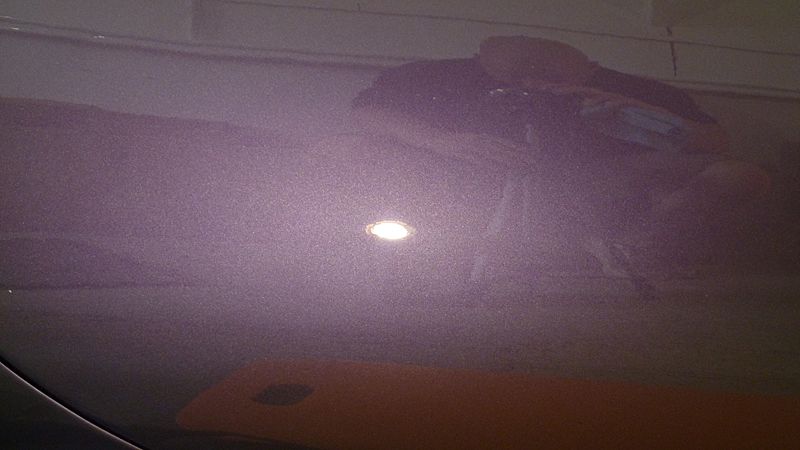
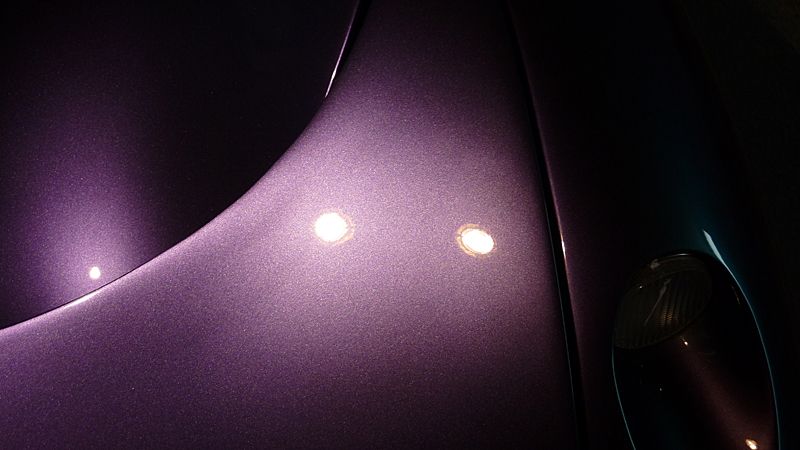
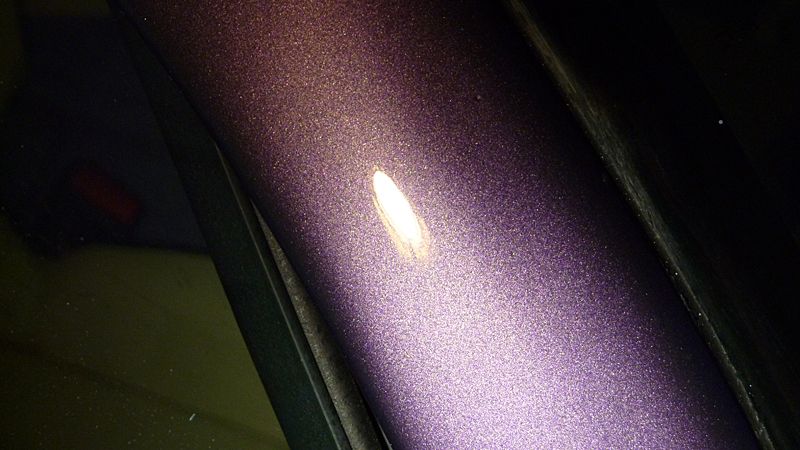
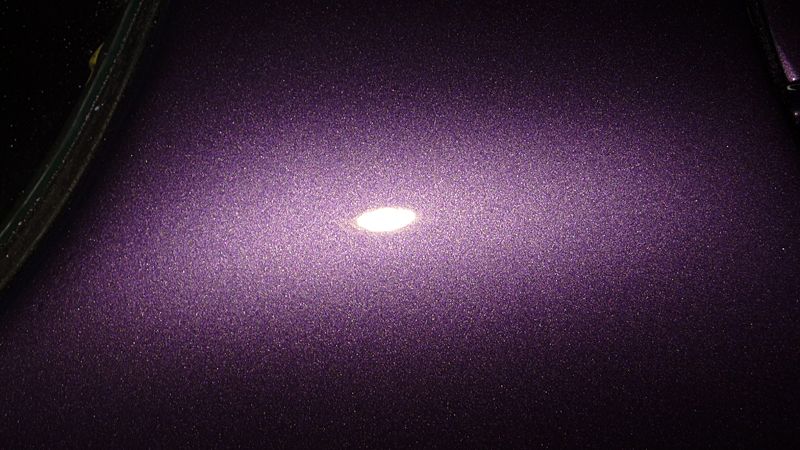
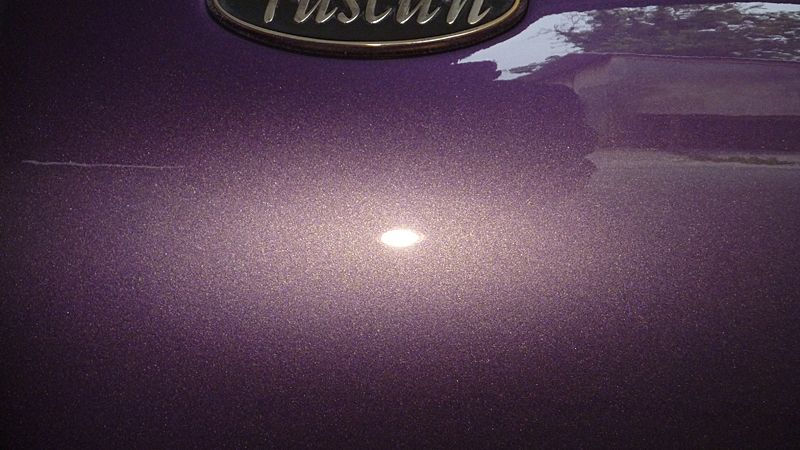
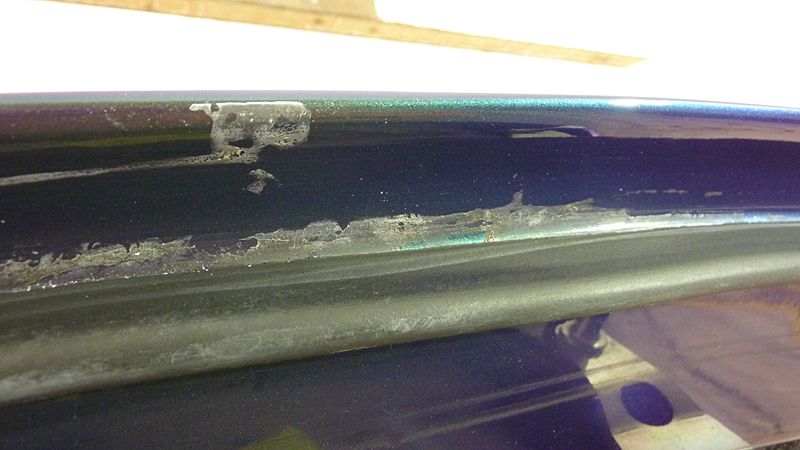
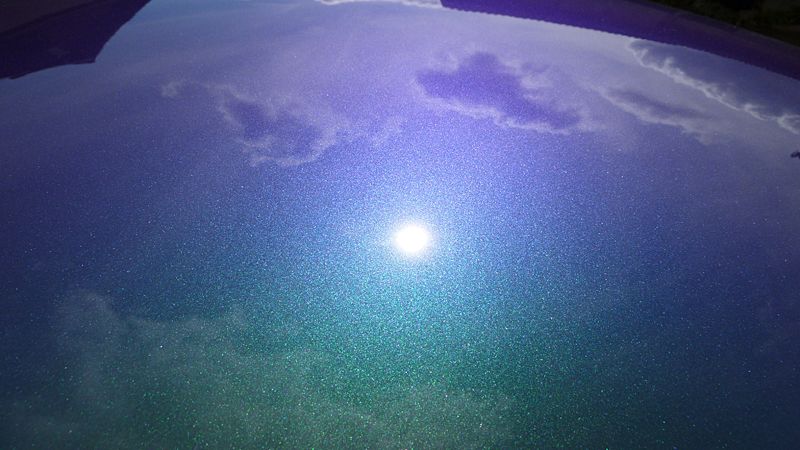
With all the wash stages complete is was time to concentrate on the paint. Here is some of the defects under different sources of light
Under 150w metal halides
under natural sun
.
Under sun gun
under 500w halogen
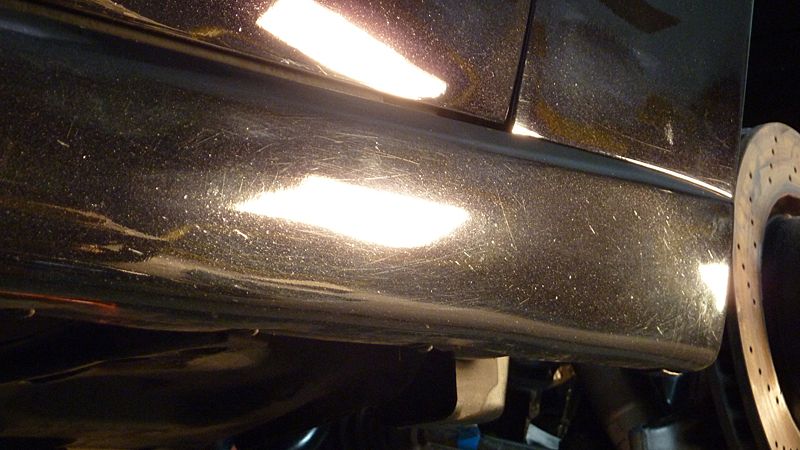
After inspecting the paint and taking paint levels I went about finding a combo to deal with the defects and settled on using a rotary with Menz 3.02 and a 3m yellow waffle polishing pad. (A few area's required me stepping up to a cutting pad)
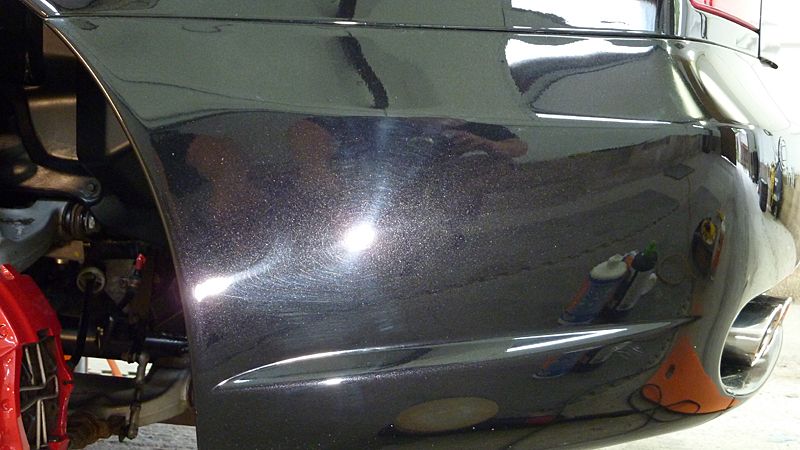
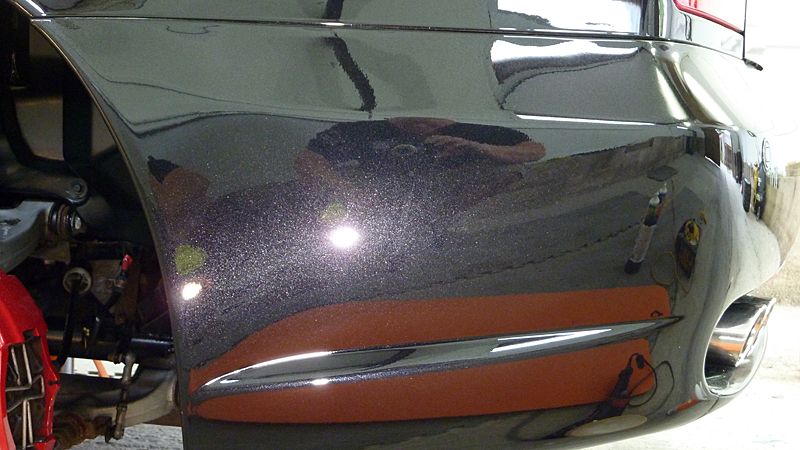
Few before and after shots
Front bonnet (placed on rubber mats) and windscreen wipers removed to allow me machine some area's that would have otherwise been very hard to get to. These area's were done using a DA
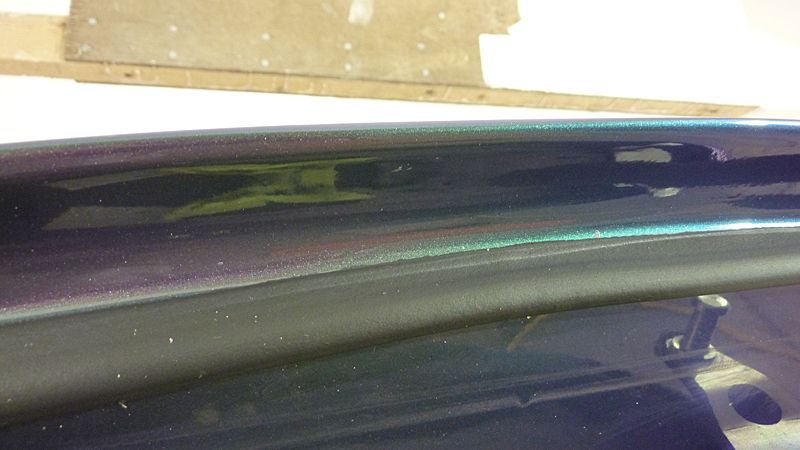
Once all correction was complete paintwork was then refined using Menz 85rd
Some excess glue was removed from around the boot.
BEFORE
AFTER
Exhausts tips polished with Autosol and the carbon fiber barrels were polished by hand using menz 106fa
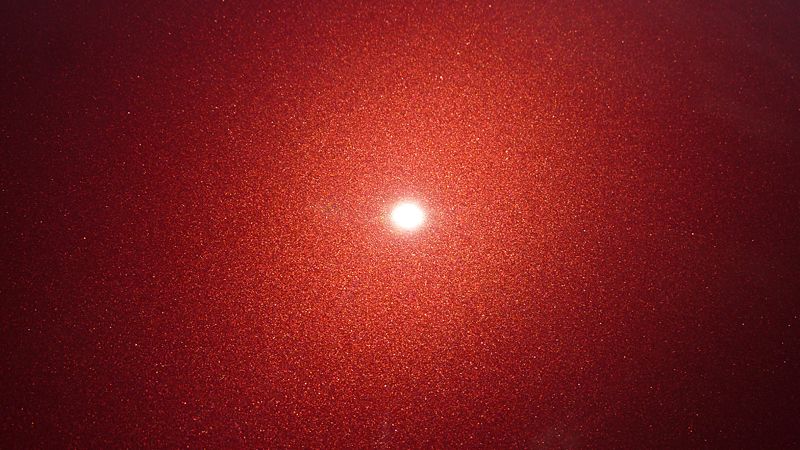
Swissvax Cleaner Fluid was applied to all paintwork by hand and then removed and then a coat of Swissvax Divine was applied and left to cure for a few hours whilst i went about cleaning the interior. The following day a second coat of Swissvax Divine was applied.
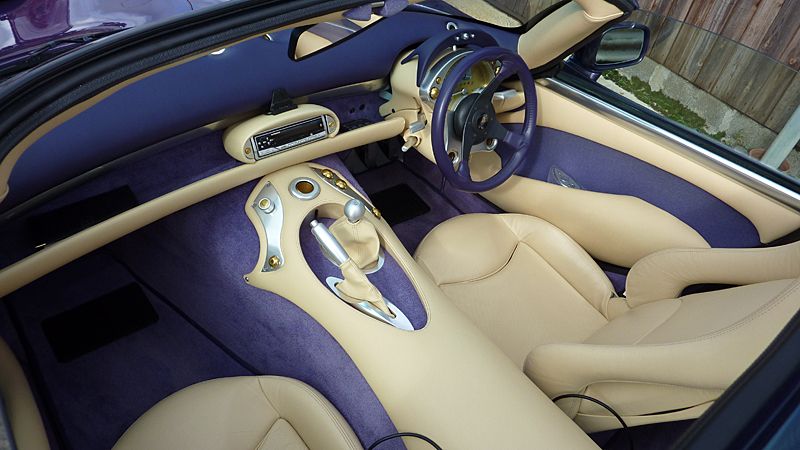
Leather was cleaned and protected using LTT products, glass cleaned with 3m glass cleaner, all upholstery carpet was wiped down with Megs APC and then protected with 303 Fabric Guard. All seals around door edges and removable roof top were treated with Swissvax Seal Feed
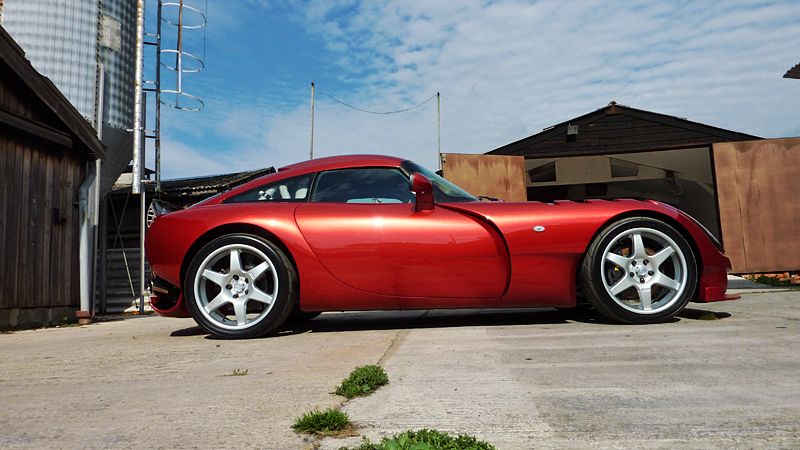
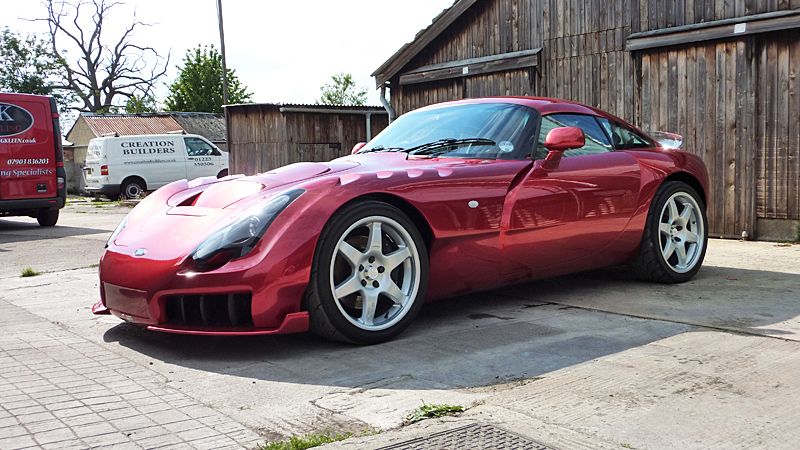
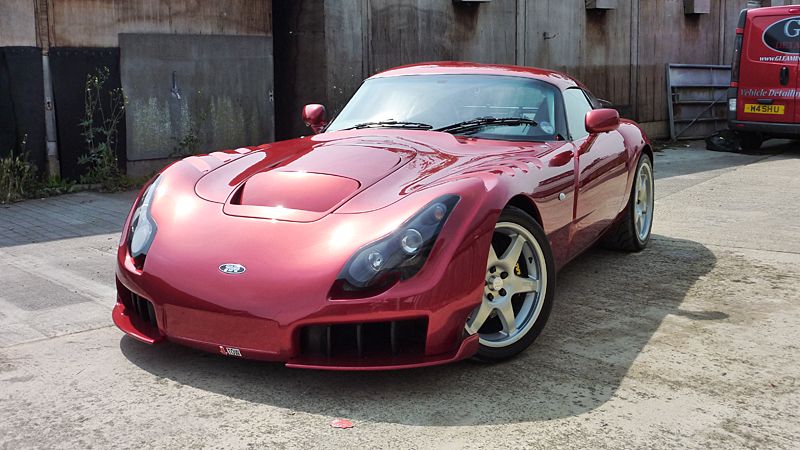
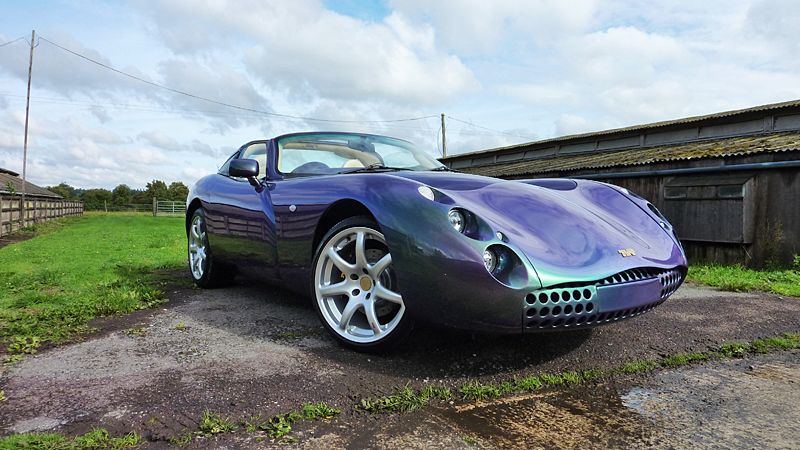
Few afters
Thanks for looking
Regards,
Jay
10% Discount to forum members
Nationwide Detailing Services