Price: 1150EUR + shipping + paypal fees
Info: PM or litledevil@gmail.com
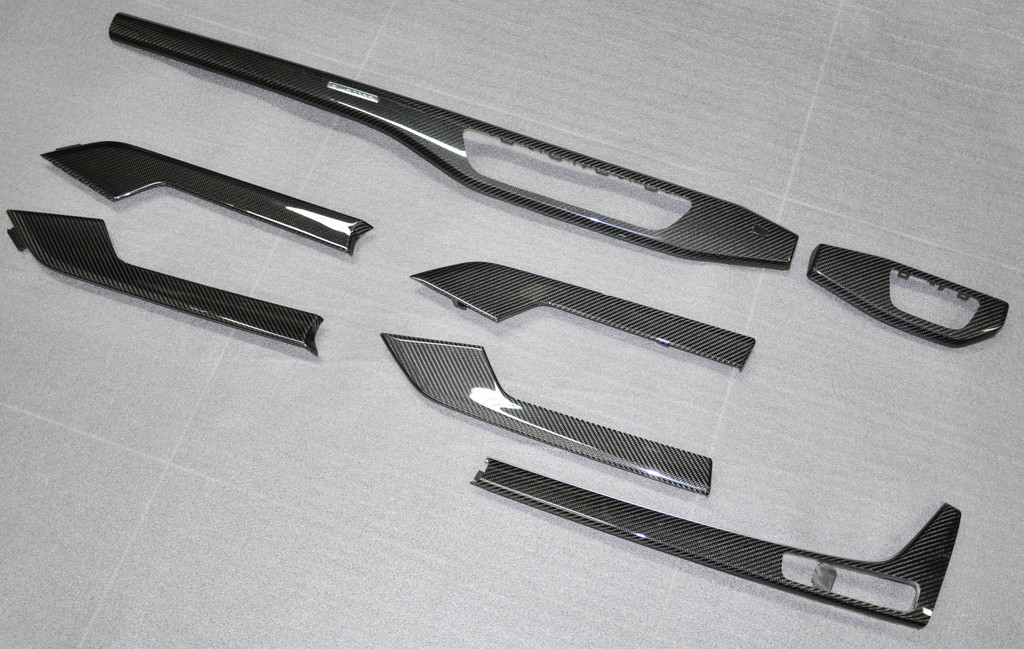
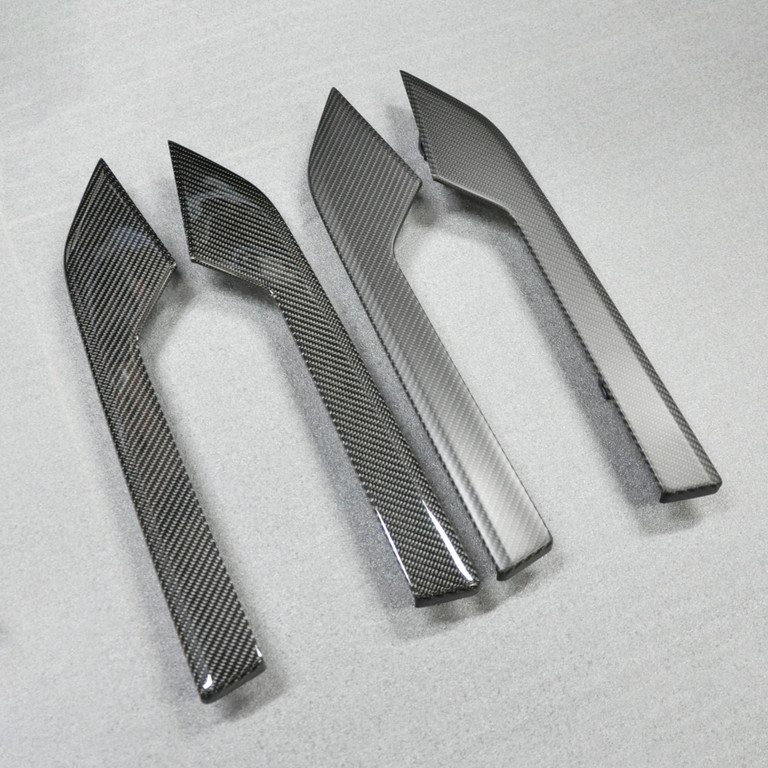
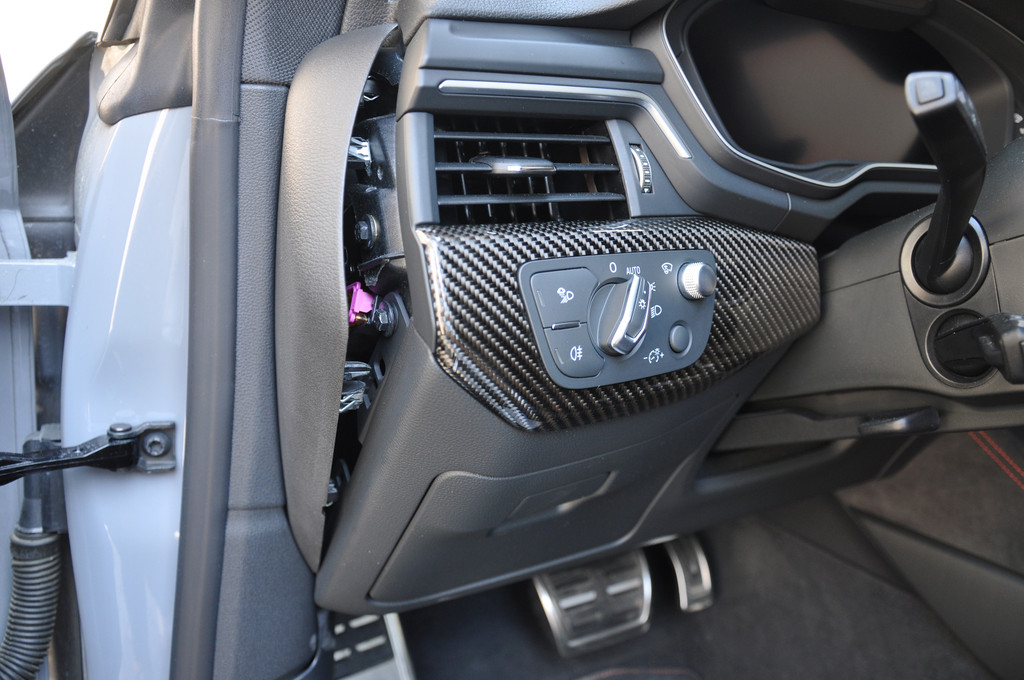
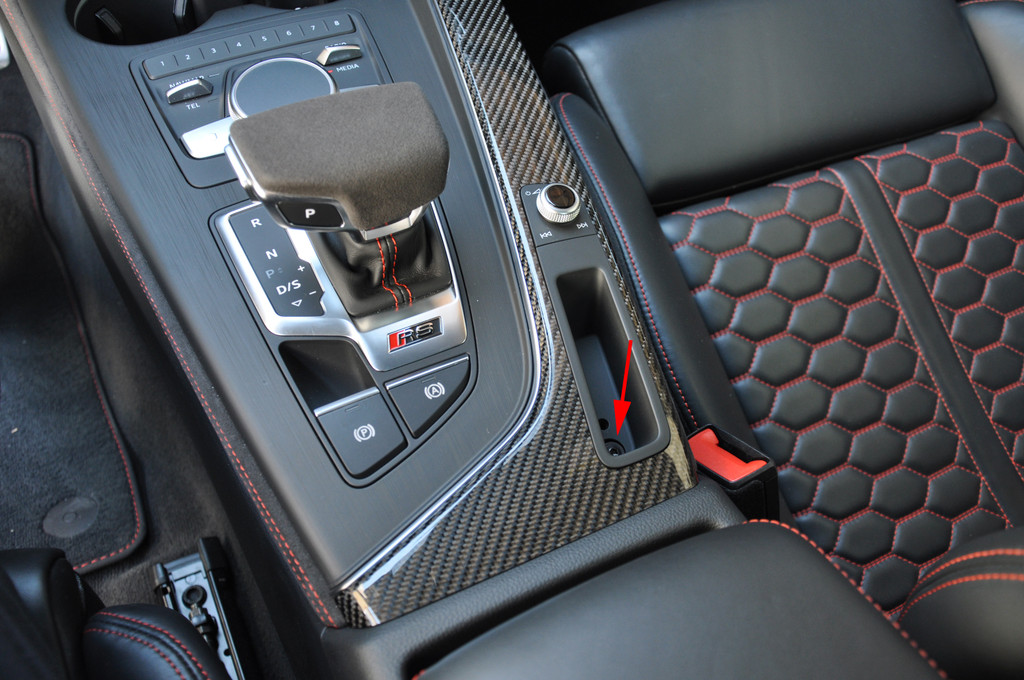
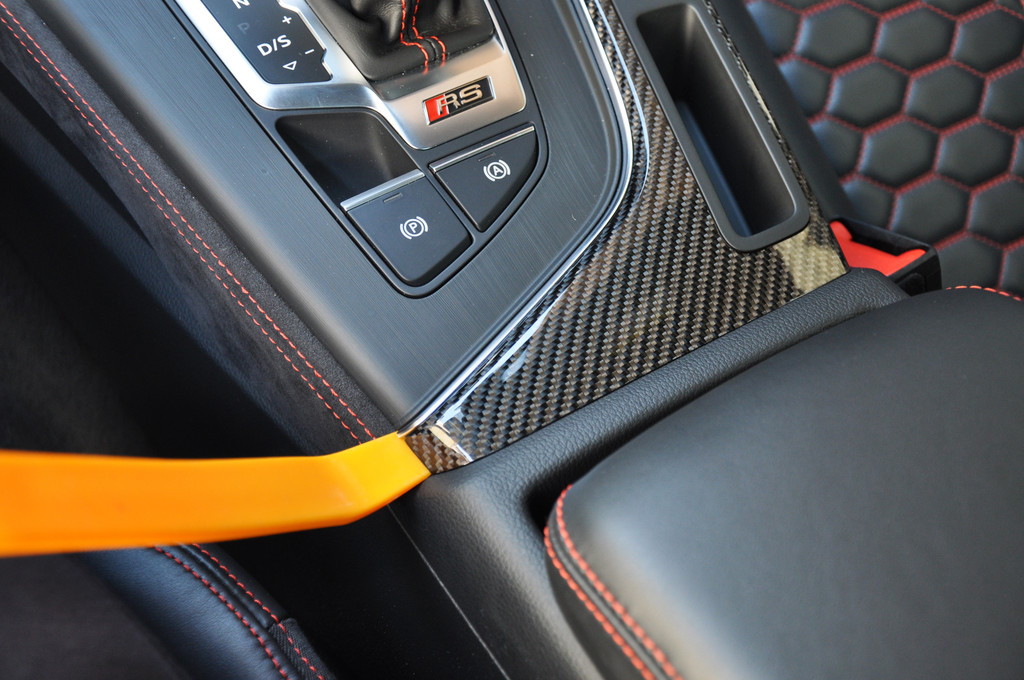
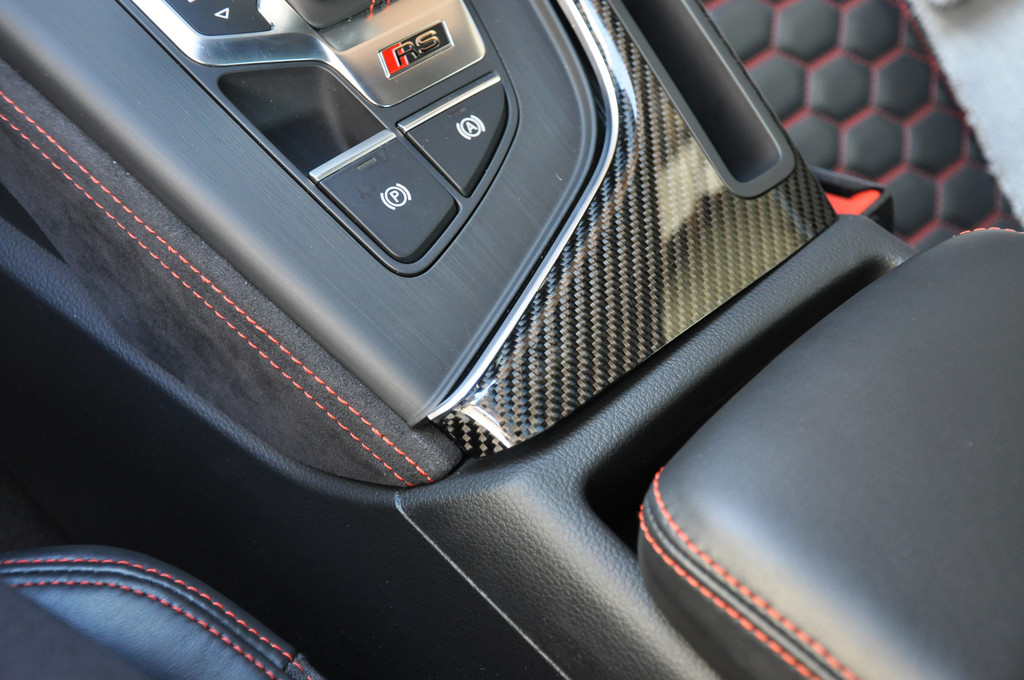
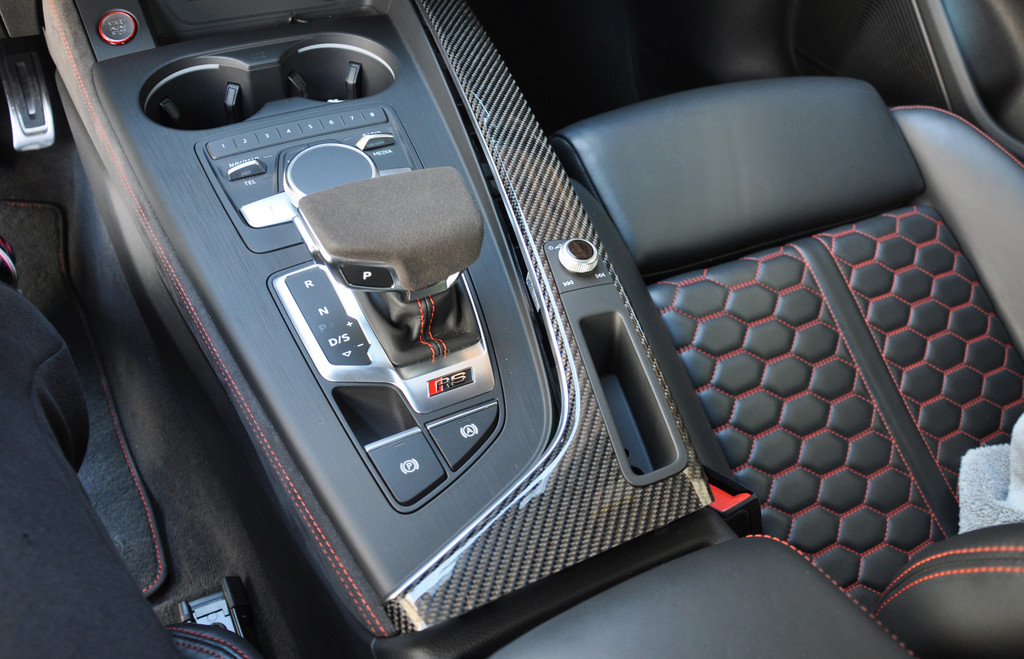
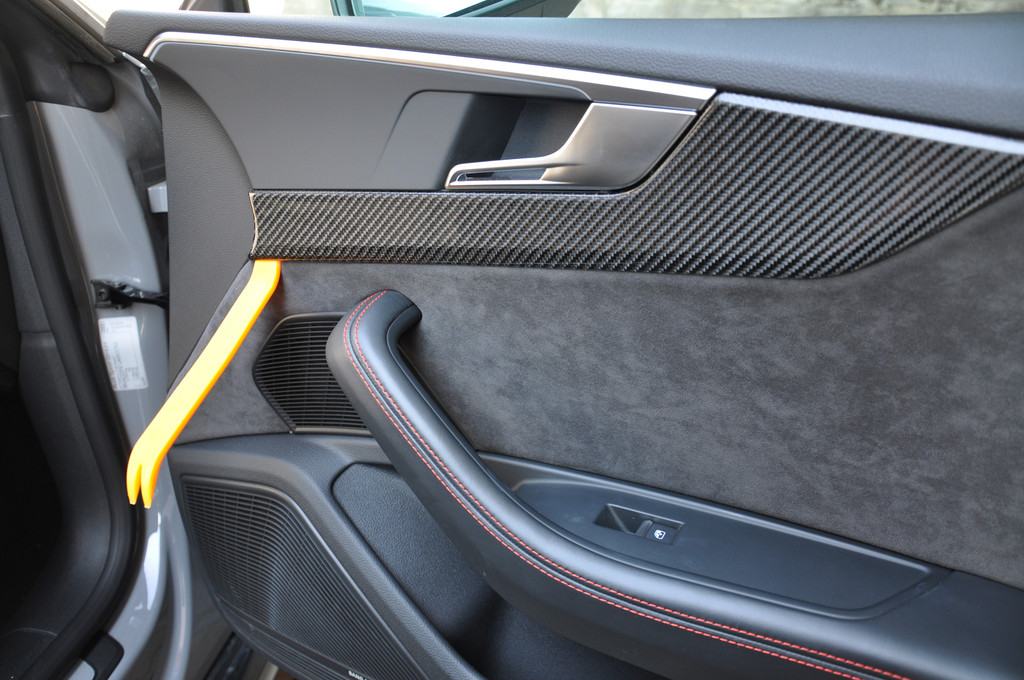
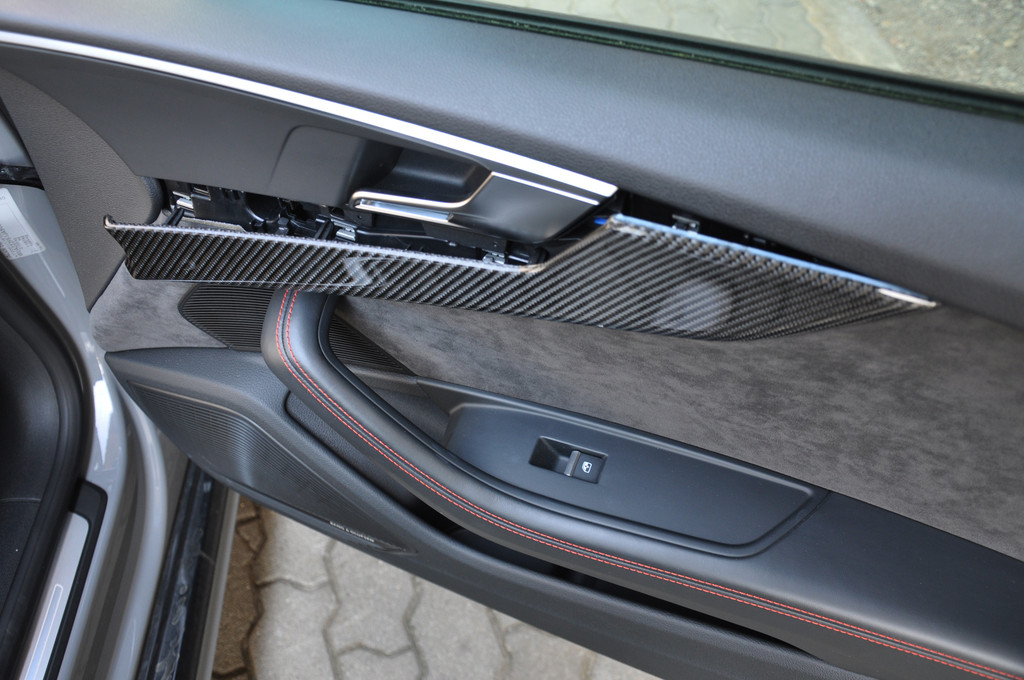
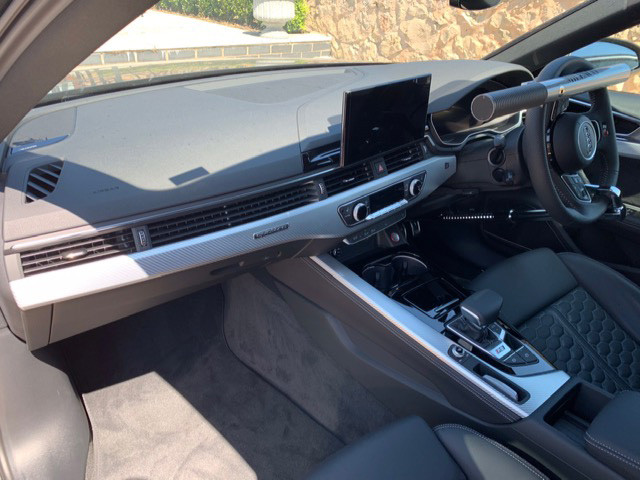
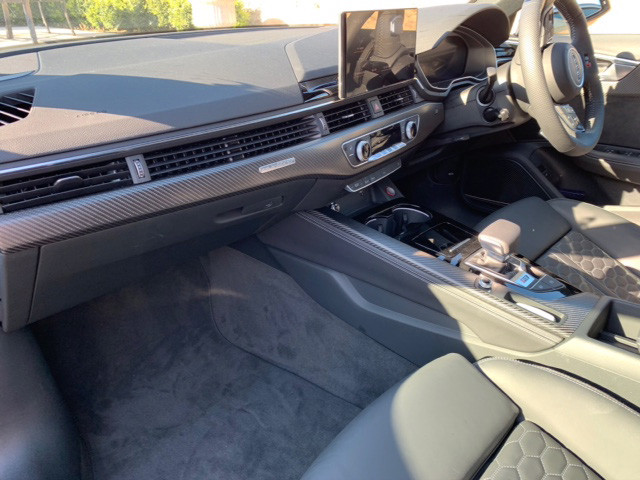
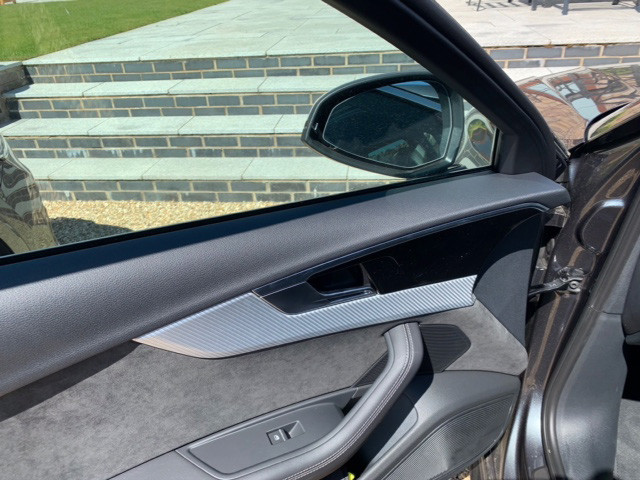
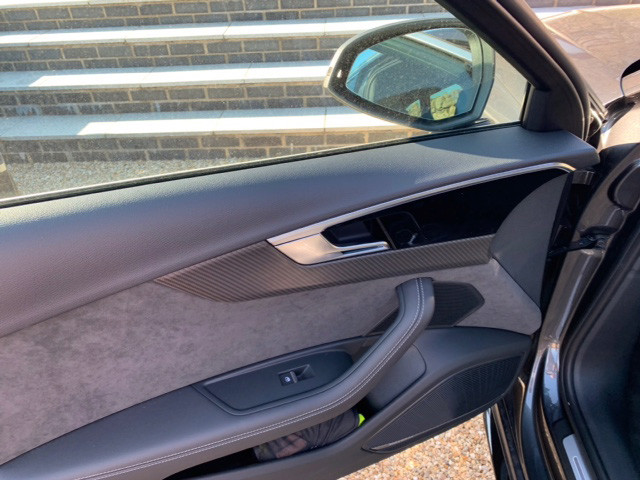
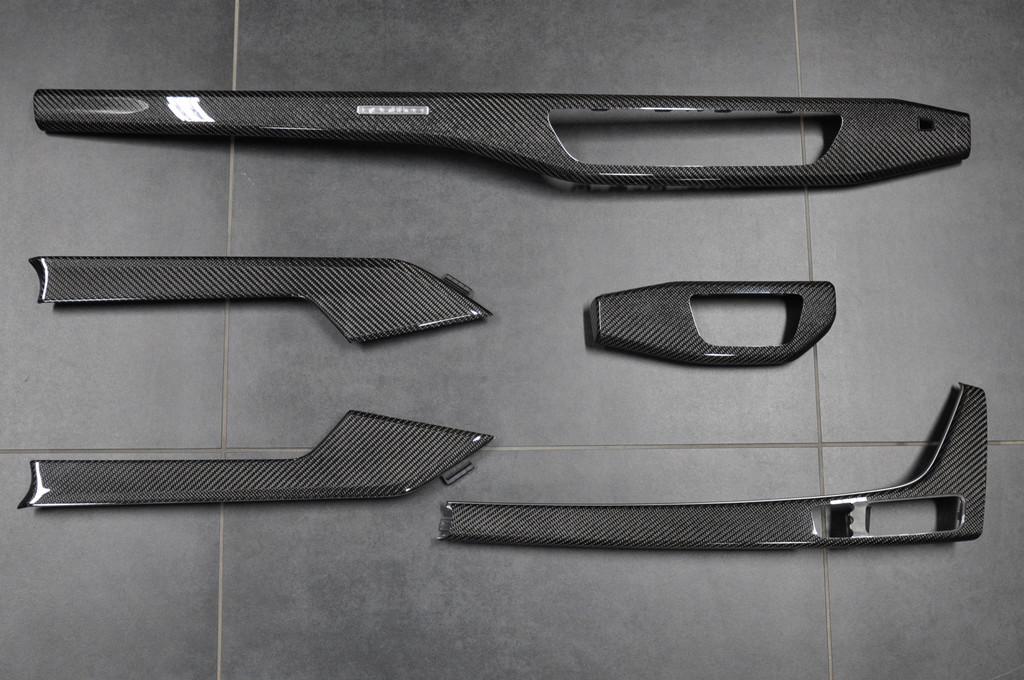
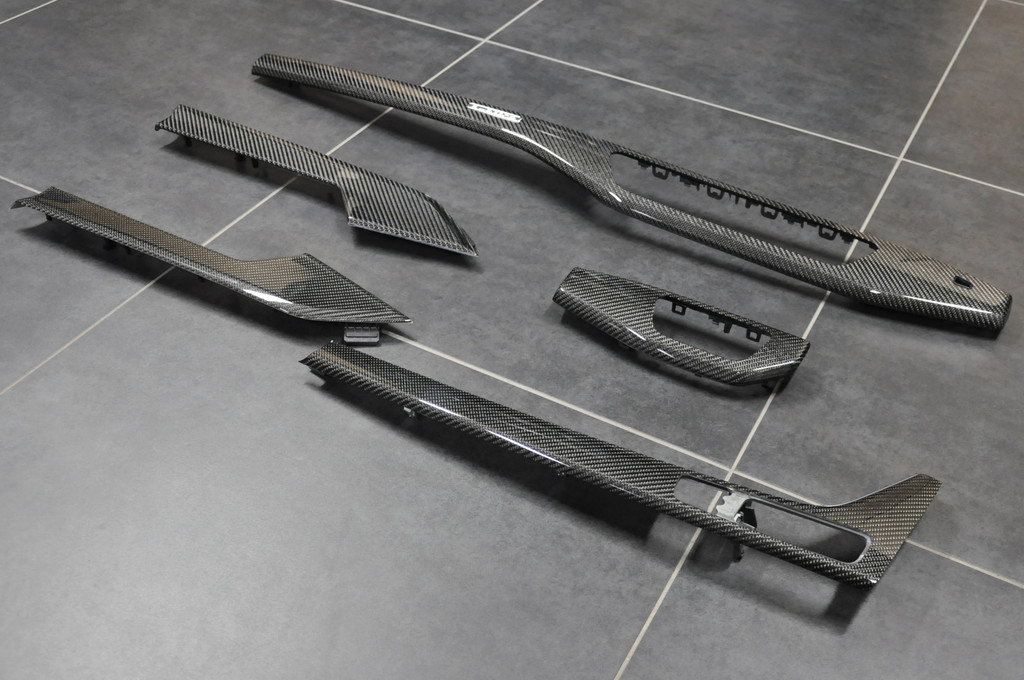
Audi RS4 Glossy Carbon Interior Trim Kit
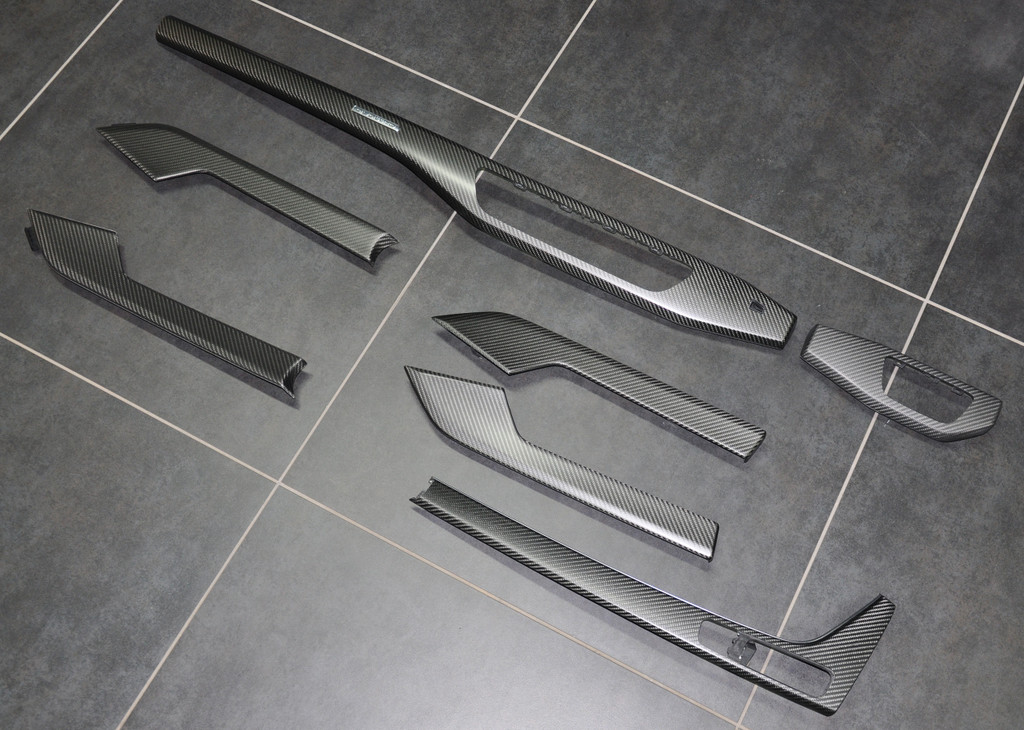
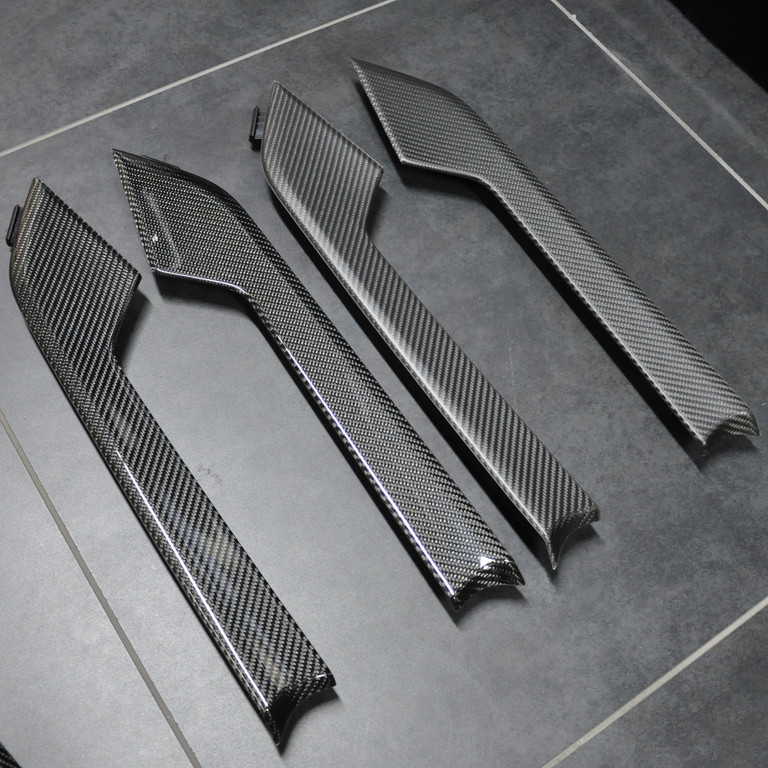
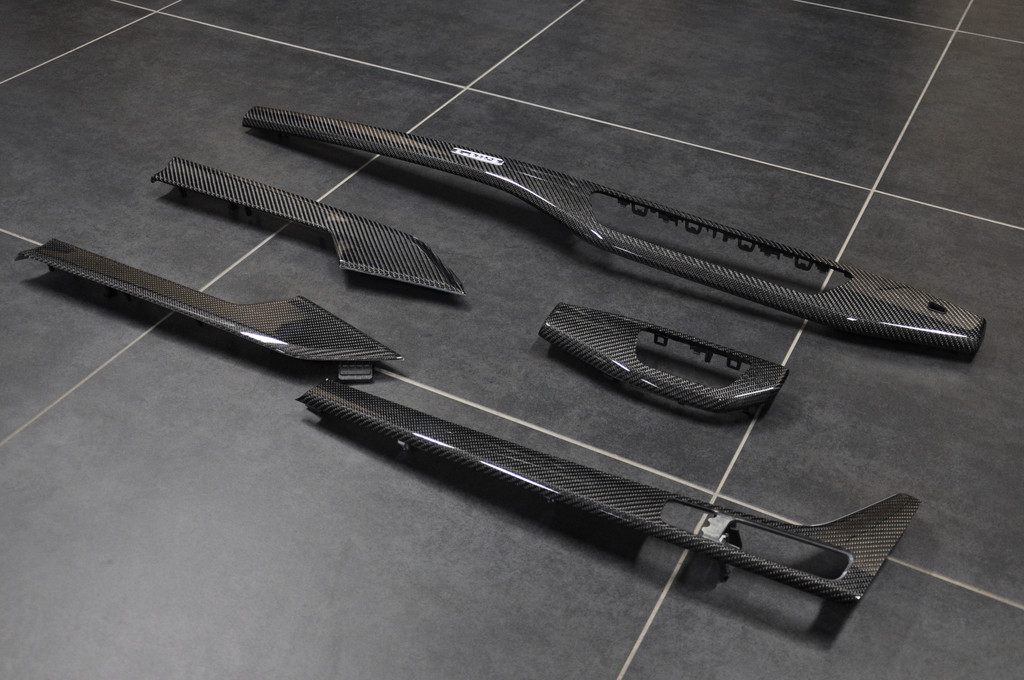
Audi RS4 Matte Carbon Interior Trim Kit
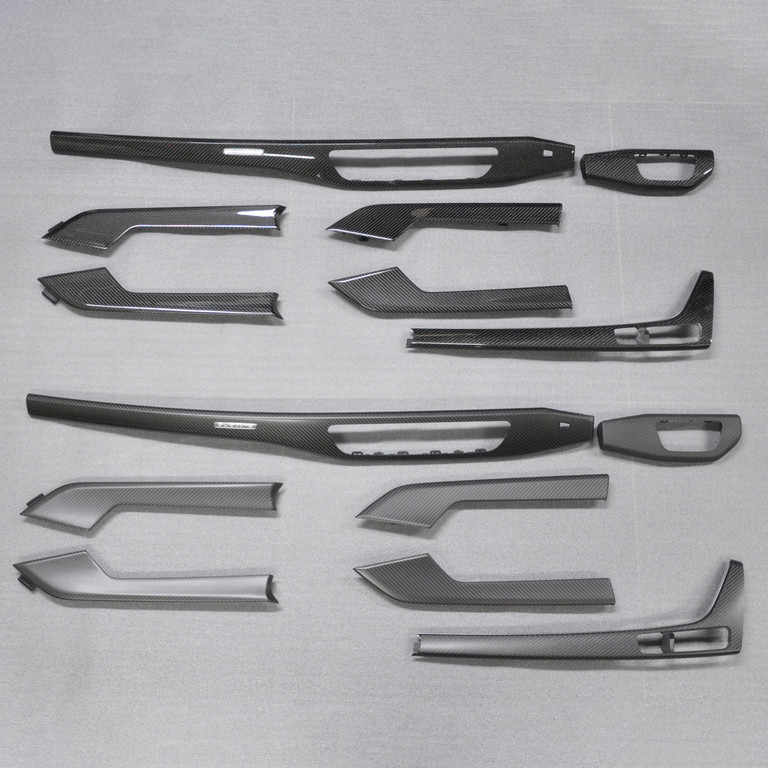
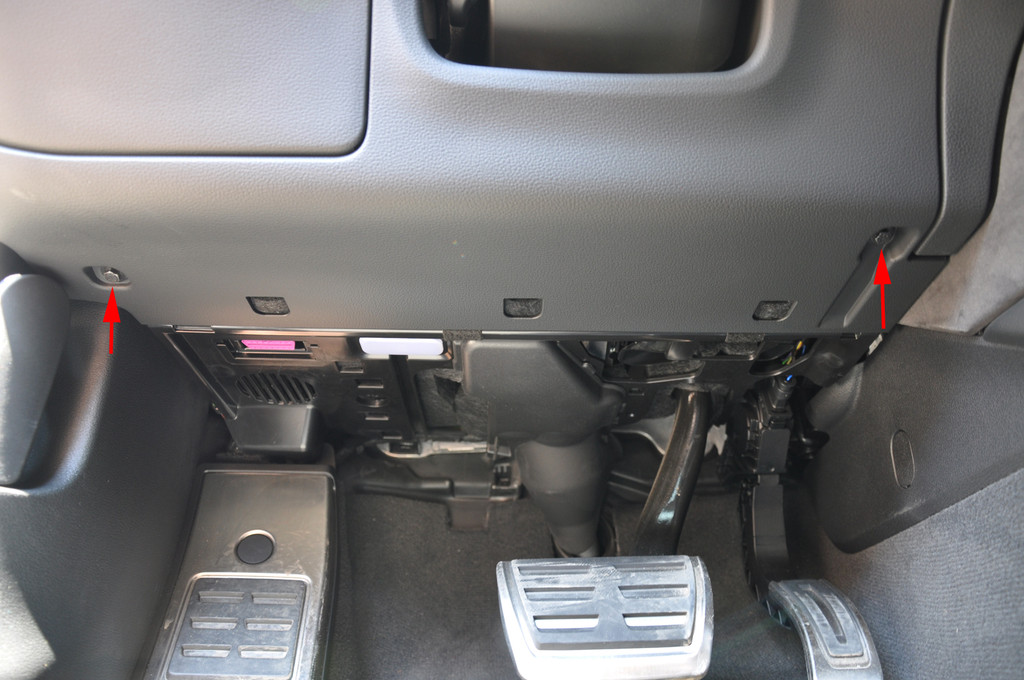
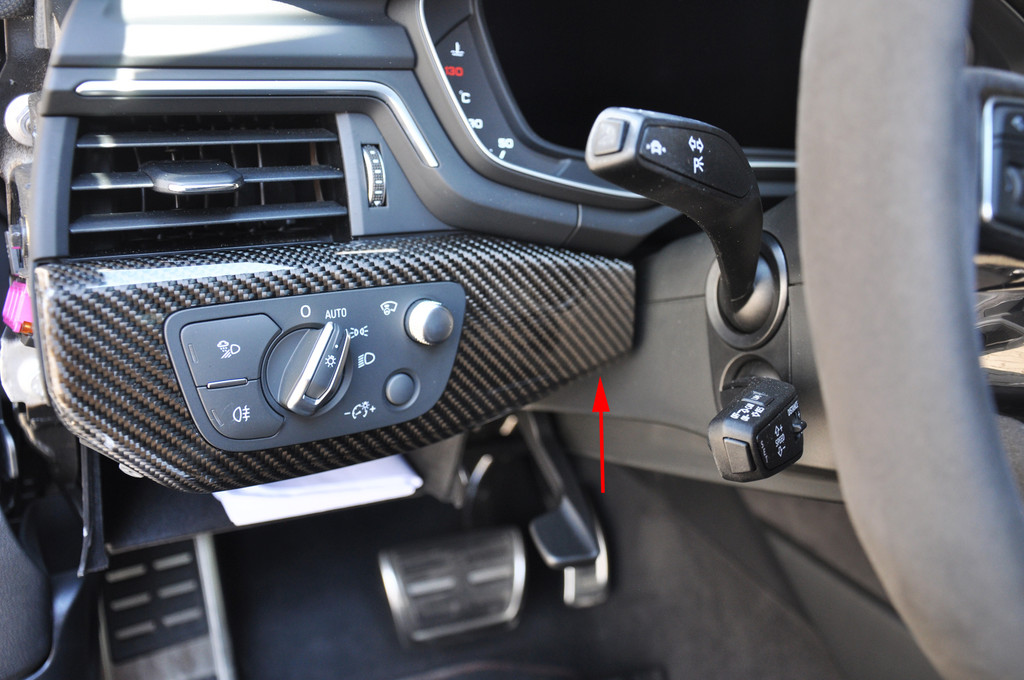
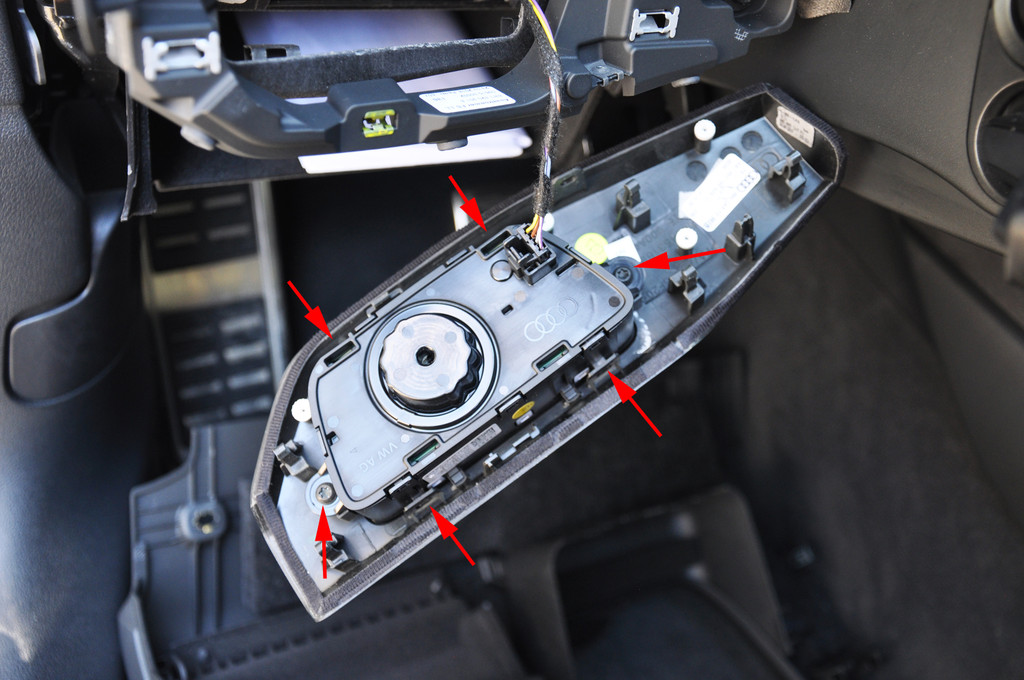
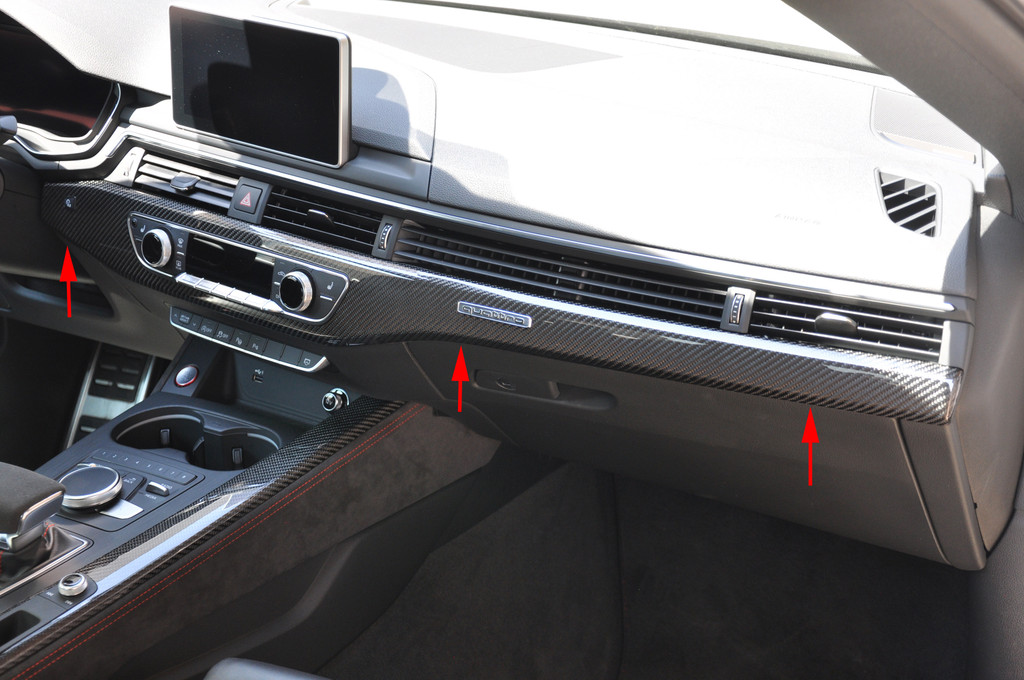
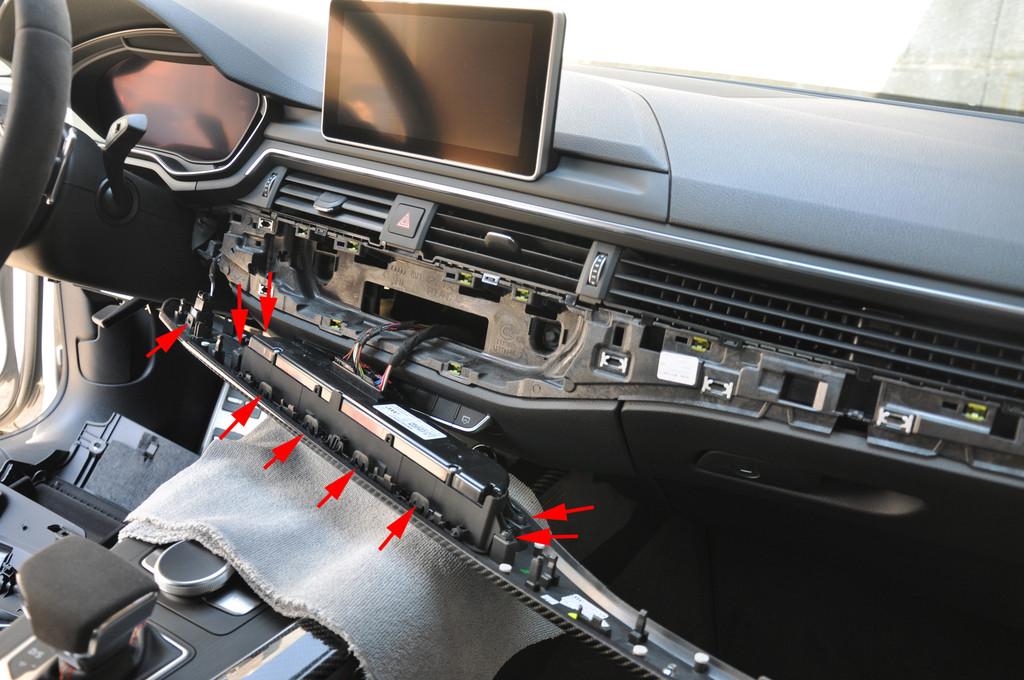
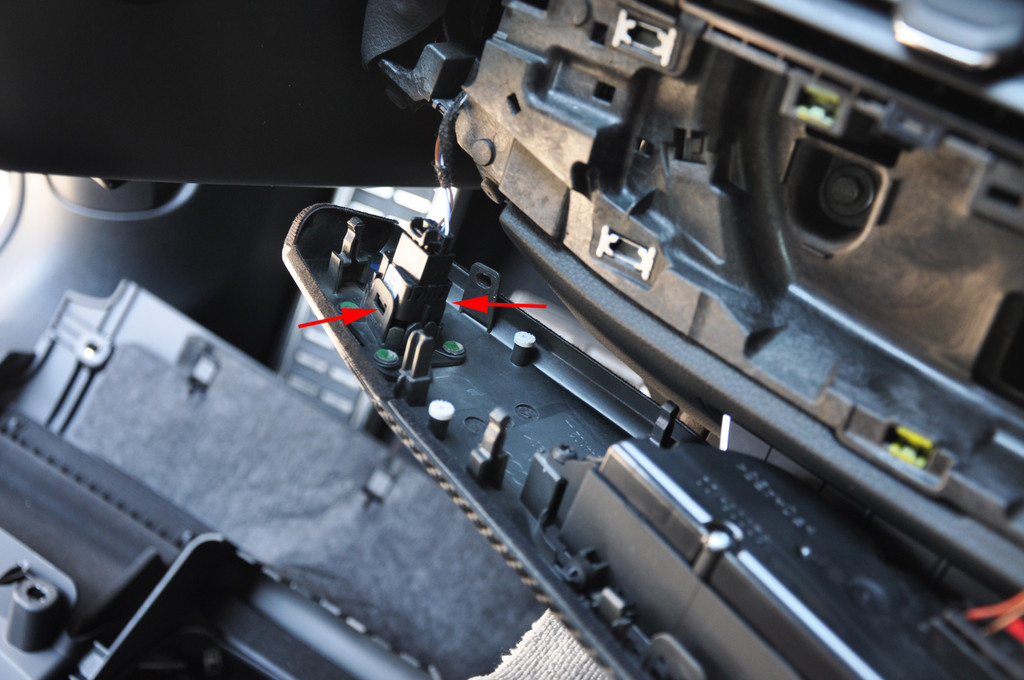
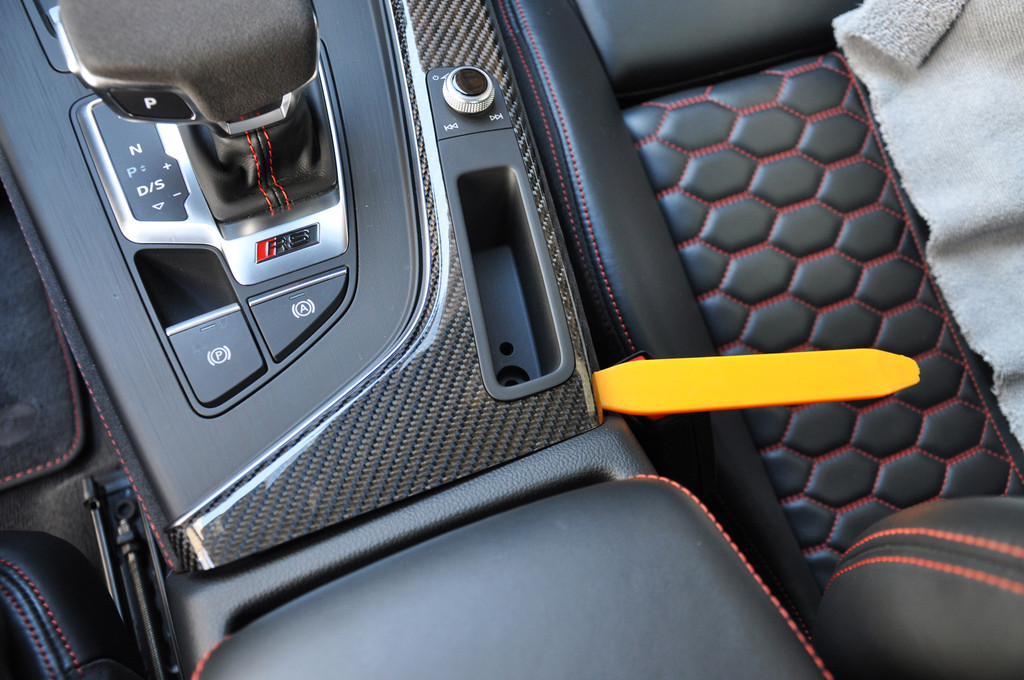
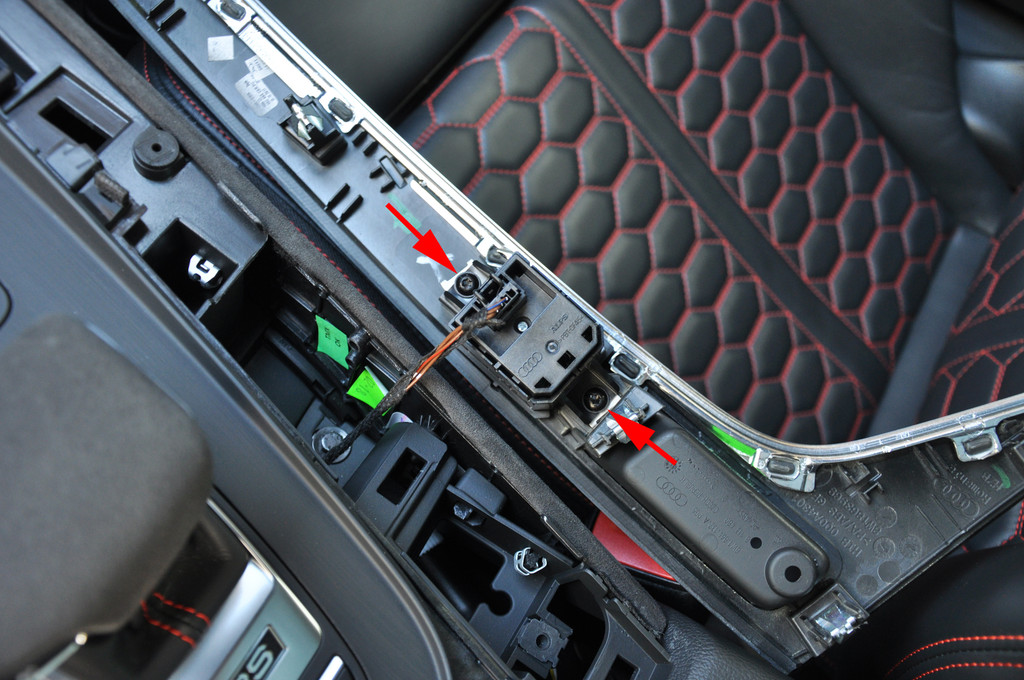
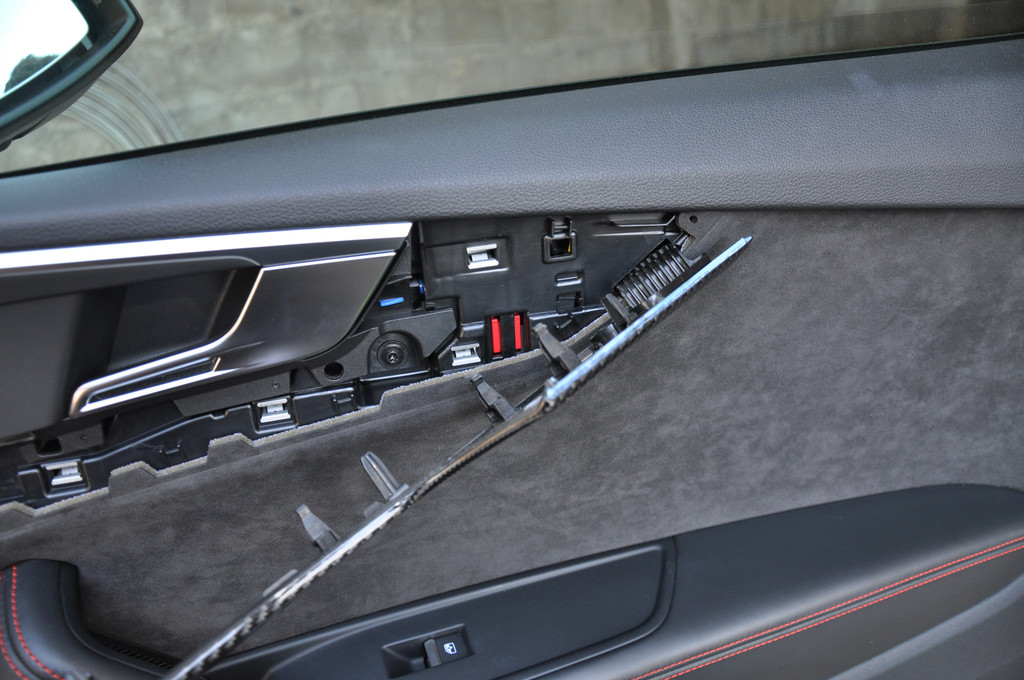
How easy is it to remove the existing interior trim?LittleDevil wrote:Original Audi RS4 B9 2020 Carbon Fiber Interior Trim Kit. Fit to all B9 series. A4/S4, A5/S5 Sportbacc, RS5 Sportback and RS4 Avant! Matte and Glossy Carbon Available.
Price: 1150EUR + shipping + paypal fees
Info: PM or litledevil@gmail.com
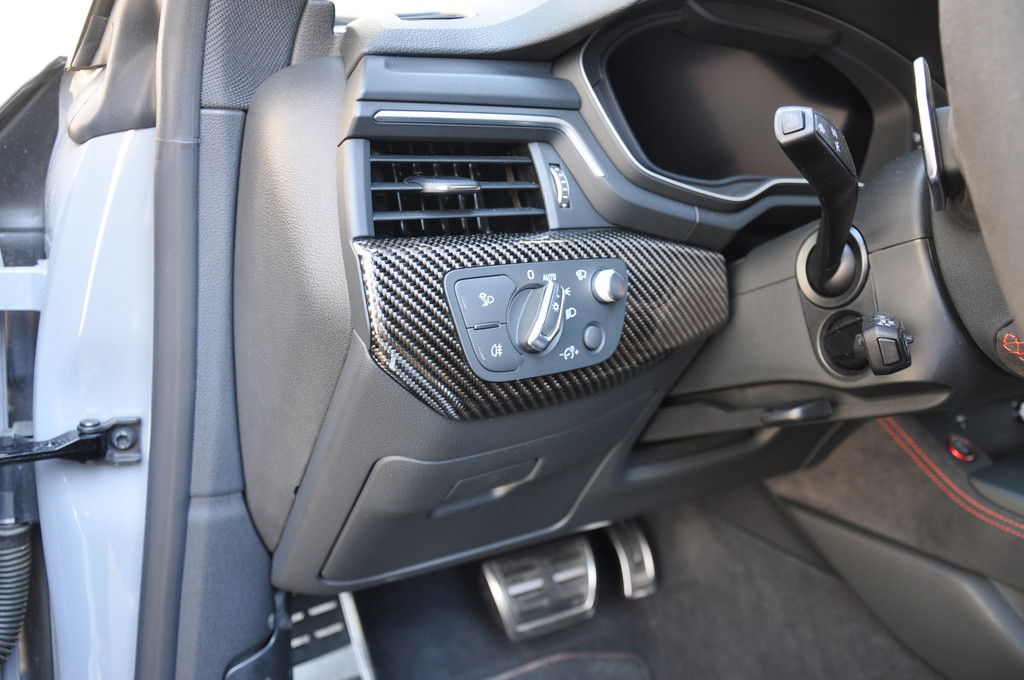
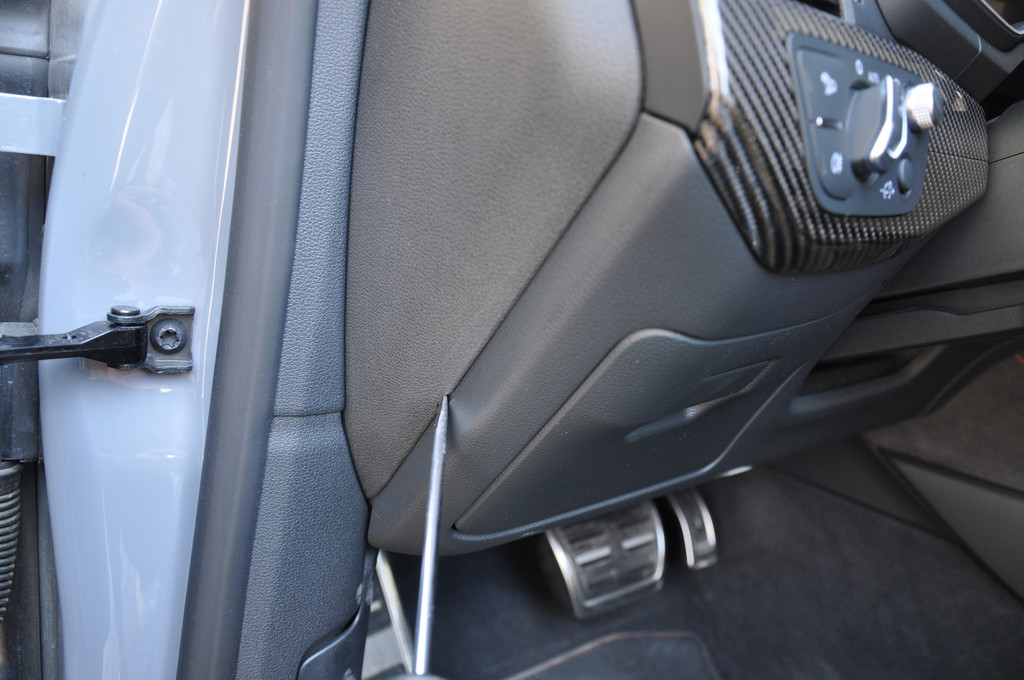
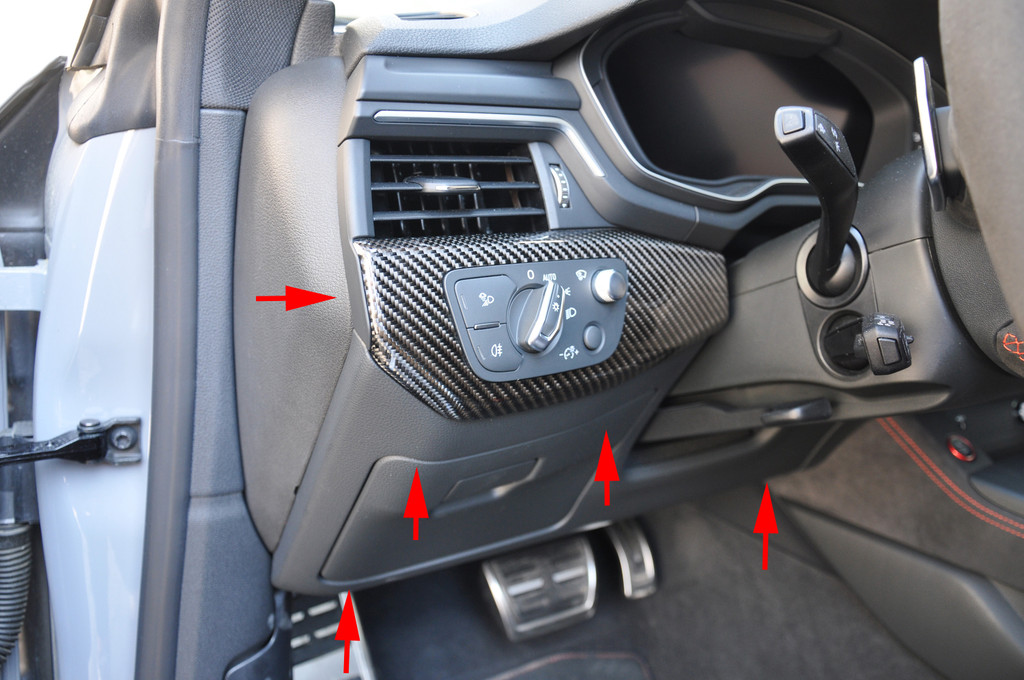
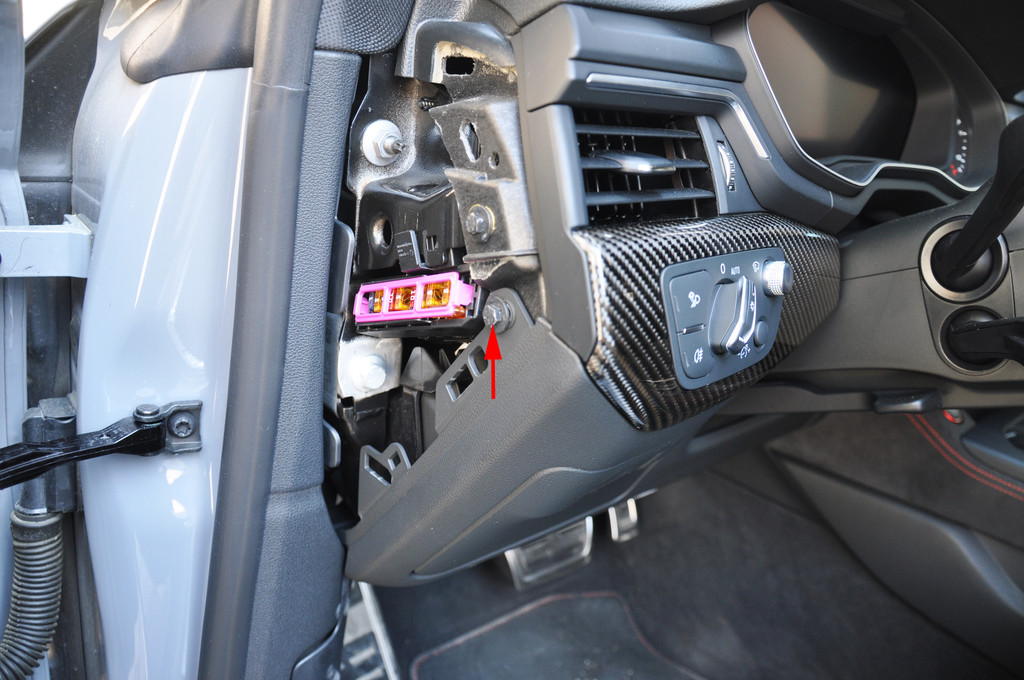
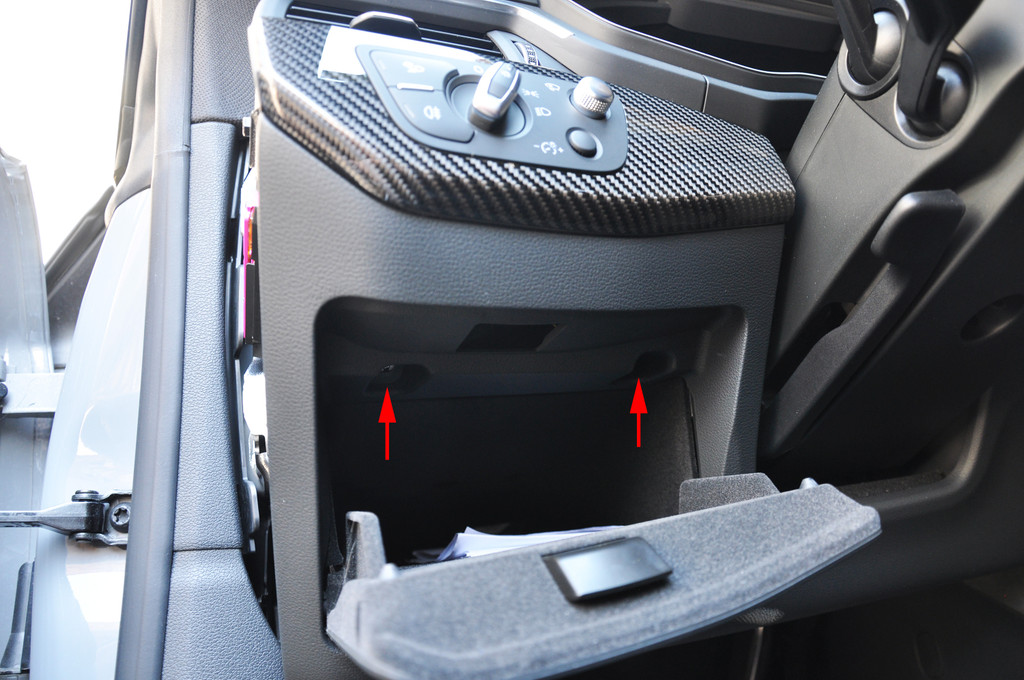
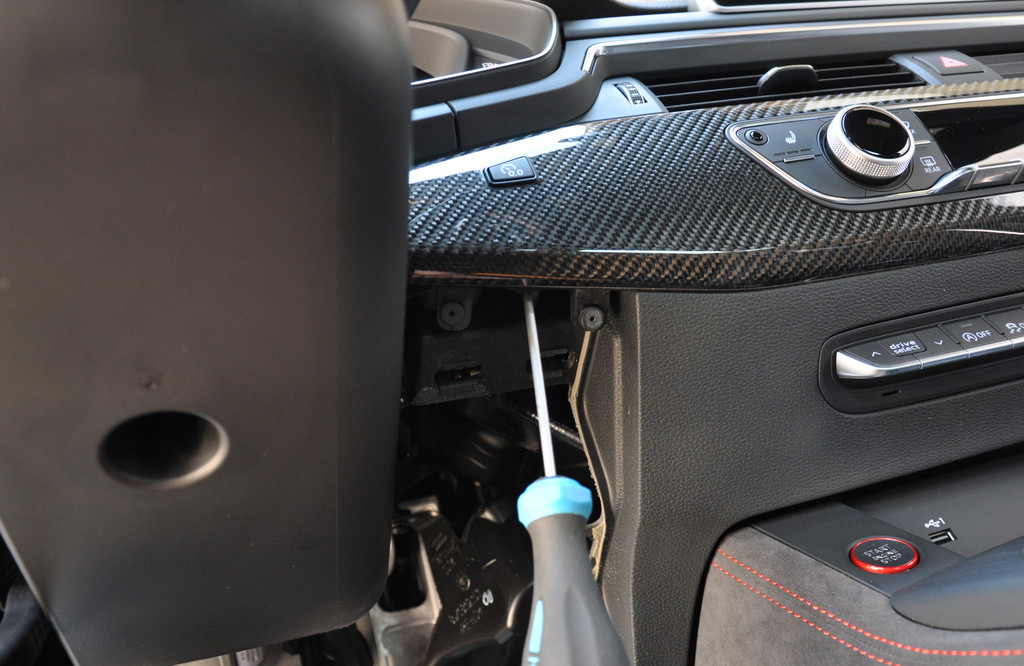
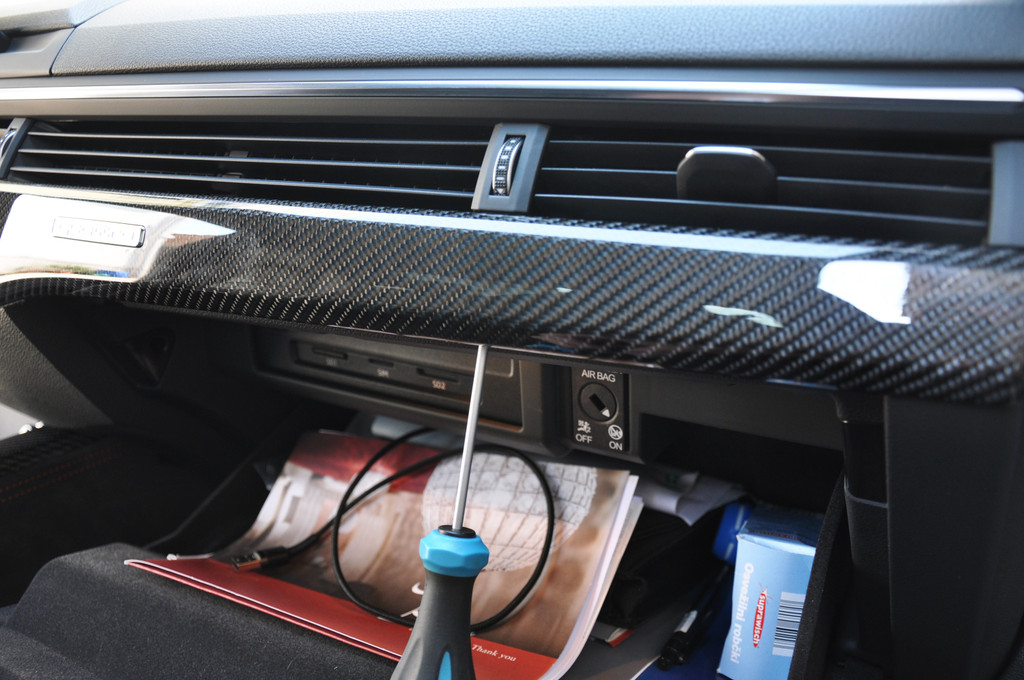
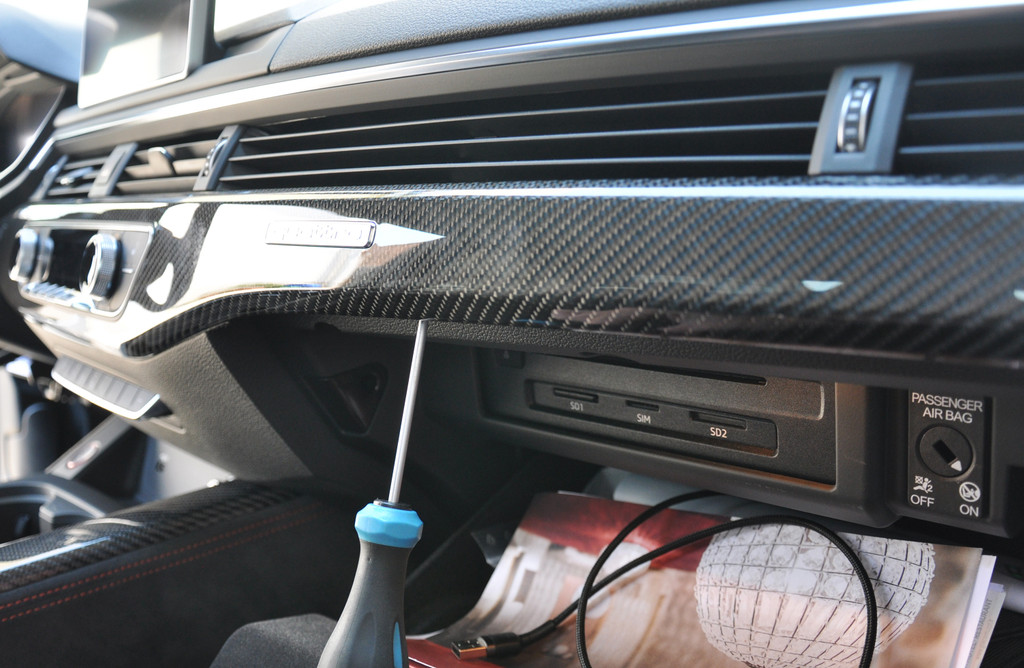
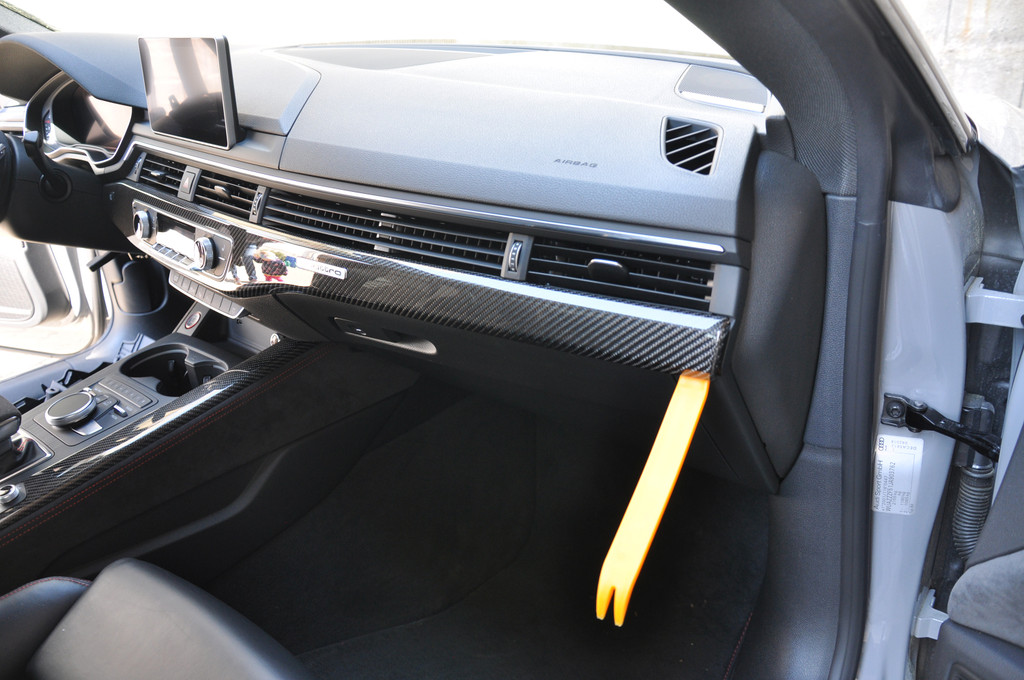
Thank youLittleDevil wrote:It is 1h job or even less. I will make and post some pictures tomorrow.
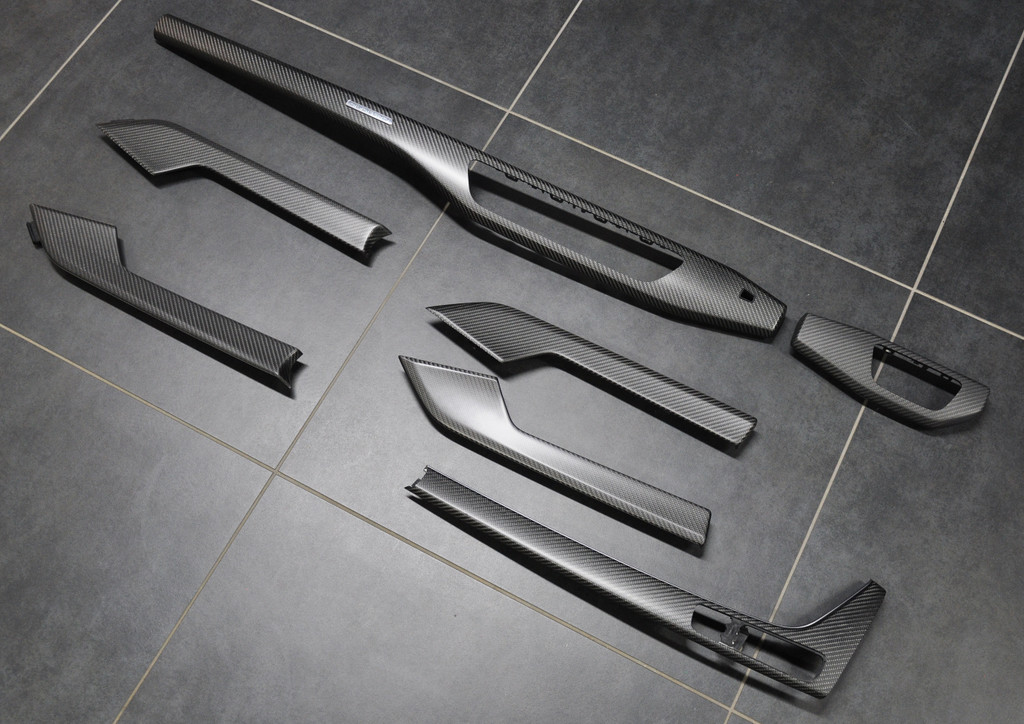
These look very nice, trouble is they look a like a bit an ordeal to remove existing without causing damage.LittleDevil wrote:And two more, with and without flash.
Users browsing this forum: Google [Bot] and 14 guests