finally had a break in the weather at the weekend and was able to start the detail project for Sevy (Si) on his RS4 that had discussed on here few weeks ago now on some threads.
This will be the first of a few threads coming up, as being Sprint Blue, it makes a great detailing project and showcase hopefully
The brief was to give it a good clean-up and protection detail, it is used as an everyday driver and was looking very sorry for itself. No correction was planned (other that could be achieved by hand with a paint cleaner) as we were going to make that the subject of another thread when weather is better, and remove its winter jacket.
I also decided to continue the idea of a touchless routine for the body with the use of just foam and ONR, followed by ONR as the drying aid/qd wiped down as part of the drying phase, with Eurow Fluffy Towels.
So onto the info, first the process, then the products, then the pictures.
Process in a nutshell:
ONR/G101 Pre-Soak/ dwell.
Wheels sprayed with Espuma Revolution through foaming spray head.
Magifoam and dwell
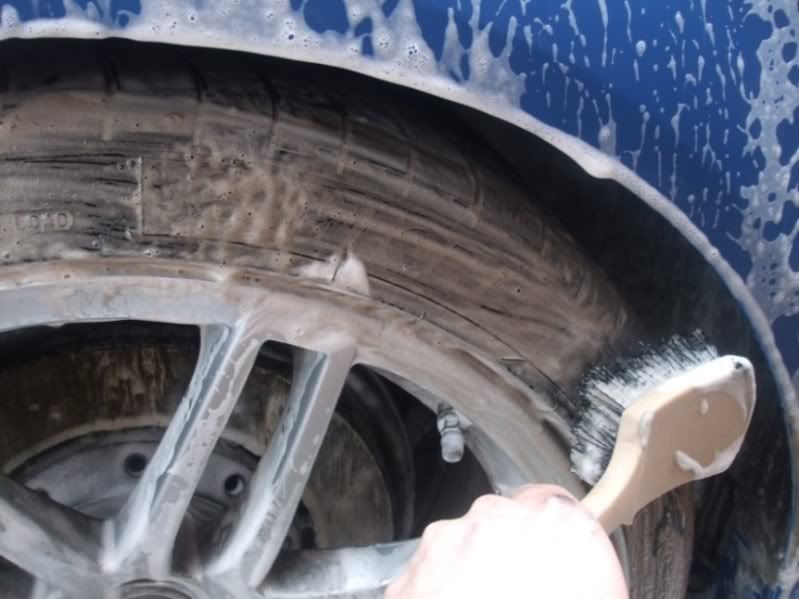
Agitate wheels, arches, tyres.
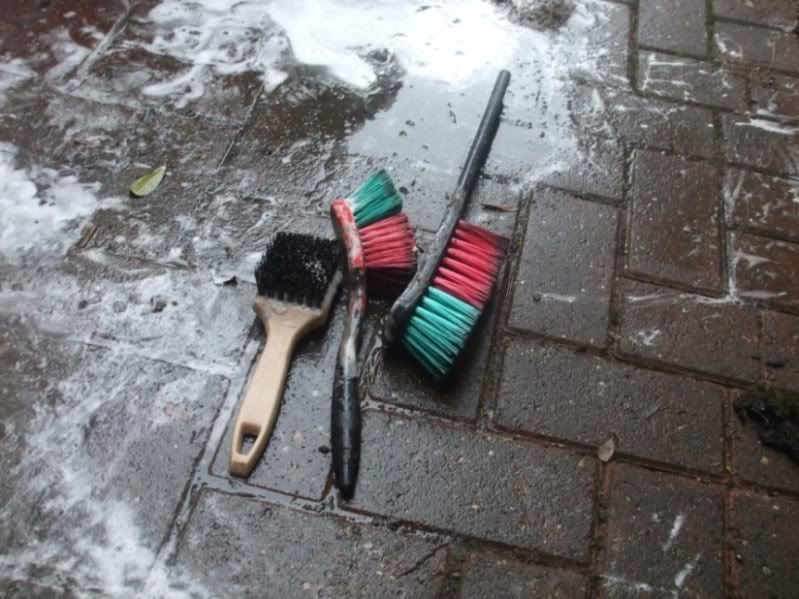
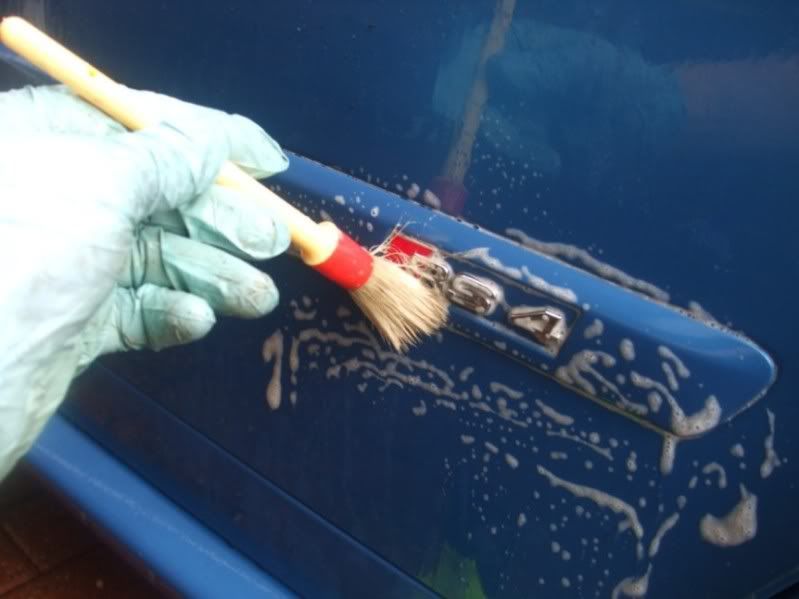
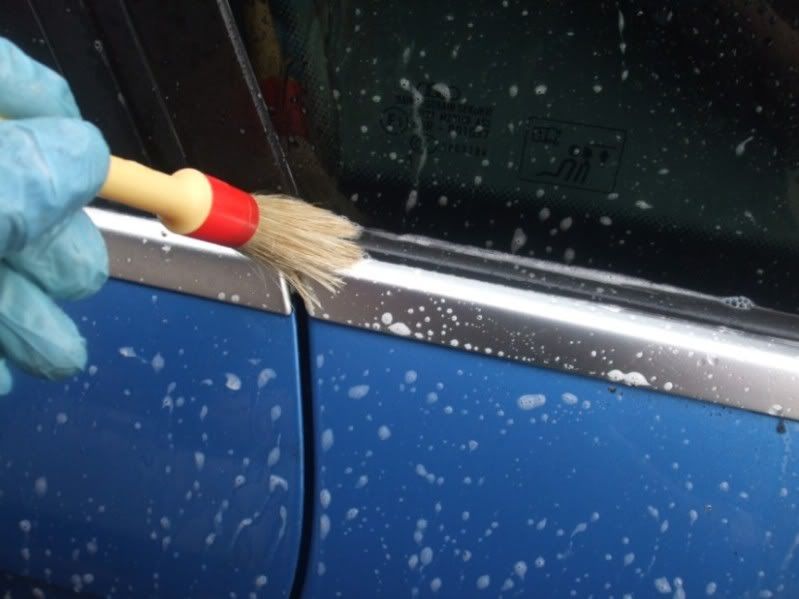
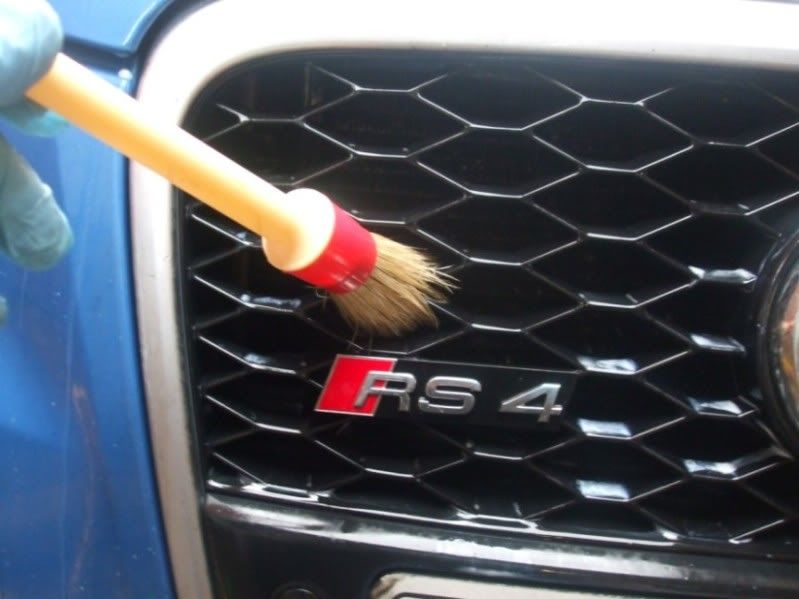
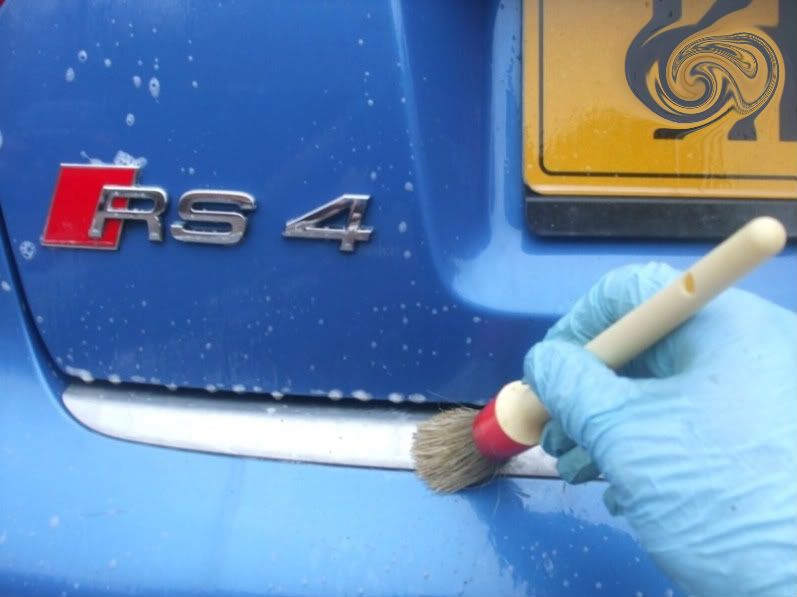
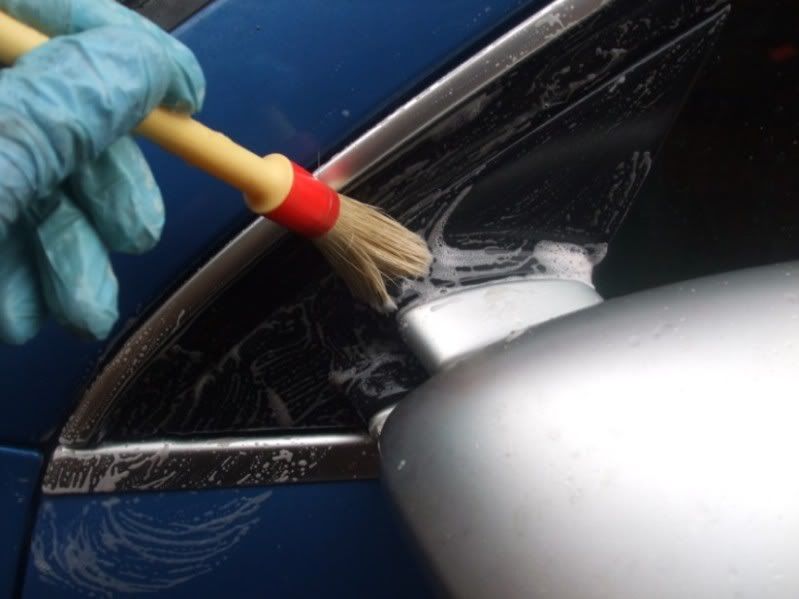
Envy brushes to agitate the badges, grills, handles, window rubbers etc using the foam
Rinse
ONR through Sprayet and dwell
G101 again on stubborn stuff on sills, bumpers, arches, skirts, applied to badges,windows rubbers as above and agitated with envy brushes
Rinse
ONR as drying aid/qd and dry off with Eurow Fluffy Blue towels
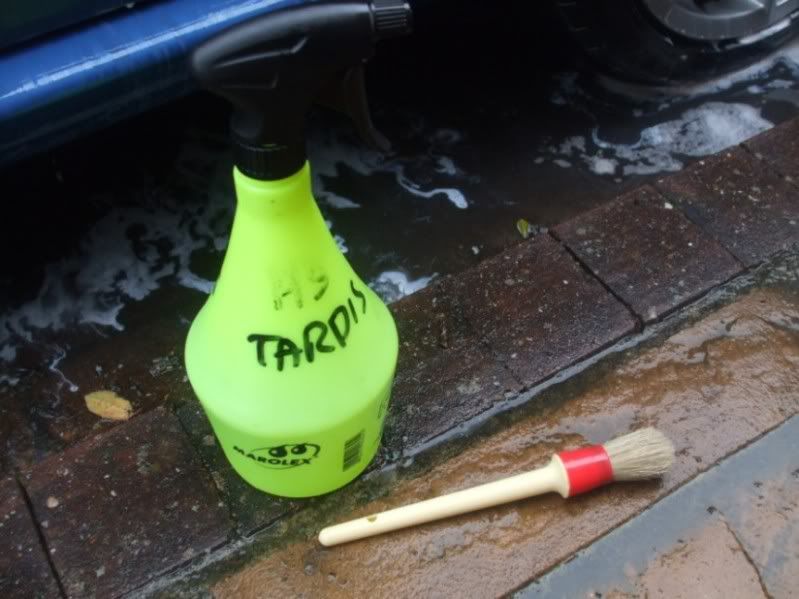
Decontaminate with Tardis/ IronX / IronX Soap/
Rinse
Clay & wipe down (ONR used as lube)
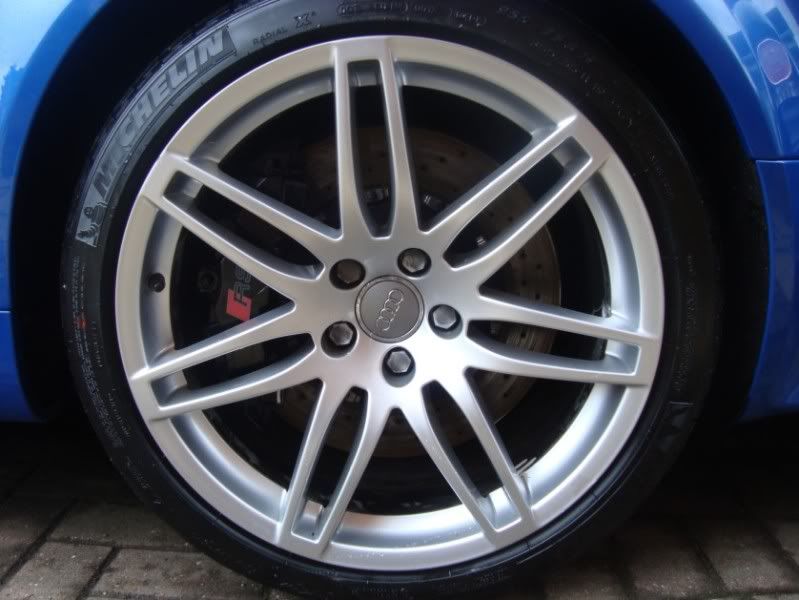
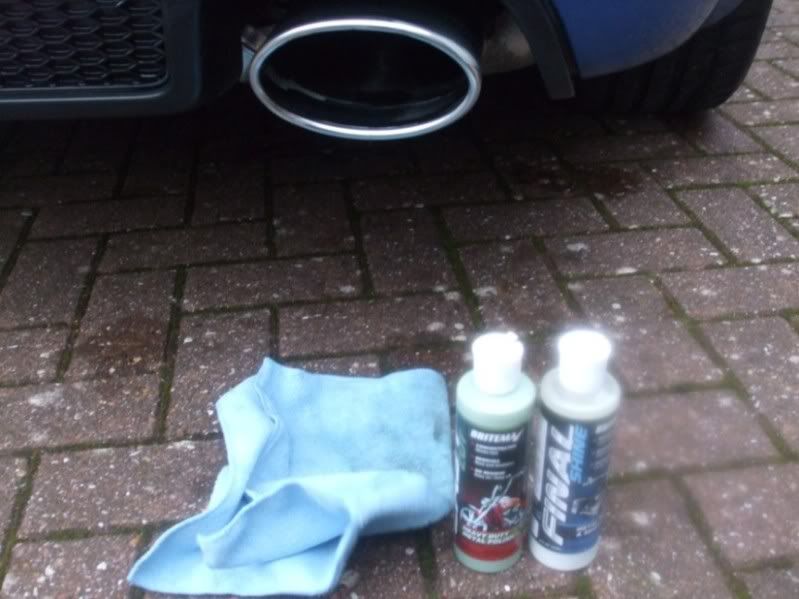
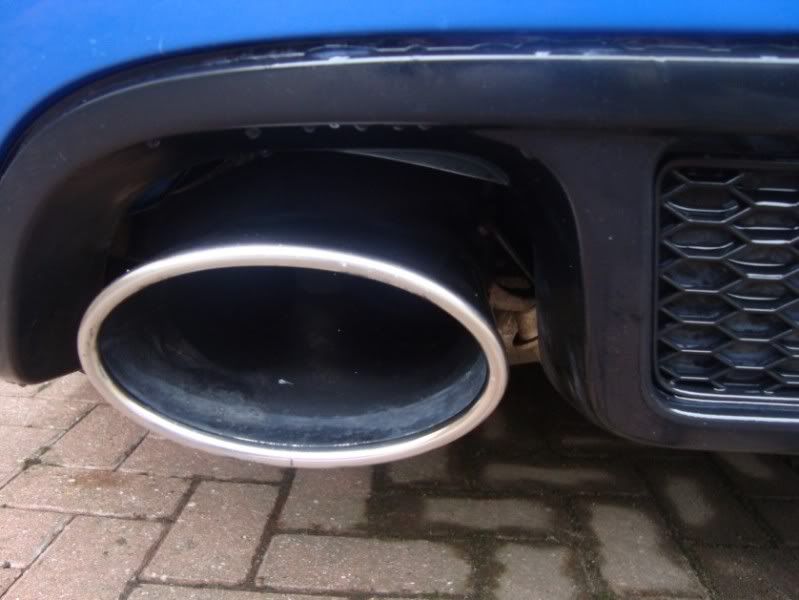
Wheels, exhausts/ glass/ trim - polished/sealed/dressed
Jeffs Werkstatt Acryllic Kit as paint clean and protect.
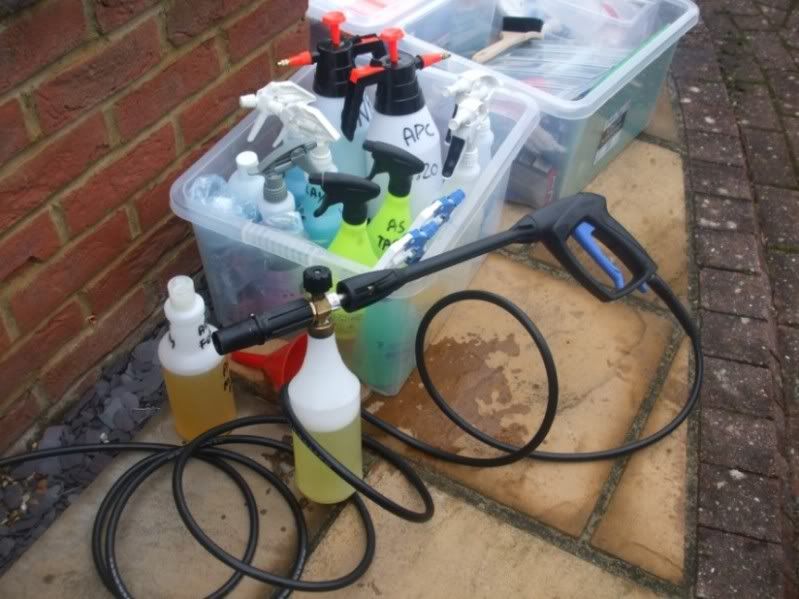
Products:
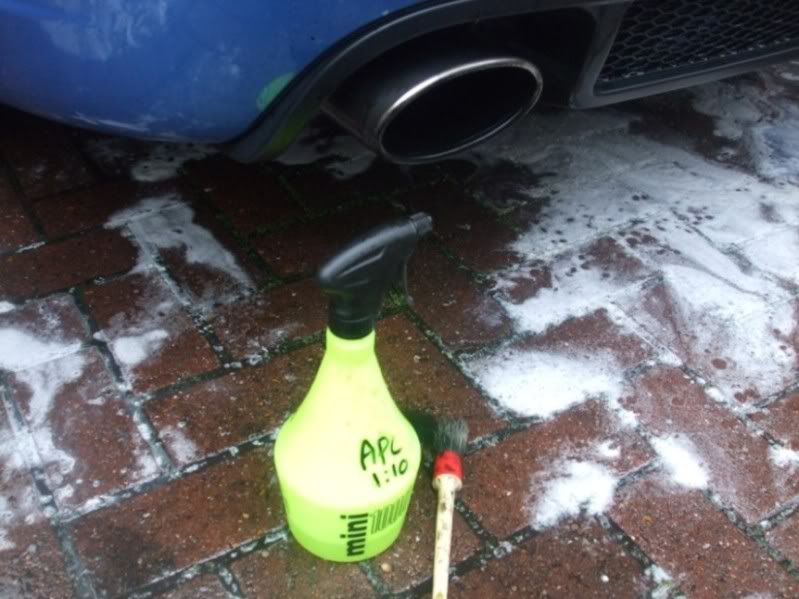
AS G101 APC
AB Magifoam
Espuma Revolution
ONR
AS Tardis
IronX
IronX Soap Gel
Yellow Poly Clay
Espuma Green Glass Cleaner
Jeffs Prime Strong
Colinite 845
Espuma RD50
Britemax Metal polish/selant twins
VP Dionysus Trim Glitz
Jeffs Werkstatt Acryllic Kit
Eurow Fluffy Blue Towels
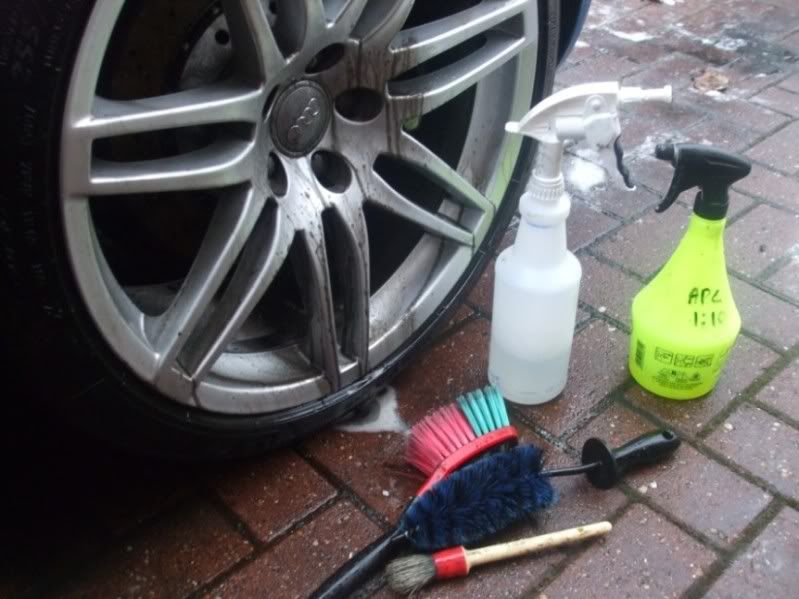
Envy Brushes
Vikan Brushes
EZ Brush
Sonus MF Pads
Sonus Towels
Pictures:
Warning.... there is 50+ photo's, so you may want to go and make a brew and make yourself comfortable ...Then I realised there some stages I still hadn't captured
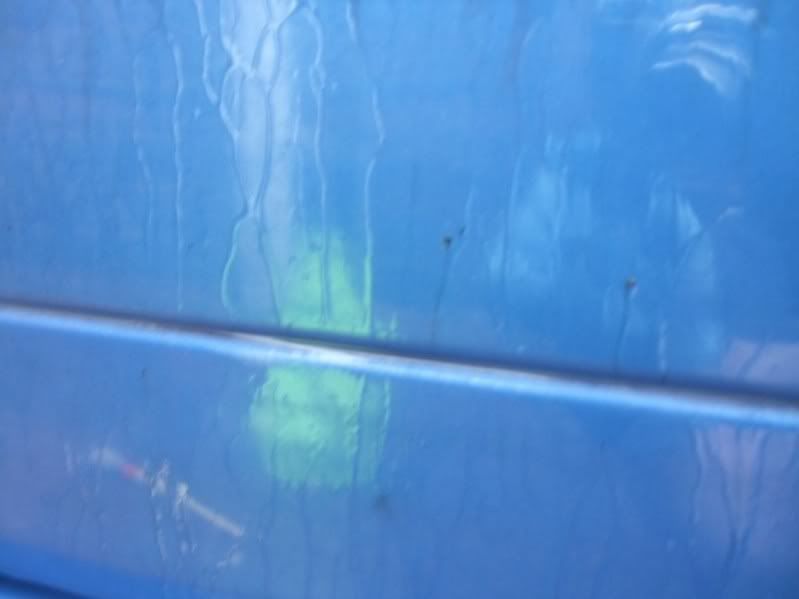
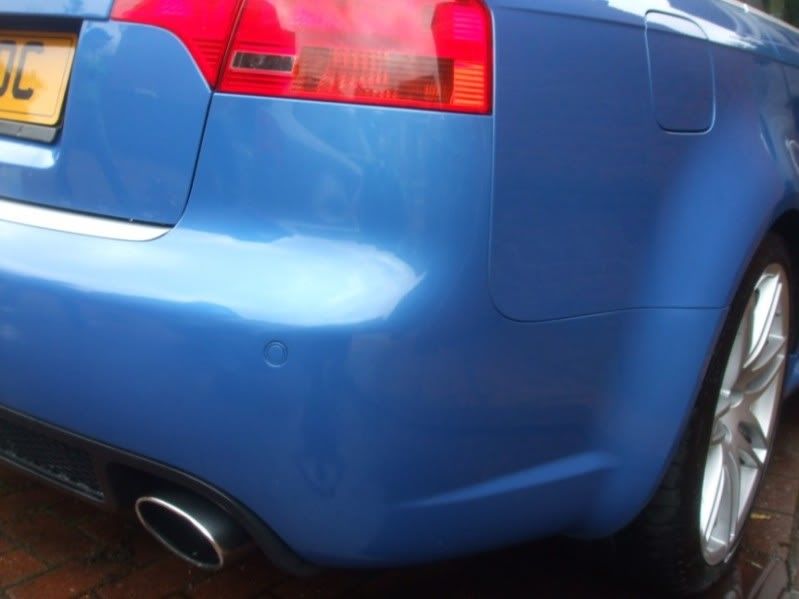
Excuse some of the results pics, but was fighting of the drizzle and spots when came to end of the day, so shots were taken between towling dry, so aplogies if there are some water drops still in some.
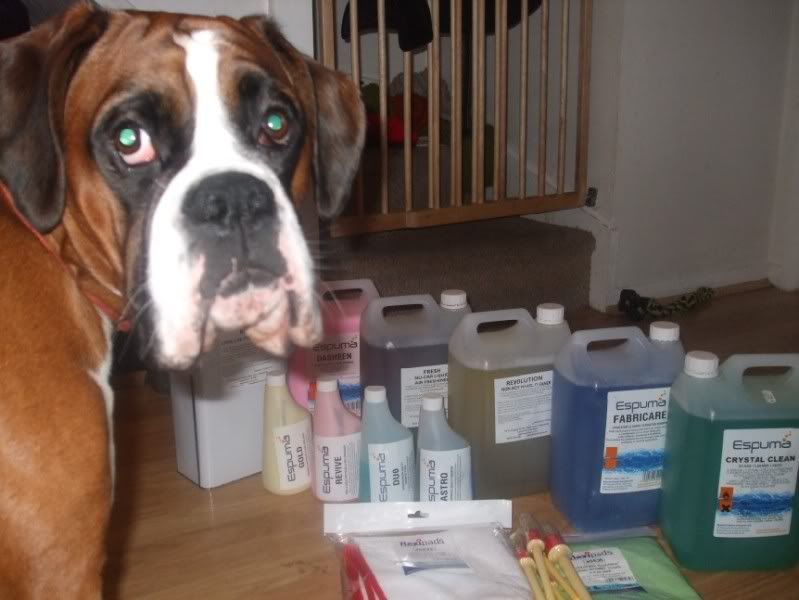
So, had a little stock up of bits before I started.... he doesnt look impressed
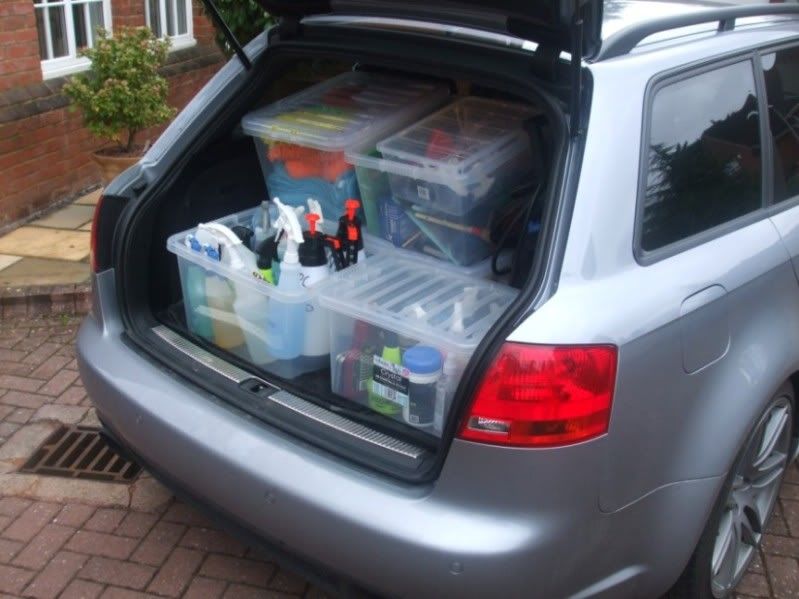
Loaded up the Avant
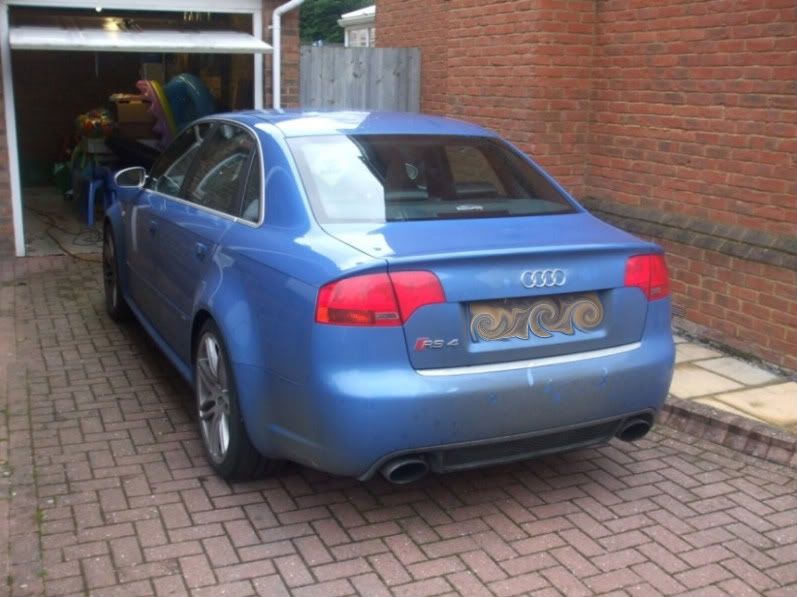
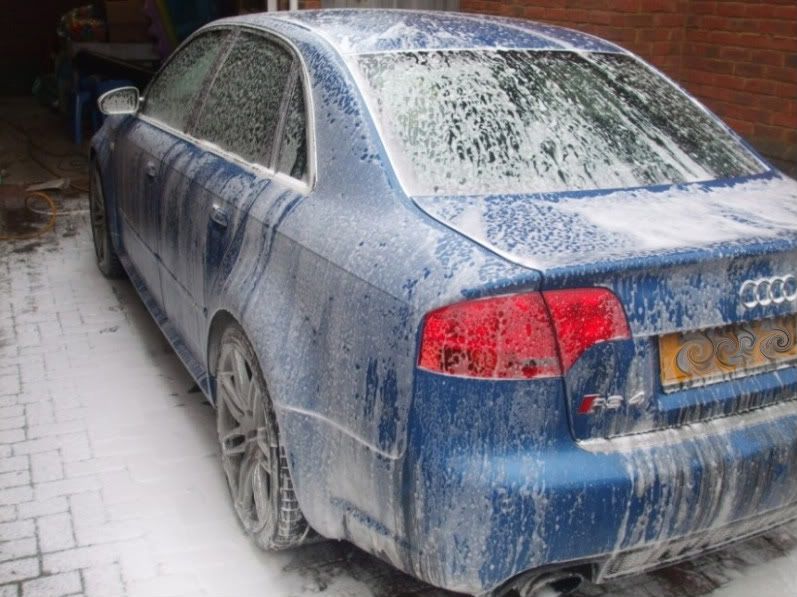
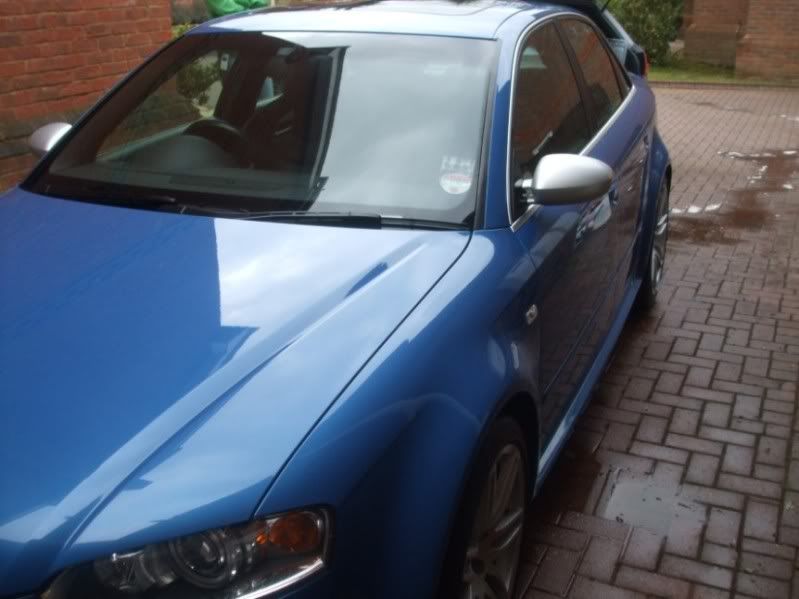
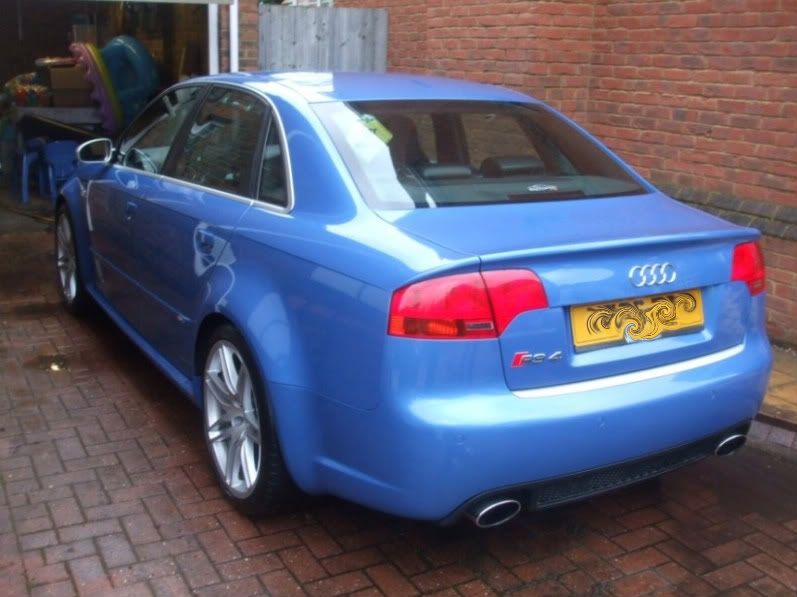
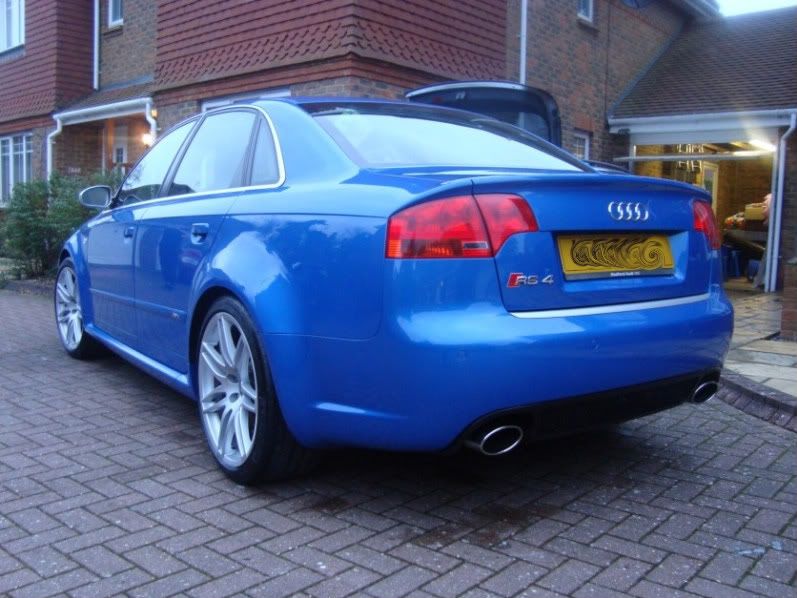
The subject of the days detail
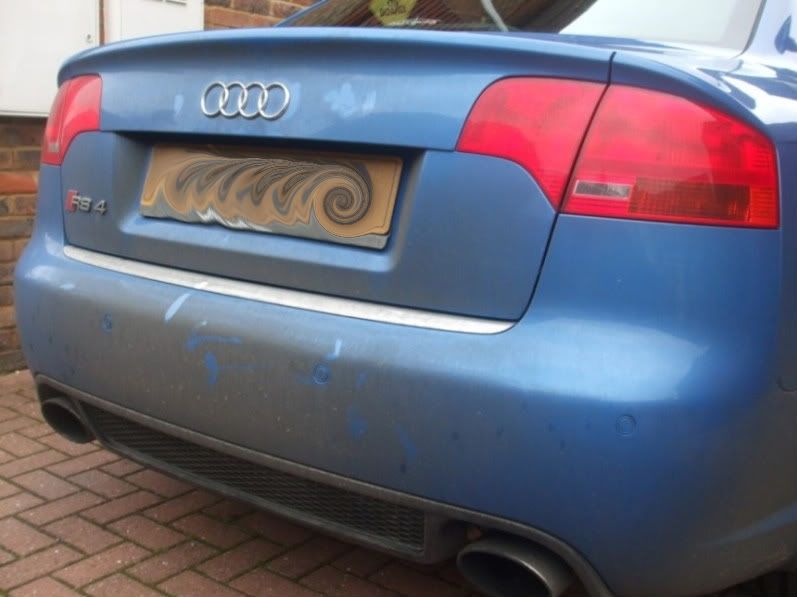


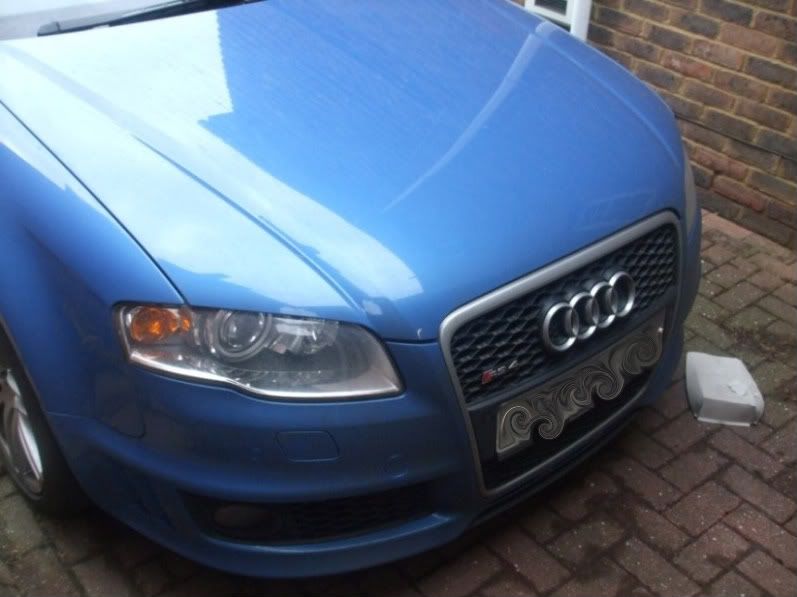
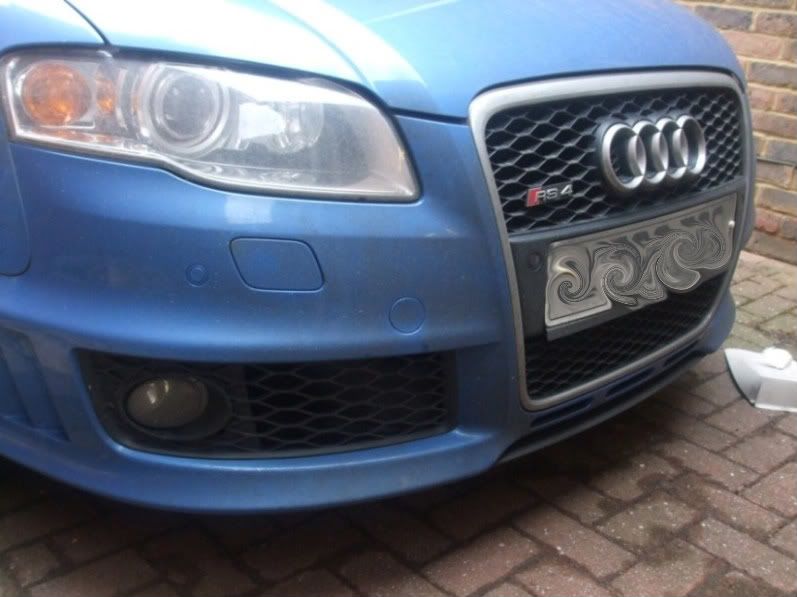
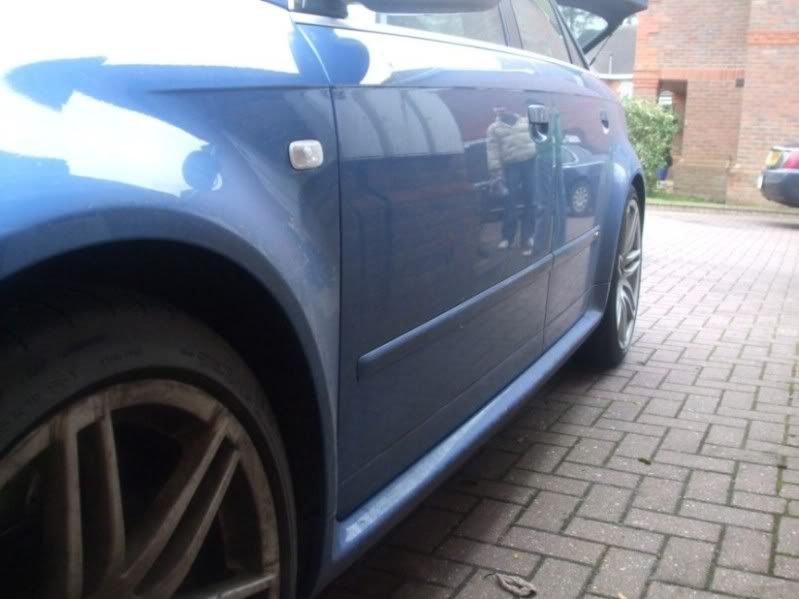
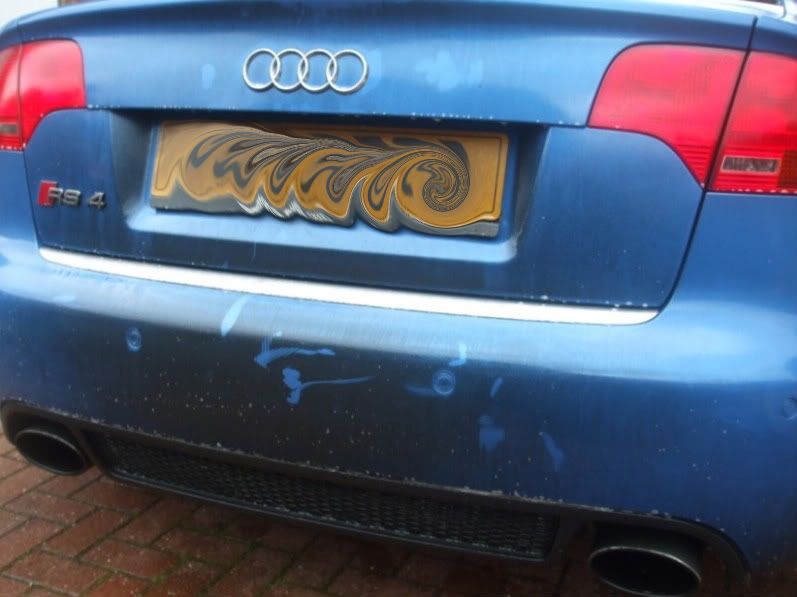
Not a lot of blue paint left on show here

The ONR and G101 Pre-Soak
AB Magifoam and AB Foam Lance... didnt get the really shaving foam shots, these were shots after about 30 mins dwell time, maybe not clear on pics, but you could see that the grime was being actively disolved and running off with the foam.
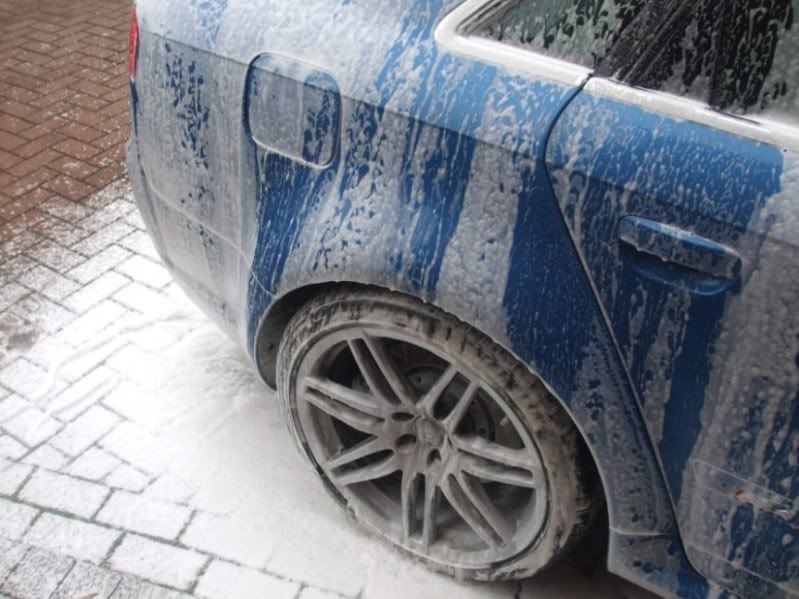
Tyres and arches scrubbed while the foam dwelled, using the foam to assist in the process

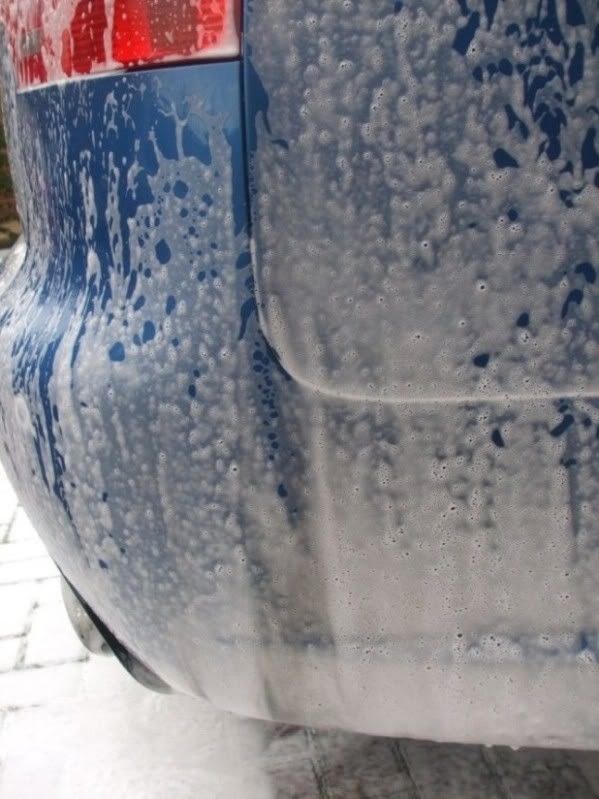
So now came the rinse phase to see if Magifoam had worked its magic and see what we had to work with.
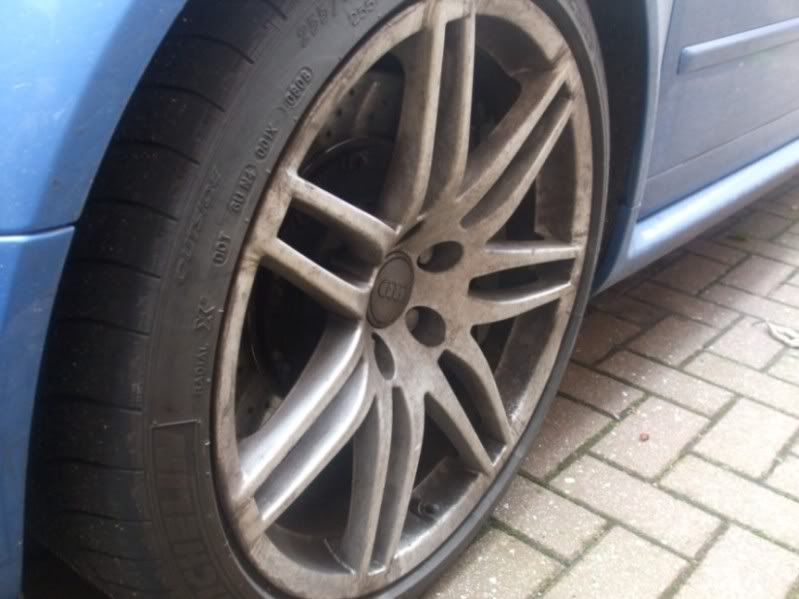
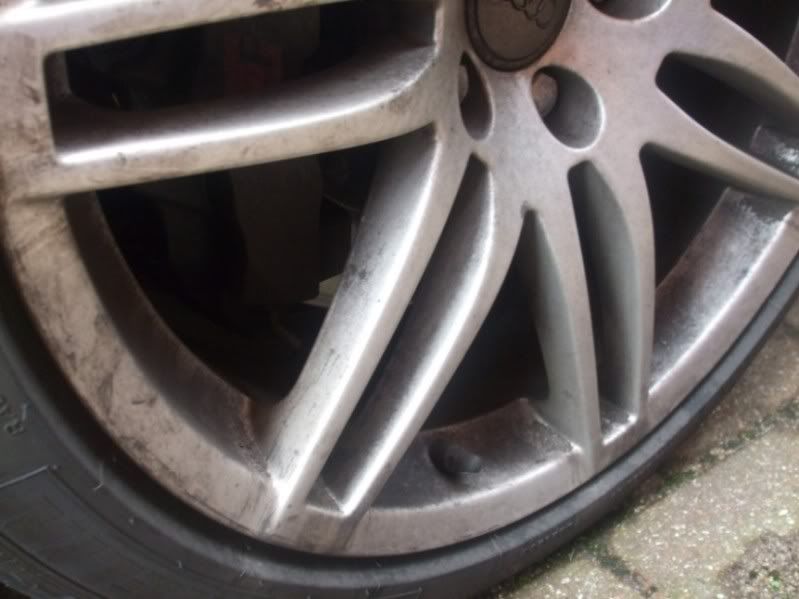
Wheels still bad but lots better than were

Wheels tackled with Espuma Revolution/Tardis/IronX to clean/decontaminate and Envy Brush. Tyres with G101 and Vikan Brush.
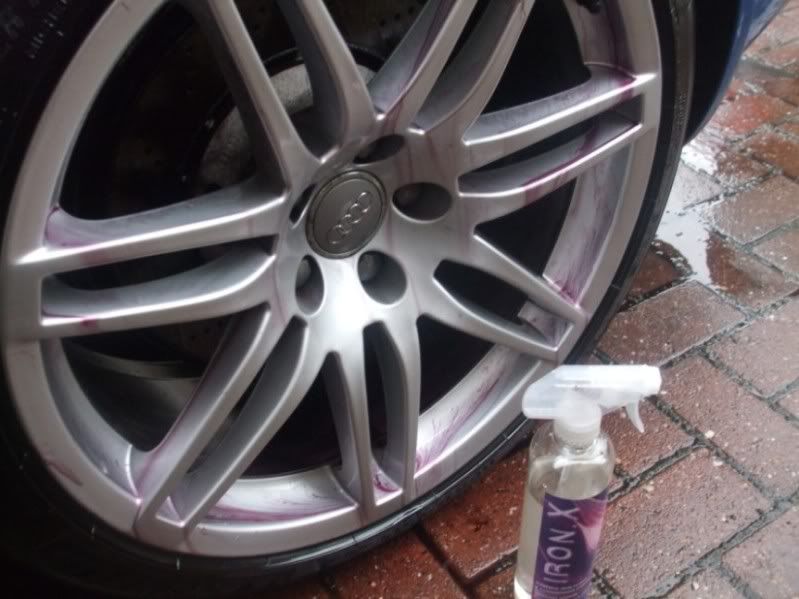
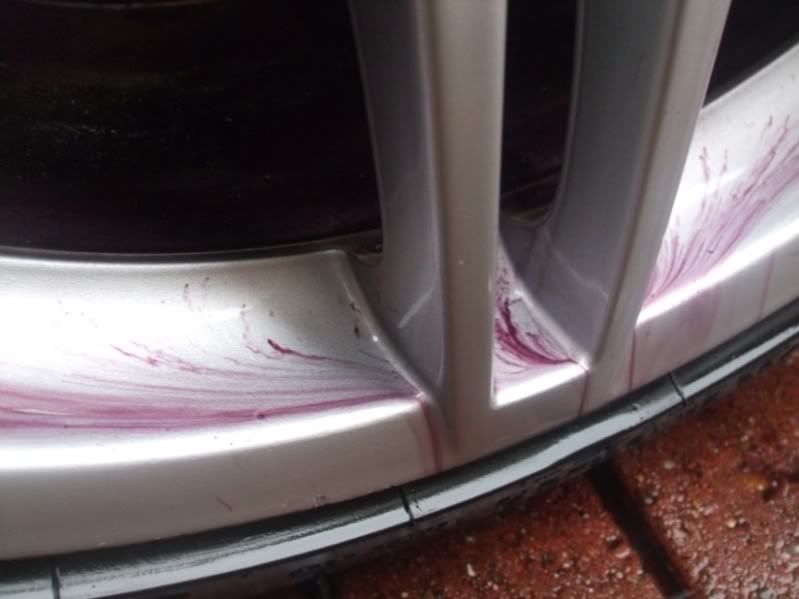

Results left with following a rinse were pretty impressive
Then applied ONR through the 2L Hand Sprayer again and left to dwell... this is in a much more concentrated ration than for a bucket wash, was more like 8oz or QD ratio.
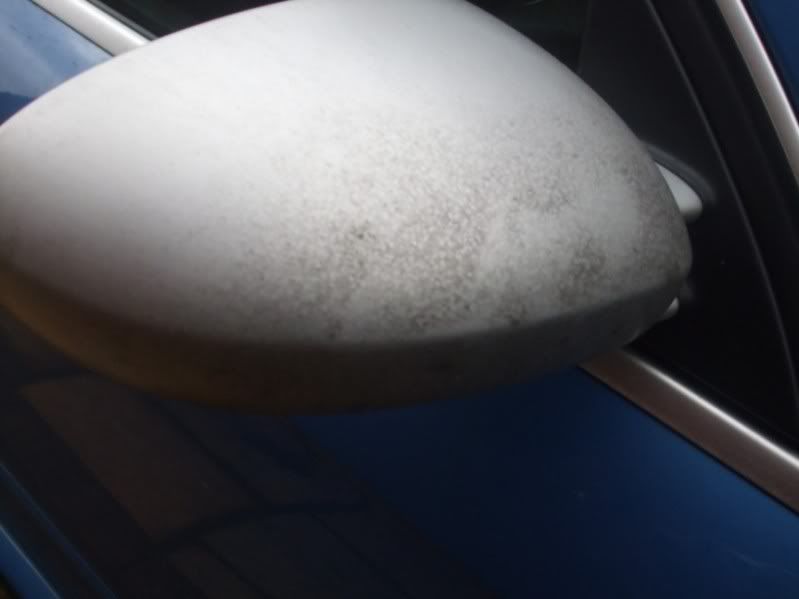
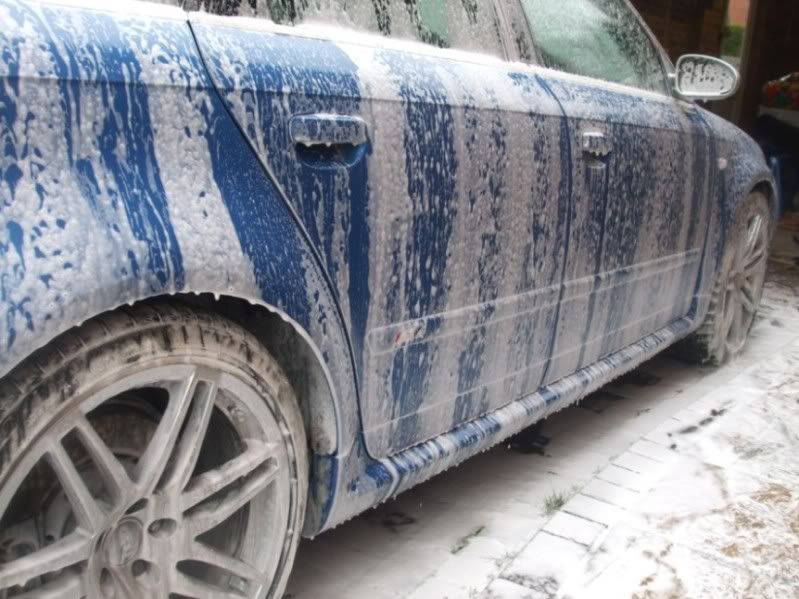
G101 APC was applied through a sprayer to some of the stubborn areas such as sills, arches, bumpers/ exhuasts to dwell. All trim, badges, grills, window rubbers, door handles etc were also spot sprayed using envy brushes used to get in everywhere.
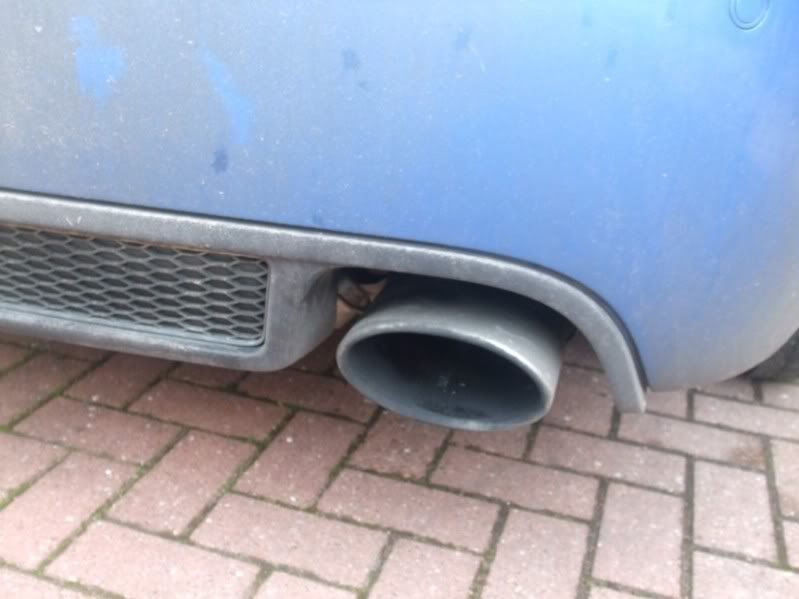
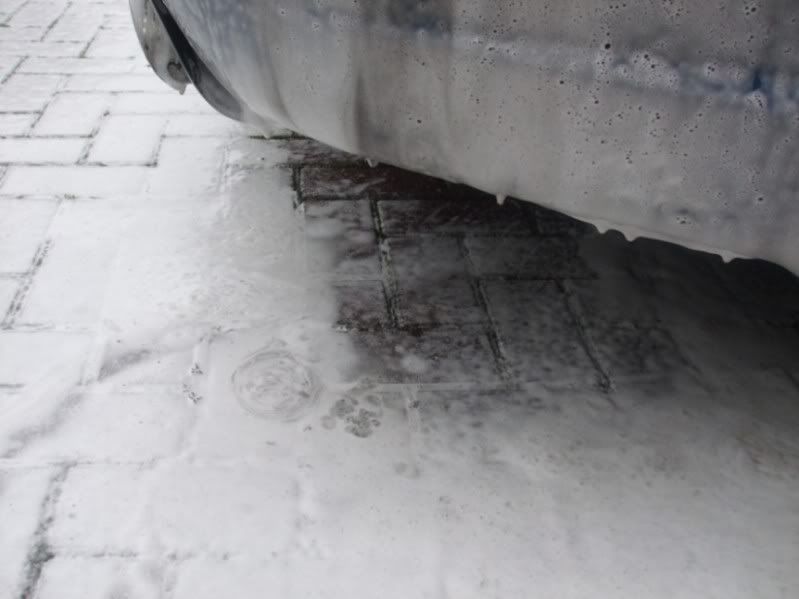
Tail-pipes were treated with more G101 to losen the grime
Car was then given a final rinse down with power washer and final part of the wash/clean was to ONR this time as a Drying aid and to capture any last remaining bits, ONR was mopped up and car dried using Eurow Blue Flufft towels.
So that concuded the touchless body wash, all apart from the drying off stage. So in a nutshell it was Foam/ Rinse/ ONR/ G101 areas/ Rinse/ ONR wipedown as the drying step.
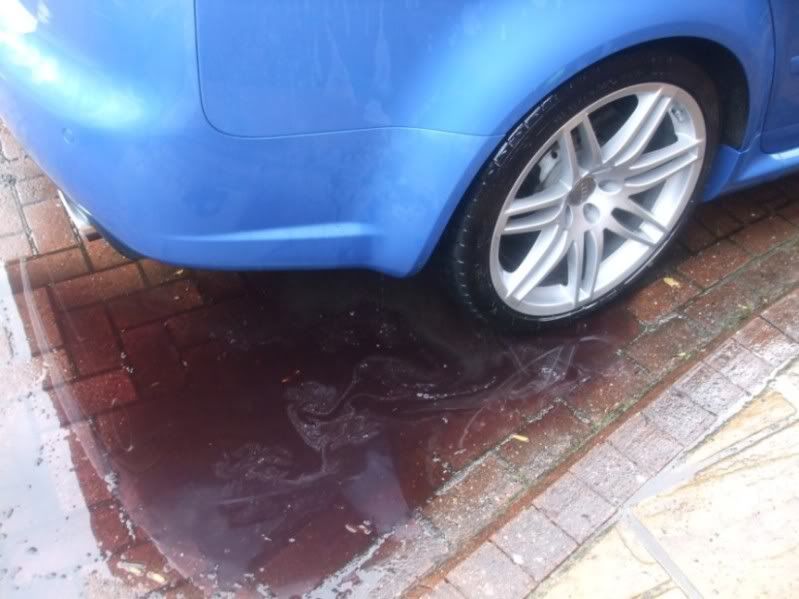
Now that the washing stage was completed, it was time to decomtaminate. At this point I forgot to take some pics so this stage was Tardis on the affected areas and IronX applied to the whole body...
I tested the IronX Soap Gel and applied to the whole car (although the IronX is not so concentrated, but was good way to get good coverage across the whole car and more economical use. The whole car was then rinsed thoroughly and clayed, but by this stage there was pratically nothing that came off with the Clay.

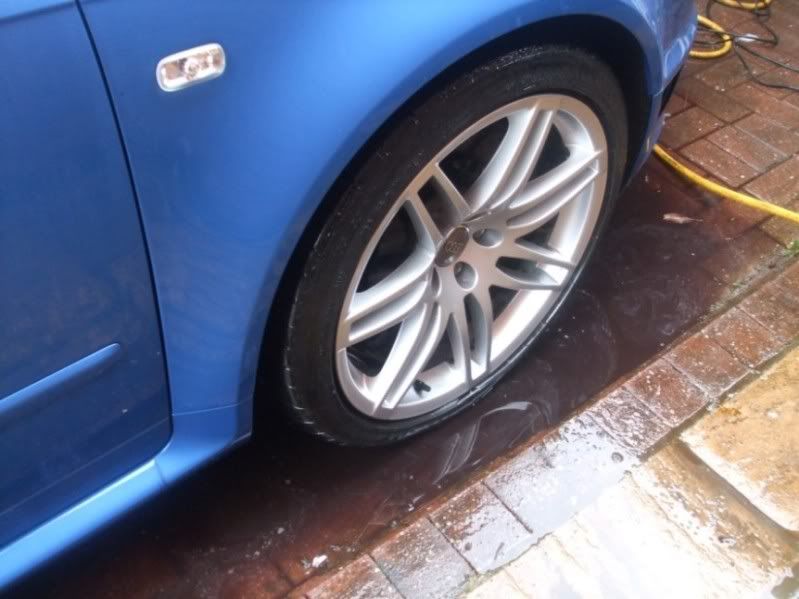
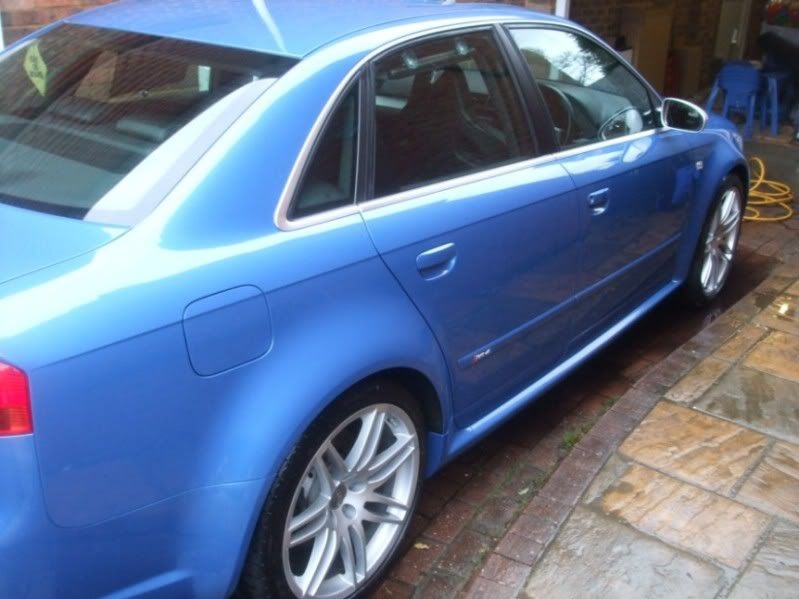
These next shots are after the final rinses and ONR dry-off. I was really amazed at the results achieved by this Touchless technique of foam and ONR and itself leaves a great shine.
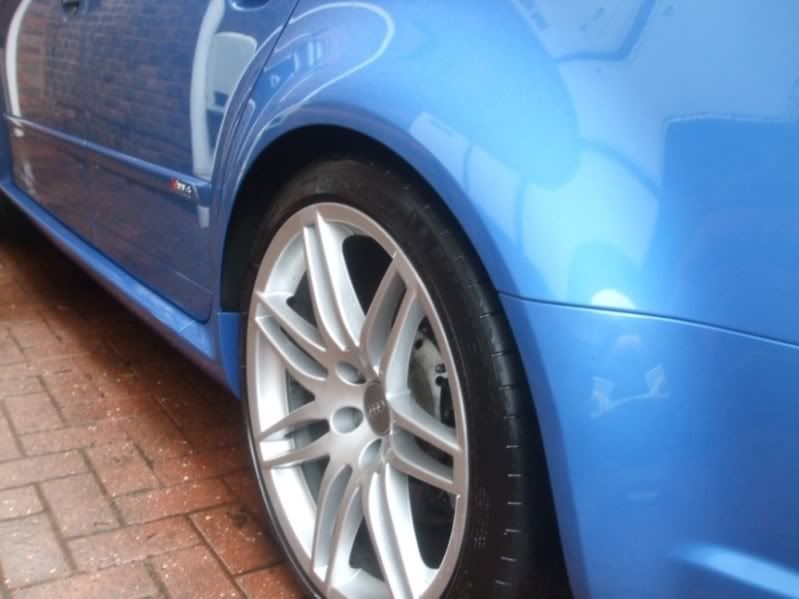

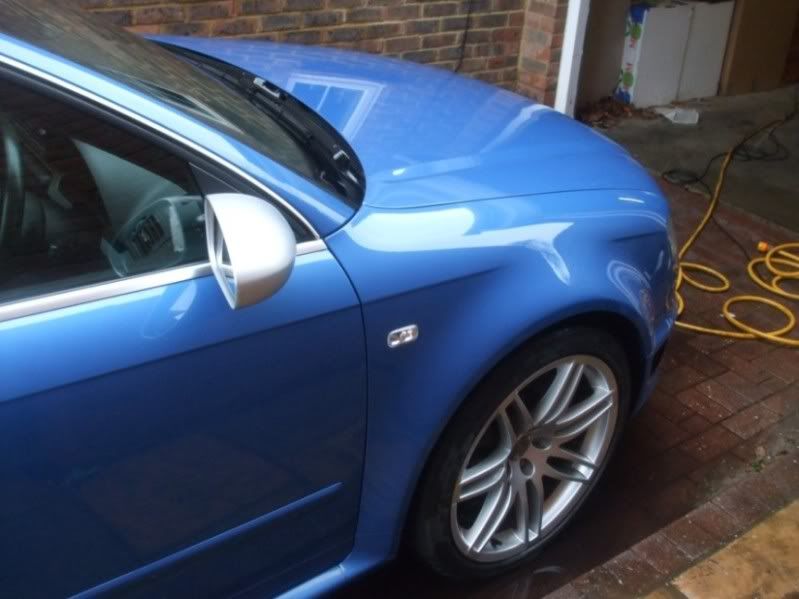
Was time to move the car out of its muddy bath water, so could polish/ seal the wheels and dress they tyres.
Wheels finally polished with Prime Strong and Sealed with Colinite 875.... wanted to test this durability over a dedicated wheel sealant such as the PB Pink. Tyres dressed with Espuma RD50
Tail-pipes were then polished and sealed with Britemax twins
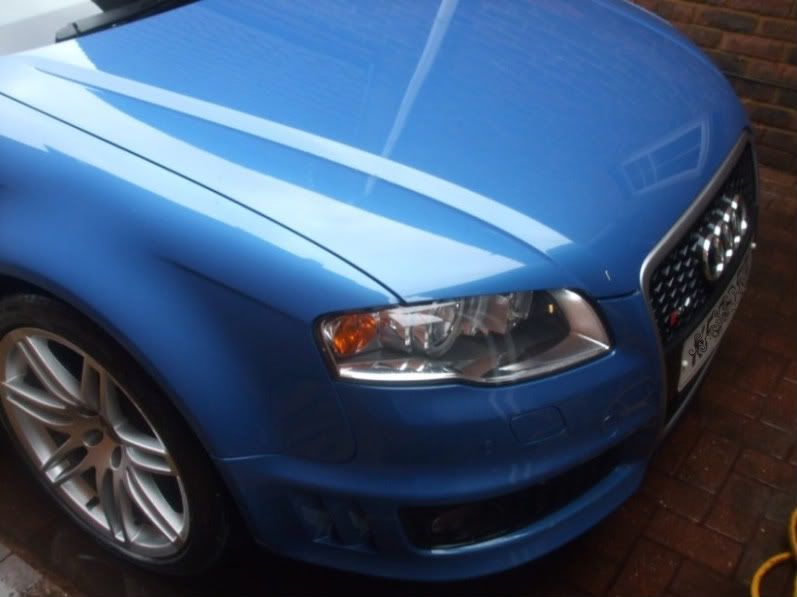
Glass was cleaned with Espuma Green and then sealed with Jeffs Werkstatt Prime Strong, All Trim was detaiiled with VP Dionysus Trim Glitz.
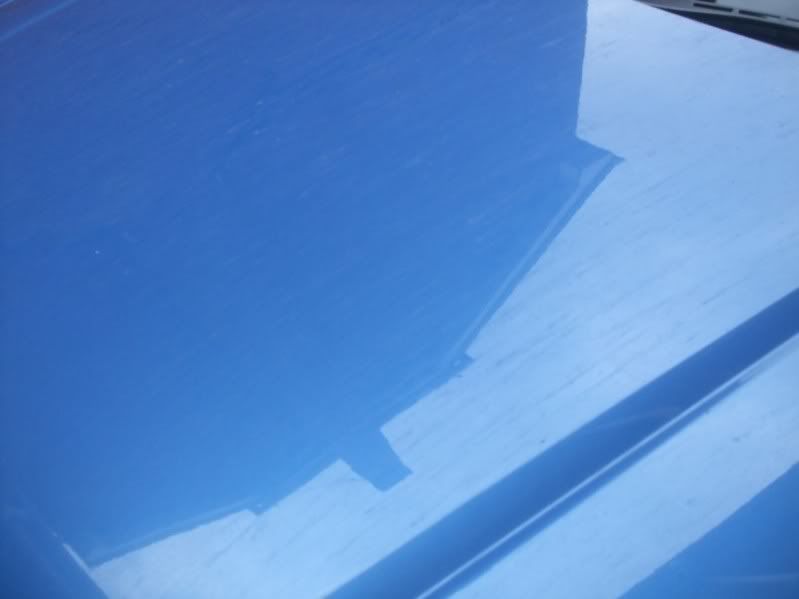
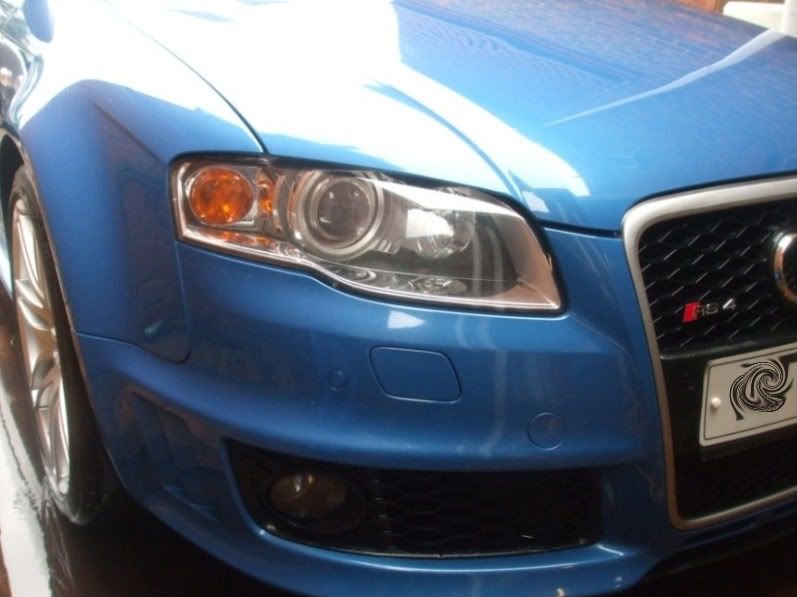
Paint Cleanse and LSP/ Protection decided to test out the Jeffs Wekstatt Acryllic Kit as opposed to Colinite 875/476 route. So this was prime acryllic, followed by 3 layers of Jeffs Wekstatt Acryllic Jet and then Acryllic Gloss applied.
Unfortunately it was coming up past 4 o'clock, light was fading and the air was damp and a few spots of rain, so made application and final buff of jeffs quite tricky and hazy, a quick spritz of ONR QD on a MF seemed to do the trick.. apologies if these aren't the best shots to reflect the LSP effect of Jeffs (and some rain drops in pics)


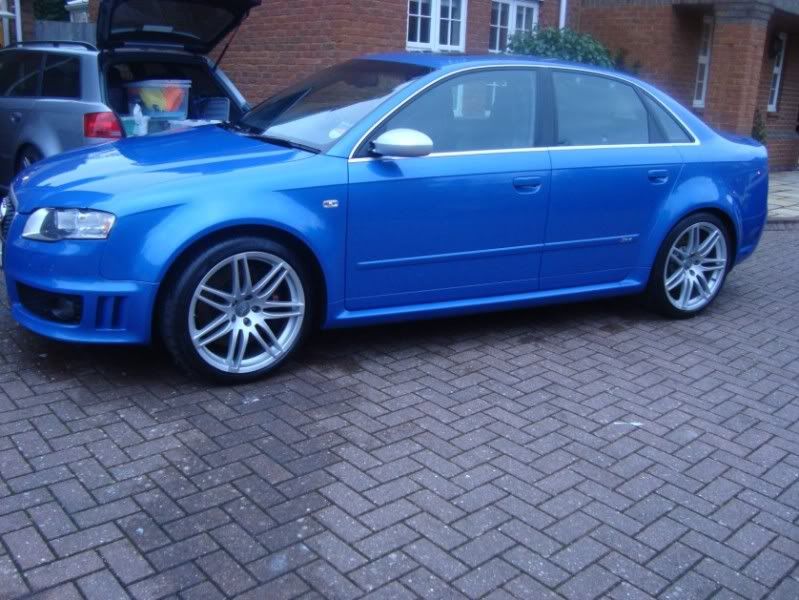
So there we have it, 6 hours worth of detailing done, and one very happy RS4 Owner
Thanks Si, for letting me loose, was a pleasure, and looking forward to starting on part 2
Cheers,
Steve Miles aka SMiles


