Page 1 of 1
Could someone take a specific engine bay pic for me?
Posted: Wed Oct 27, 2021 9:16 pm
by IanH755
Hi all,
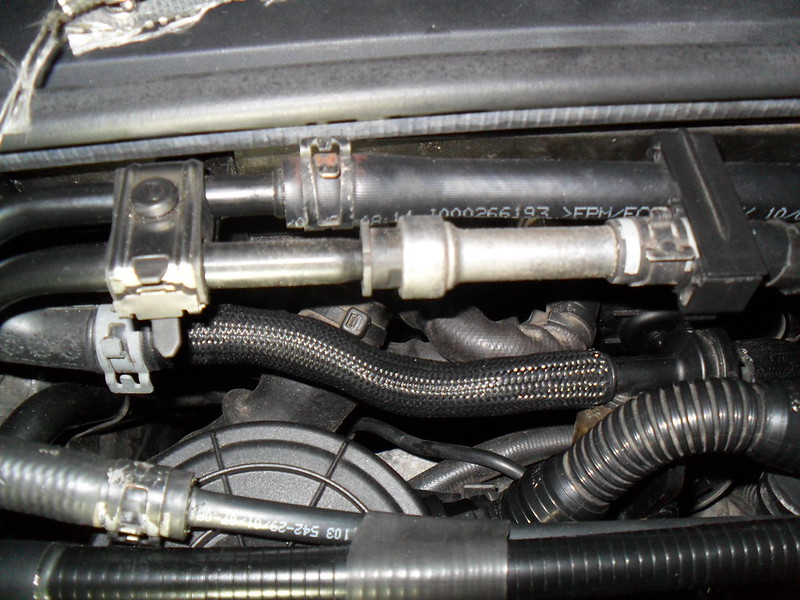
I've sprung a fuel leak in the engine bay and wondered if anyone could take a picture of the same area as mine picture below. There's a small 3 stud protective wrapper which needs to come off first, seen in the top of the first image. I just want to see how far the black plastic "cap" sits into the metal pipe on the right as mine is now permanently popped out (not reseating) and causing a small leak.
It's in the pipe in the top centre/left -

The black plastic protective coating was removed by me at the side of the road so I could check for any cracks/leaks from the metal pipe underneath (none found) -

Re: Could someone take a specific engine bay pic for me?
Posted: Wed Oct 27, 2021 10:53 pm
by Jim Haseltine
I can just hear my neighbours.. "WTF is he up to now? - it's 11 at night f' gawd's sake....."
Only takes a little bit of grit, fluff or a foreign body to allow a bit of fuel past that sort of coupler.
Re: Could someone take a specific engine bay pic for me?
Posted: Thu Oct 28, 2021 12:14 am
by IanH755
LOL, cheers Jim!
Looks like your plastic cap also sits about 5mm+ proud too. Mine is completely loose so I can push/pull the plastic cap in/out about 4mm, spin it around etc and it's doing nothing.
***EDIT*** - I think I'm being a dumbass! My understanding was that the black cap was a locking collar i.e. it needed to push into the "female" metal pipe so as to lock the "male" fuel pipe in. However looking at how these disconnect a bit more the cap (black in my drawing) is actually the "tool" which releases the quick disconnect, by pushing it into the female pipe (red) it pushes on some back angled barbs (blue) which are preventing the male pipe end (grey) from coming out.
So I probably need to disconnect it, clean the ends then reconnect the fitting and see if it still leaks.

and I found this which helps explain it to myself too!

Re: Could someone take a specific engine bay pic for me?
Posted: Thu Oct 28, 2021 2:42 pm
by IanH755
Well I can't get it apart, and if I wiggle the quick connect end (which feels more "loose" than I'd imagine) I can increase or decrease the drip/flow rate so I've currently got it in a position which seems to leak the least but it's not stopped and it's constant with the engine on or off.
I've got it wrapped in rags for the time being just to absorb the fuel whilst I wait on TPS for the back ordered parts which should be due in few weeks now, oh joy

Re: Could someone take a specific engine bay pic for me?
Posted: Thu Oct 28, 2021 5:11 pm
by VaudiGR
Ian so it's this quick release coupling that has malfunctioned, right?
What's the part number of that? I can't seem to find it online.
Re: Could someone take a specific engine bay pic for me?
Posted: Thu Oct 28, 2021 7:19 pm
by IanH755
VaudiGR wrote: ↑Thu Oct 28, 2021 5:11 pm
Ian so it's this quick release coupling that has malfunctioned, right?
What's the part number of that? I can't seem to find it online.
Yeap thats the bugger!
The pt no is on a different diagram (engine diagram 133-040 - fuel injectors/rail) - item 17 right at the top centre - pt no 1K0 201 338 P.
Re: Could someone take a specific engine bay pic for me?
Posted: Thu Oct 28, 2021 8:42 pm
by Jim Haseltine
They're fun. It took me about an hour to release the similar fittings on my fuel filter.
The trick is to not just push in the disconnect tool but to also put some pressure on the coupling - sort of easing the two pieces of the pipe towards each other until you feel the disconnect tool 'give' a little.
Re: Could someone take a specific engine bay pic for me?
Posted: Fri Oct 29, 2021 9:13 am
by IanH755
True, there's a couple of videos on
YouTube showing you "the trick" to getting them open but mine just won't budge.
It will leak more fuel when you push the male pipe into the female quick release (or move the female closer to the male) so we know the pipes move but when you do that the black plastic collar then can't be pushed in to break the connection. Instead it seizes up and won't move until you relax the pressure on the fitting which then means the pipe can't be pulled apart.
So instead of being able to do two things at the same time (push tool in AND push pipes together) we're stuck doing just one or the other which won't open it. We had me and my dad on it for an hour swearing like navy lads as we went back and forward trying it.
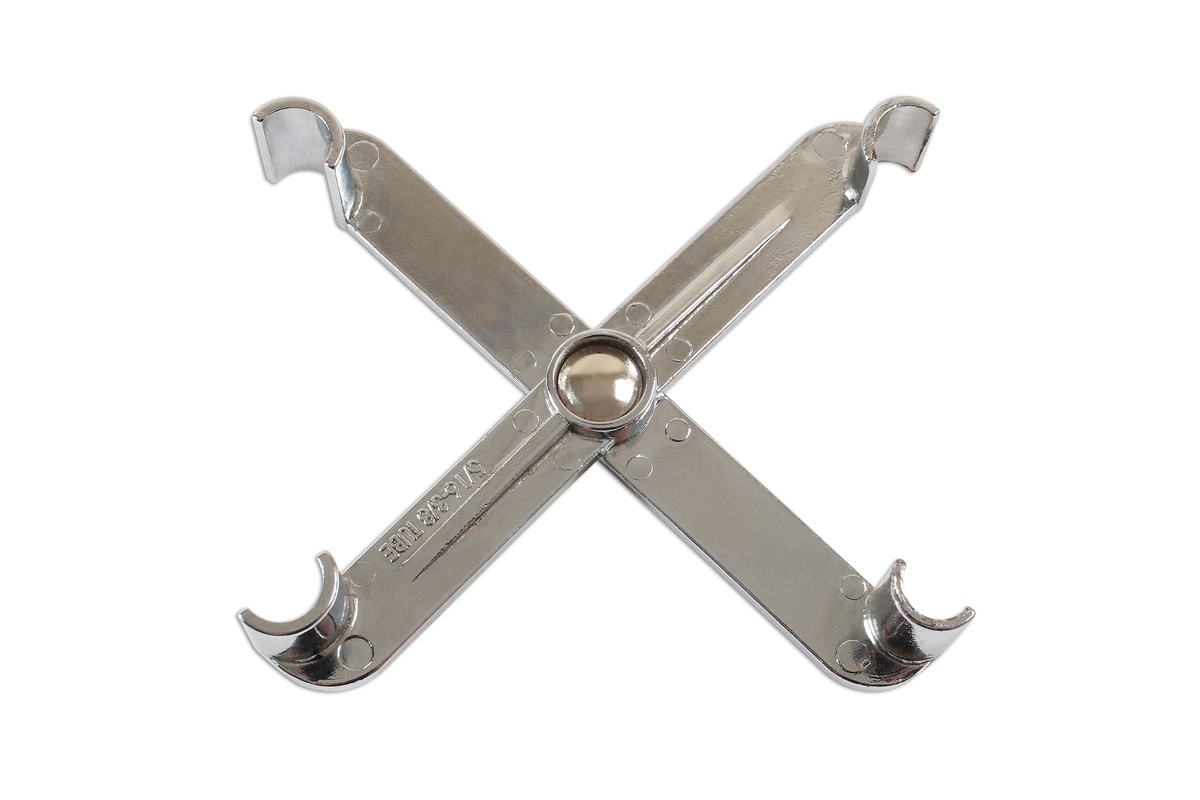
Now I understand the locking process used in the connection (use an identical one with electrical wires in aircraft connections) but it feels like either the "tool" is the part being a faff/point of failure, maybe due to age/brittleness of the plastic, or that one/two of the locking lugs (4 in total) aren't releasing/seized. Personally I'd prefer to use the metal tool which is available from laser (6822)!