Gearbox Teardown & Refurbish - 6HP28A61

5.0 V10 50v biturbo - 571 bhp
Post Reply
ATinOf
3rd Gear
Posts: 395
Joined: Fri Jul 06, 2018 7:32 pm
Location: Cheshire

Re: Gearbox Teardown & Refurbish - 6HP28A61

Post by ATinOf » Mon Sep 03, 2018 4:03 pm

Inspect and measure for tabulation the frictions and steels of Clutch A
Image

No evidence of burn markings on the steels
Image

And the frictions are hardly worn (but are being replaced anyway). All good signs this clutch is fine.
Image

With the new frictions we need to perform a clearance check to ensure the selective thickness circlip is still fit for purpose, bear with me I cover this 2 posts down
Image

Install the clutch pack into the clutch; wave washer; steel, friction, steel, friction etc, (5 of each), top steel, selective circlip.
Clutch A reassembled
Image

Updated white board for posterity
Image
Last edited by ATinOf on Tue Sep 11, 2018 10:49 pm, edited 5 times in total.

ATinOf
3rd Gear
Posts: 395
Joined: Fri Jul 06, 2018 7:32 pm
Location: Cheshire

Re: Gearbox Teardown & Refurbish - 6HP28A61

Post by ATinOf » Mon Sep 03, 2018 4:04 pm

Since we are about to check clearance requirements of the clutch packs, we need to inspect and measure the last 2 clutch packs, firstly Clutch E
Image
Image

There are a few burn marks on these steels but they are within spec; ie the spacing between is greater than 20mm, so they are to be reused
Image

The frictions are sound and hardly worn (but are to be replaced anyway) which is reassuring if we are reusing the steels
Image
Last edited by ATinOf on Sun Sep 09, 2018 10:35 pm, edited 4 times in total.

ATinOf
3rd Gear
Posts: 395
Joined: Fri Jul 06, 2018 7:32 pm
Location: Cheshire

Re: Gearbox Teardown & Refurbish - 6HP28A61

Post by ATinOf » Mon Sep 03, 2018 4:05 pm

And finally inspect and measure and tabulate the frictions and steels of Clutch B
Image

These steels are deffinitely burned and out of spec, even more so than Clutch C was, 2.1mm steels ordered. The frictions were also worn down to 2.05mm. A sign of a sticking clutch pack. Again possibly due to insufficient clearances. Steels; ZF Part 1068.377.019
Image

The top, thicker (ribbed) steel wasnt burned too badly so this was reused
Image
Image
Last edited by ATinOf on Mon Sep 10, 2018 9:58 pm, edited 6 times in total.

ATinOf
3rd Gear
Posts: 395
Joined: Fri Jul 06, 2018 7:32 pm
Location: Cheshire

Re: Gearbox Teardown & Refurbish - 6HP28A61

Post by ATinOf » Mon Sep 03, 2018 4:07 pm

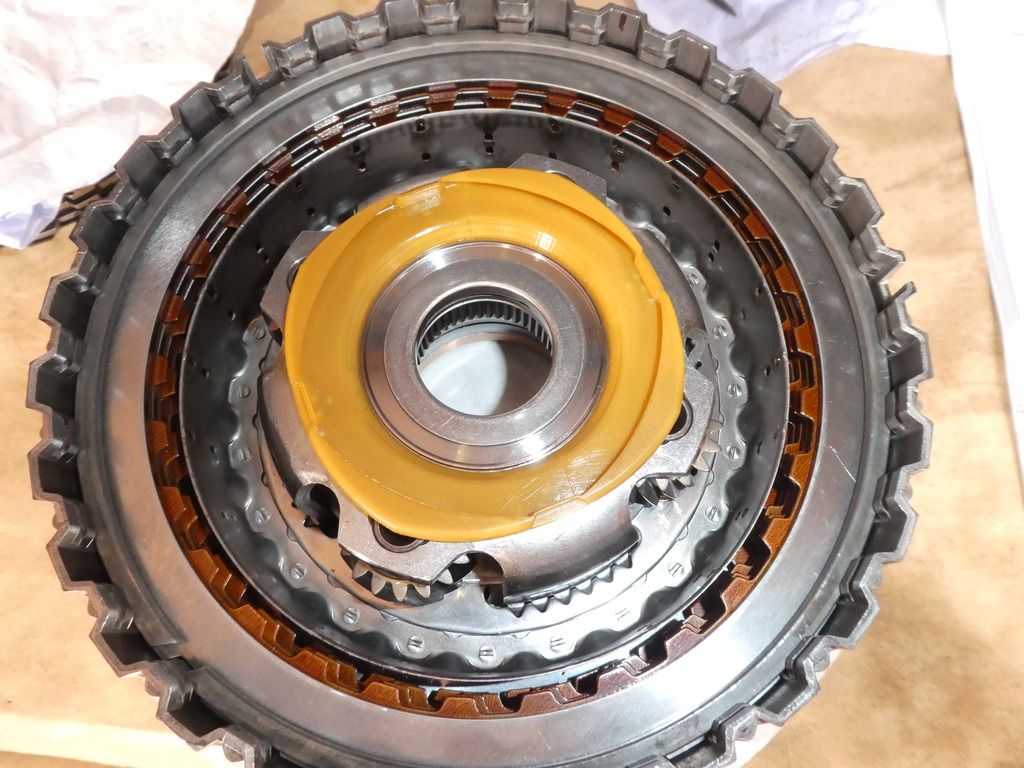
Now to explain the somewhat complicated method of calculating the clutch pack clearances to ensure the selective circlip thickness is correct. This is critical on this gearbox as the clutches have fluid balanced pistons, that clearance has to be within tolerance.

Image
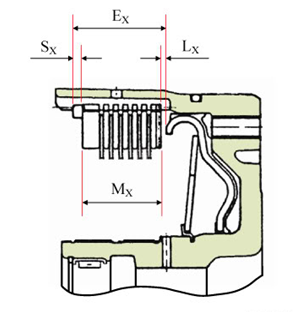
Mx is the height of your stack described below (at 200N force)
Ex is the available height in the clutch body
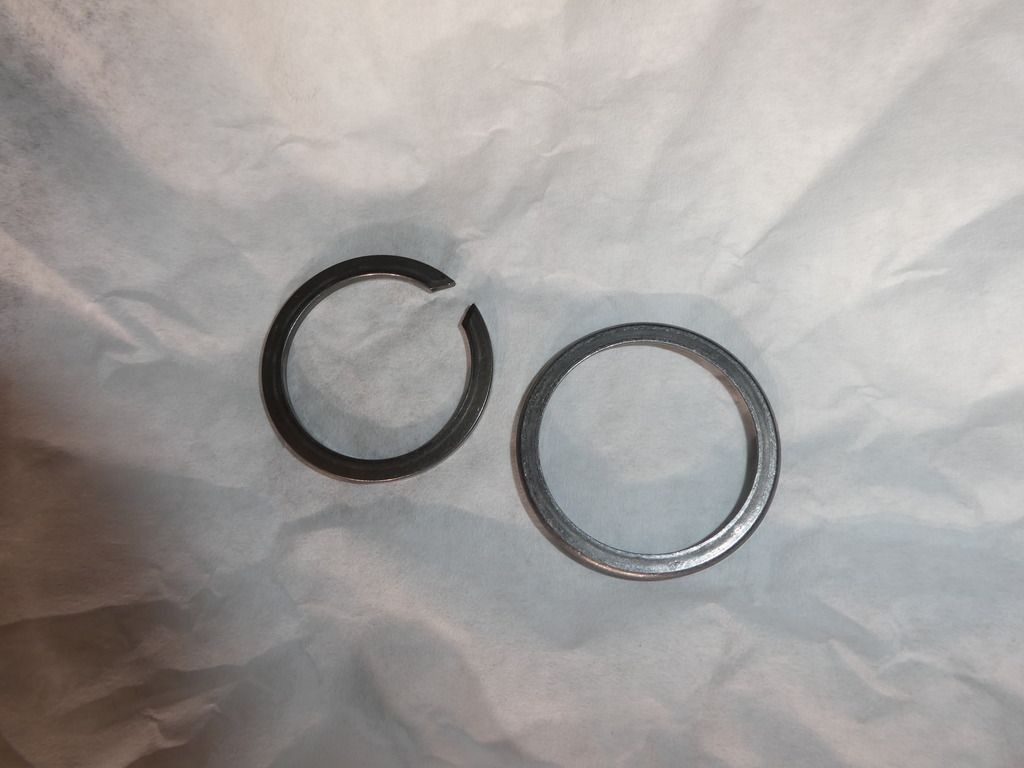
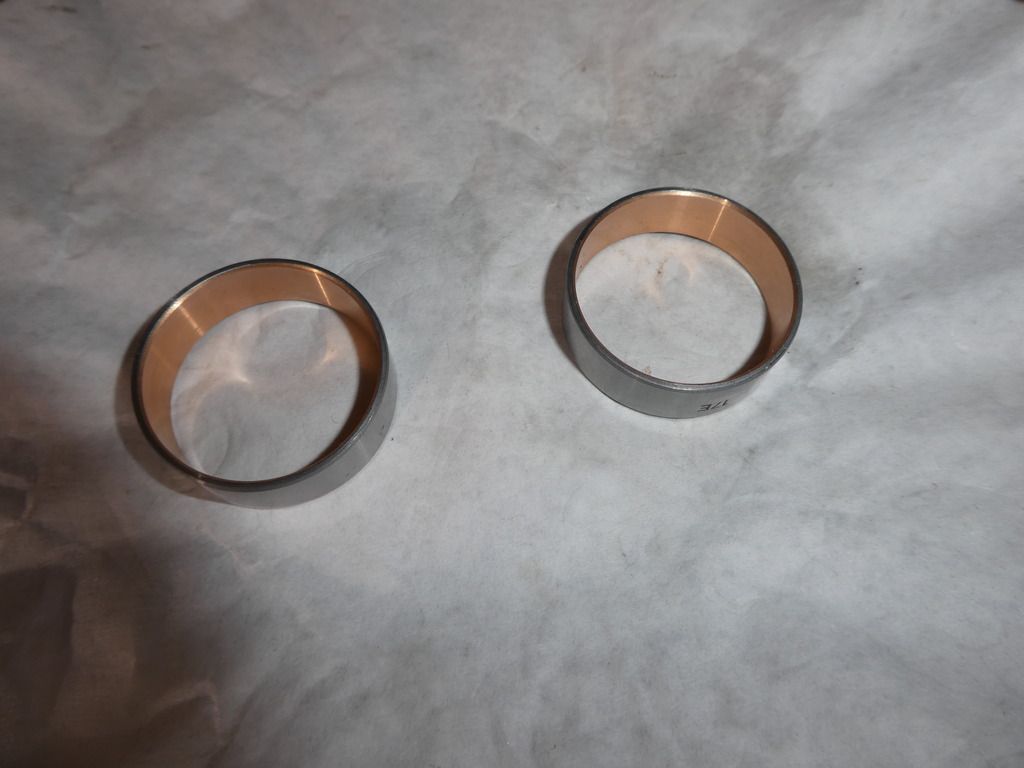
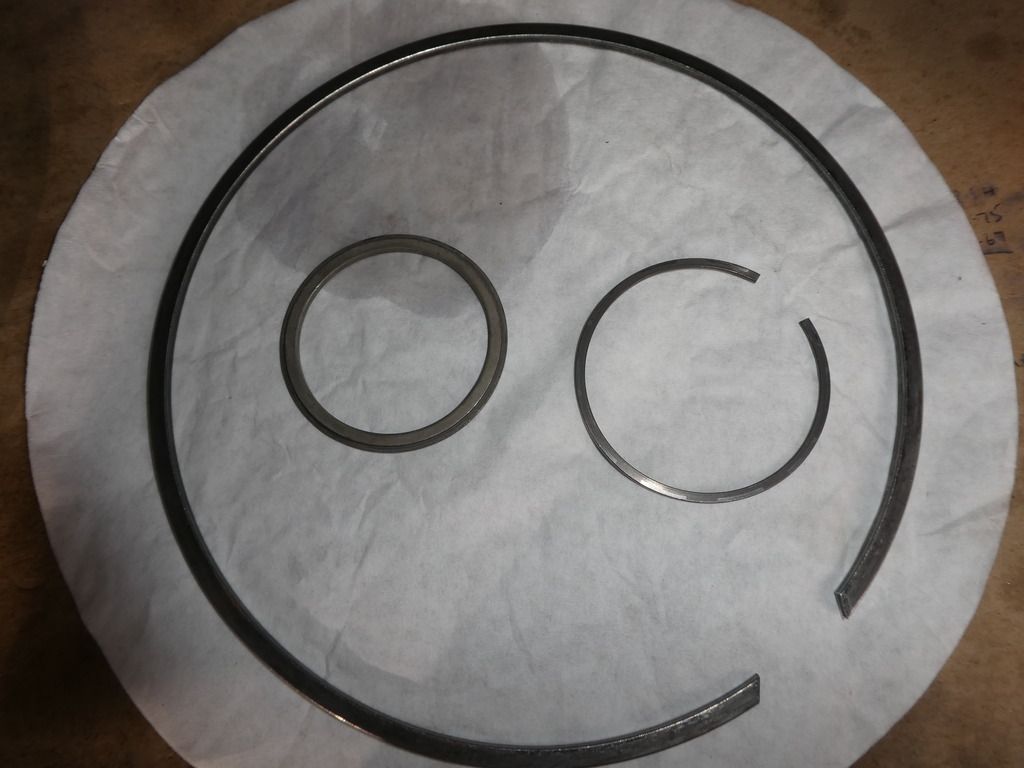
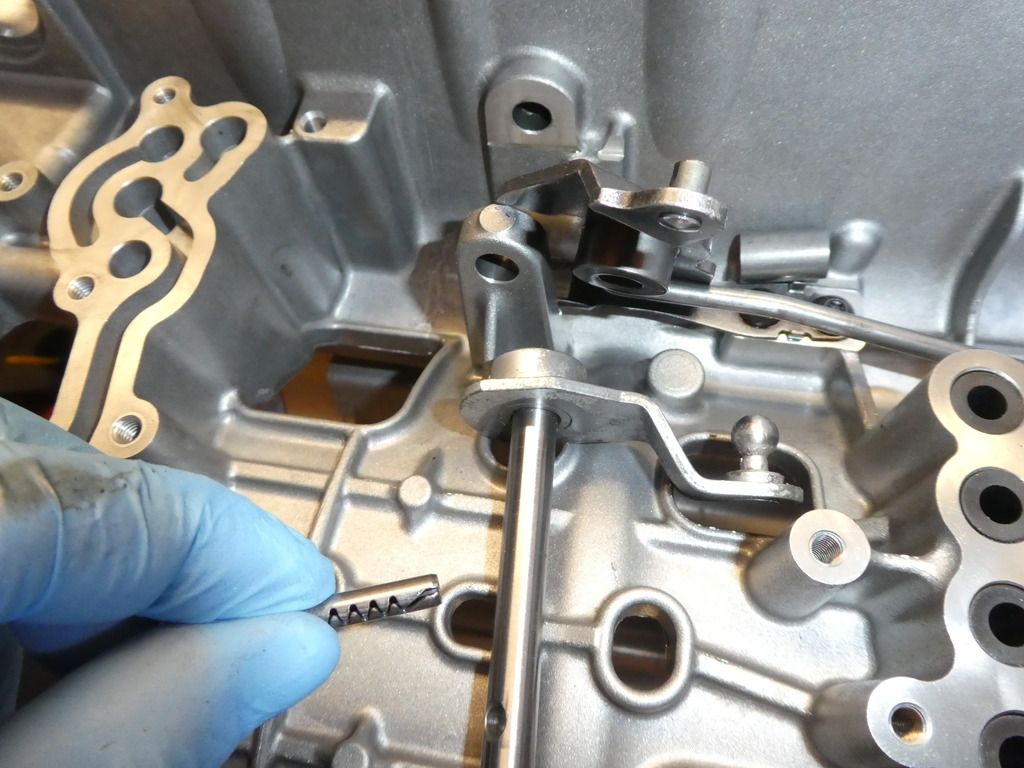
Sx is the thickness of the selective circlip (ALWAYS measure it, dont assume you bought a 2.4mm it will be 2.4mm!)
Lx is the allowable clearance you are targetting to be within specified tolerances

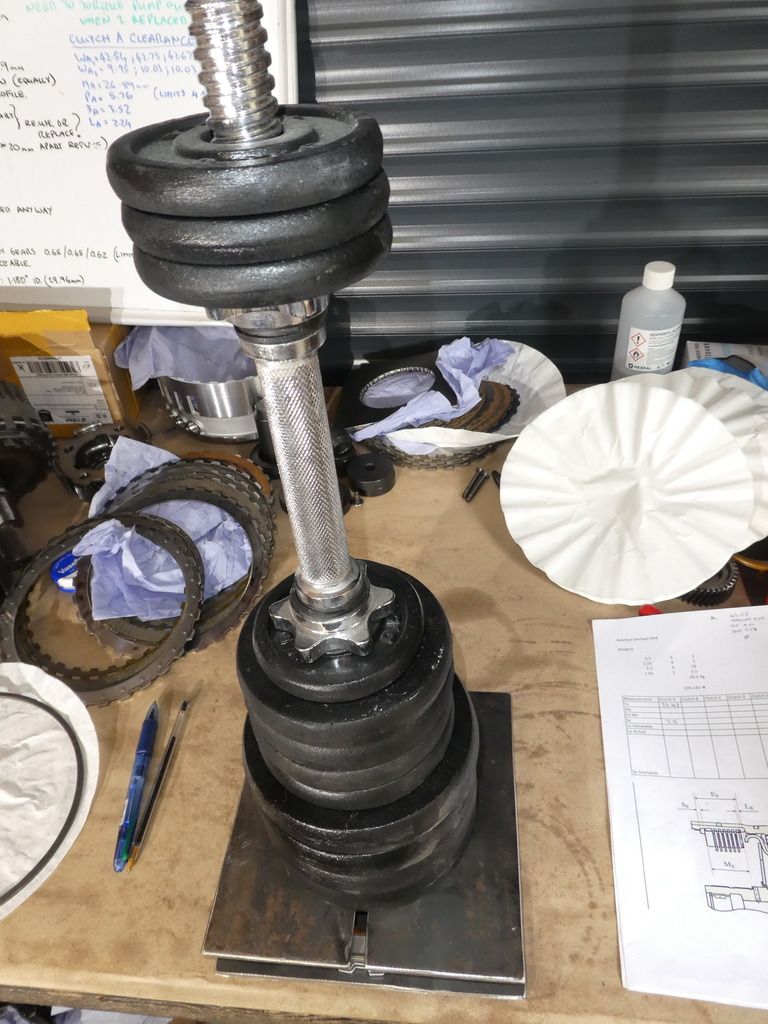
To do this you need to assemble the frictions and steels including the wave washer, the top-most steel which is normally thicker - and place on that assembly a 200N force. This is so that the wave washer is partially compressed, as it is in service. To work out what mass (weight in laymans terms) you need for an equivalent 200N force you just need to divide the 200N by gravity. In my case I collected a few weights I had which equated to 20.6kg; which is calculated at 202N (close enough!)

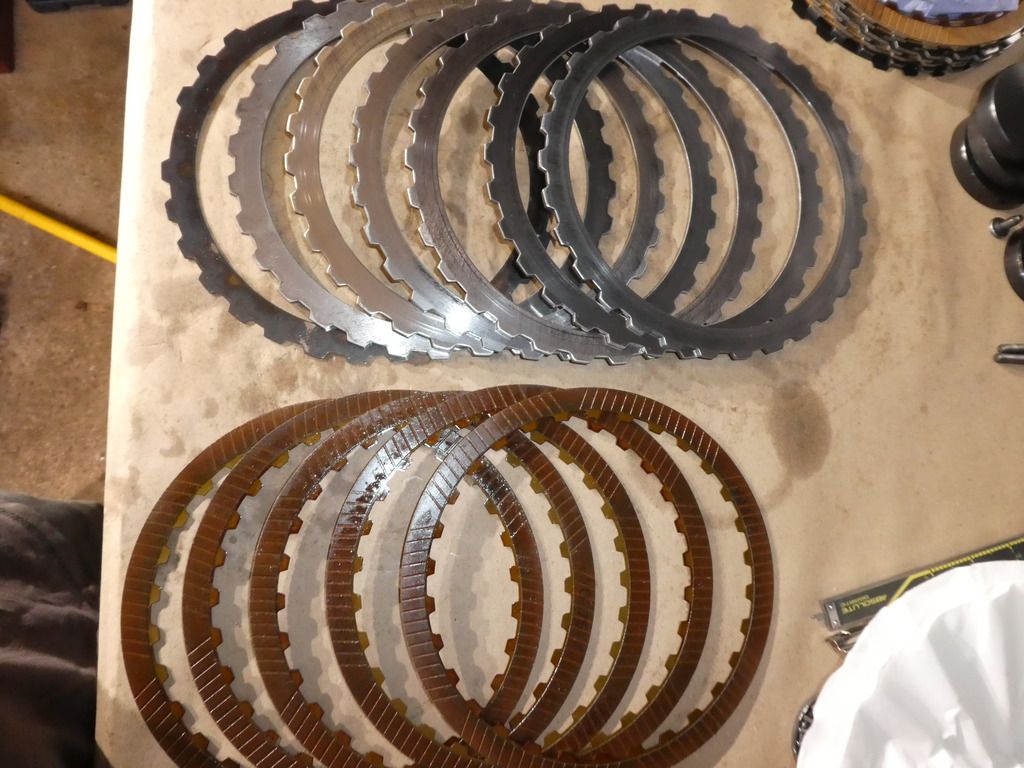
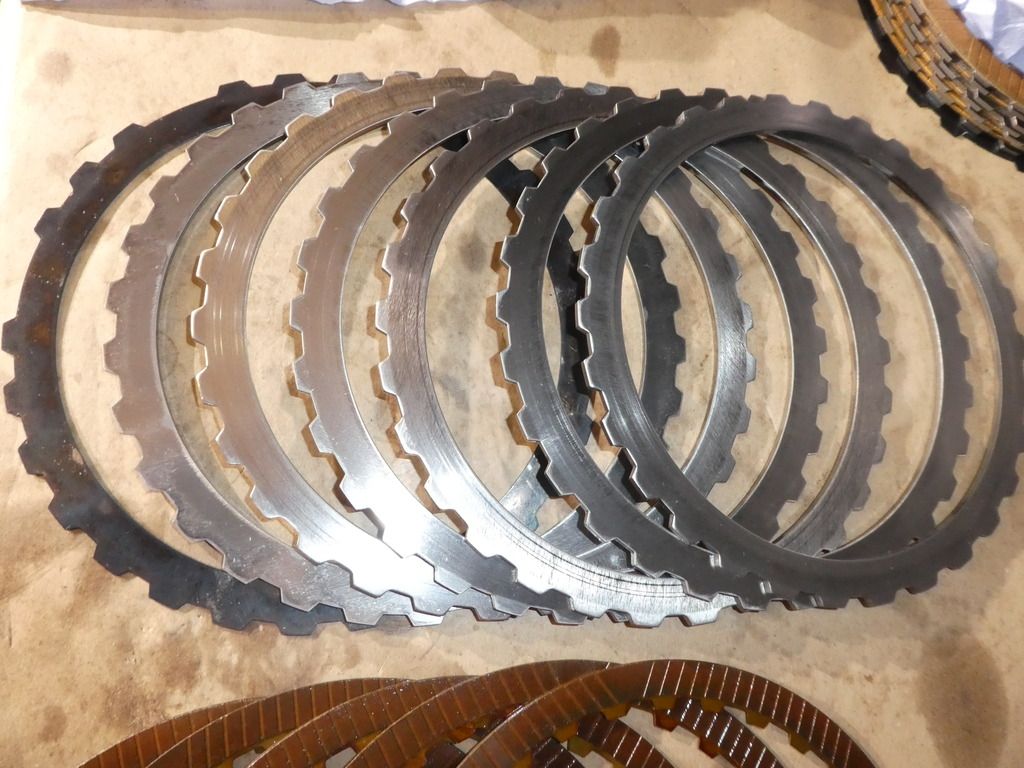
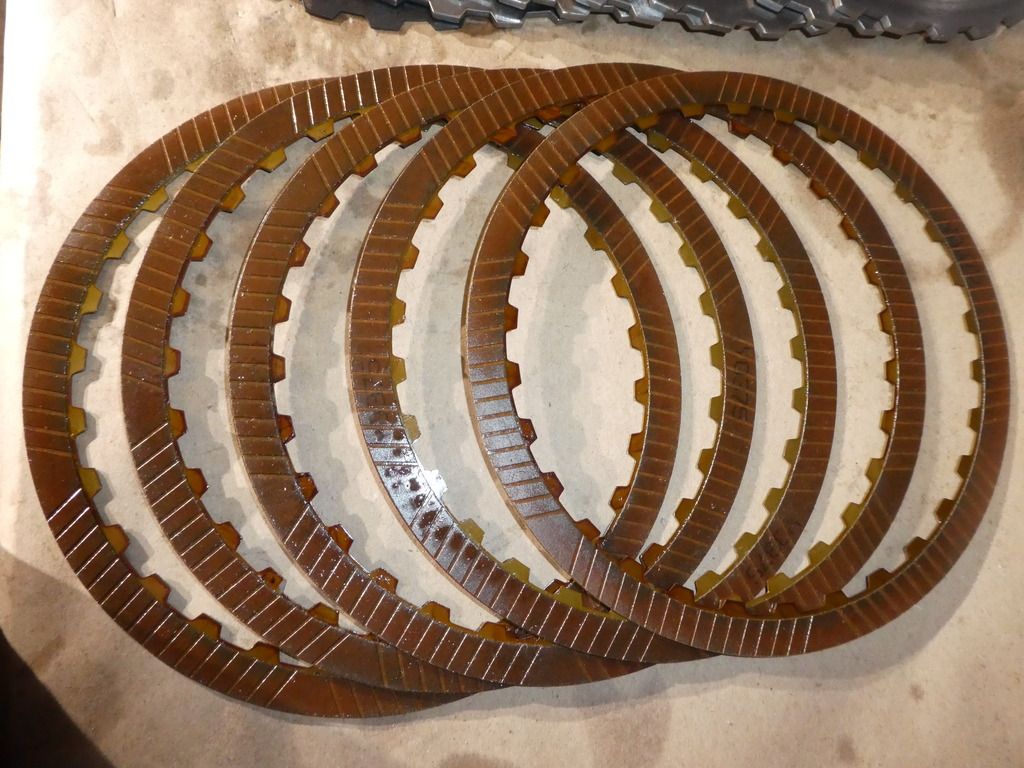
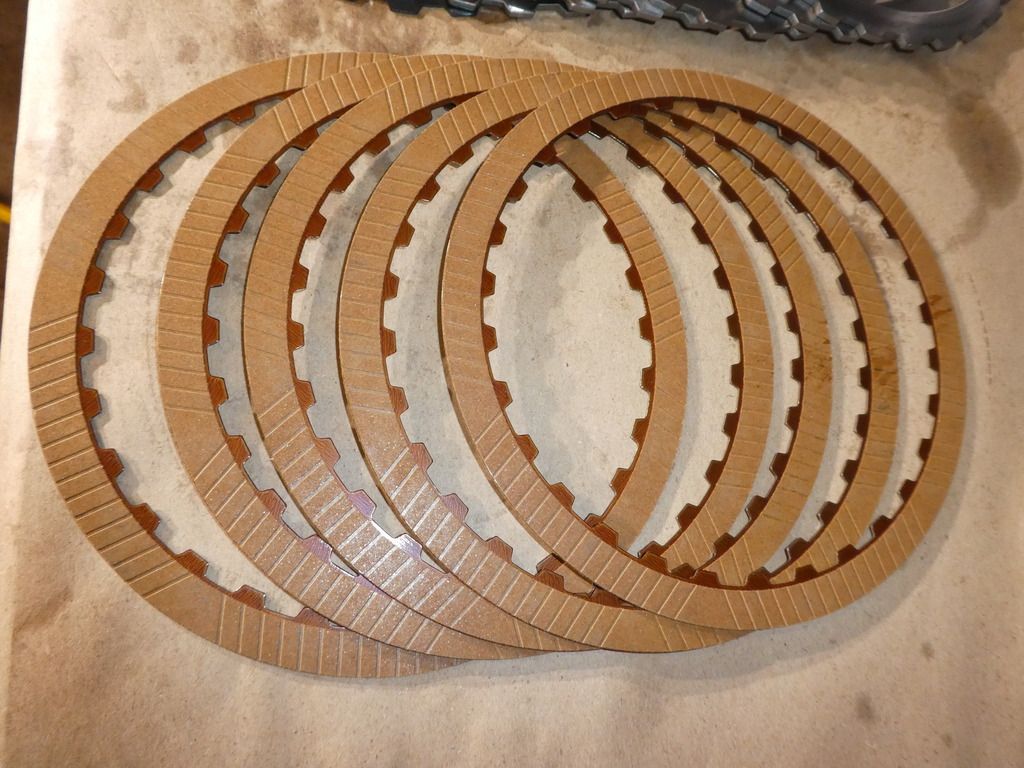
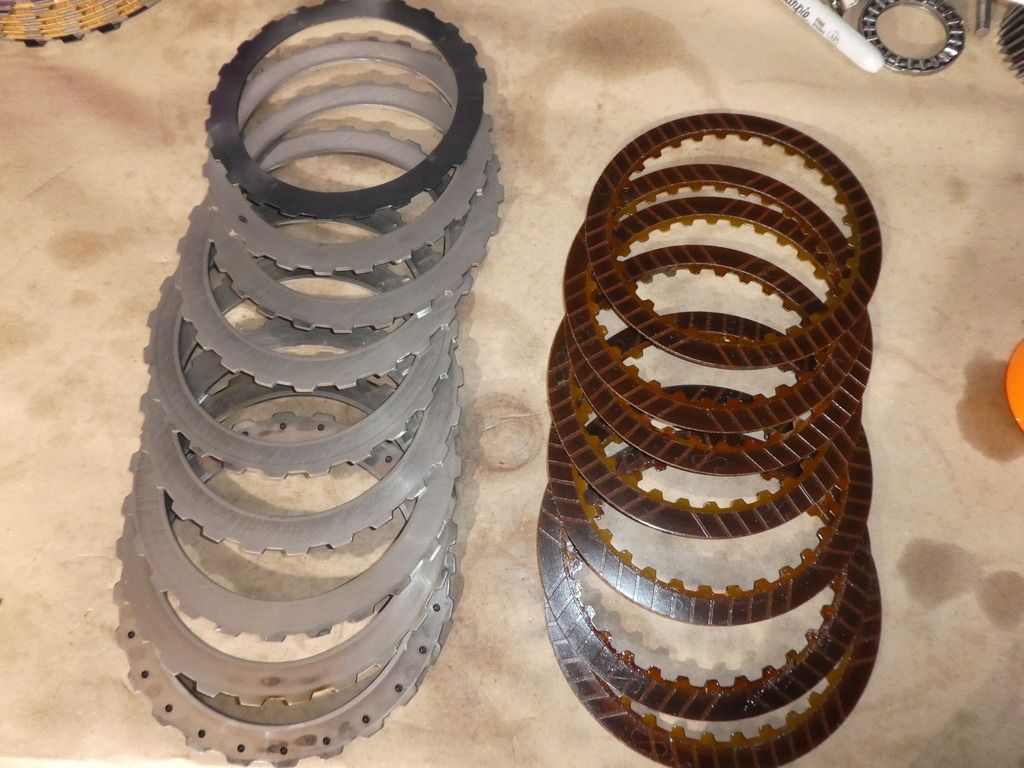
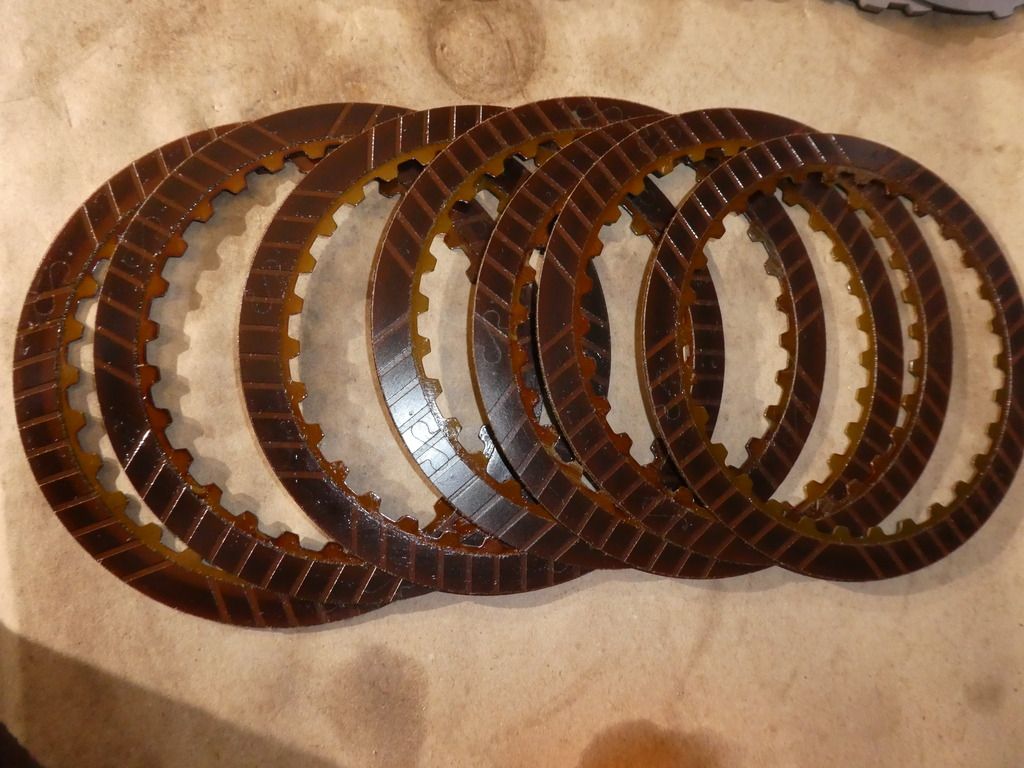
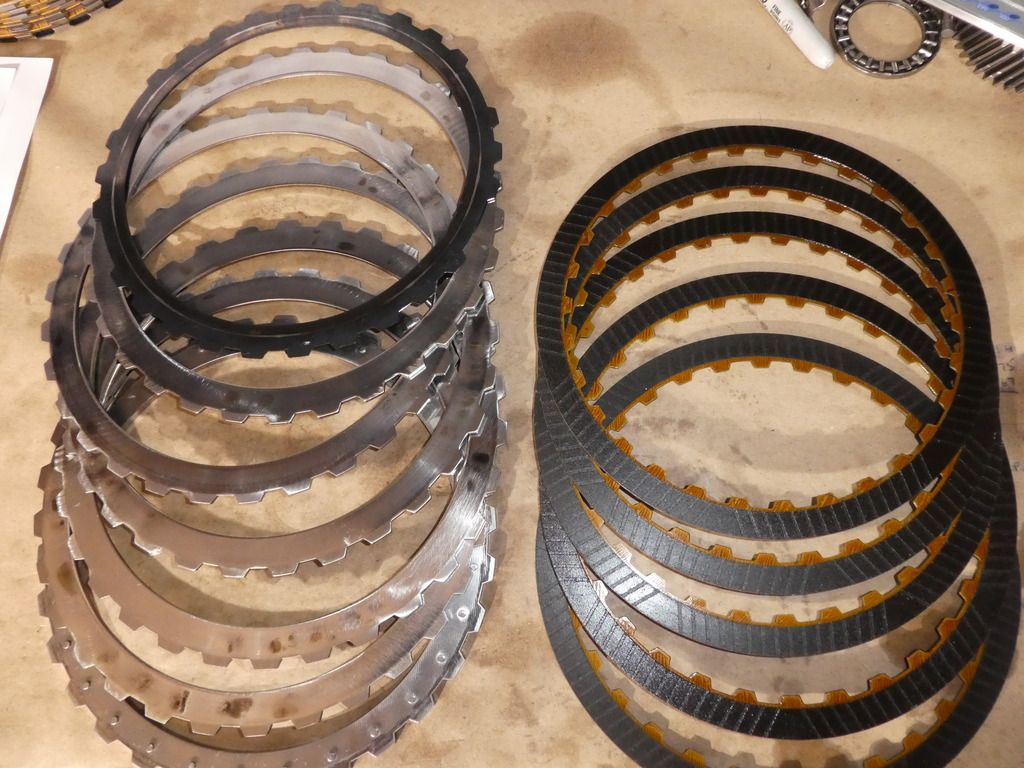
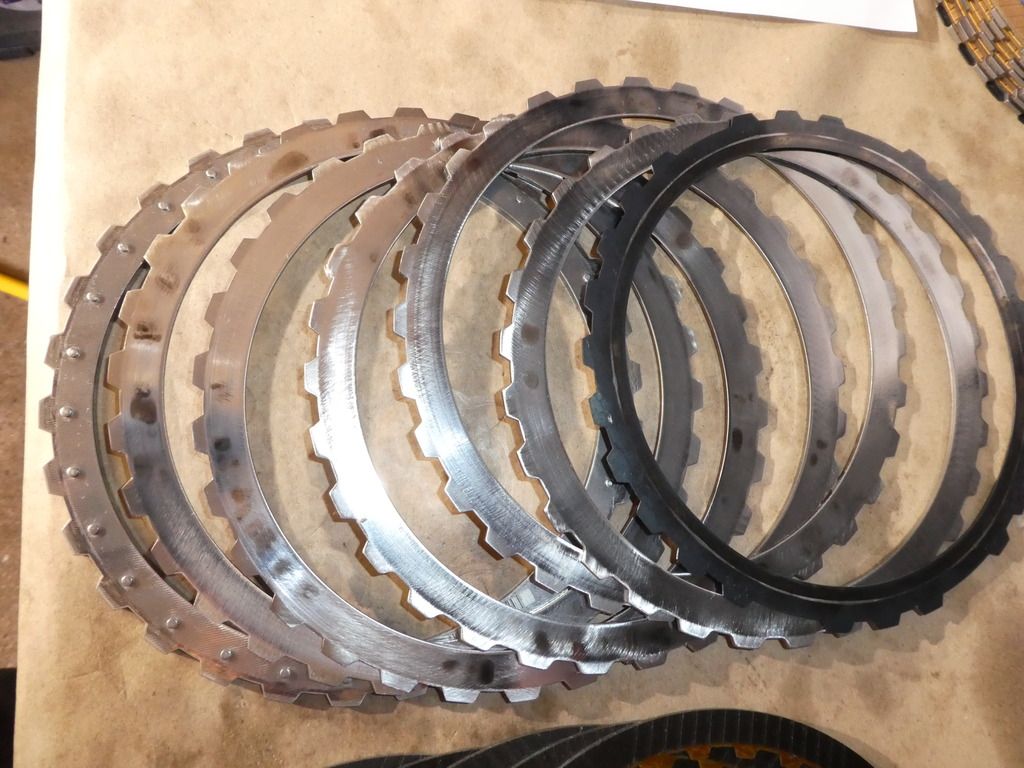
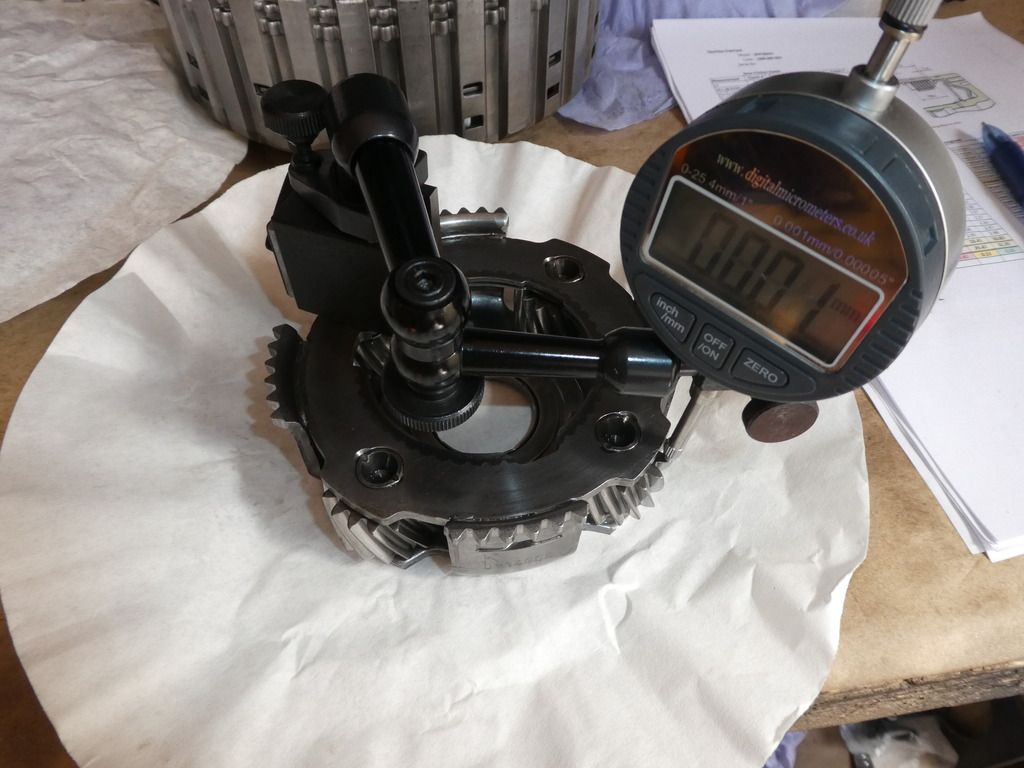
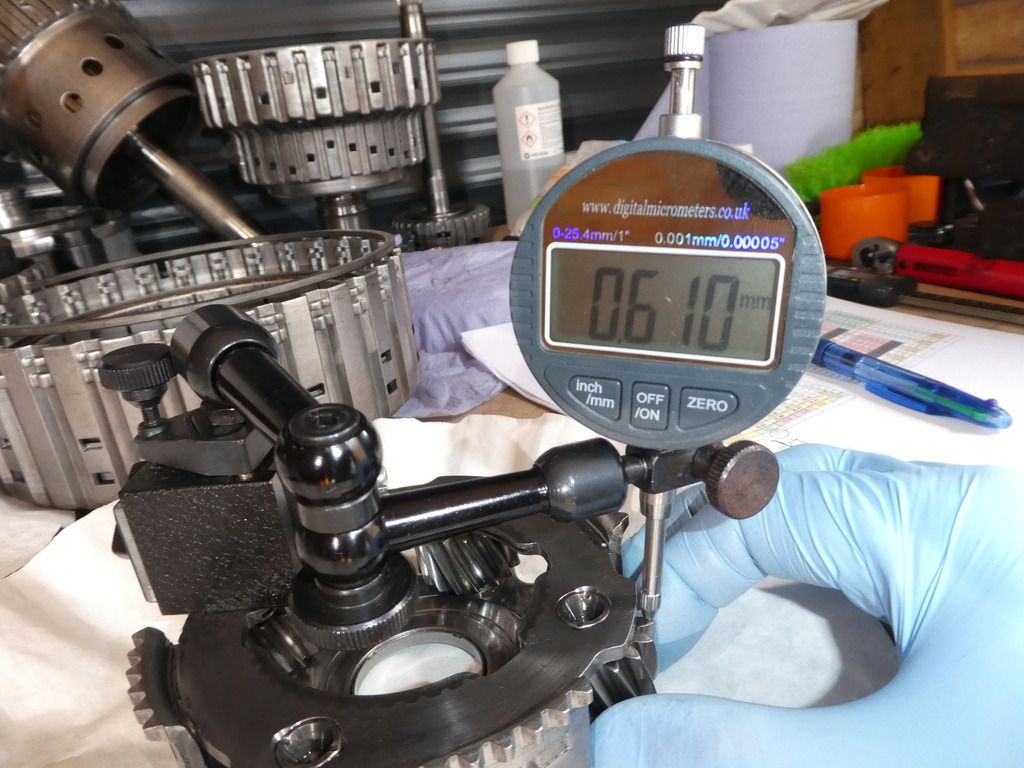
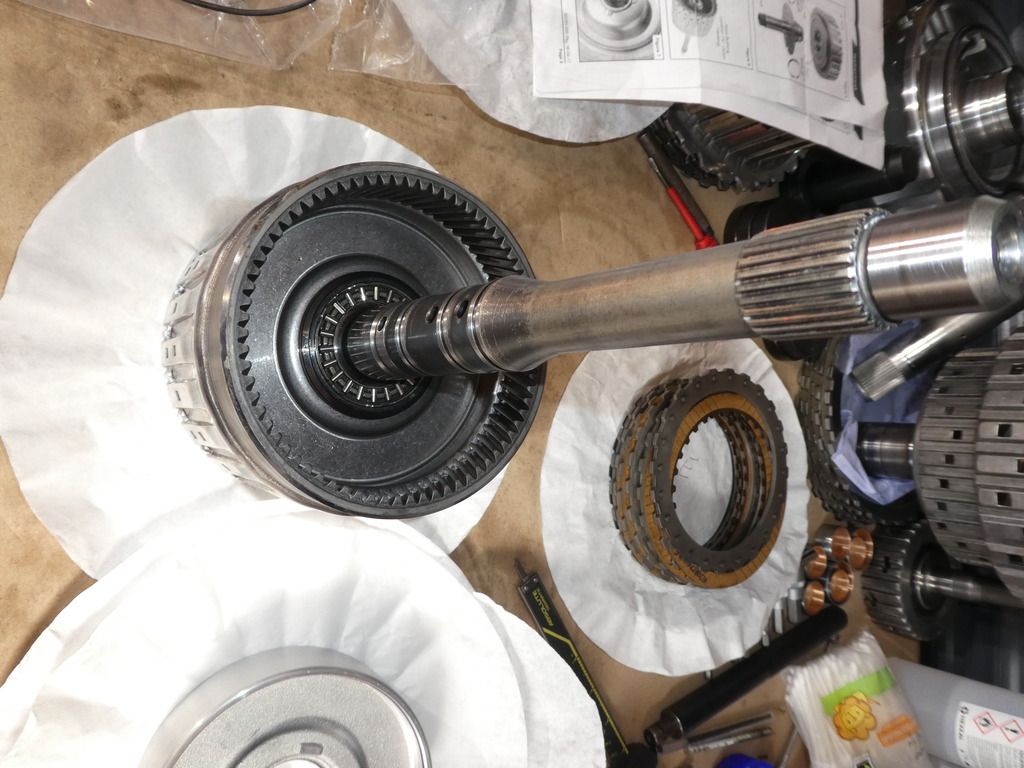
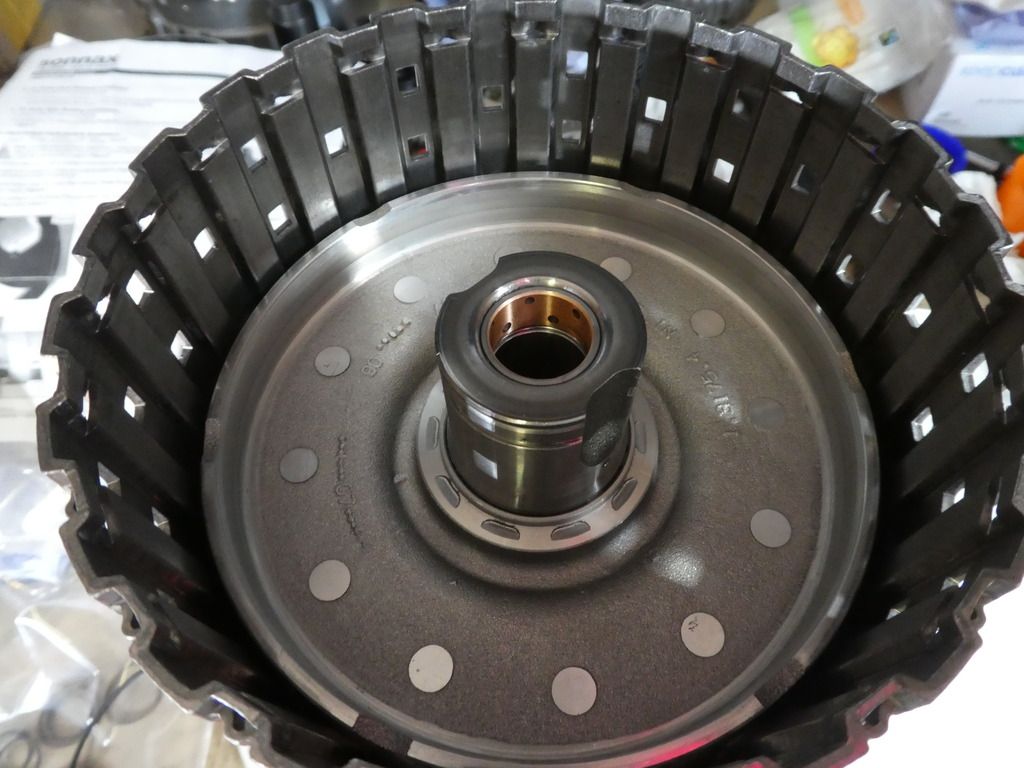
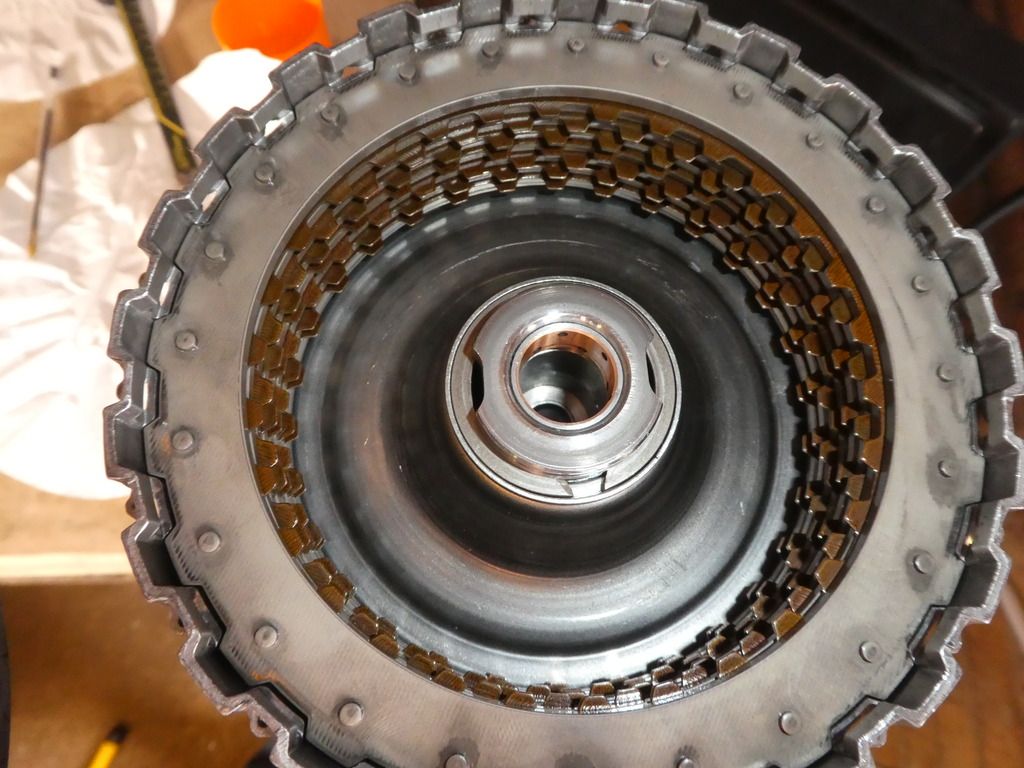
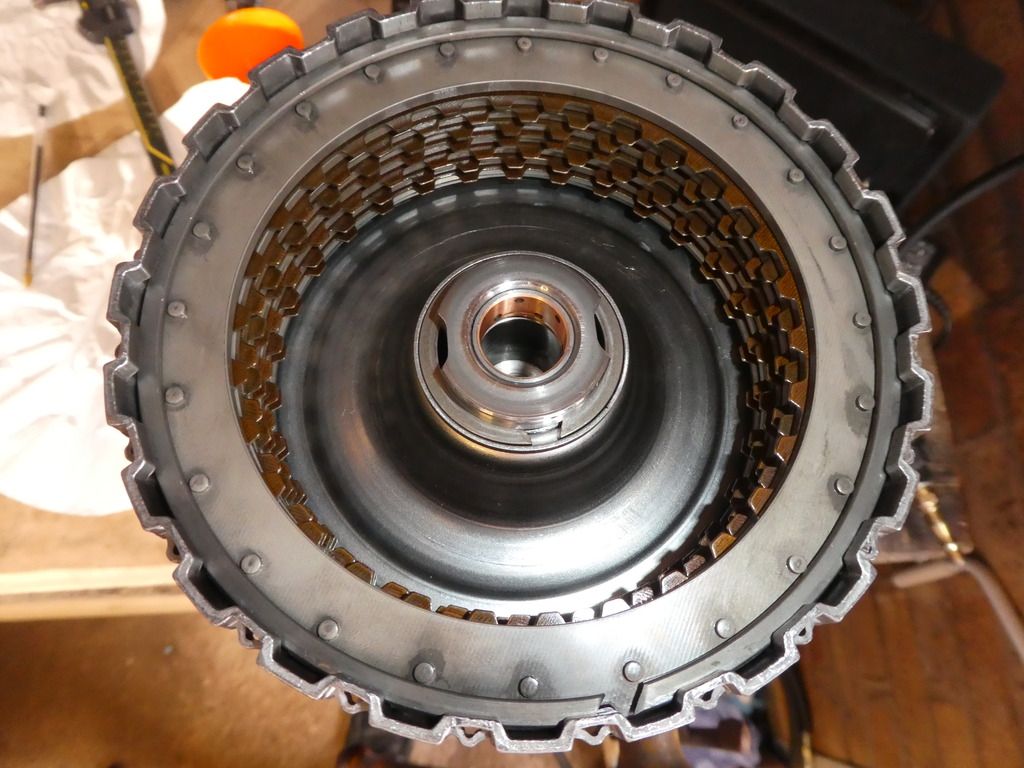
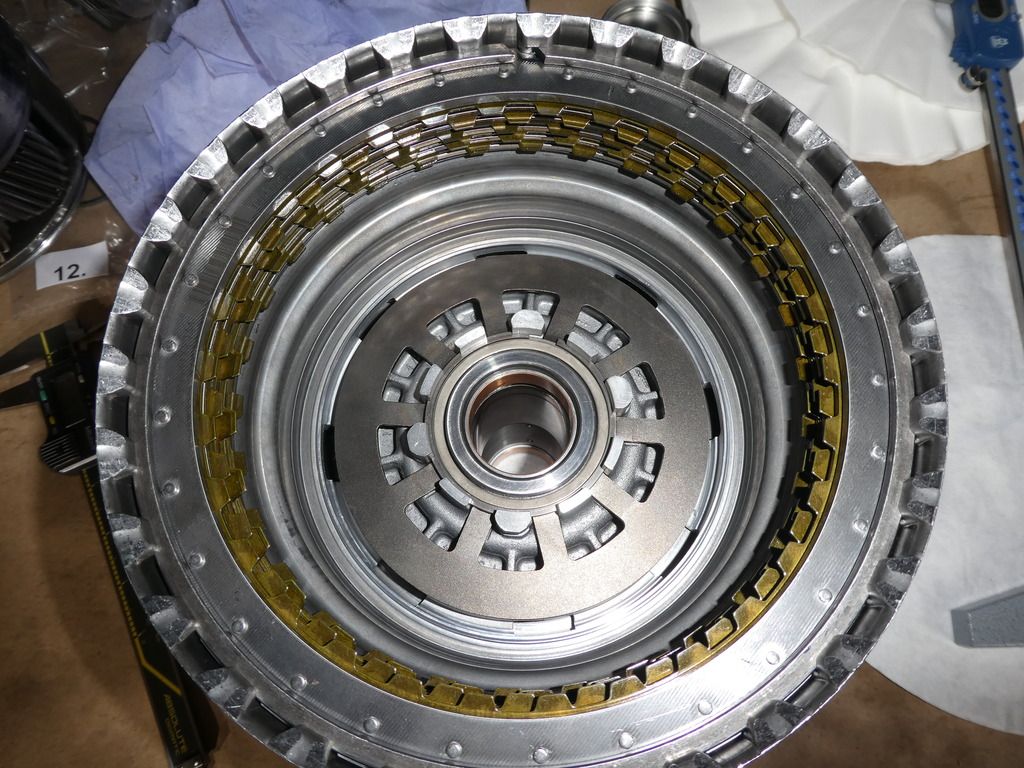
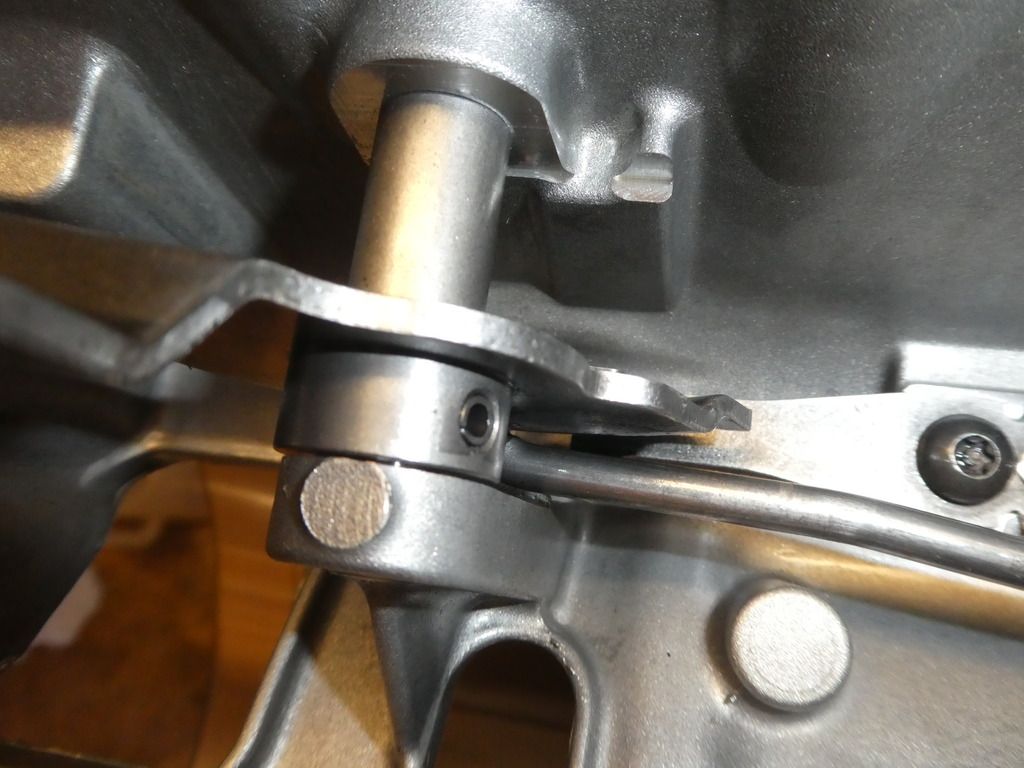
With this assembly you can measure the thickness of the stack (Mx) and log it. Do this for clutches A, B, C, D, E. You will need a DTI with travel of 25-32mm, or a depth gauge vernier; a DTI is (generally) more accurate. As you can see I put a convenient slot in the top plate to use for the DTI (and yes account for any such top plate in your mass calculation!)
You can of course spend a small fortune on the ZF tooling fr these measurements;or like me improvise 8)
Image

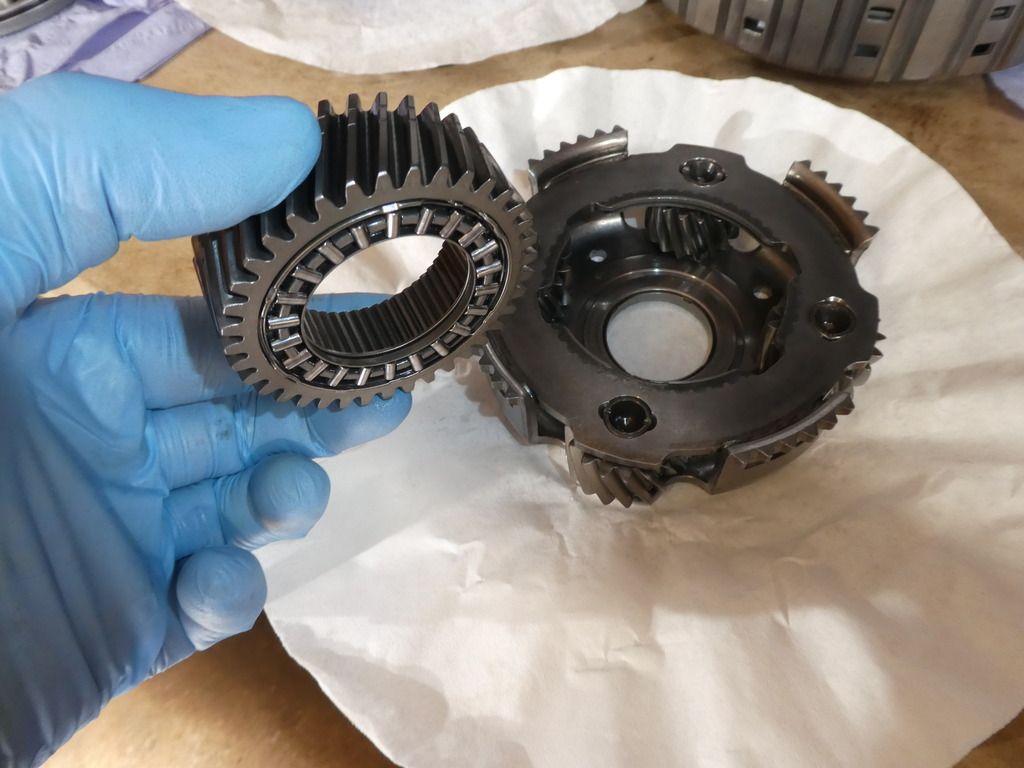
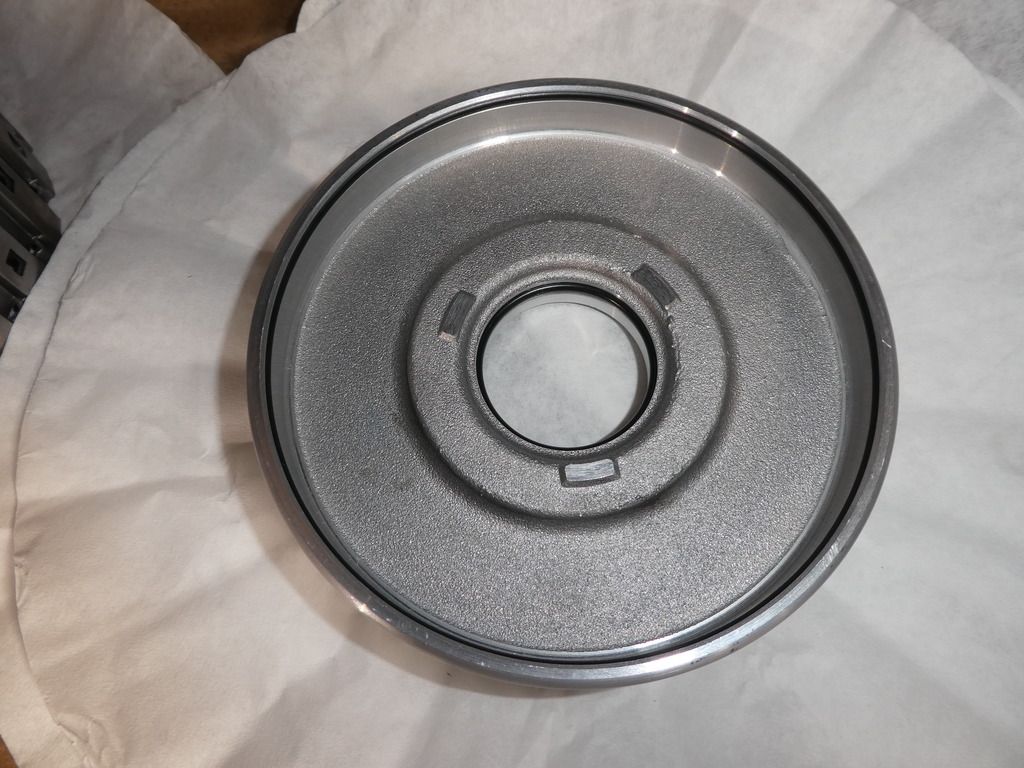
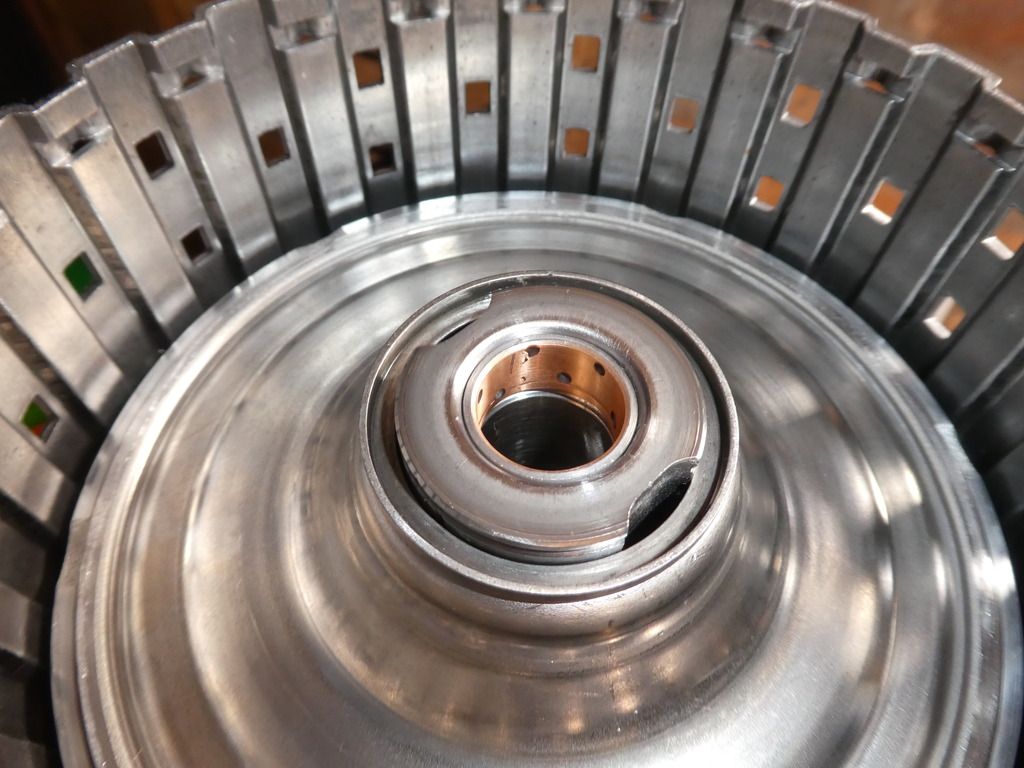
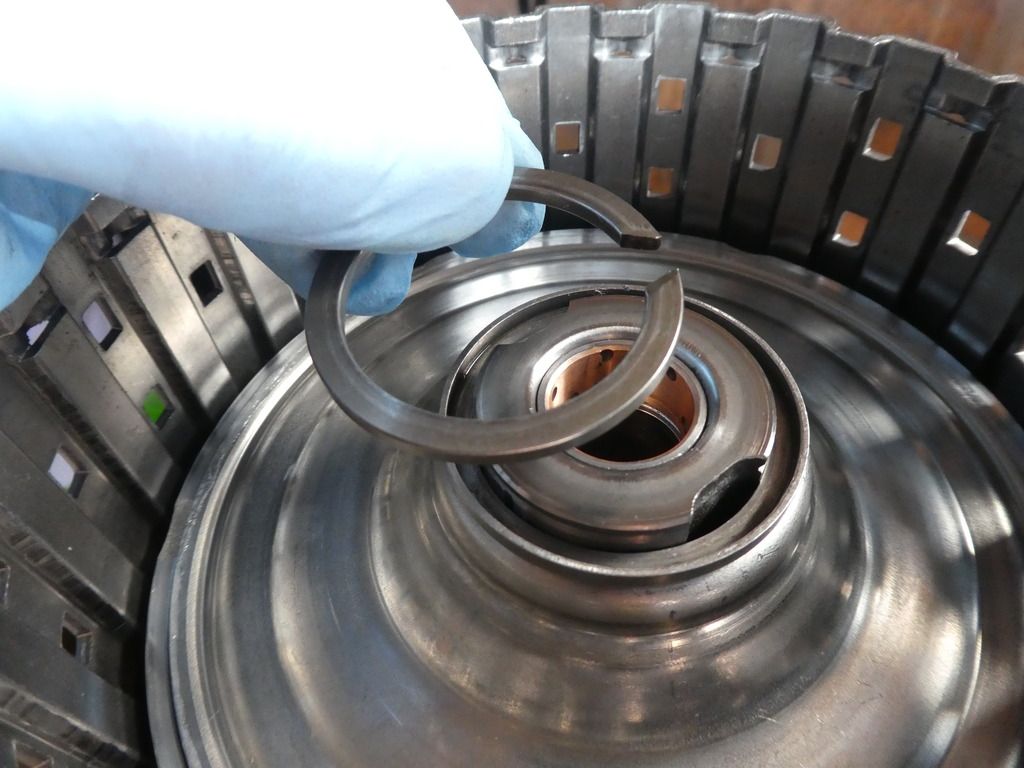
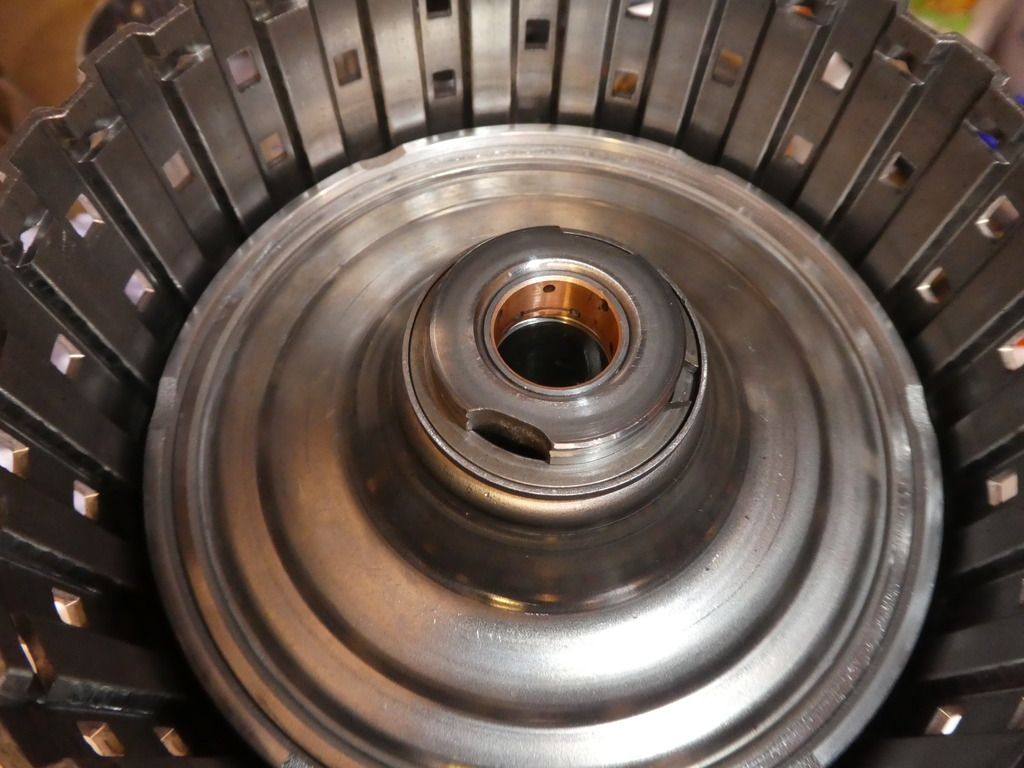
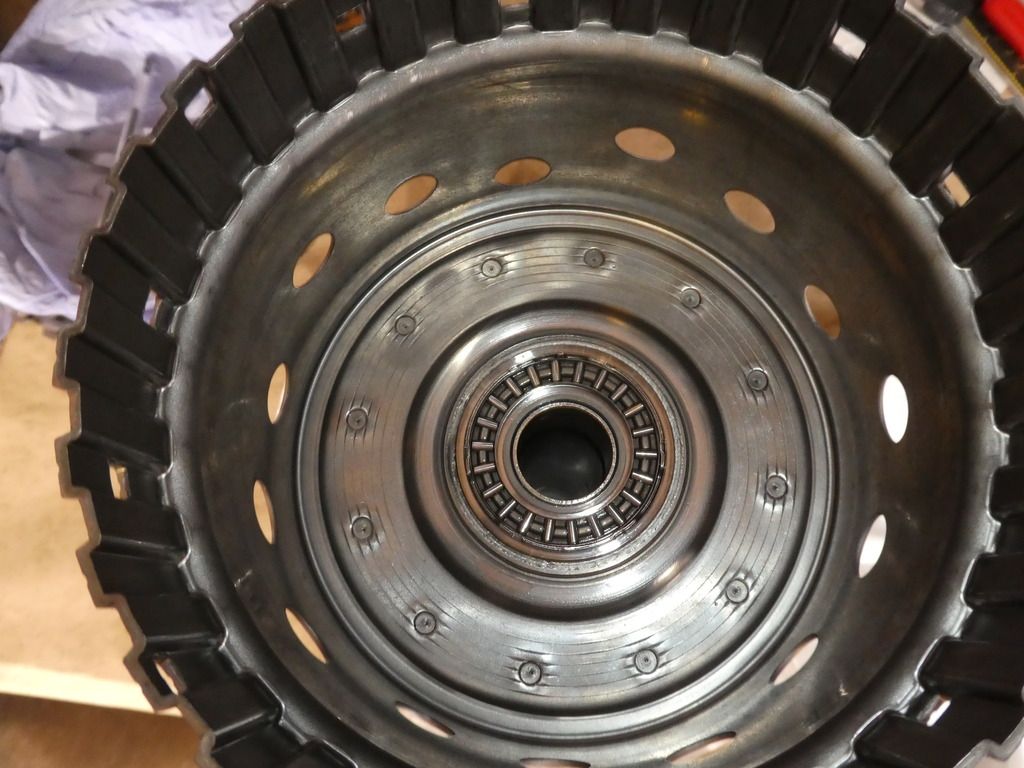
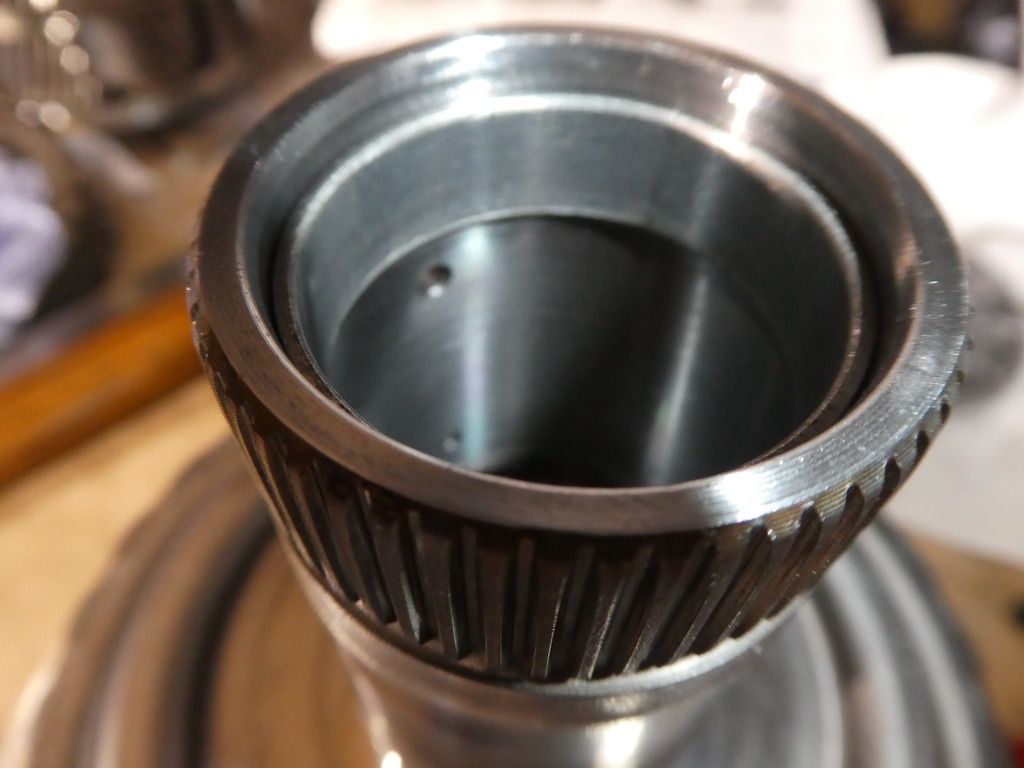
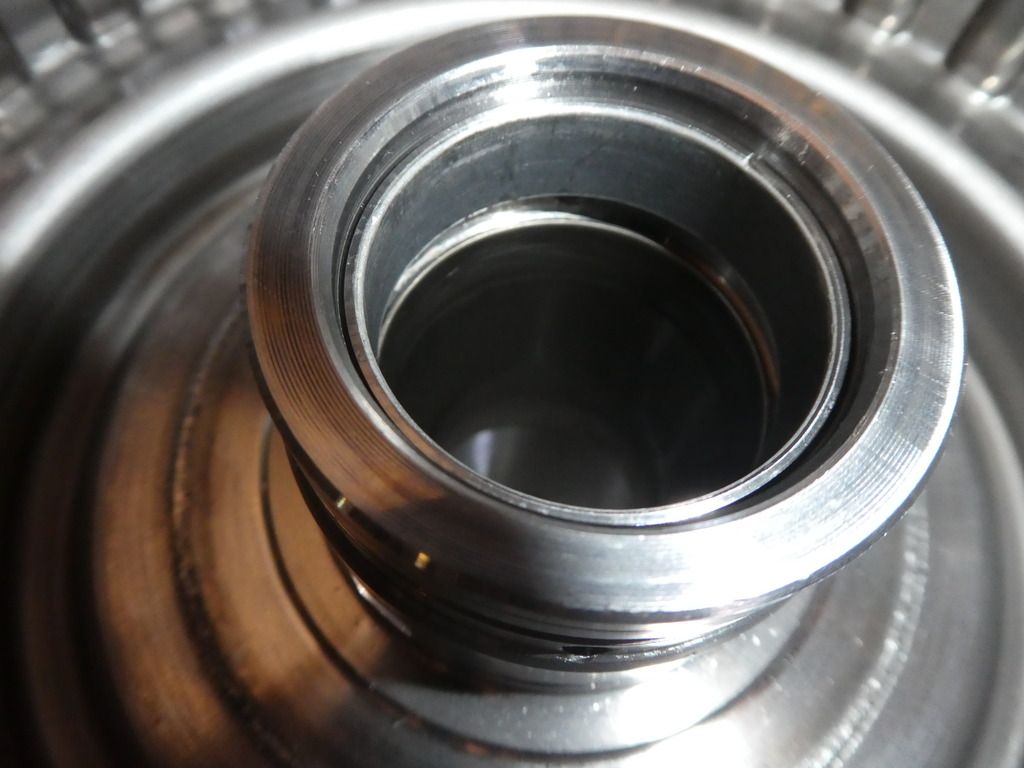
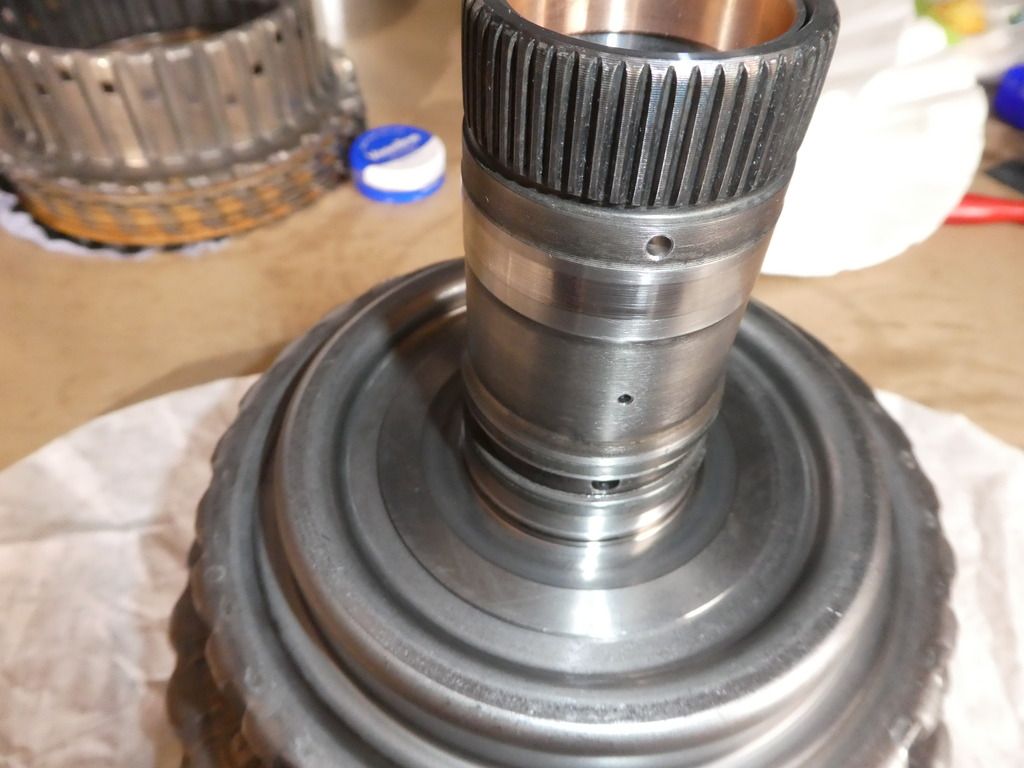
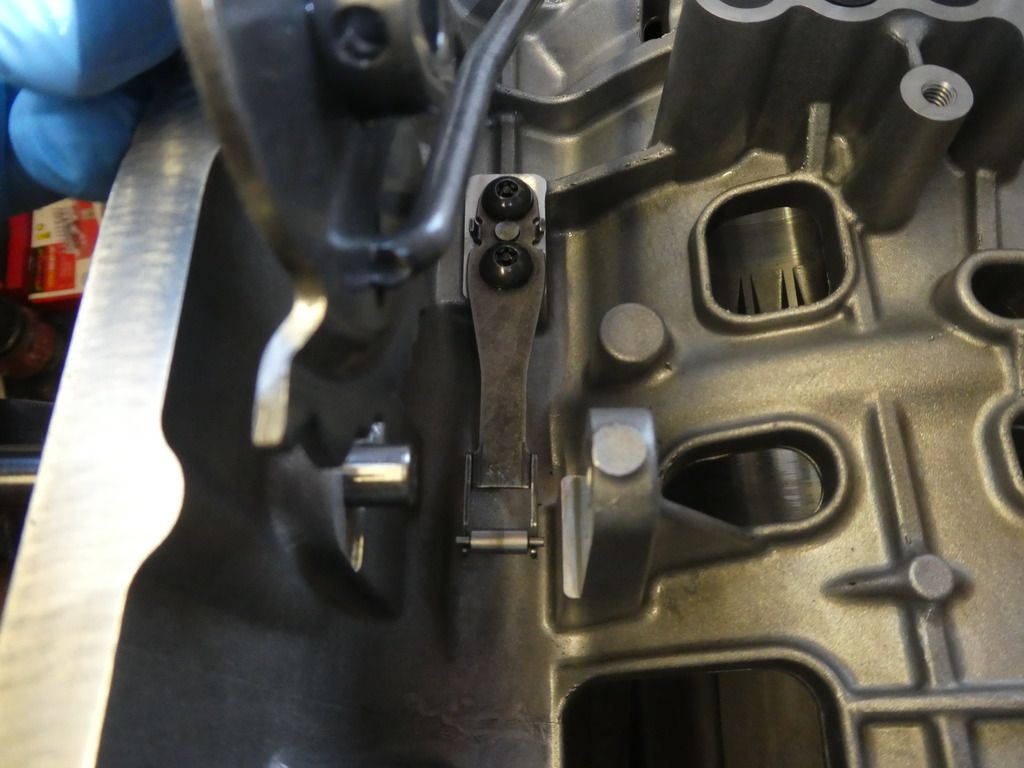
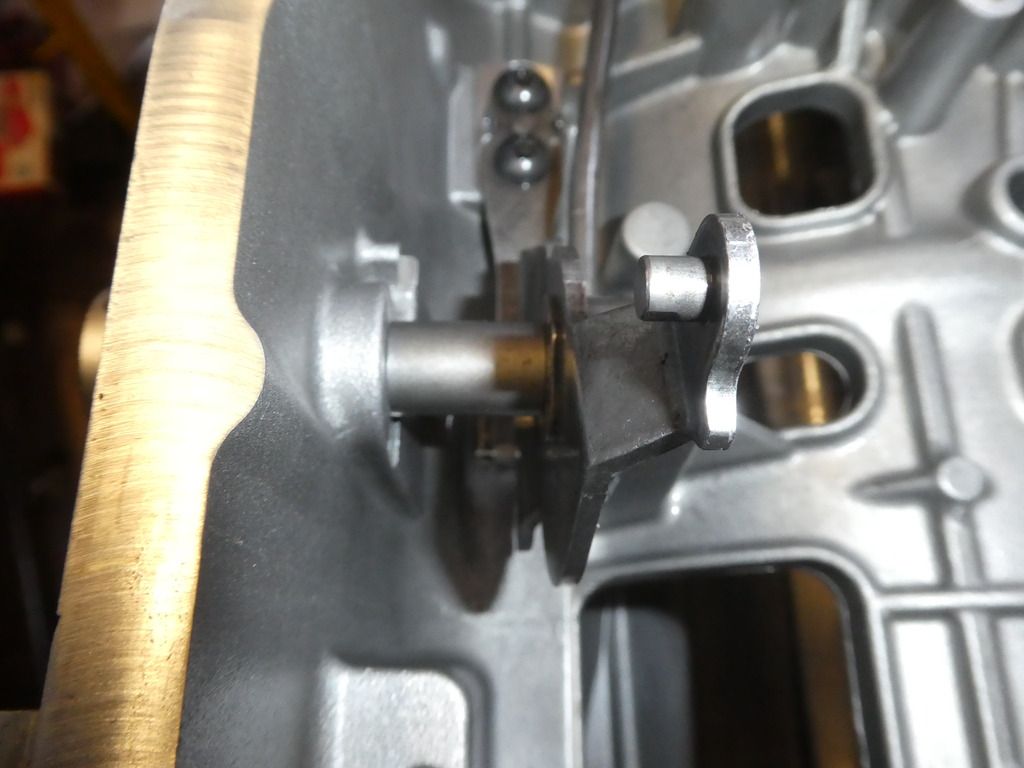
Once you have this you then need to measure the available height for the clutch stack (Ex) in the clutch assemblies; that is the height from the piston to the top-most edge of the retaining circlip. For this I use a digital depth gauge vernier; datum at the piston seated from the top edge of the clutch body (no clutch pack fitted) and measure the offset to the top of the circlip (clutch pack fitted) whilst lifting the clutch pack firmly against the circlip with a small flat screwdriver between the final steel and the clip.

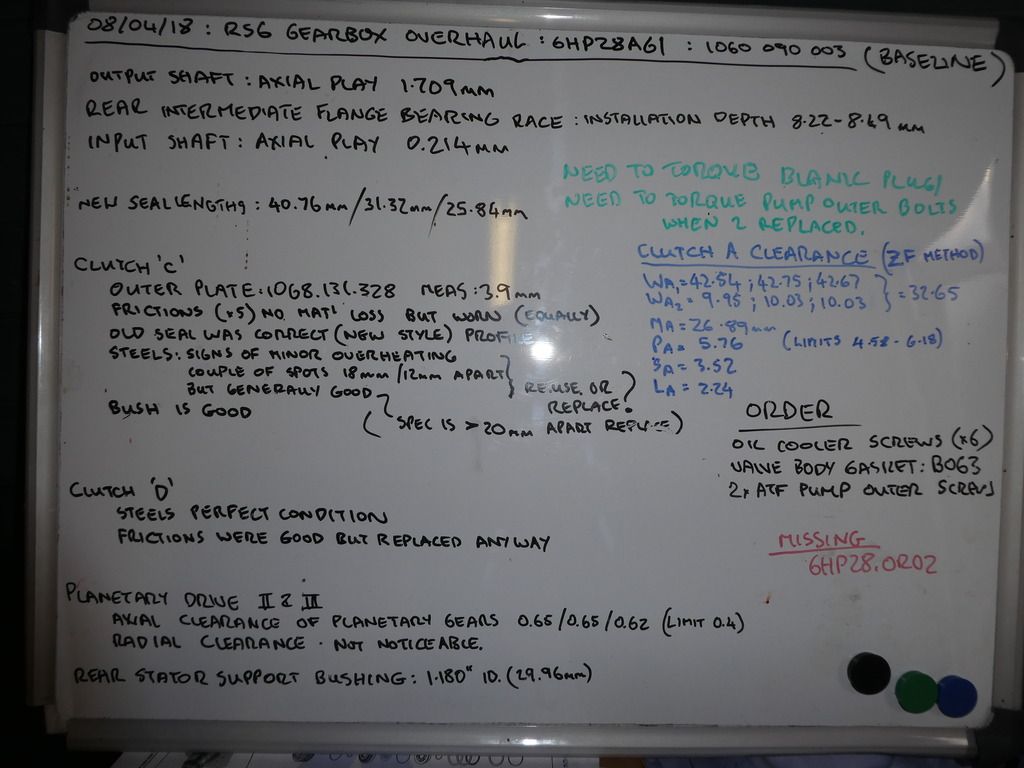
Armed with these measurements and the known current circlip thicknesses (Sx) you can tabulate all of this to determine whether you need to change the cirlip. I have an image of my results here but if anyone wants this excel file just pm me.

Image

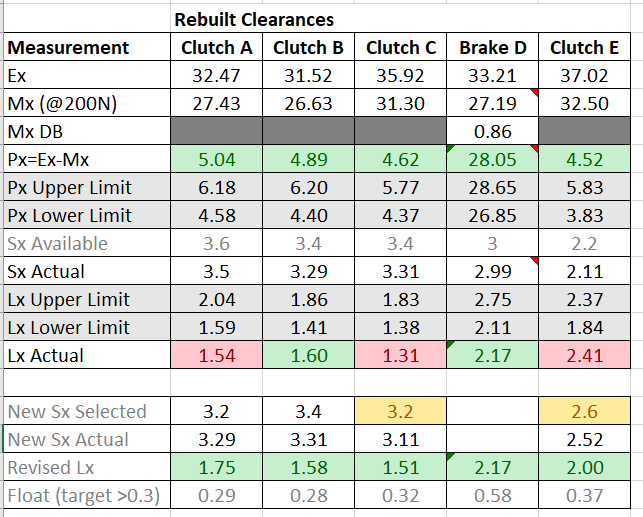
The bottom line for me, noting in my usual padantic methodology I aim for a tolerance of 0.3 below the upper tolerance limit Lx (ensuring not too tight to bind but leaving max allowance for wear) that I need to change 2 circlips; I use Clutch B circlip for Clutch A; I use Clutch C circlip for Clutch B; I need a new circlip for Clutch C; Clutch D is good with the existing circlip; I need a new circlip for Clutch E.

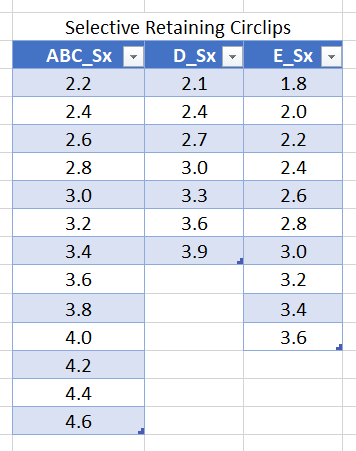
The other thing to note on ordering selective circlips is they commonly come undersize; So much so I had to re-order the Clutch E circlip as it came 2.3 (not 2.4), So I ordered a 2.6 which came 2.52mm which fit my bill.
Image

If you are wondering what Px is - its an additional check ZF use; if you havent met this ZF dont do a circlip that will fit and its likely you will need to change a hard part to rectify this (or you have an incorrect oversize steel or friction).
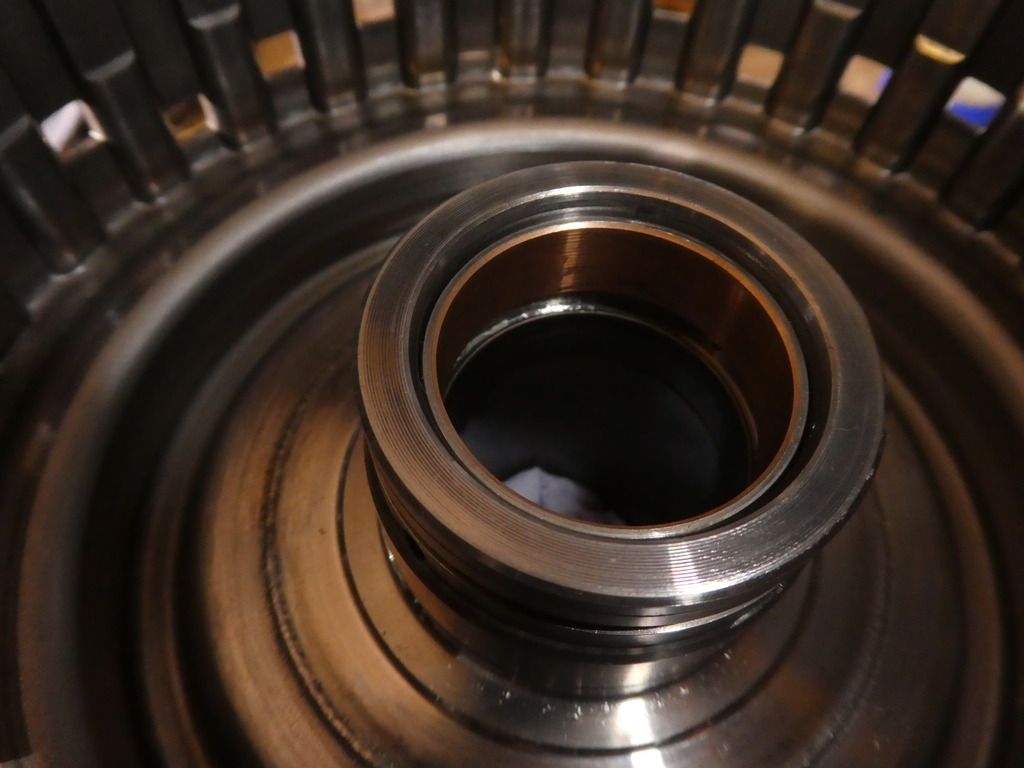
And Clutch D differs slightly in that the Ex measurement has to be taken inside the gearbox body where its held, but the principle is the same. Note though if you use the internal ledge of the gearbox as your datum face doing this one you will need a 300mm depth gauge vernier
Last edited by ATinOf on Tue Sep 11, 2018 12:24 am, edited 20 times in total.

ATinOf
3rd Gear
Posts: 395
Joined: Fri Jul 06, 2018 7:32 pm
Location: Cheshire

Re: Gearbox Teardown & Refurbish - 6HP28A61

Post by ATinOf » Mon Sep 03, 2018 4:08 pm

Before re-installing the planetary sun gear assembly I into Clutch A, having cleaned it all up, check the axial (vertical) play on the planetary gears,the spec for the wear limit is 0.4mm
Image

Hmm, and this figure 0.61mm was common to all three planetary gears. Now the book says replace the gear. I'm thinking do I or dont I? The radial play is not noticeable (which is good there should be no noticeable radial side to side play) and there is no discolouration (blueing) on the axis, and the teeth and the Clutch E annulus that mates to this shows no sign of wear and the peening top and bottom side of the axis' are sound ....
So on the whole I decided to accept this, essentially this means there will be a certain amount of rotation of this assembly before engagement gives traction, but we are talking one or two degrees at worst I'm guessing, I wasn't overly concerned about this, I hadn't noticed it on the box in real life response
Image

Clip the needle bearing into the seat on the sun gear and drop the sun gear into place (lightly oil bearing and gears)
Image

Fit the retaining clip in place above the sun gear in the recess
Image

Invert and press firmly into its seat in the retaining plate of Clutch A till the clip clicks into place, a gentle pull on the assembly to ensure its held by the clip. Re clip the oil collector into its seat
Image
Last edited by ATinOf on Wed Sep 12, 2018 10:12 pm, edited 8 times in total.

ATinOf
3rd Gear
Posts: 395
Joined: Fri Jul 06, 2018 7:32 pm
Location: Cheshire

Re: Gearbox Teardown & Refurbish - 6HP28A61

Post by ATinOf » Mon Sep 03, 2018 4:10 pm

Now Clutch E, the bush looks ok, but I'm replacing it anyway
Image

New bush installed
Image

Ahh, this was the needle bearing I couldn't unclip
Image

Fit the inner and outer seals from the overhaul kit to the Clutch E piston and lightly vaseline the outer faces of the seals
Image

And fit the piston
Image

Fit the outer O-Ring seal from the overhaul kit to the retaining plate, lightly vaseline the seal outer face and fit the spring then the retaining plate
Image
Image
Last edited by ATinOf on Tue Sep 11, 2018 11:23 pm, edited 10 times in total.

ATinOf
3rd Gear
Posts: 395
Joined: Fri Jul 06, 2018 7:32 pm
Location: Cheshire

Re: Gearbox Teardown & Refurbish - 6HP28A61

Post by ATinOf » Mon Sep 03, 2018 4:12 pm

Fit the cup washer with the recess for the circlip uppermost
Image
Image

With the aid of the press fit the circlip and ensure its fully seated in the groove all the way round
Image
Image

Install the wave washer, the steel, friction, steel, friction etc (7 of each), top steel and selective circlip
Image
Image
Last edited by ATinOf on Wed Sep 12, 2018 9:27 pm, edited 6 times in total.

ATinOf
3rd Gear
Posts: 395
Joined: Fri Jul 06, 2018 7:32 pm
Location: Cheshire

Re: Gearbox Teardown & Refurbish - 6HP28A61

Post by ATinOf » Mon Sep 03, 2018 4:13 pm

Invert Clutch E and fit the 3 new rectangular seals, and clip the needle bearing back into place (lightly oiled)
Image

Invert again and clip on the other needle bearing lightly oiled; Clutch E is ready to install
Image
Last edited by ATinOf on Wed Sep 12, 2018 9:29 pm, edited 3 times in total.

ATinOf
3rd Gear
Posts: 395
Joined: Fri Jul 06, 2018 7:32 pm
Location: Cheshire

Re: Gearbox Teardown & Refurbish - 6HP28A61

Post by ATinOf » Mon Sep 03, 2018 4:15 pm

Clean up inner plate carrier A
Image

Clip the needle bearing into place lightly oiled, and dont forget that bush
Image

And this bush the other end
Image

Cape chisel out the old and in with the new bushes
Image
Image
Last edited by ATinOf on Wed Sep 12, 2018 9:42 pm, edited 3 times in total.

ATinOf
3rd Gear
Posts: 395
Joined: Fri Jul 06, 2018 7:32 pm
Location: Cheshire

Re: Gearbox Teardown & Refurbish - 6HP28A61

Post by ATinOf » Mon Sep 03, 2018 4:17 pm

With Clutch B cleaned up cape chisel out those old bushes both ends
Image
Image

These bushes did look sound but since I had the replacements from the kit.... I fitted them
Image
Image
Last edited by ATinOf on Wed Sep 12, 2018 9:47 pm, edited 3 times in total.

ATinOf
3rd Gear
Posts: 395
Joined: Fri Jul 06, 2018 7:32 pm
Location: Cheshire

Re: Gearbox Teardown & Refurbish - 6HP28A61

Post by ATinOf » Mon Sep 03, 2018 4:19 pm

Strip off the old seals and clean up the piston B and its retaining plate
Image

Renew the Pistons inner and outer O-ring seal from the overhaul kit, lightly vaseline the outer working faces and fit the piston
Image

Renew the Retaining Plate outer O-ring seal from the overhaul kit, lightly vaseline the outer working face and fit the retaining plate
Press the retaining plate down slightly by hand so that the retaining plate circlip can be fitted
Image

Fit the spring and cup washer (smooth face against the spring)
Image
Image

With the press; compressthe spring to fit the circlip; the book recommends this circlip be replaced, but this one hadnt stretched and was still a tight fit to get on, so I reusued this one
If you were to replace it; ZF ref 730.513.860
Image

Fit the wave washer, steel, friction, steel, friction etc (5 off each), top most steel and selective circlip
Image
Last edited by ATinOf on Wed Sep 12, 2018 10:04 pm, edited 10 times in total.

ATinOf
3rd Gear
Posts: 395
Joined: Fri Jul 06, 2018 7:32 pm
Location: Cheshire

Re: Gearbox Teardown & Refurbish - 6HP28A61

Post by ATinOf » Mon Sep 03, 2018 4:19 pm

Image

ATinOf
3rd Gear
Posts: 395
Joined: Fri Jul 06, 2018 7:32 pm
Location: Cheshire

Re: Gearbox Teardown & Refurbish - 6HP28A61

Post by ATinOf » Mon Sep 03, 2018 4:21 pm

Refit the output shaft to the planetary gear annulus and fit the retaining circlip
Image

Insert the thrust washer; from the wear on the faces you can tell which way round it goes; keep the wear faces matched
Image
Image
Last edited by ATinOf on Wed Sep 12, 2018 10:08 pm, edited 2 times in total.

ATinOf
3rd Gear
Posts: 395
Joined: Fri Jul 06, 2018 7:32 pm
Location: Cheshire

Re: Gearbox Teardown & Refurbish - 6HP28A61

Post by ATinOf » Mon Sep 03, 2018 4:23 pm

Before reassembling the sun gears etc to the output planetary gear set; measure the planetary gear axial play with the DTI (same as last one)
In my case these were 0.65, 0.65, 0.62 - Again the wear limit is 0.4mm

As was the case on planetary gear set I; for these planetary gears the radial play is not noticeable (which is good there should be no noticeable radial side to side play) and there is no discolouration (blueing) on the axis, and the teeth and the Output shaft annulus that mates to this shows no sign of wear and the peening of the axis' are sound ....
So on the whole I also decided to accept this, essentially this means there will be a certain amount of rotation of this assembly before engagement gives traction, but we are talking one or two degrees at worst I'm guessing, I wasn't overly concerned about this, I hadn't noticed it on the box in real life response

Its consistent in that both planetary gear sets have similar wear states

Clip on the lower needle bearing, lightly oiled
Image
Image

Clip the bottom needle bearing to the lower sun gear III, note the bottom face of the gear is square edged; the chamfered edge is top-most face
If you recall I identified the lower bearing by putting it in a bag (upper and lower bearings are identical, but if being reused should be put in their original places to match wear faces up)
Image
Image

Using only the recommended oil Lightly oil the needle bearing and the gear; and lightly oil the mating planetary gears, fit the thrust washer into the planetary gear set FIRST, followed by the gear with its lower needle bearing against the thrust washer
Image

Clip the upper needle bearing lightly oiled to the top of this sun gear
Image

Clip the thrust washer to the underside of the sungear Lightly oil the upper sun gear II and install into the planetary gear set
Image
Image
Last edited by ATinOf on Wed Sep 12, 2018 10:28 pm, edited 11 times in total.

ATinOf
3rd Gear
Posts: 395
Joined: Fri Jul 06, 2018 7:32 pm
Location: Cheshire

Re: Gearbox Teardown & Refurbish - 6HP28A61

Post by ATinOf » Mon Sep 03, 2018 4:24 pm

In order to remove the gear select lever seal easily, remove the split pin from the shaft internal to the gearbox and slide the shaft out of the seal into the box
Image

Now remove the old seal
(Note it can be removed with the shaft in situ, its just harder to get out without marking the shaft or the bore)
Image

Fit the new seal from the overhaul kit. Place the selector roller onto the tensioning spring
Image

Re-instate the shaft and refit the split pin
Image
Image
Last edited by ATinOf on Thu Sep 13, 2018 9:31 pm, edited 6 times in total.

Post Reply

Return to “RS6 / RS6 Plus (C6 Typ 4F) 2008-2010”

Who is online

Users browsing this forum: No registered users and 55 guests