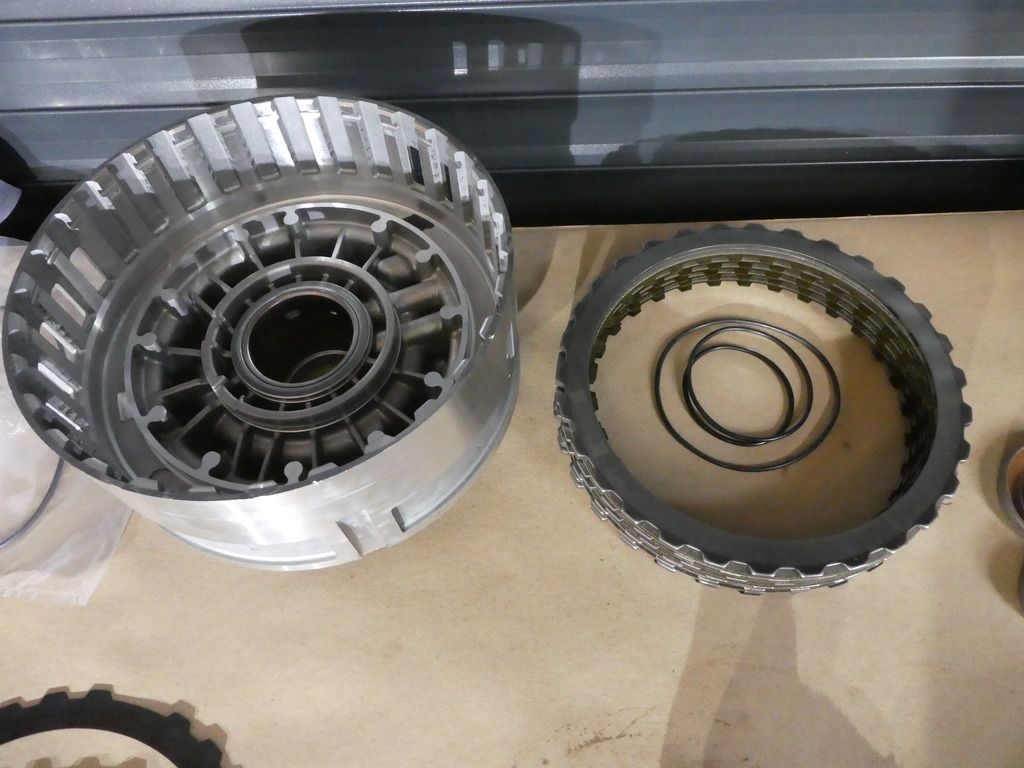
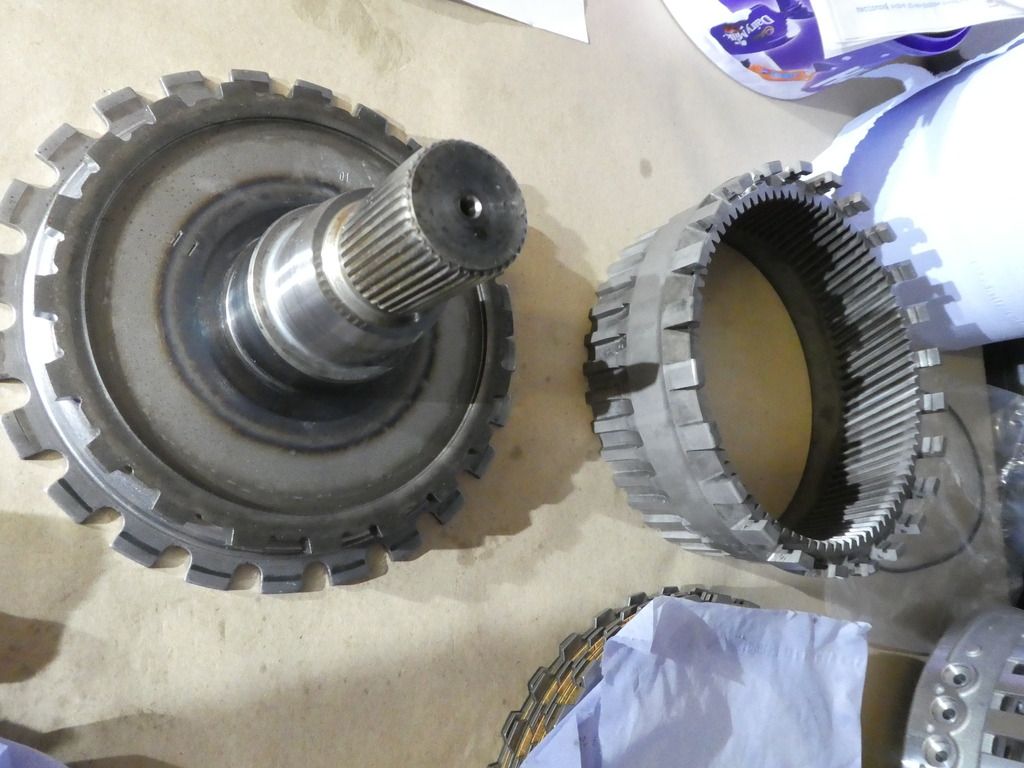
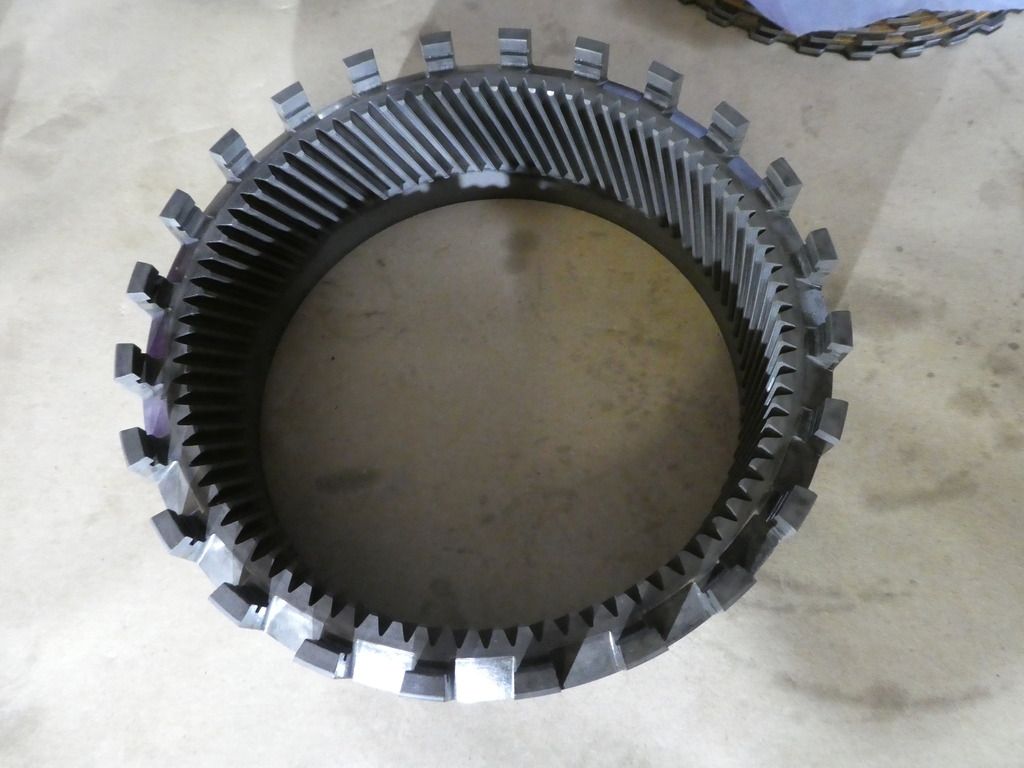
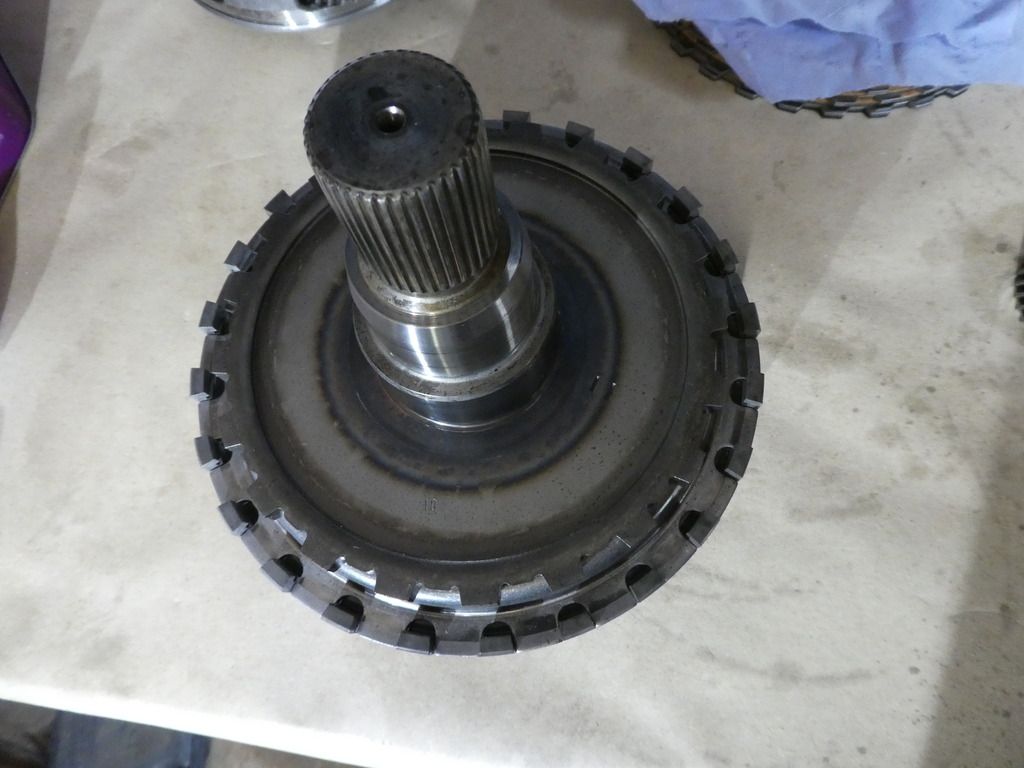
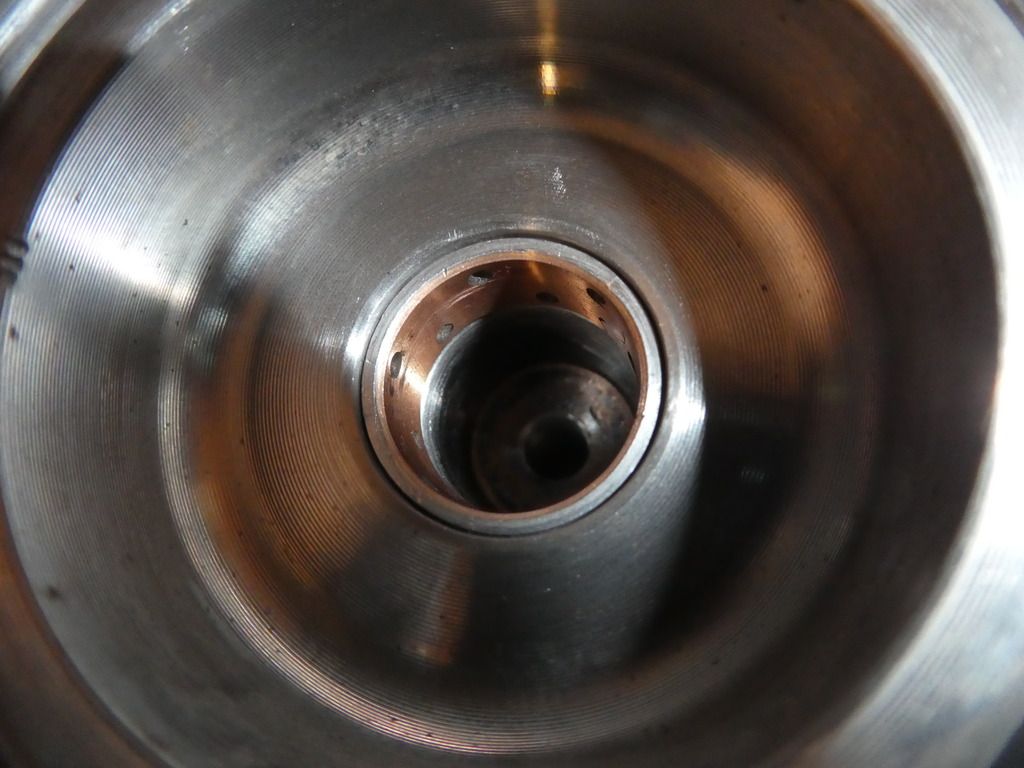
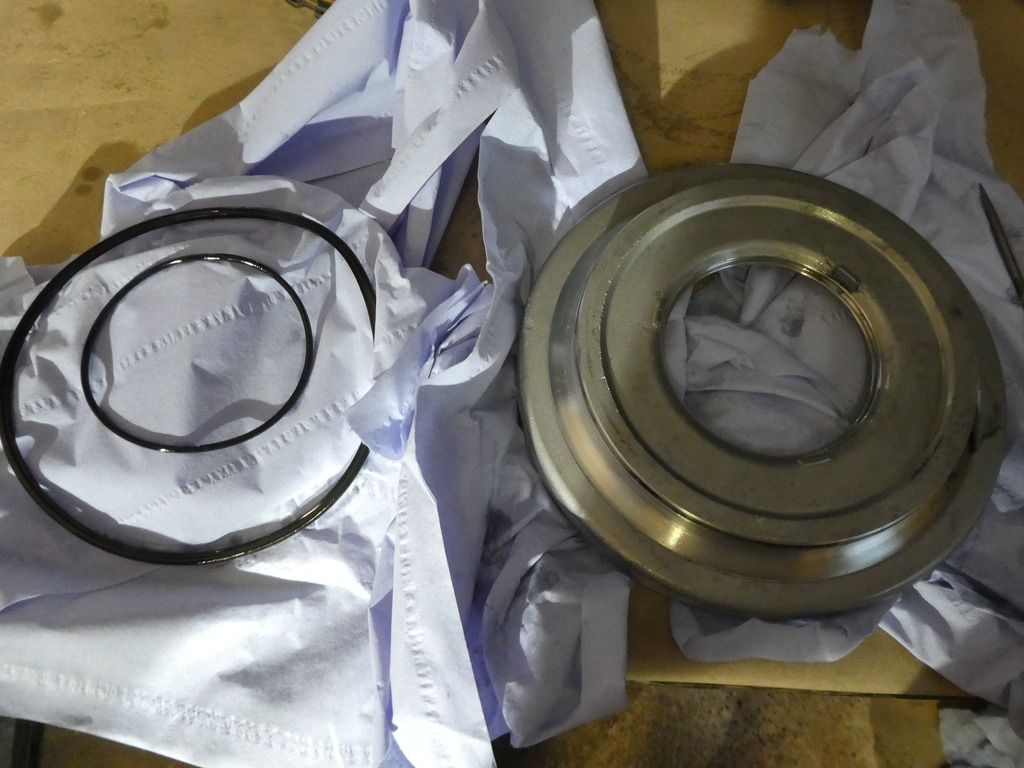
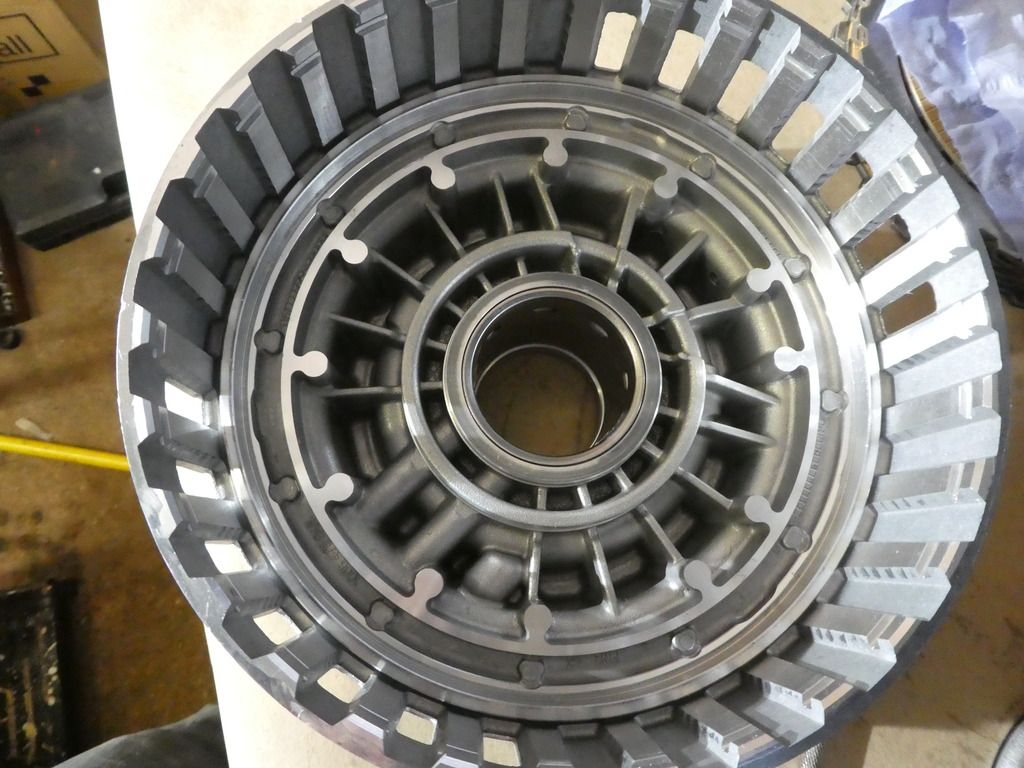
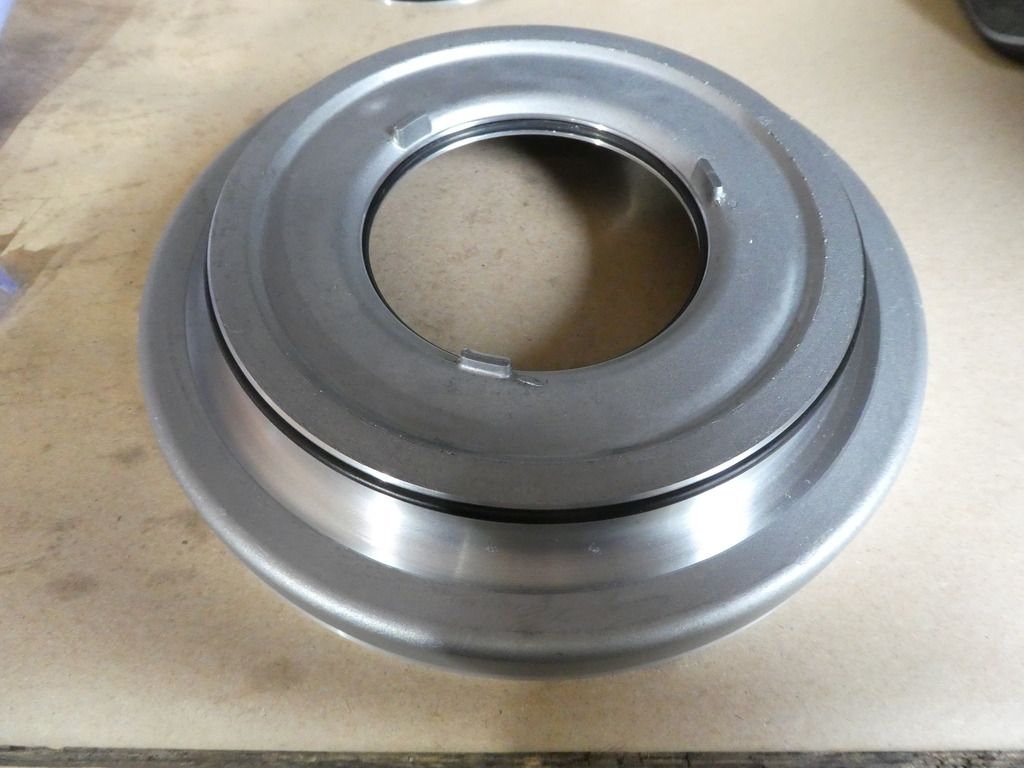
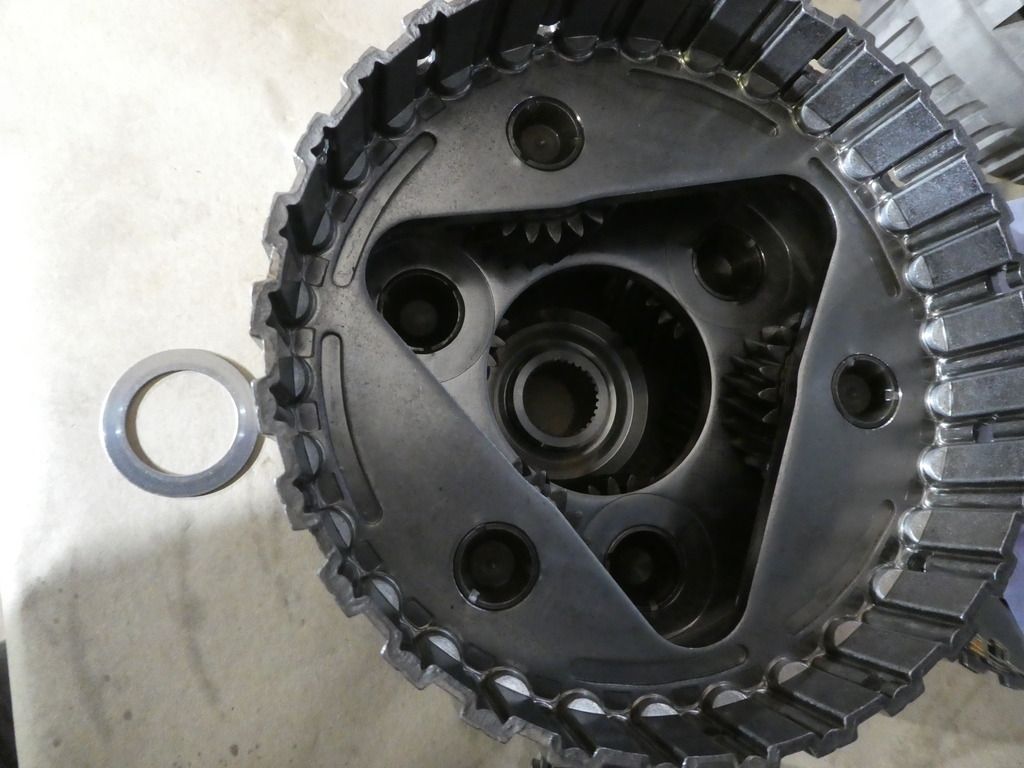
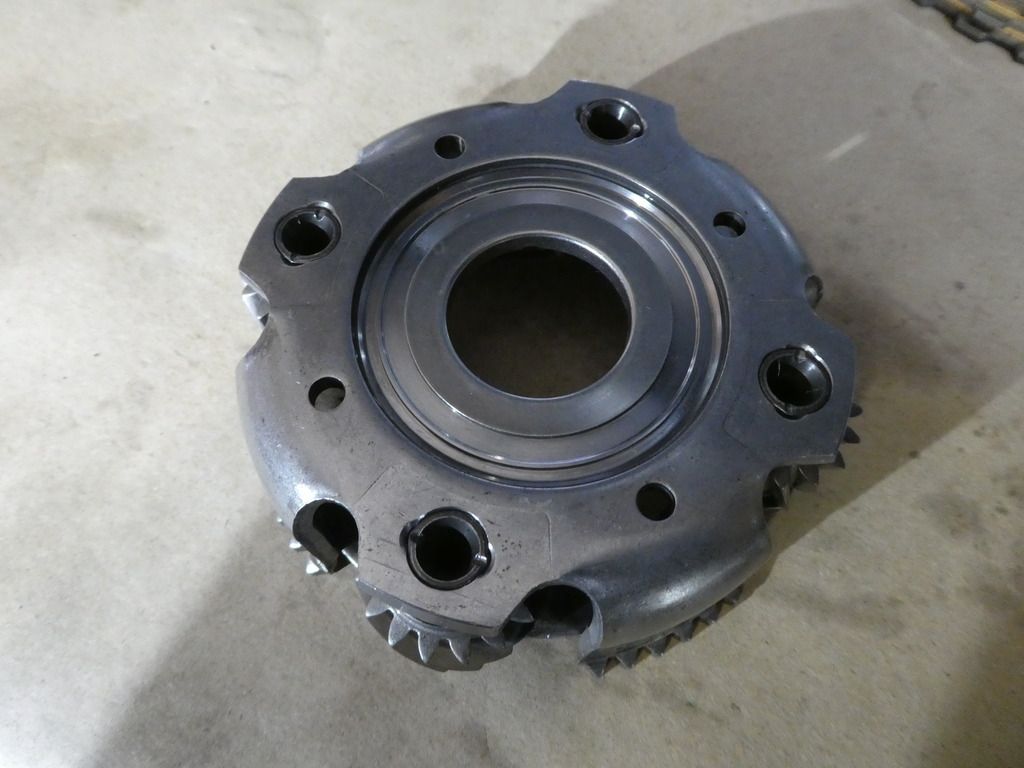
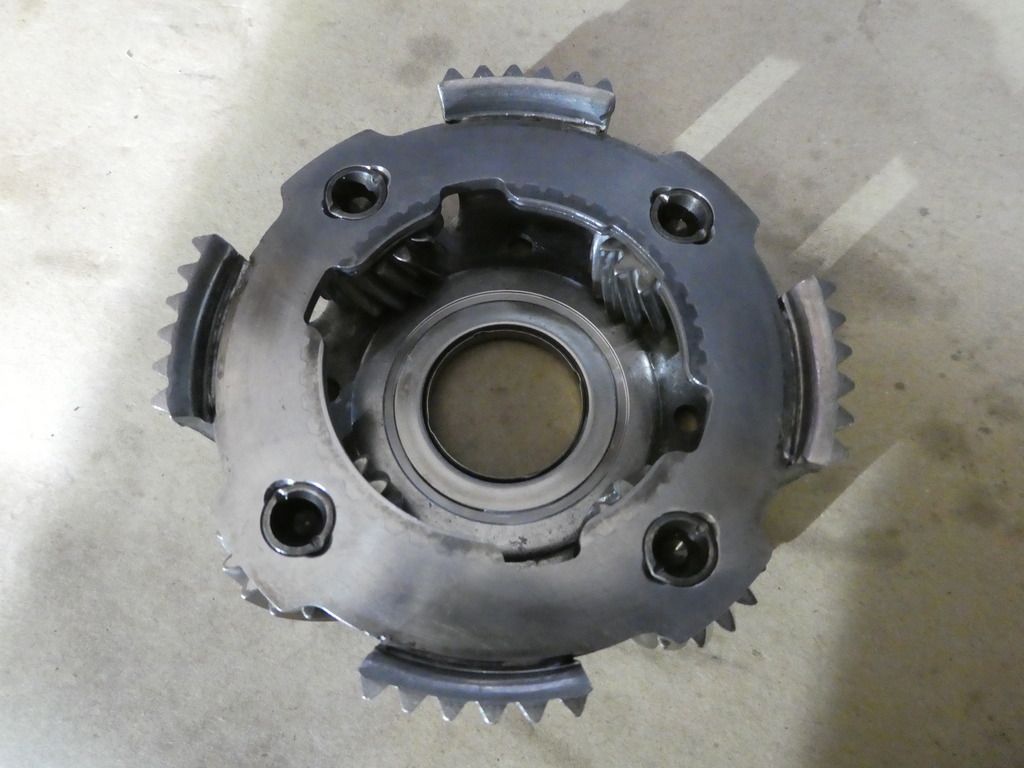
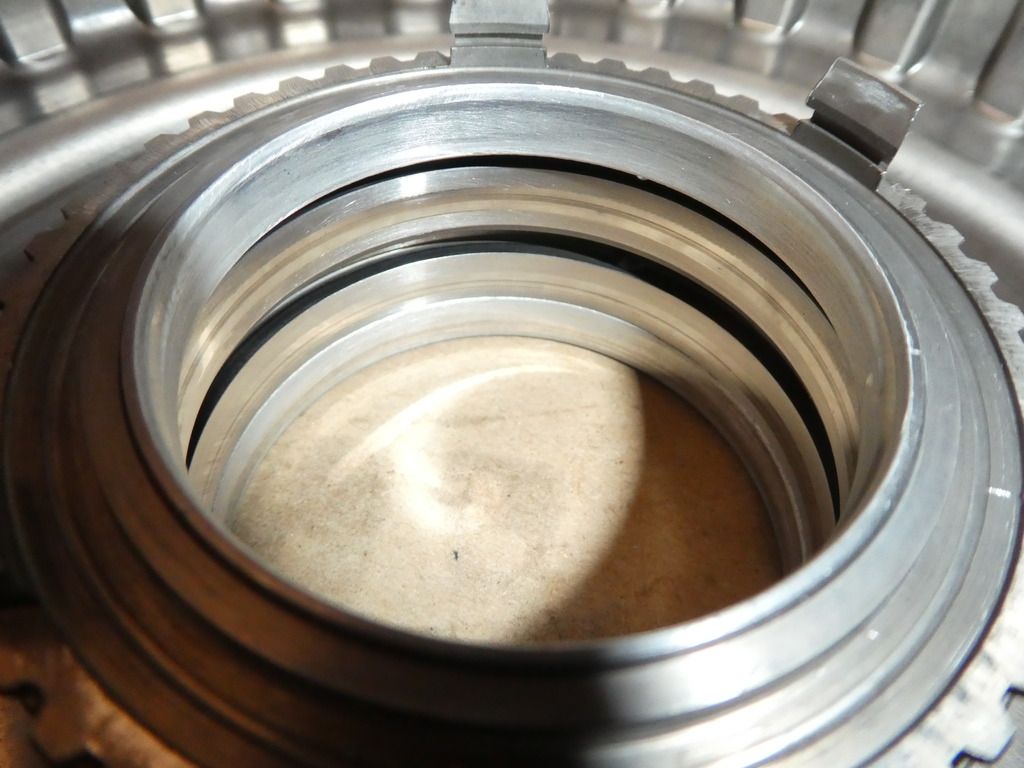
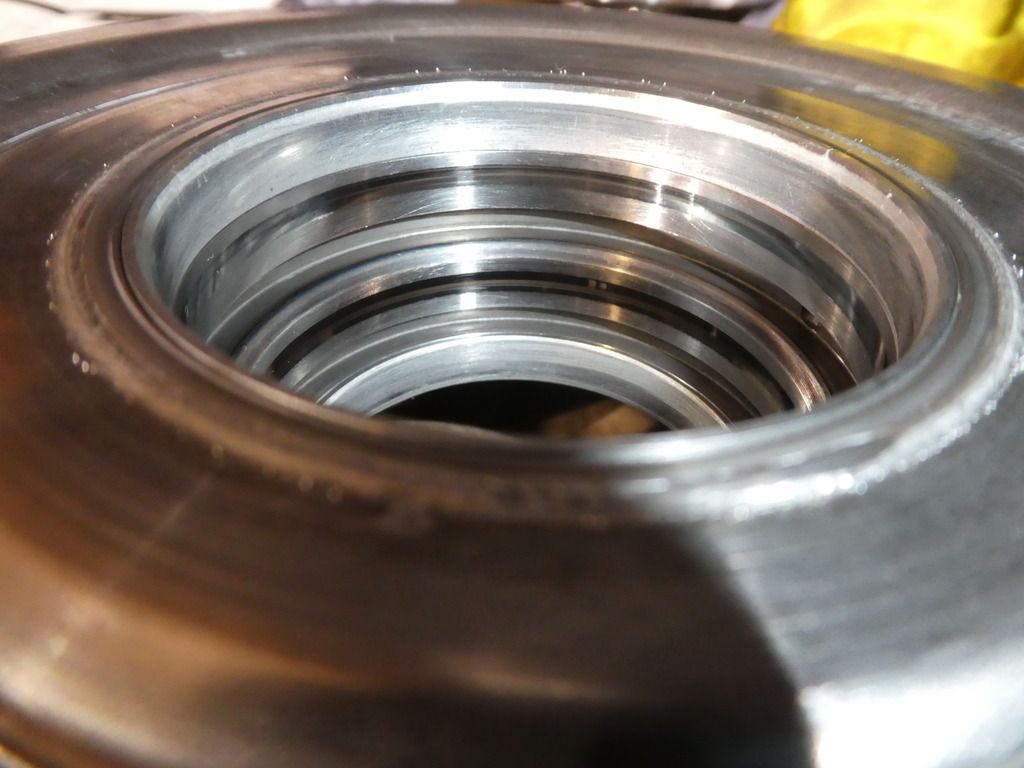
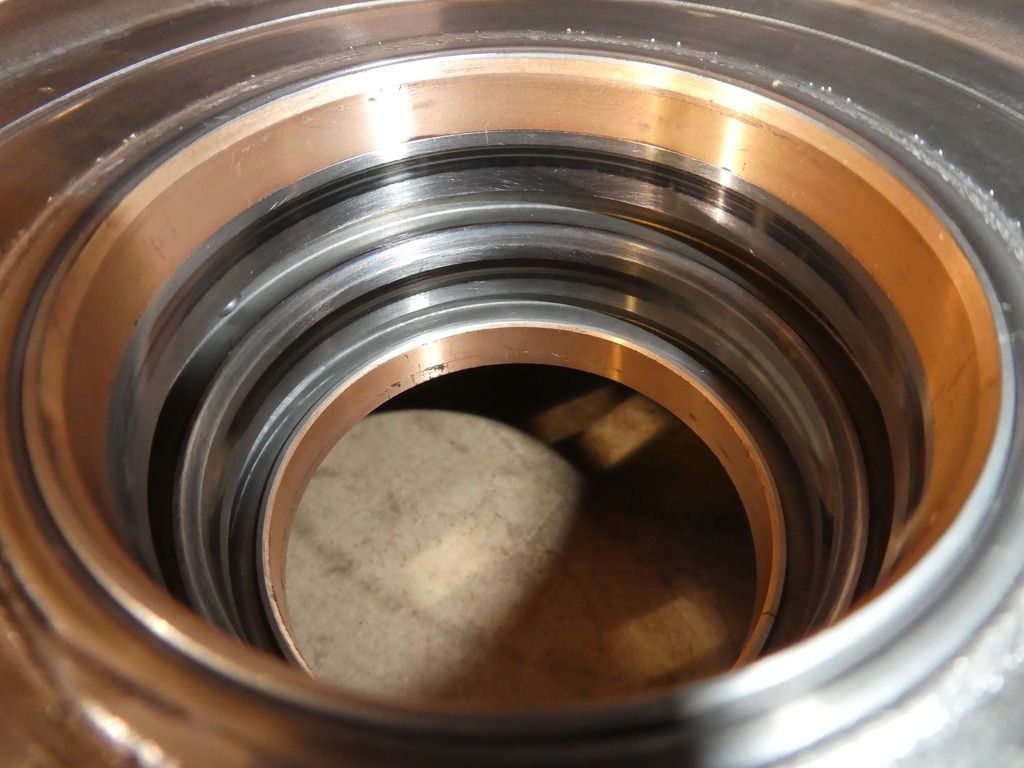
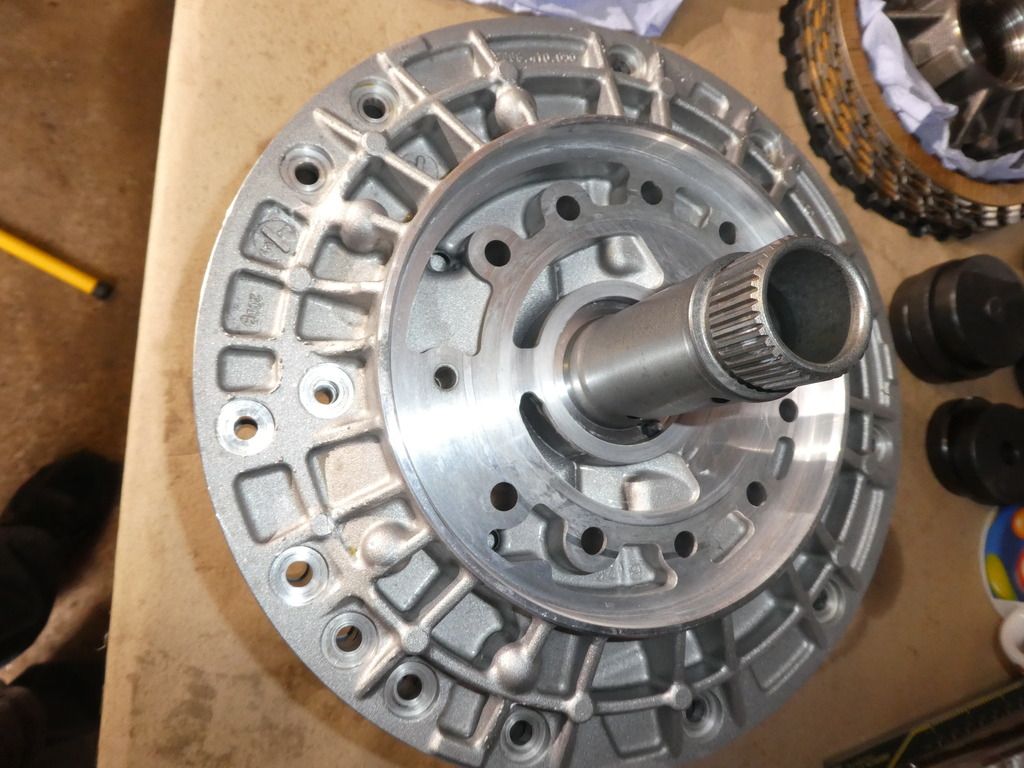
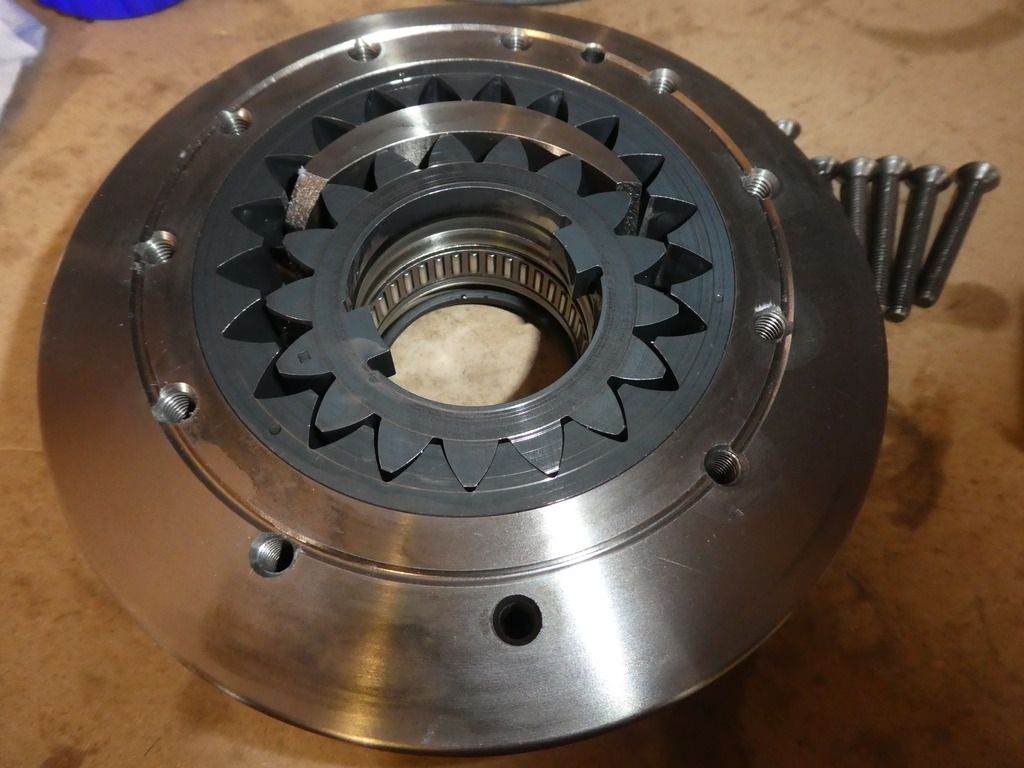
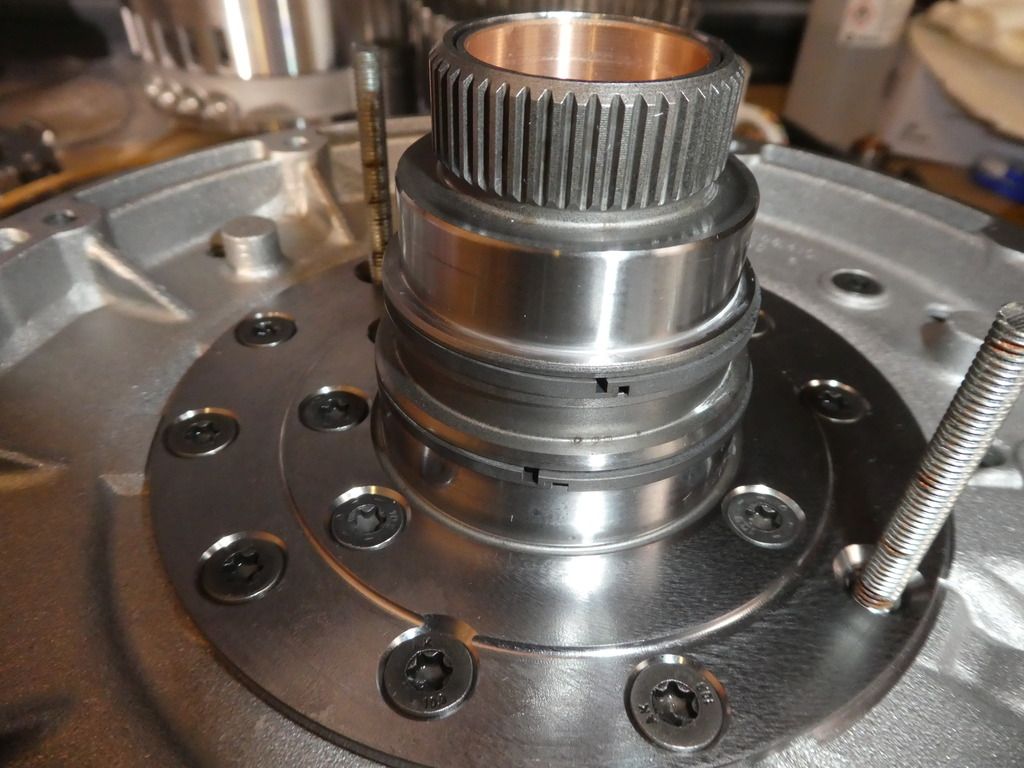
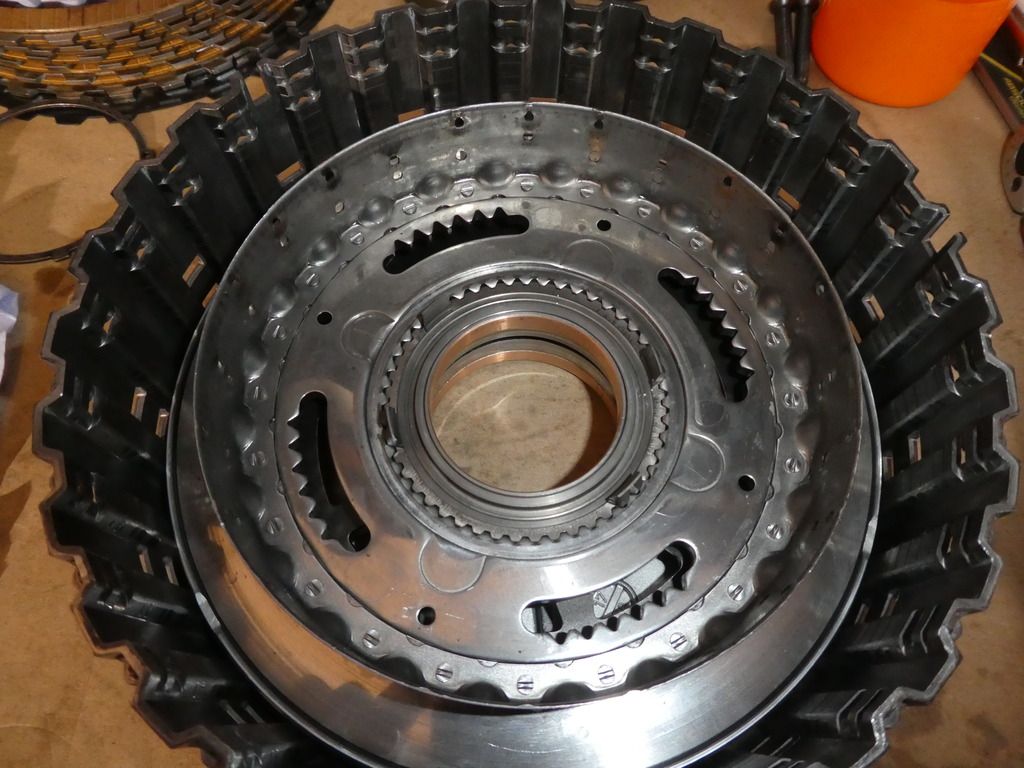
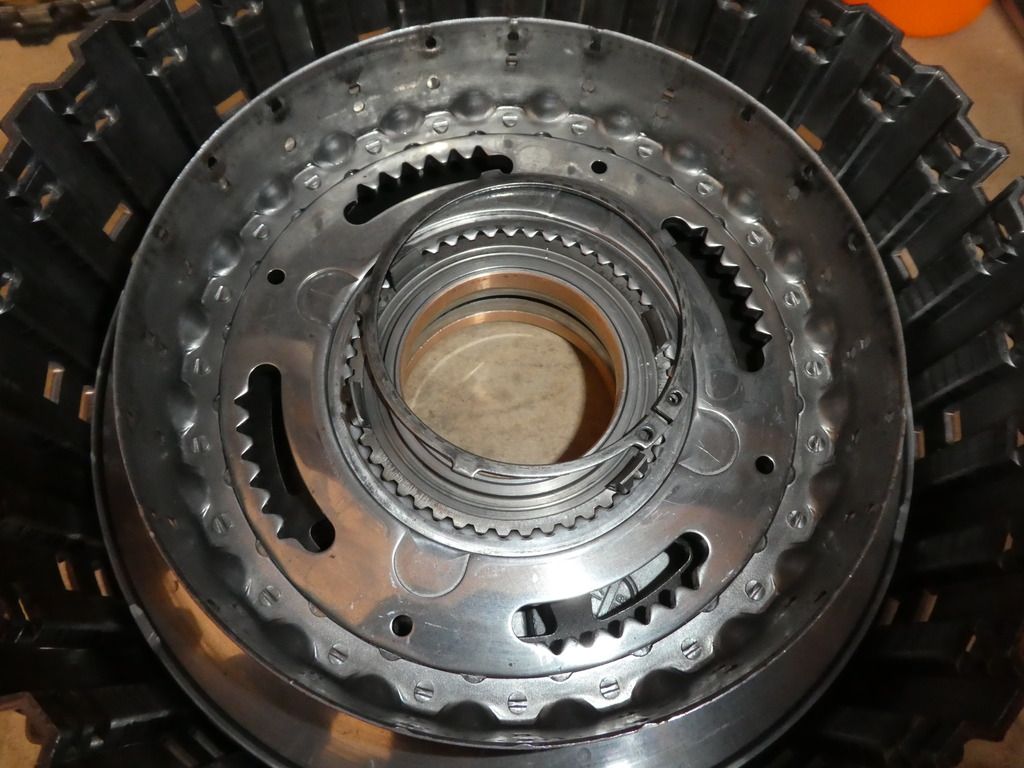
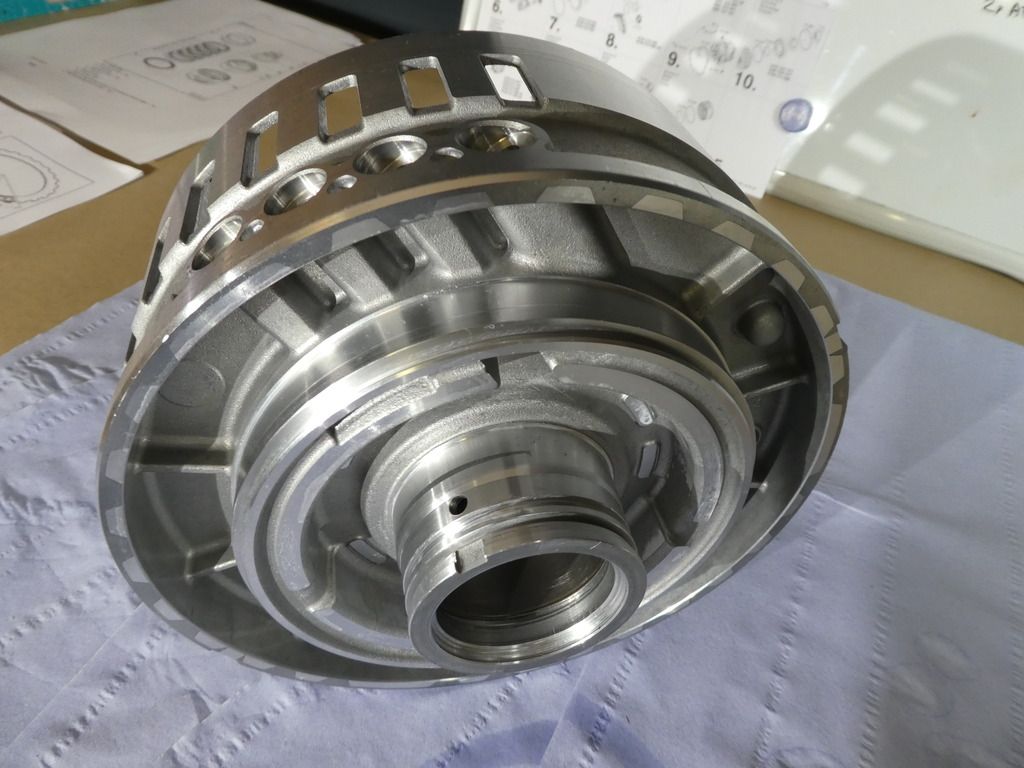
Remove the old seals from clutch C/D and clean the clutch body
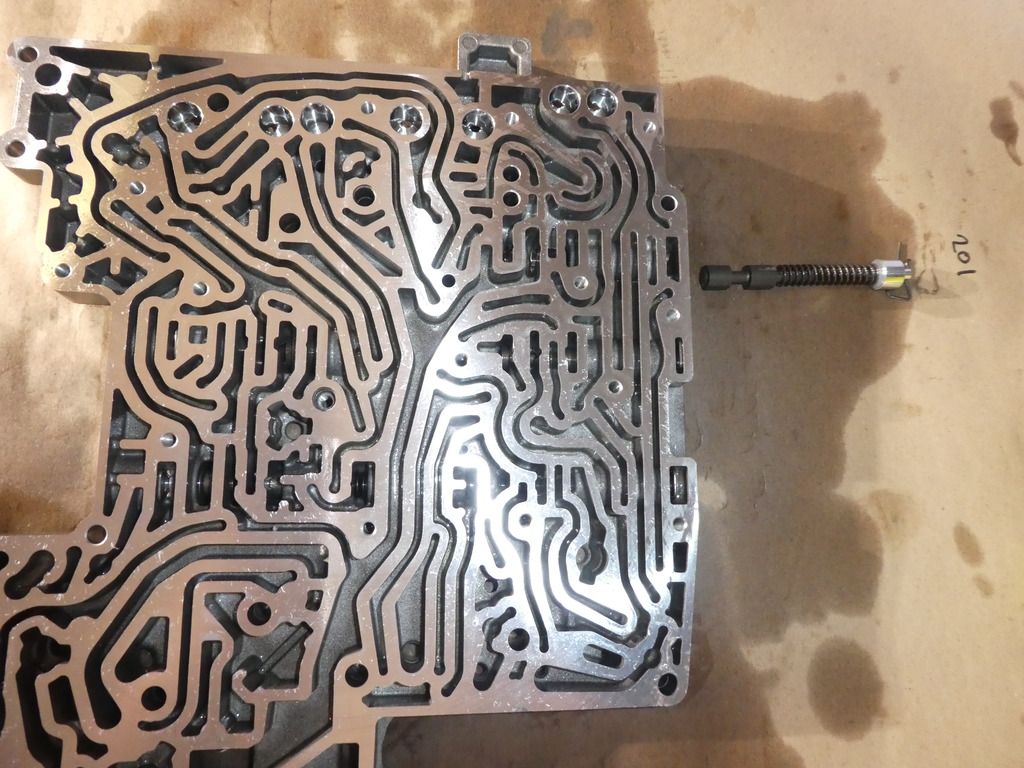
Note those 4 counterbored holes in the side of the clutch body; they interface with those 4 pressure port outputs in the valve body
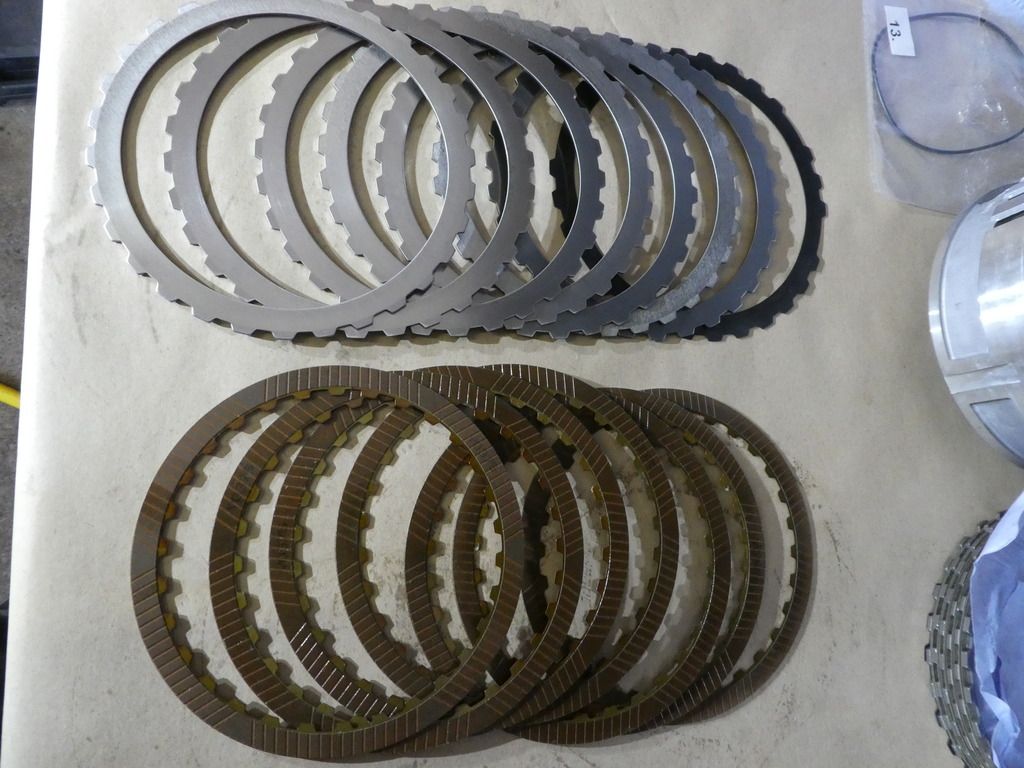
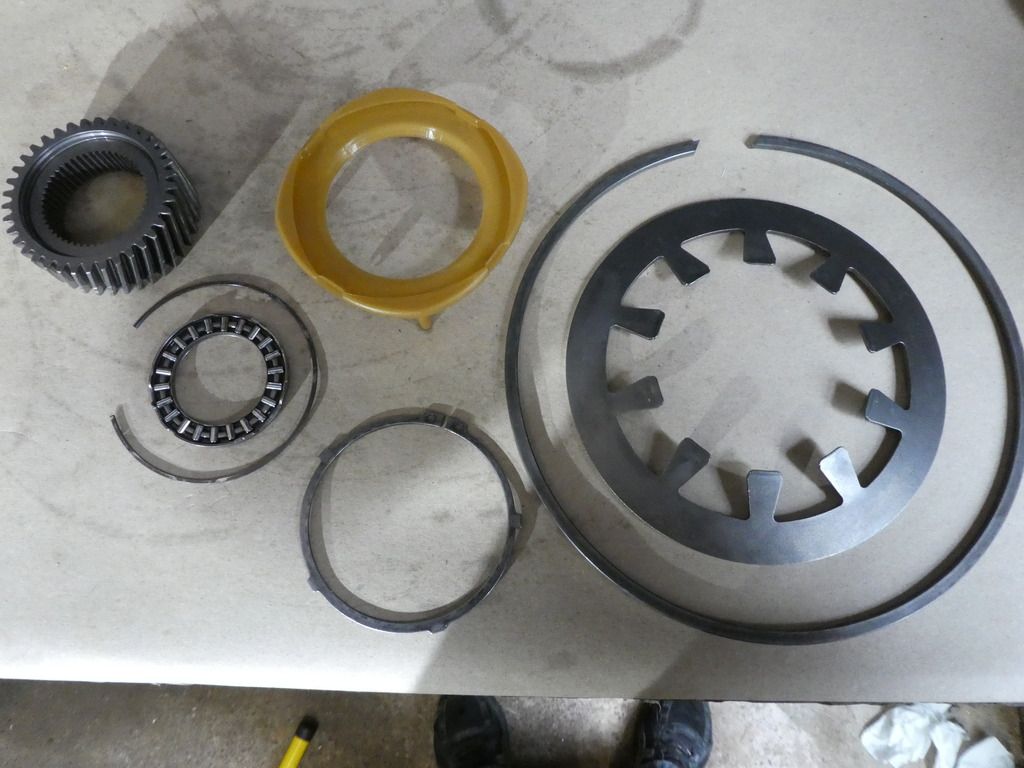
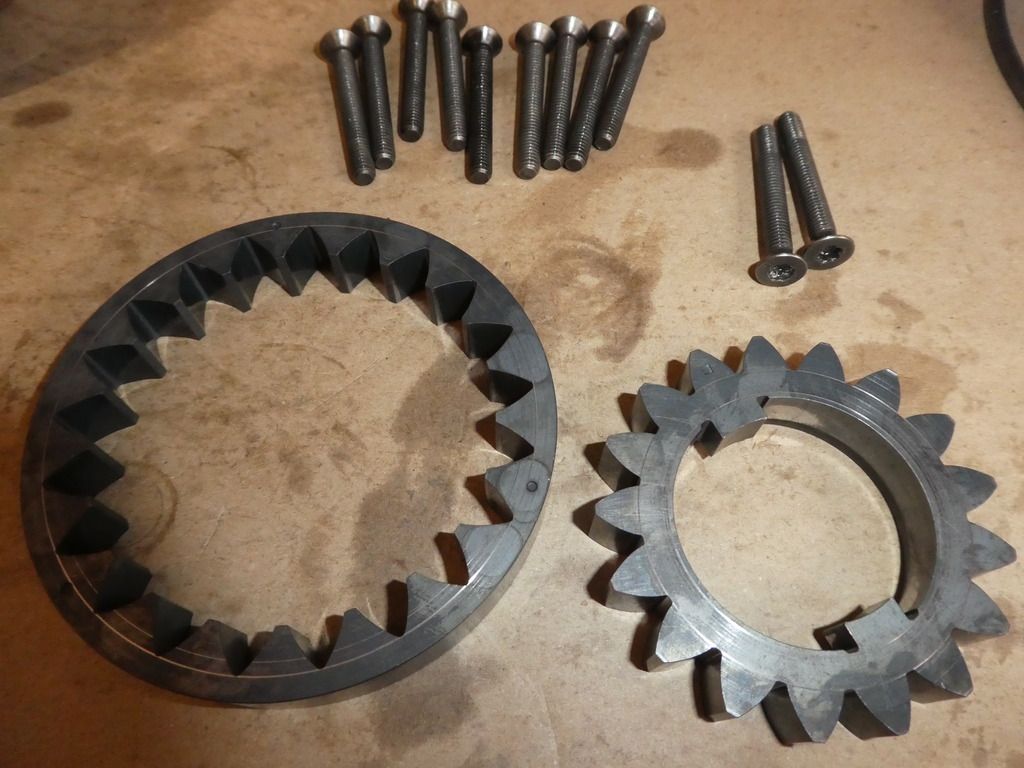
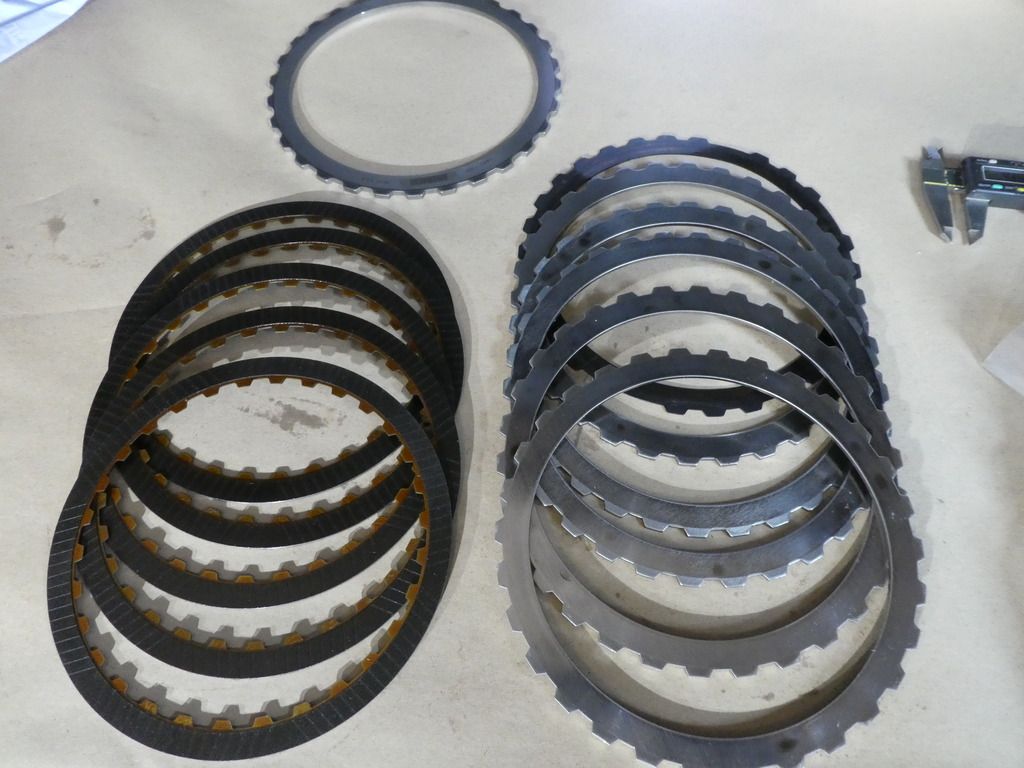
Now inspect and measure all of the frictions and steels for the clutches and tabulate the results
When you are measuring the thickness of them take 4 point measurements 90 degrees apart and take an average
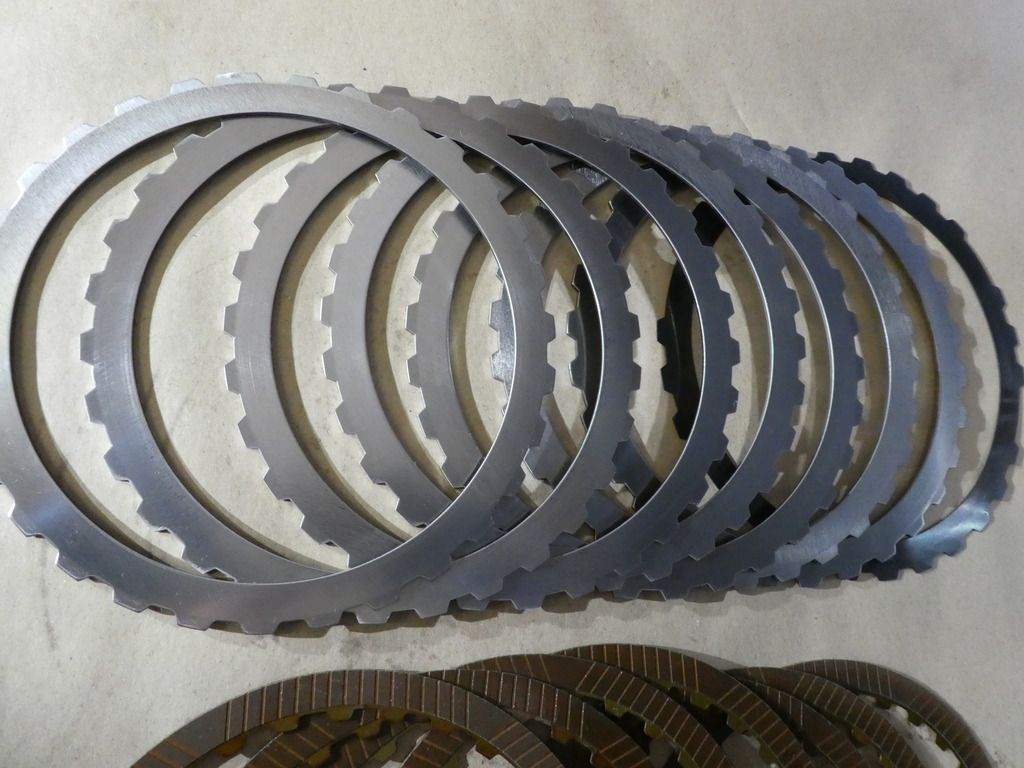
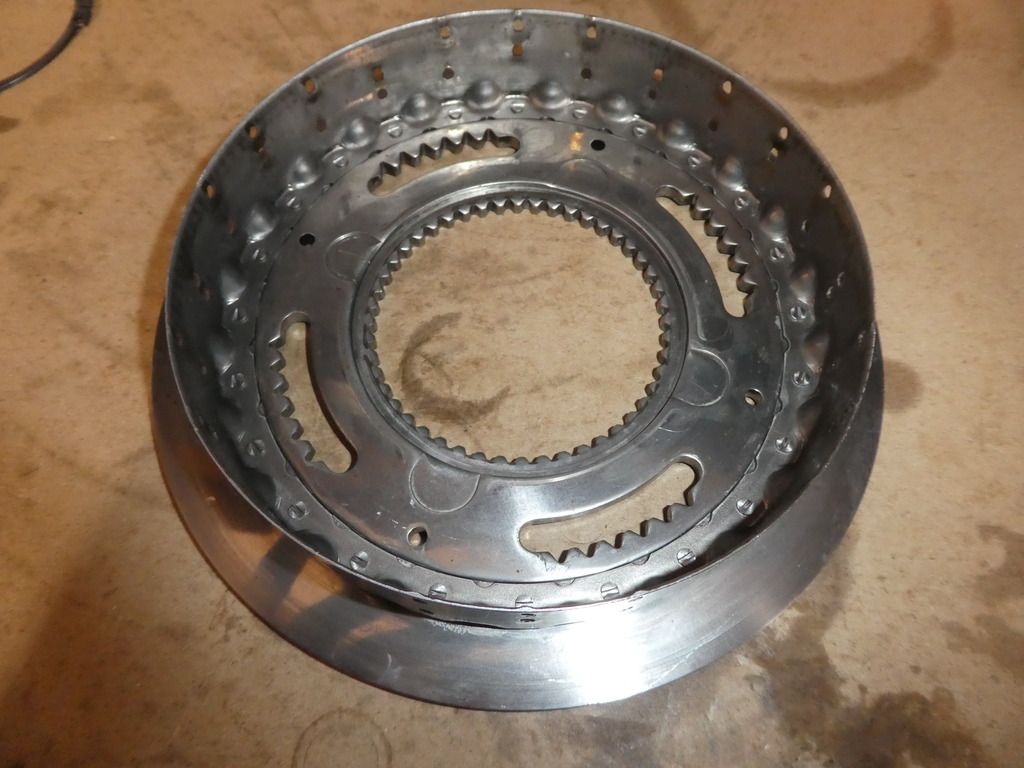
Clutch C here there are clear burn marks on the steels; if these are 20mm apart or more the book says they can be reused; these do not pass that test so new 3.0mm steels ordered; ZF Part 1068.377.020
As far as frictions expected thickness go; Clutches A and D and E are 1.59mm thick; Clutches B and C are 2.13mm thick (new)
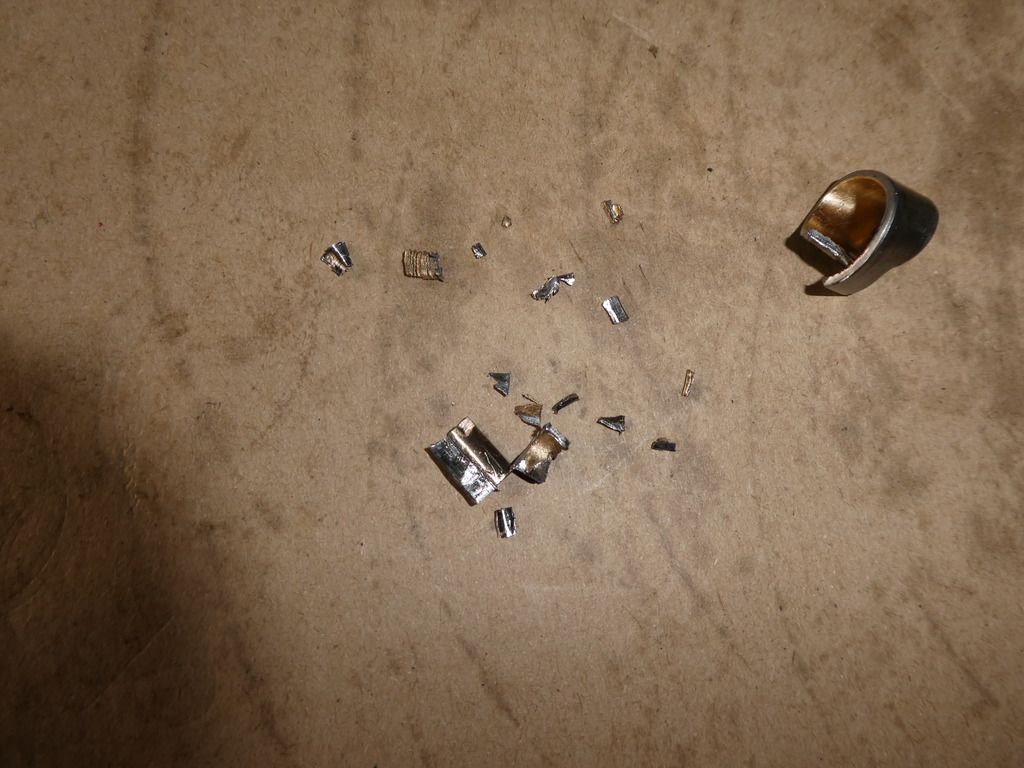
These clutch C frictions are very worn, one measuring 2.02mm, almost smooth!! (suggestive its been sticking, or was installed too tight, we will come back to measuring stack clearances later)
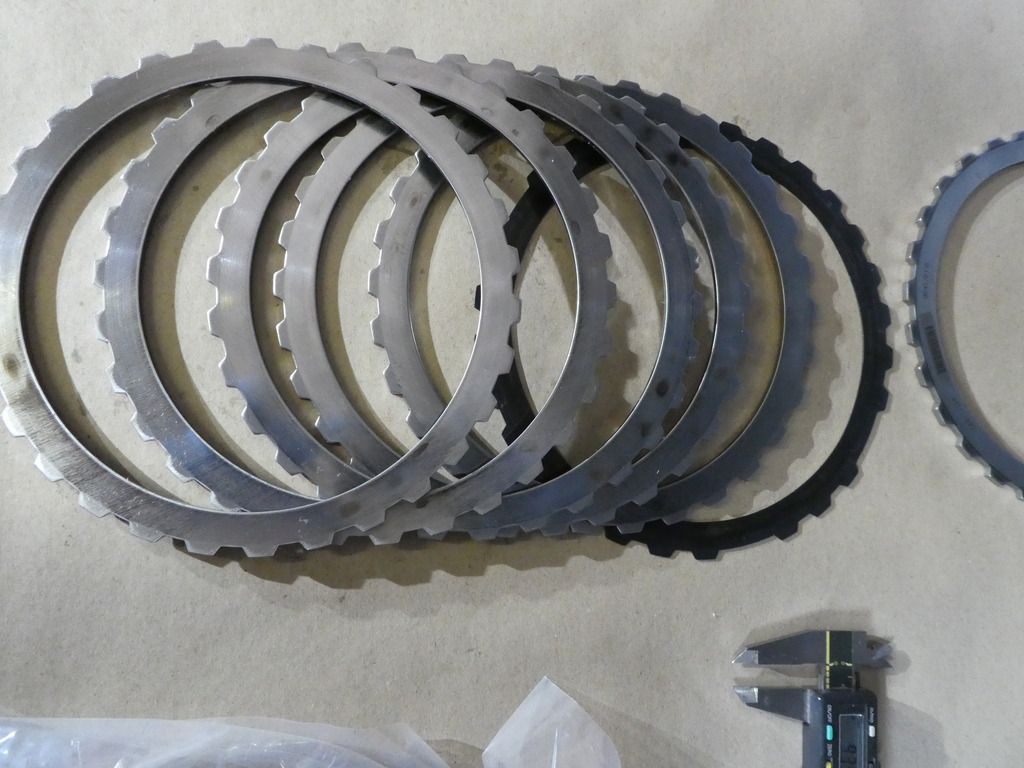
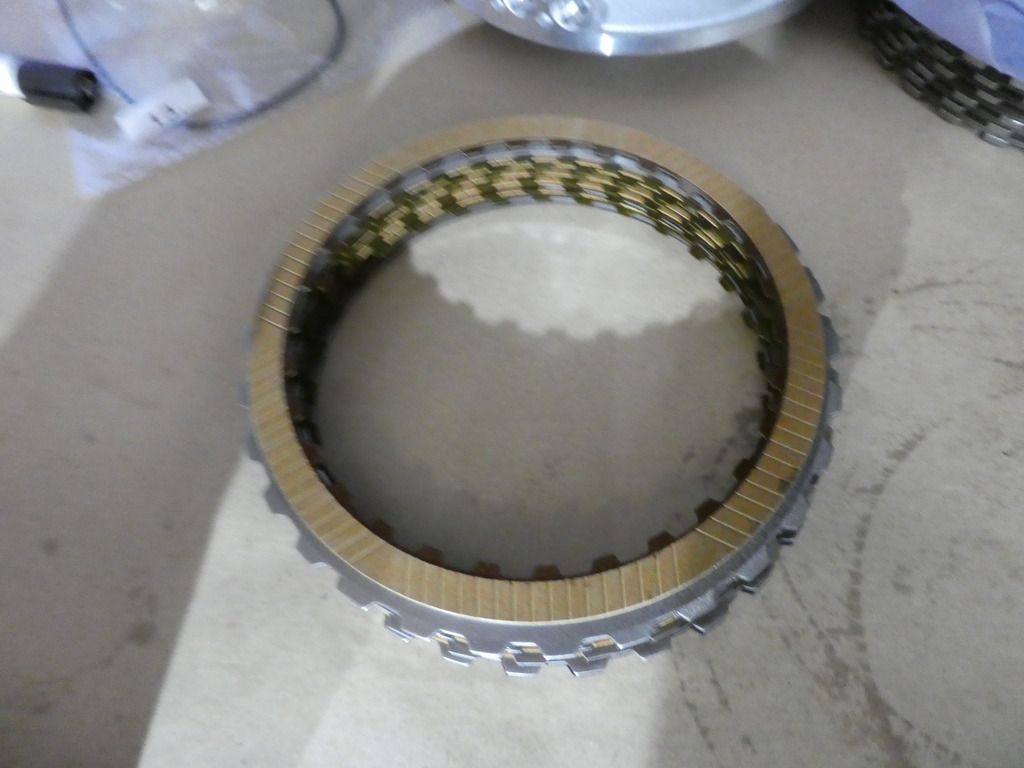
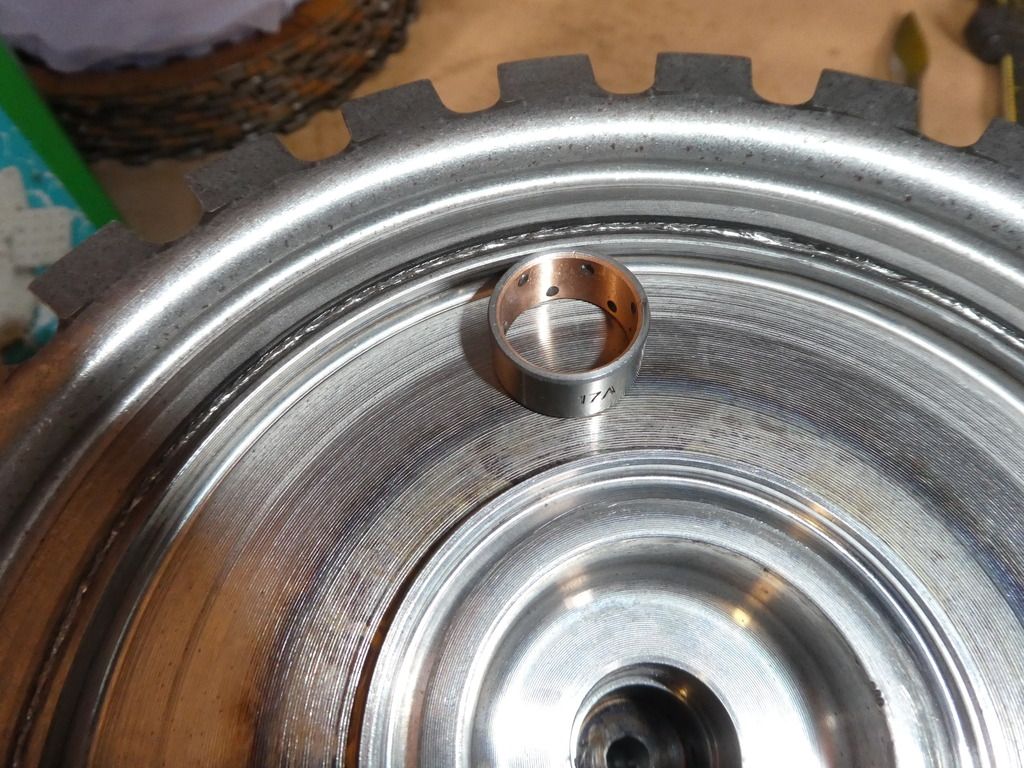
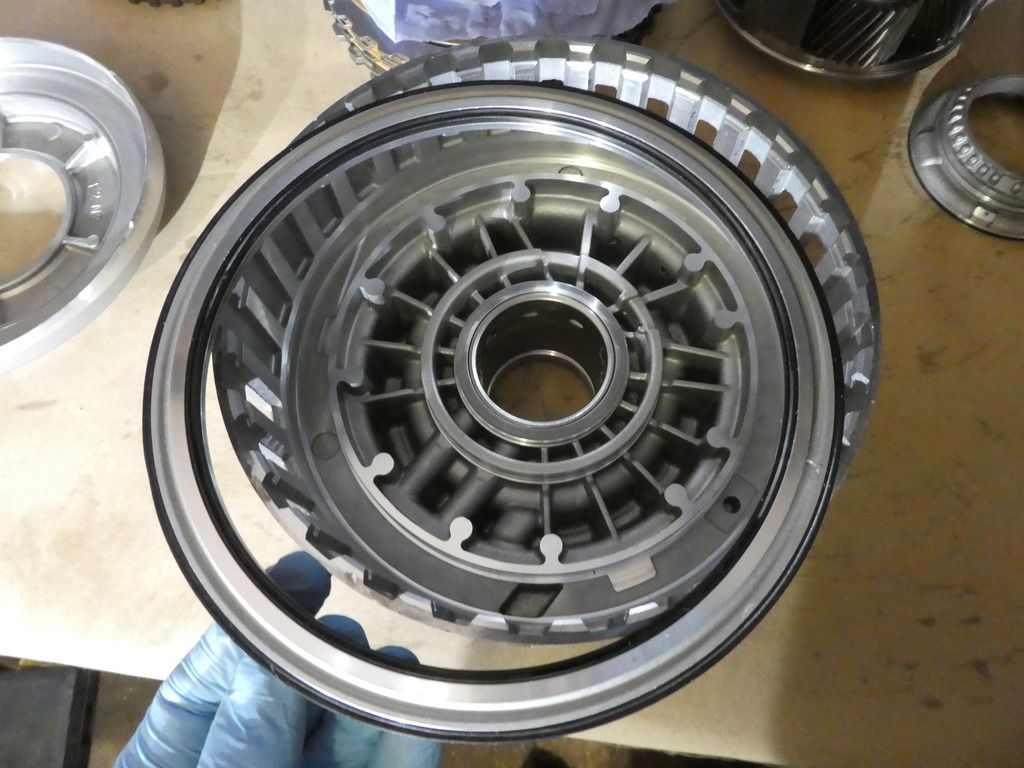
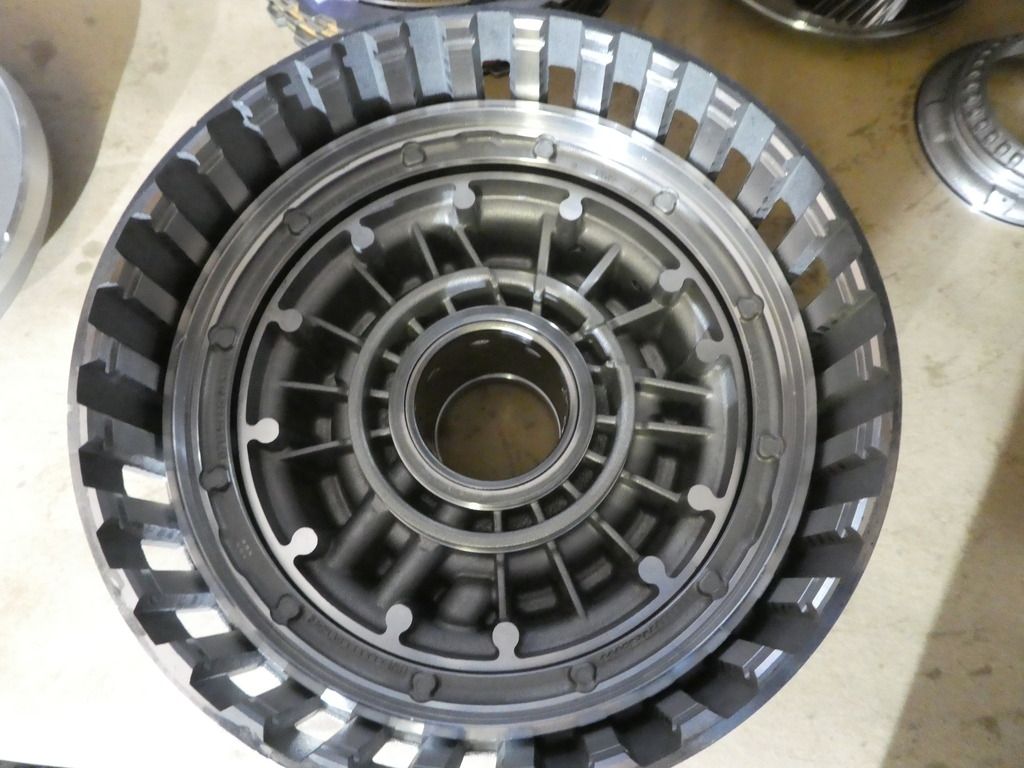
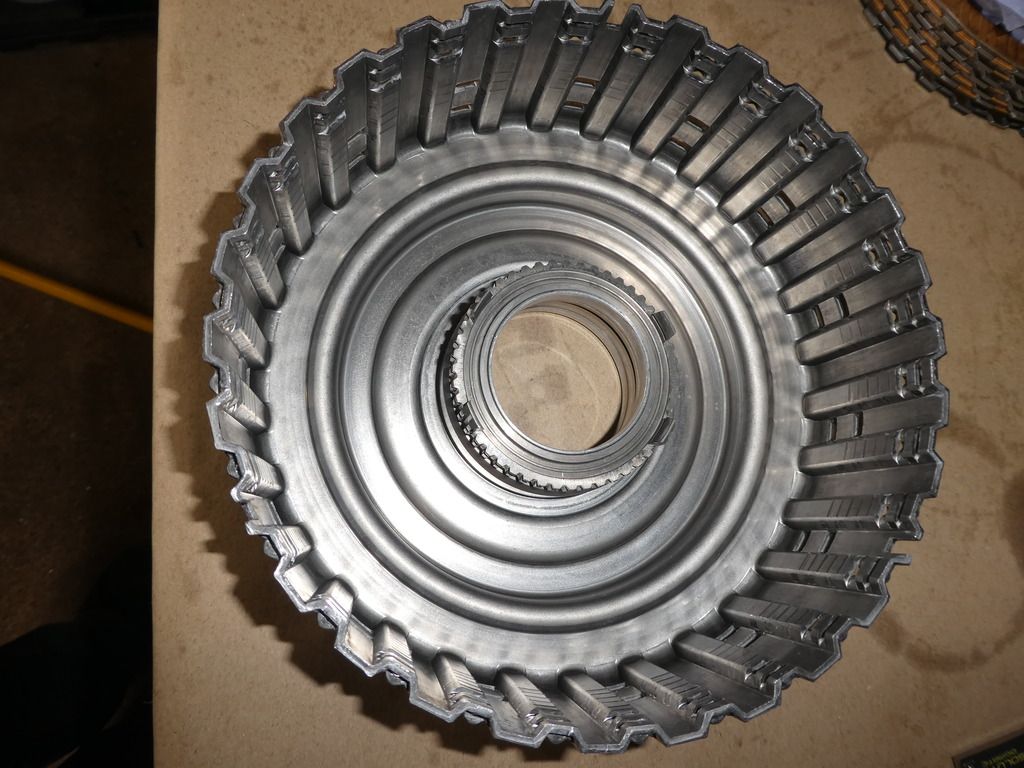
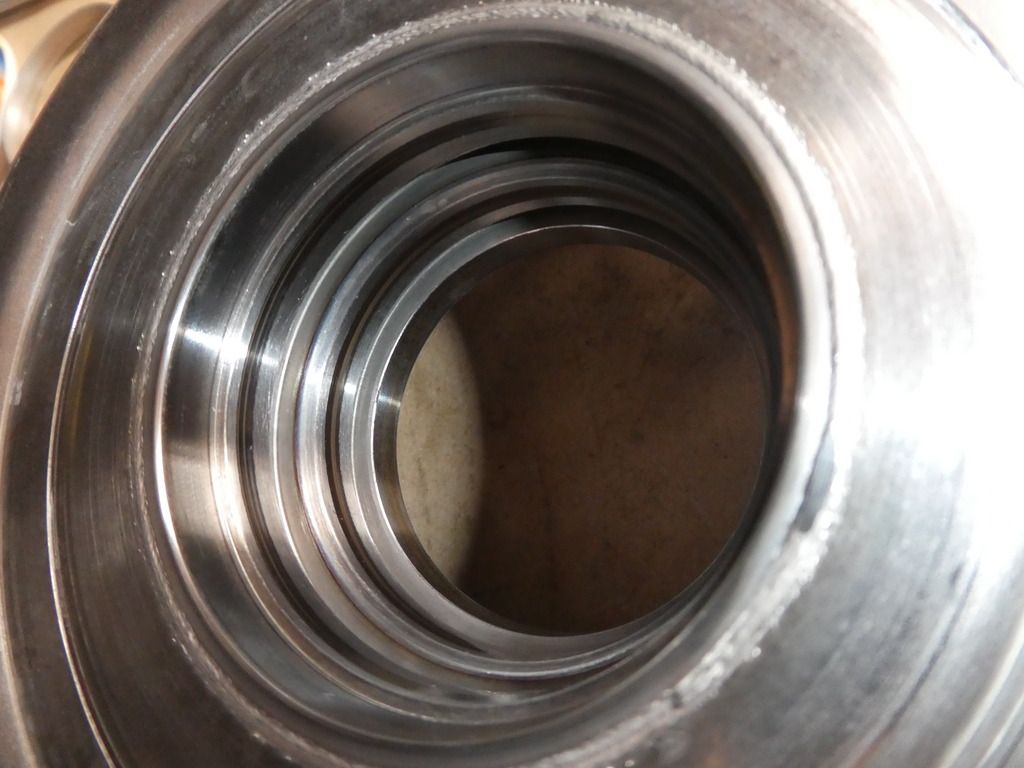
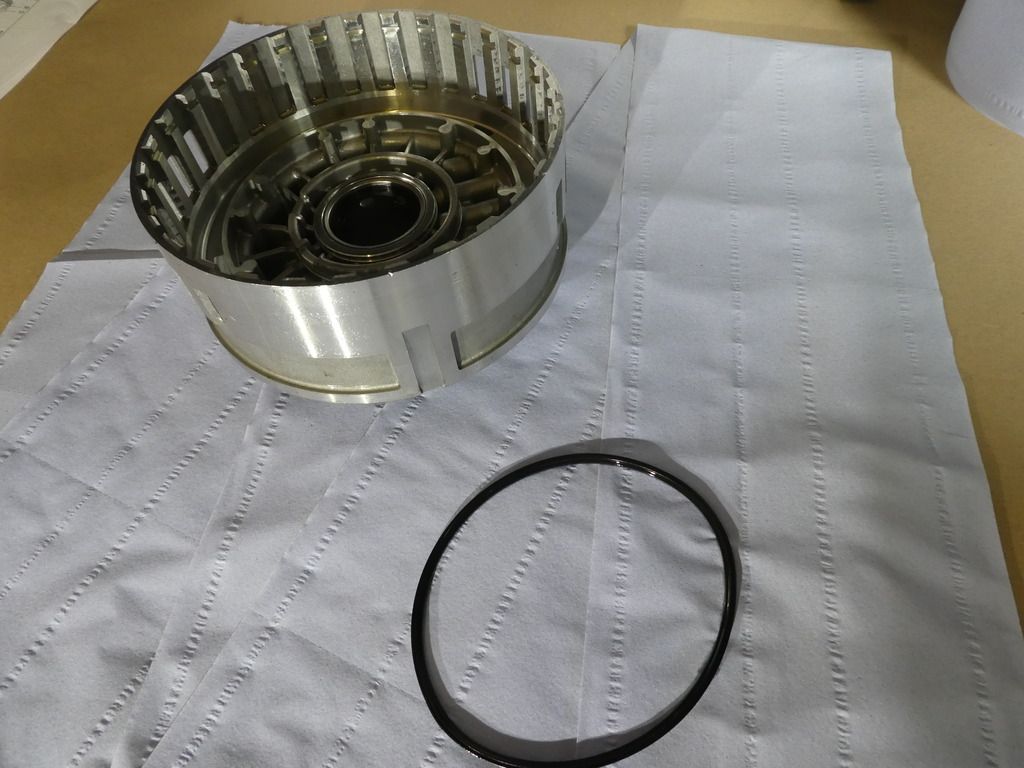
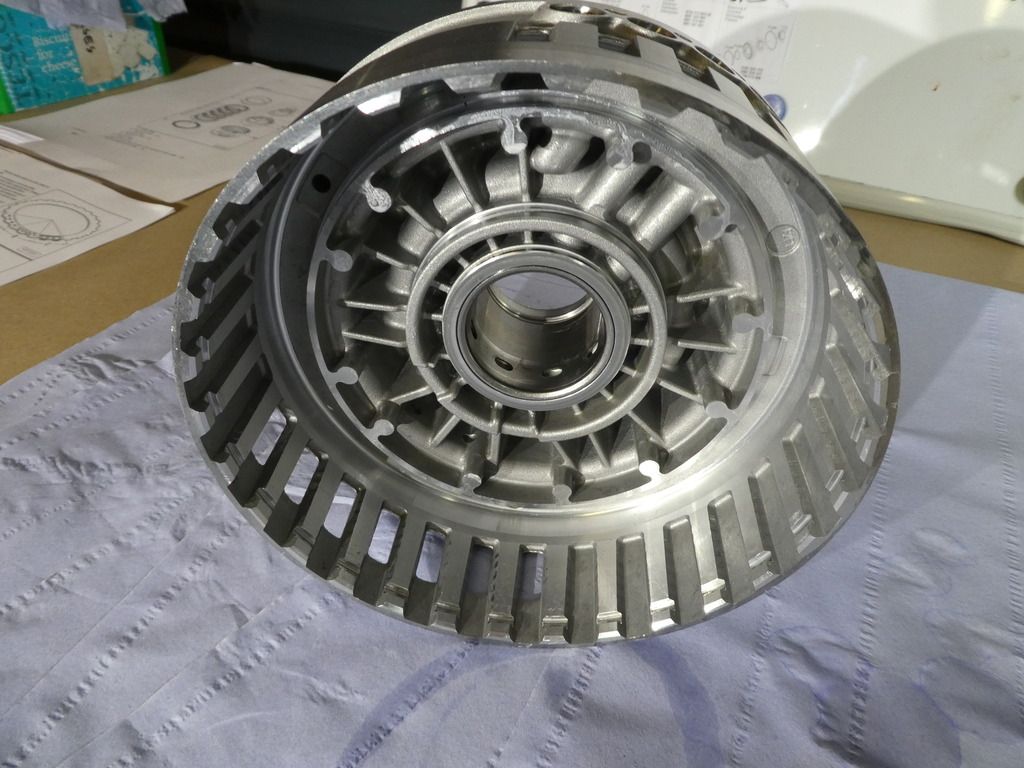
Clutch C ready for reasssembly, awaiting new steels