Engine / Gearbox Removal

5.0 V10 50v biturbo - 571 bhp
Post Reply
ATinOf
3rd Gear
Posts: 395
Joined: Fri Jul 06, 2018 7:32 pm
Location: Cheshire

Engine / Gearbox Removal

Post by ATinOf » Sat Jul 14, 2018 11:03 pm

This may turn into an epic of a saga but I will have a go at sharing how I removed my engine and gearbox at home with no access to a lift; which in spite of what people say is quite easy to do... relatively speaking of course!

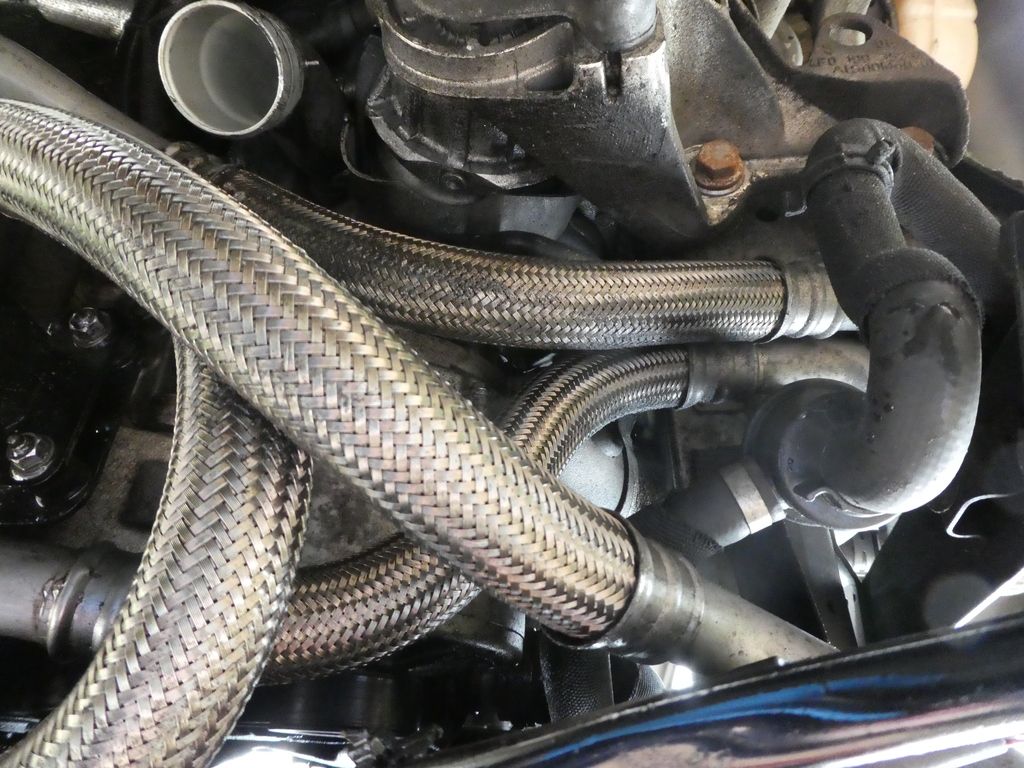
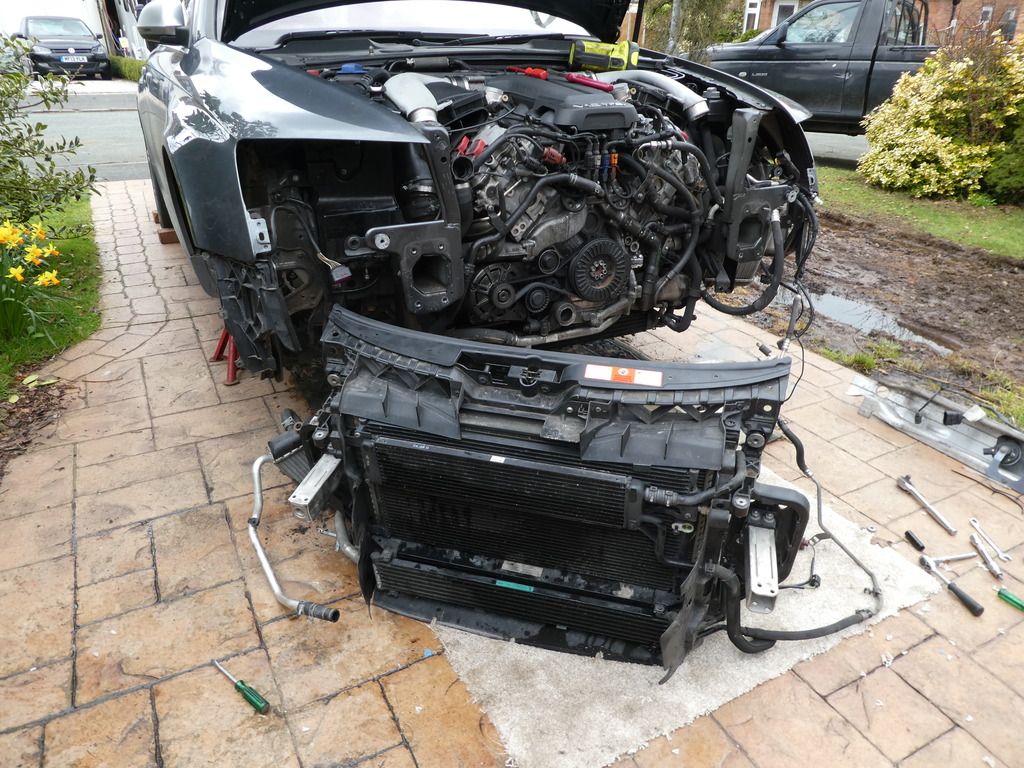
Inevitably I have to add a disclaimer, follow this process at your own peril, I am no RS6 expert; this was my first DIY task on the gal and no doubt the sequence could be improved and you can probably get away with removing less in places ...

I took the decision to pull the engine and box when the gearbox refused to come out of 5th.

In spite of the book recommendation to release the pressure in the high pressure fuel section of the injection system; since I had no intention of breaking into the high pressure side I skipped this. I did disconnect the battery in the boot; but ONLY after I hooked up the VCDS and opened the EPB park brake to their maintenance position; I didnt want them to prevent me from spinning the propshaft when it came to remove it. To do this I connected my charger first to ensure I didnt suffer low voltage; these take a few amps each for quite some time while opening.

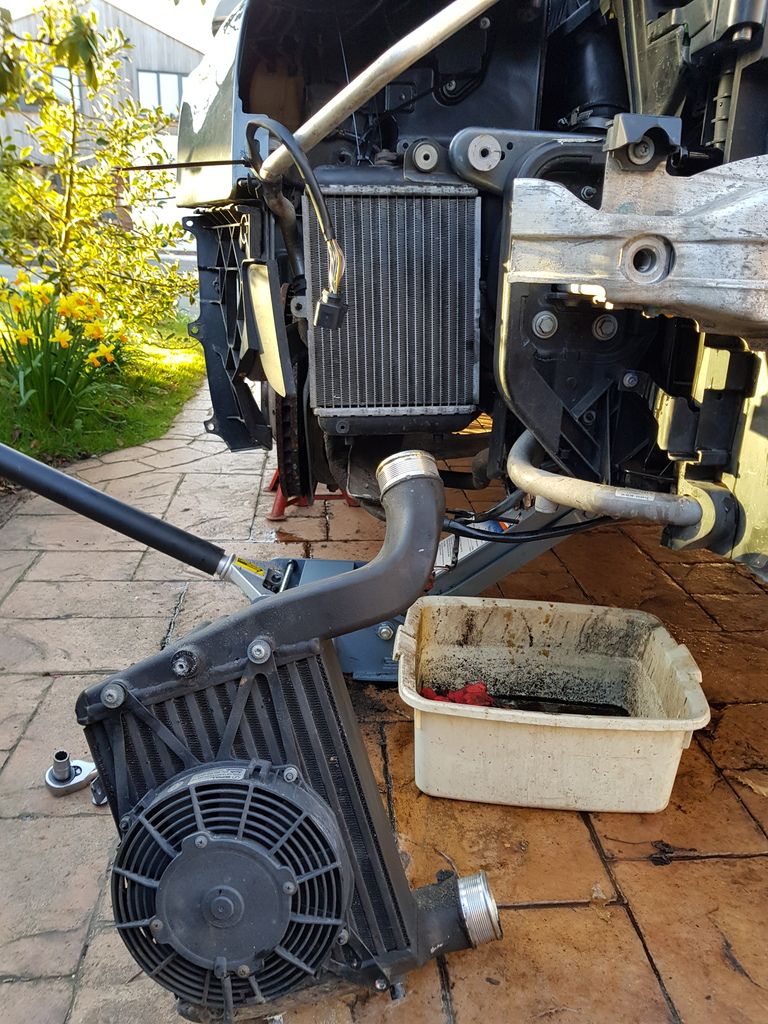
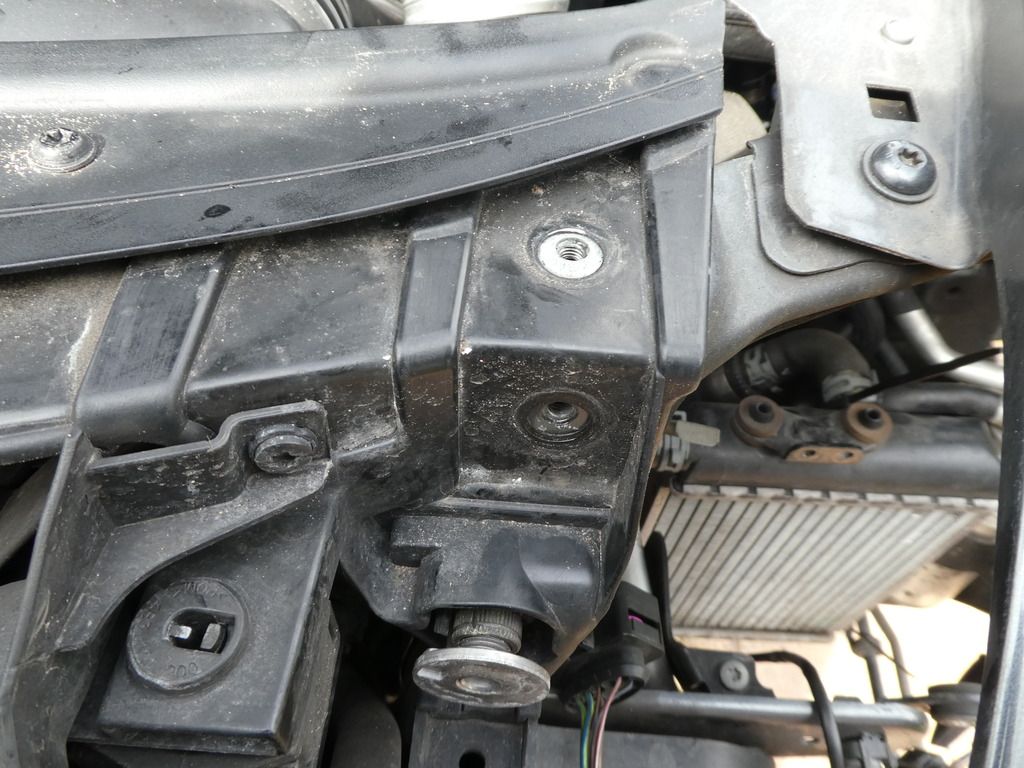
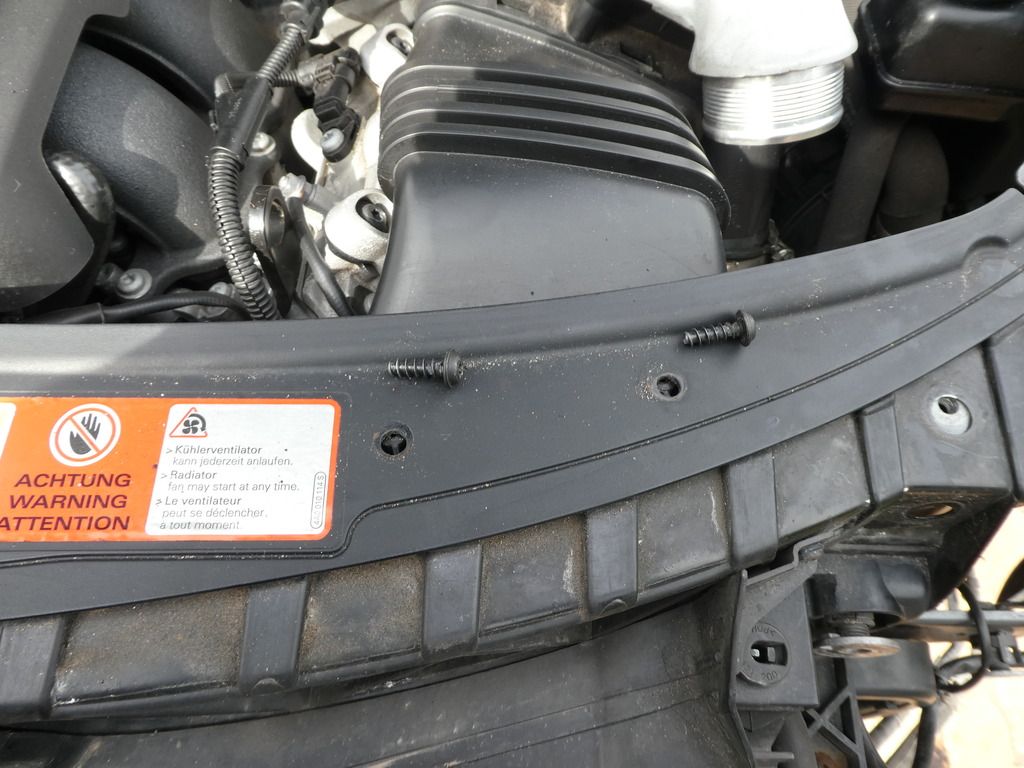
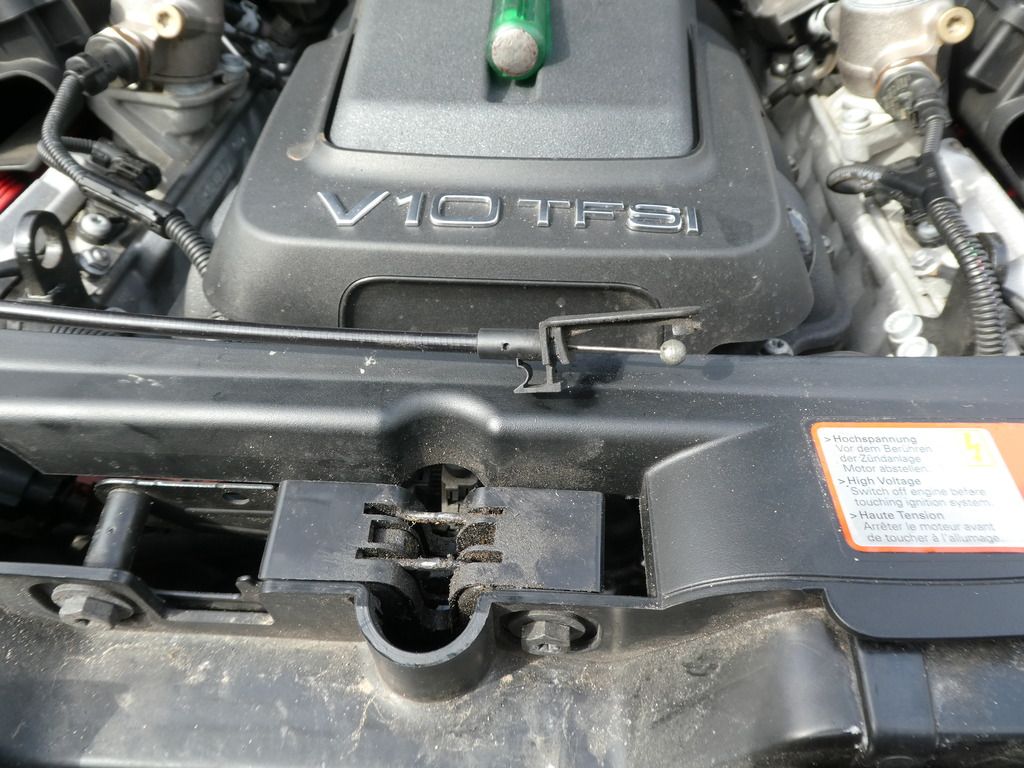
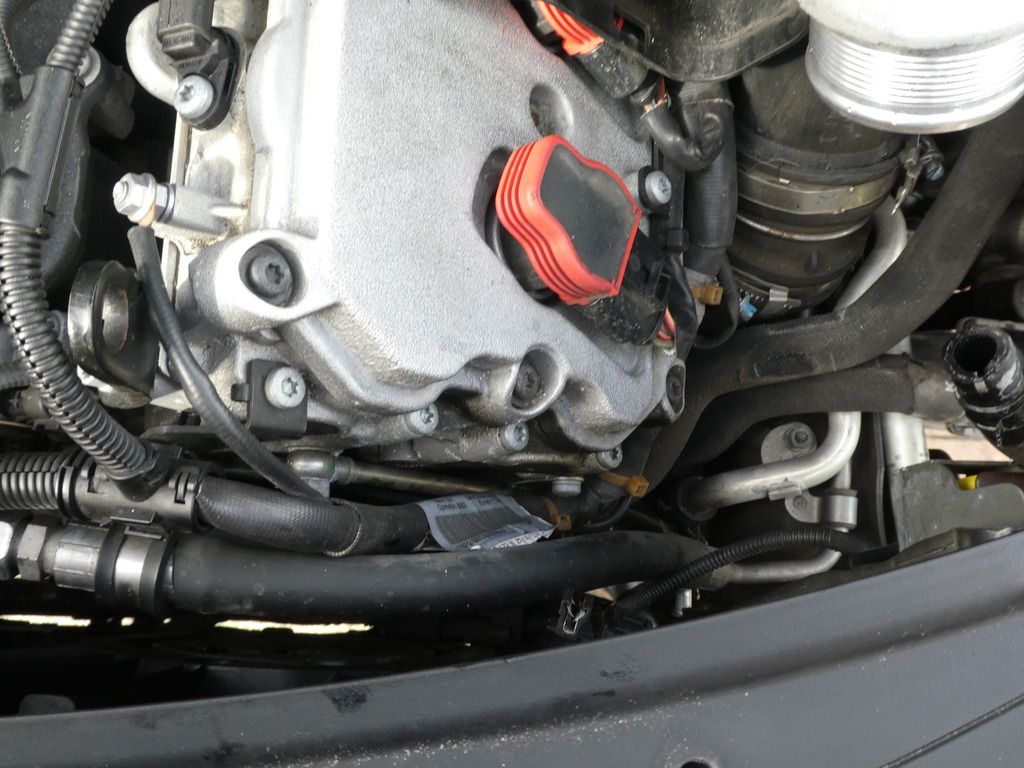
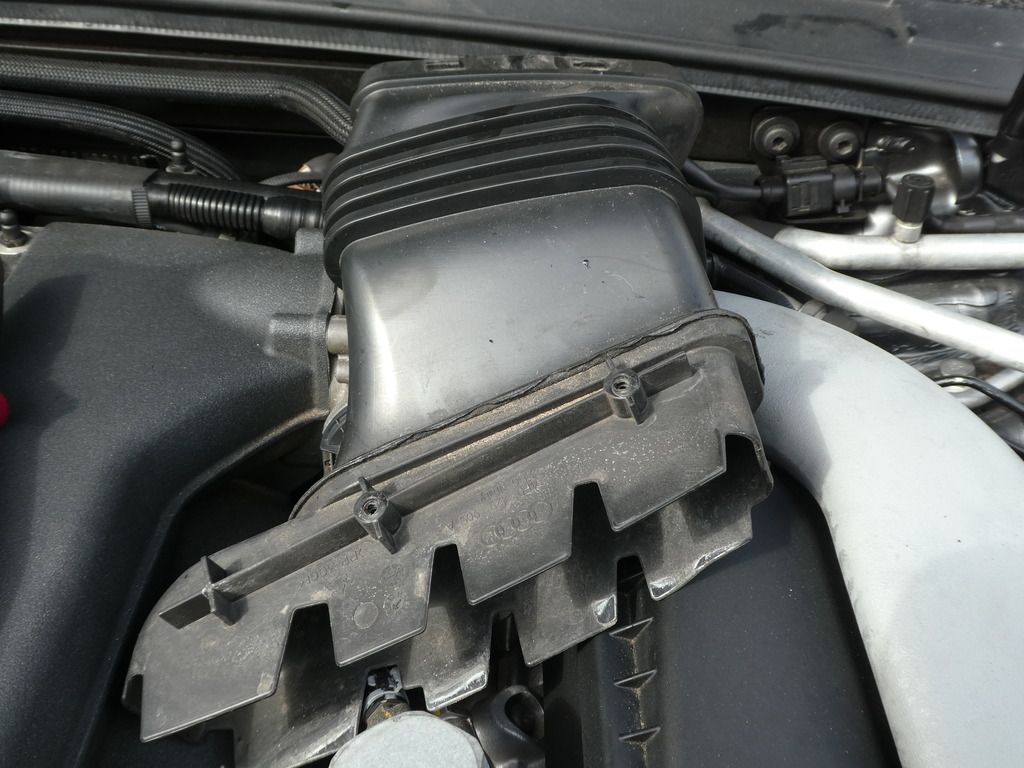
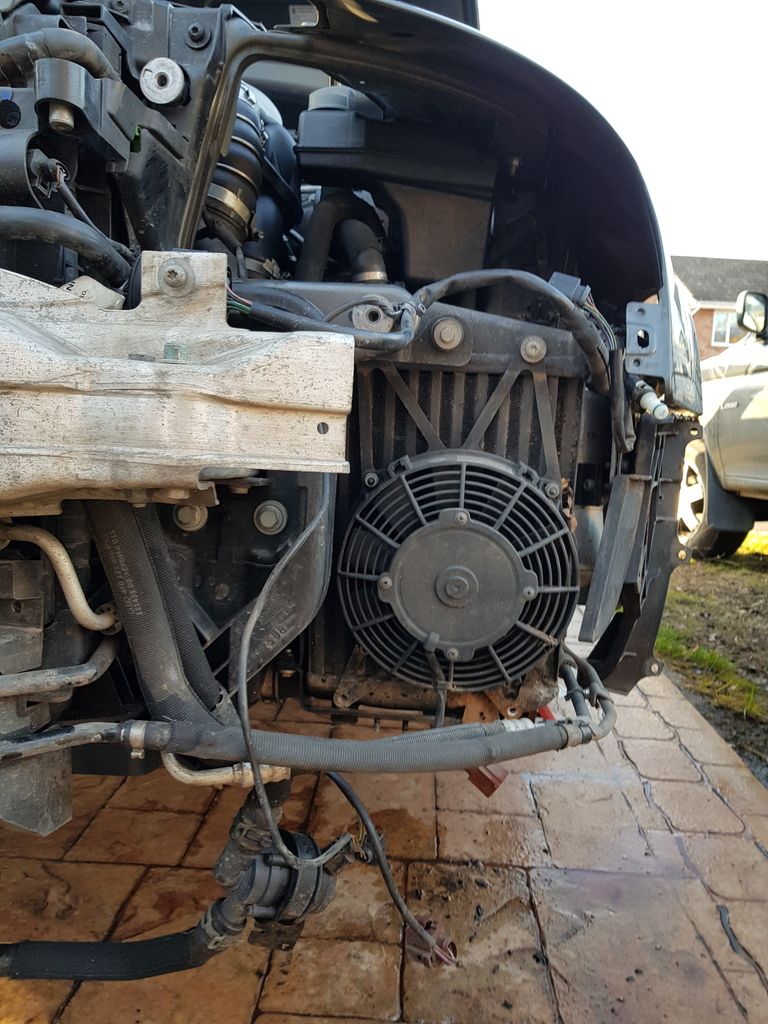
Note I dont have the bottom engine covers to remove;I dont have the bottom covers!!!; wheel arch trims were removed (not covered here)

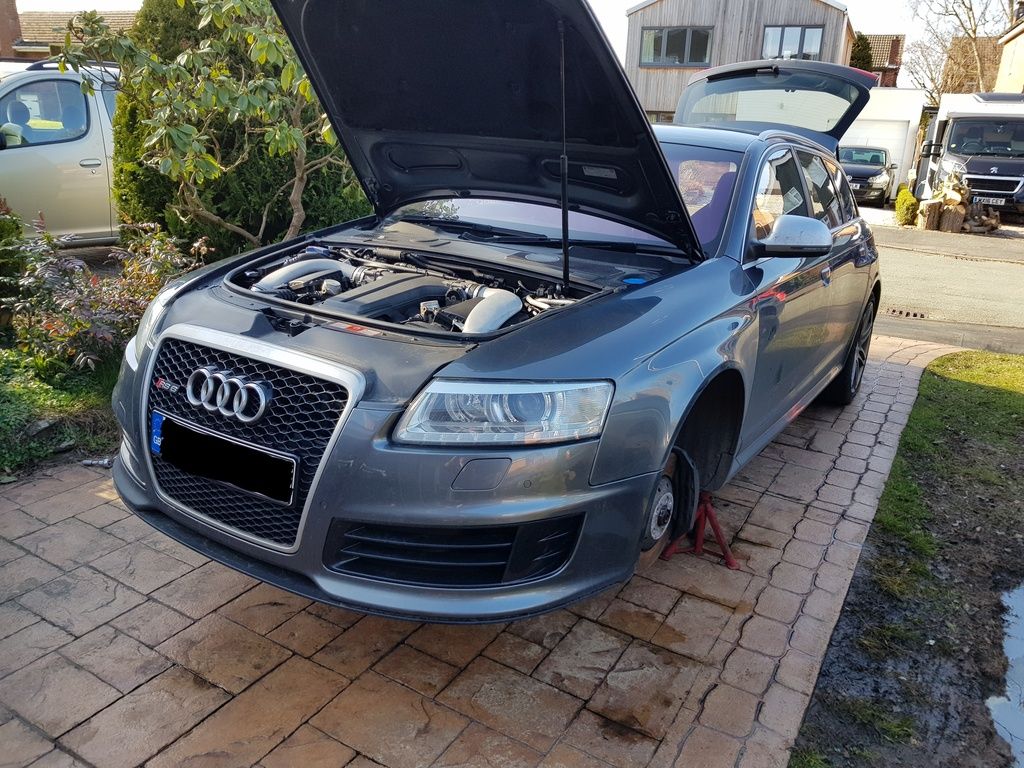
First task was to get out the axle stands and lose the front wheels
Image

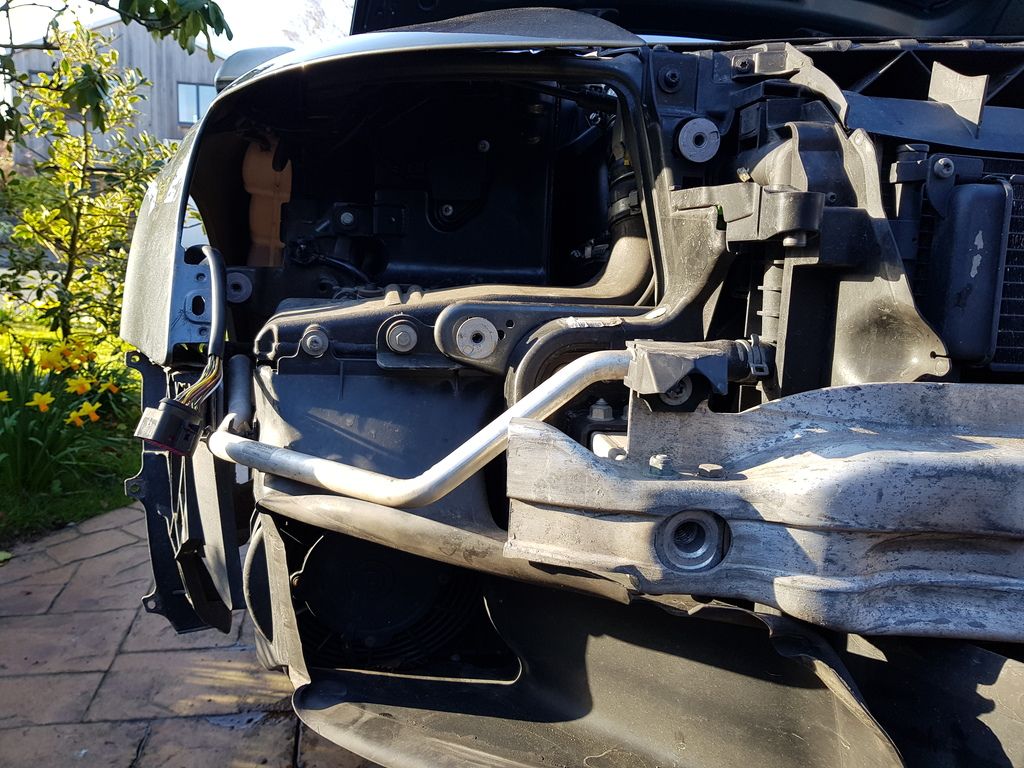
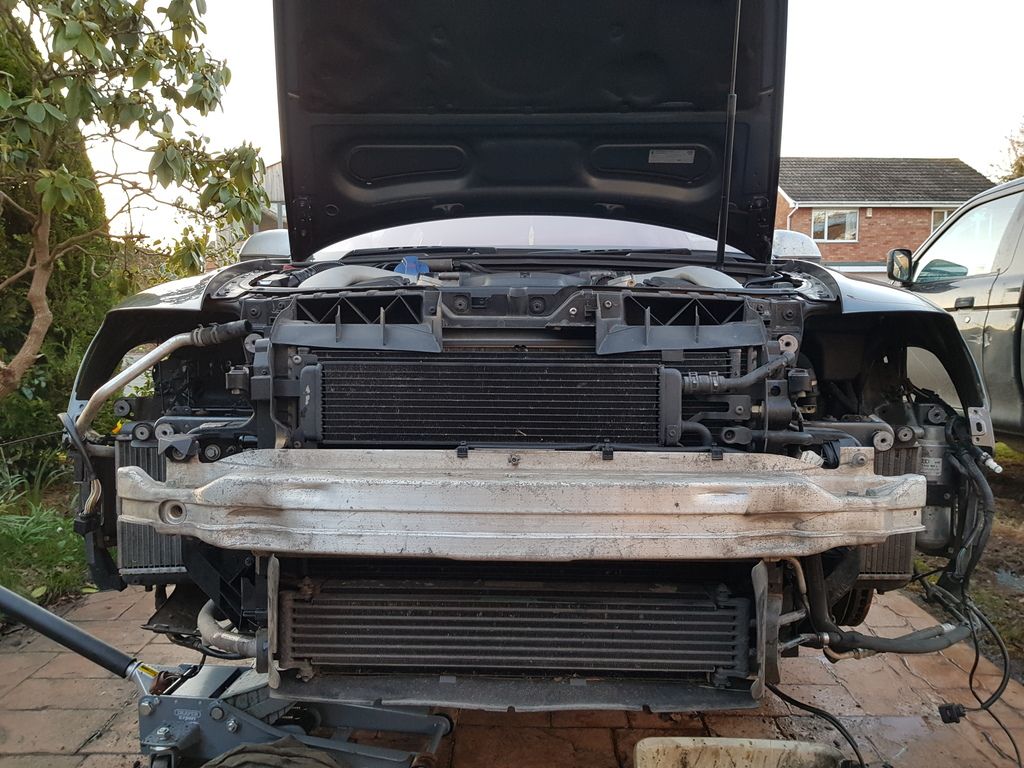
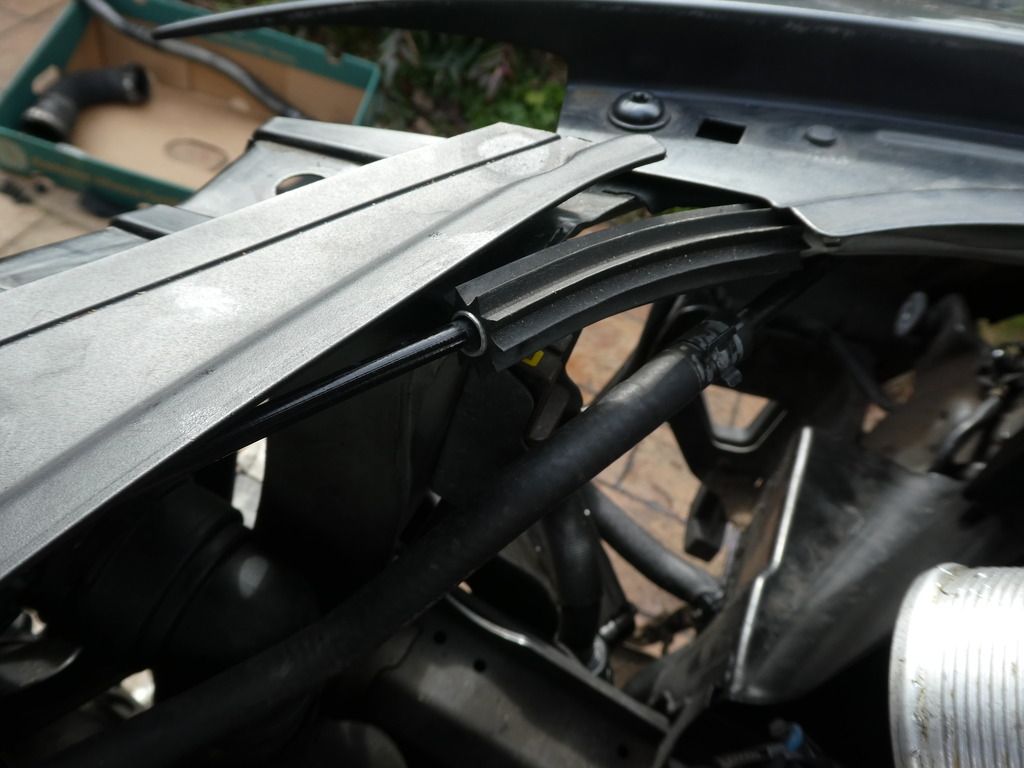
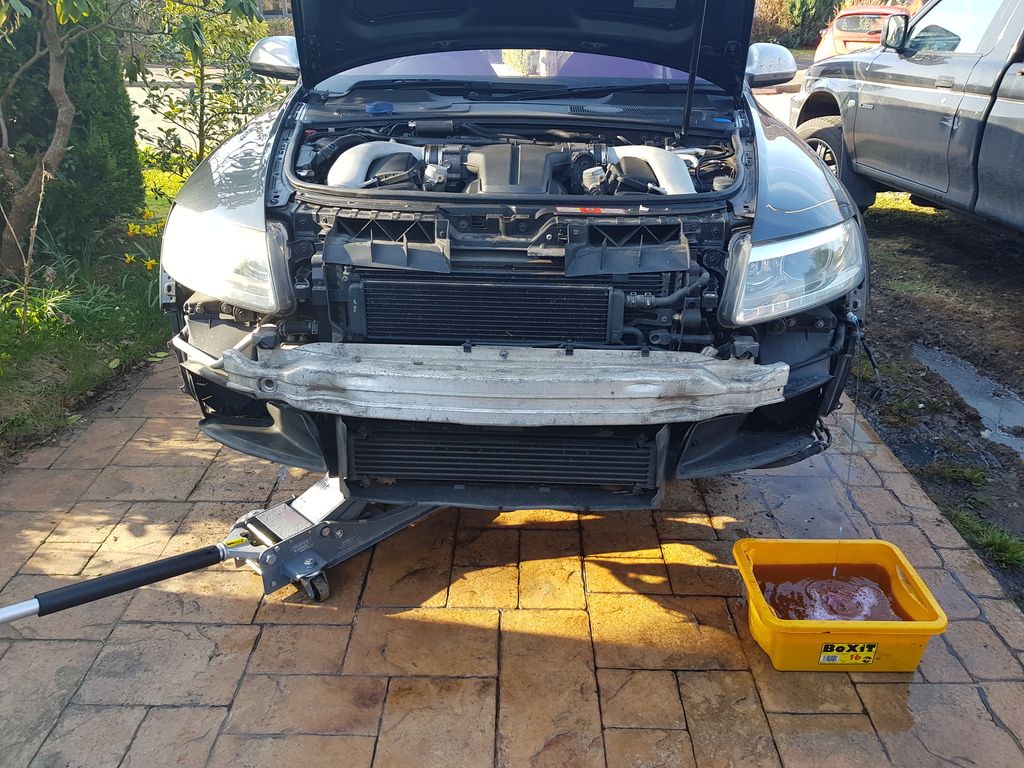
Whip off the bumper which I wont detail here its been covered to death elsewhere
Image

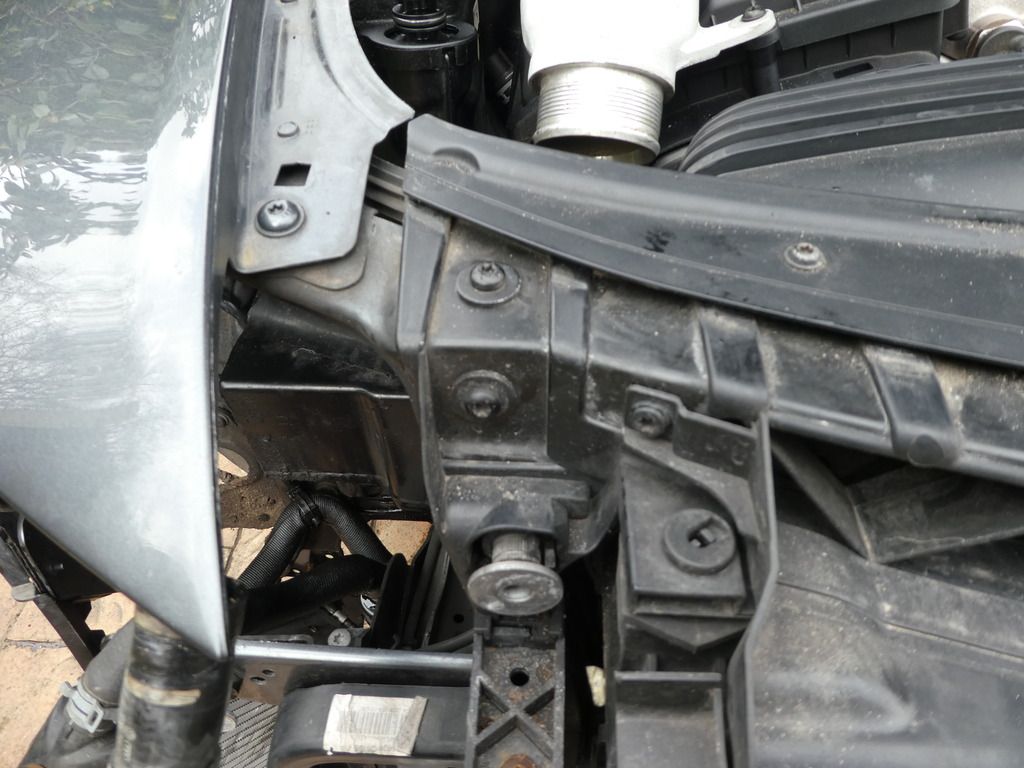
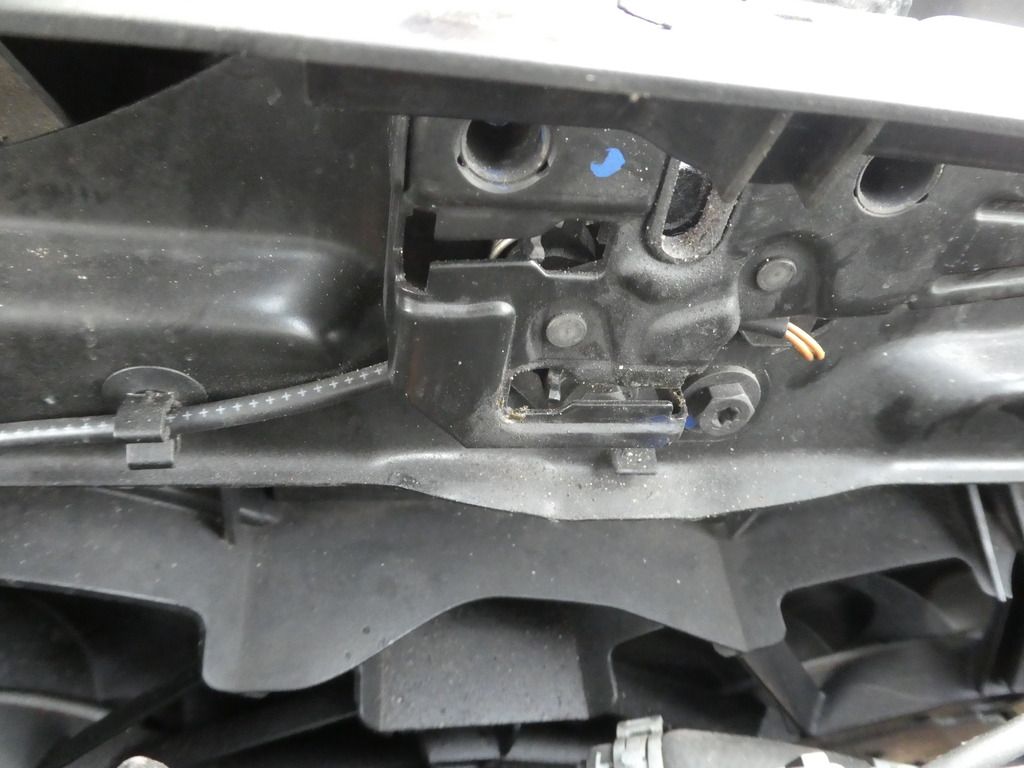
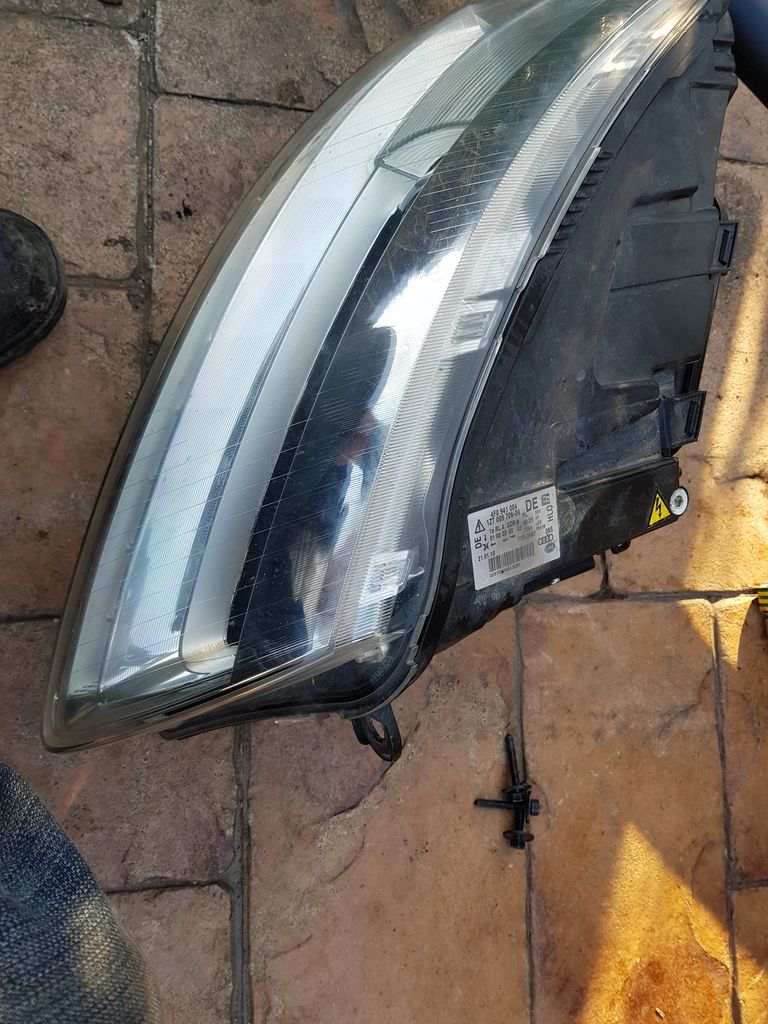
Followed by both headlight units
Image

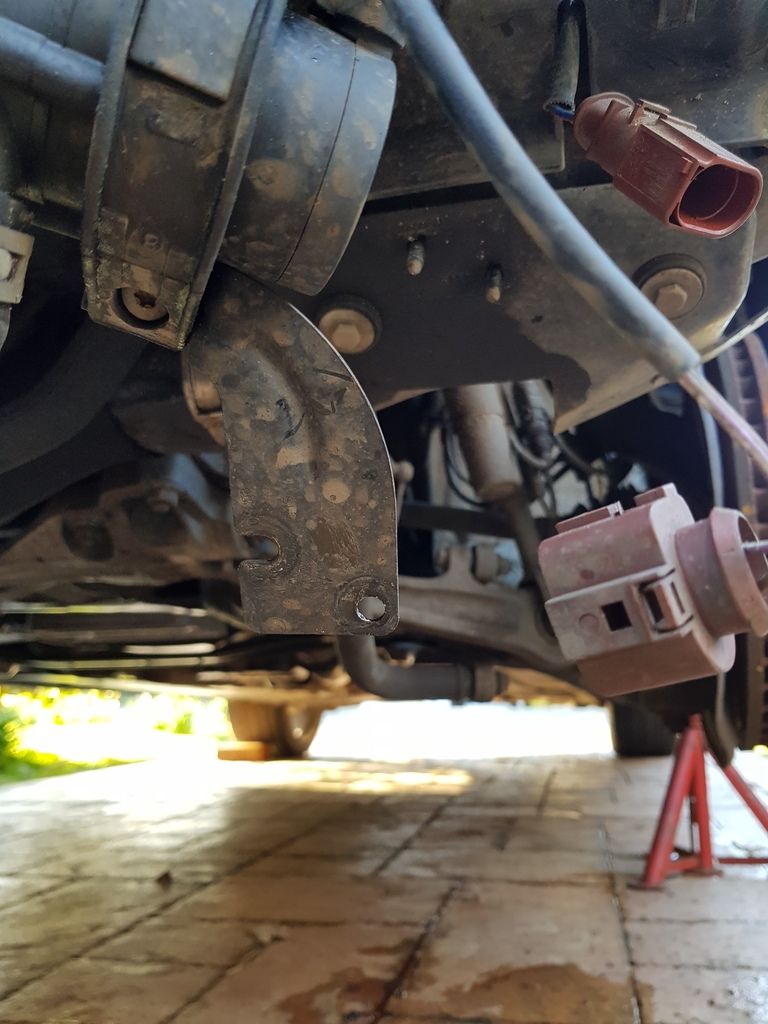
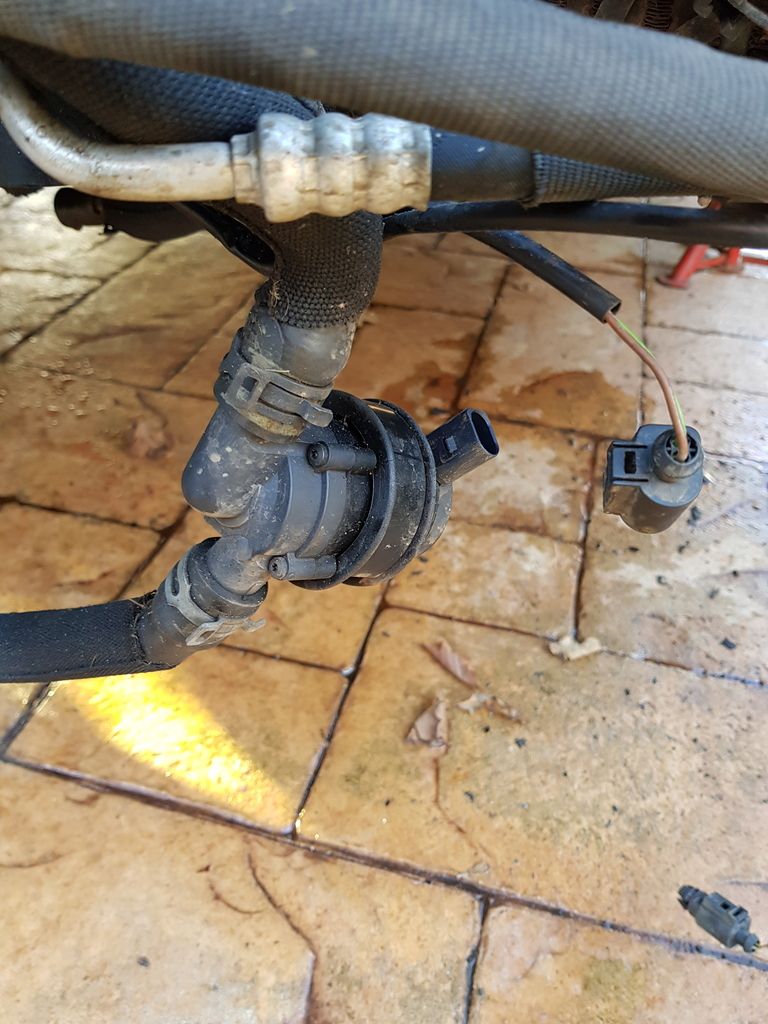
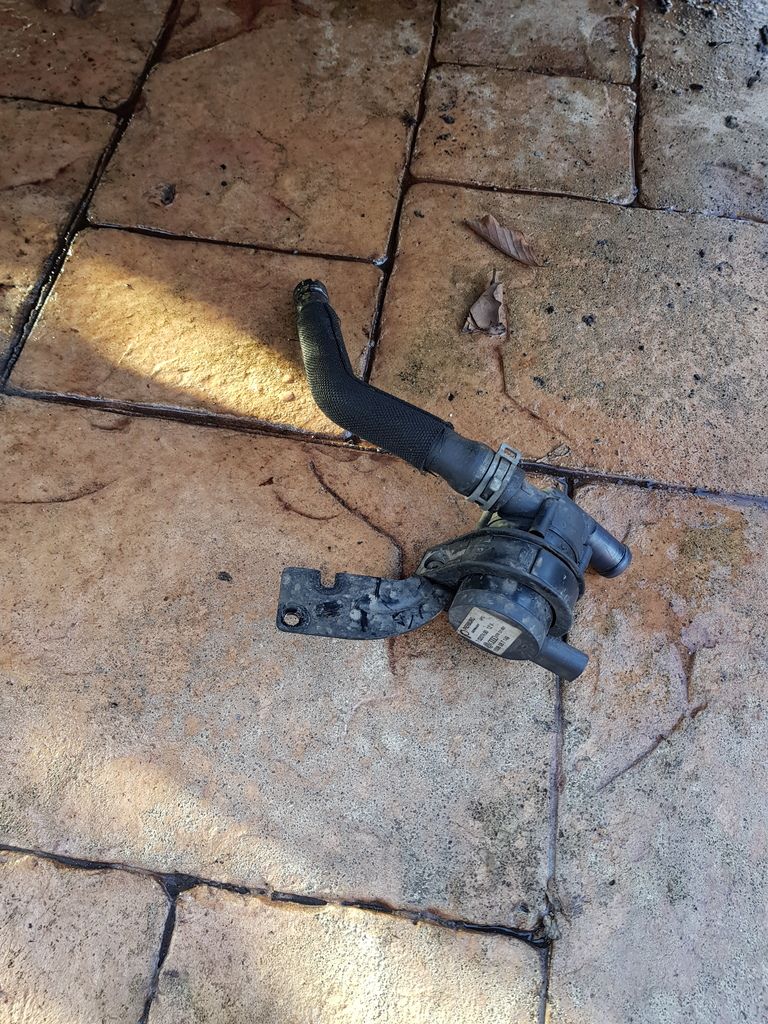
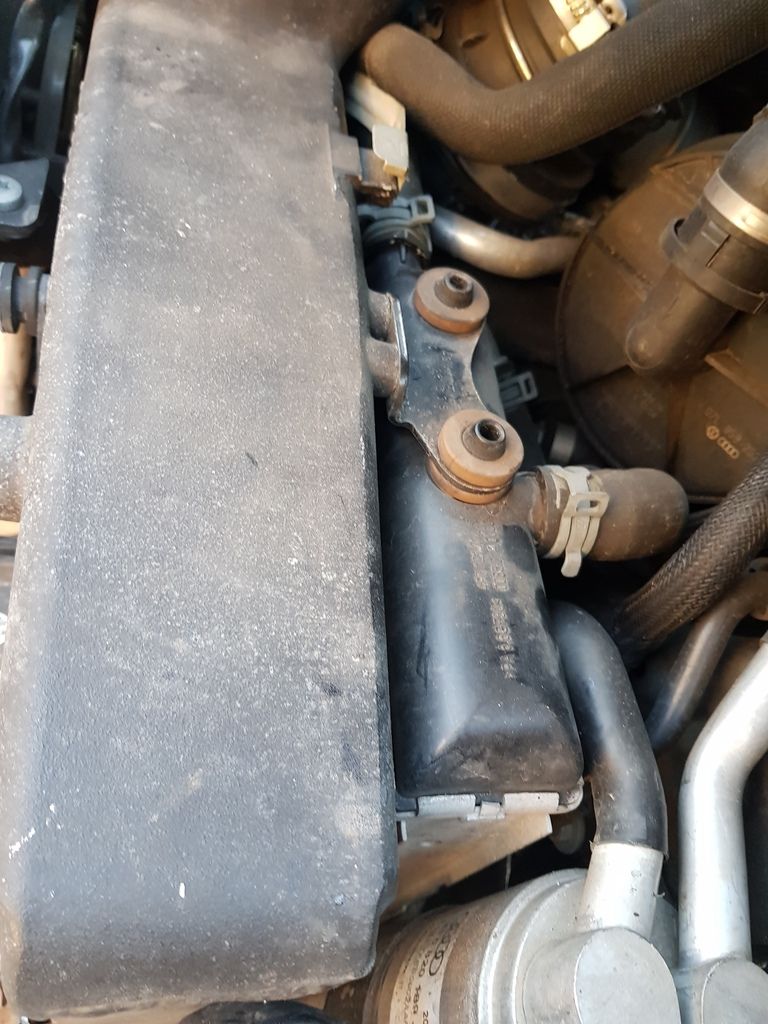
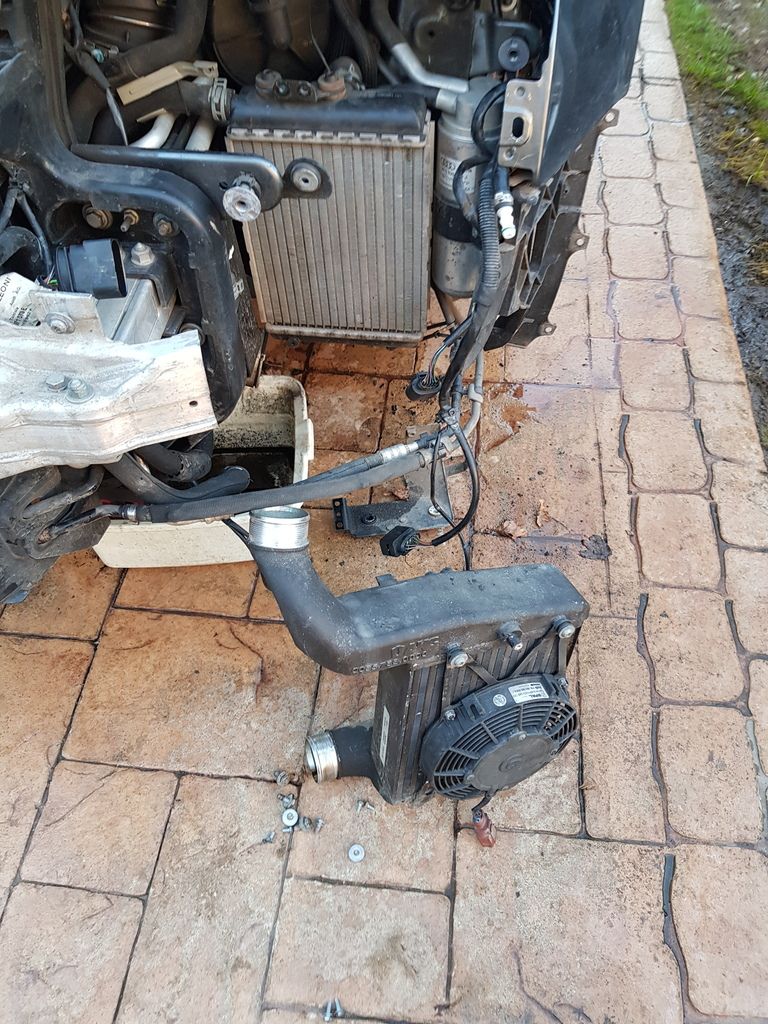
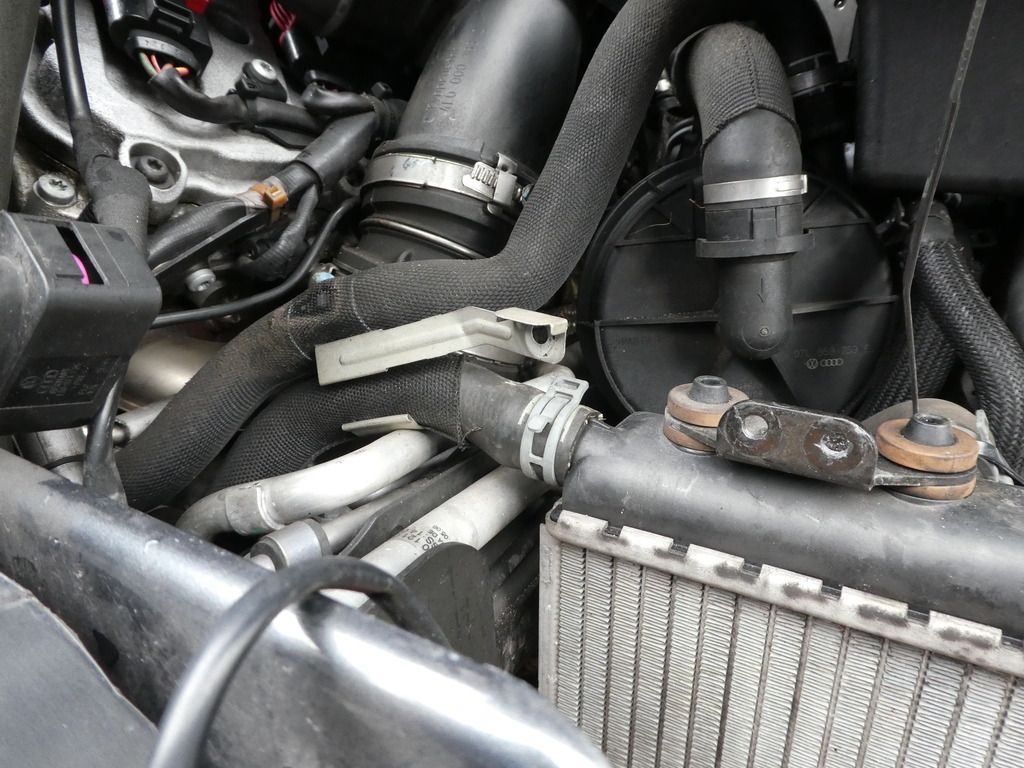
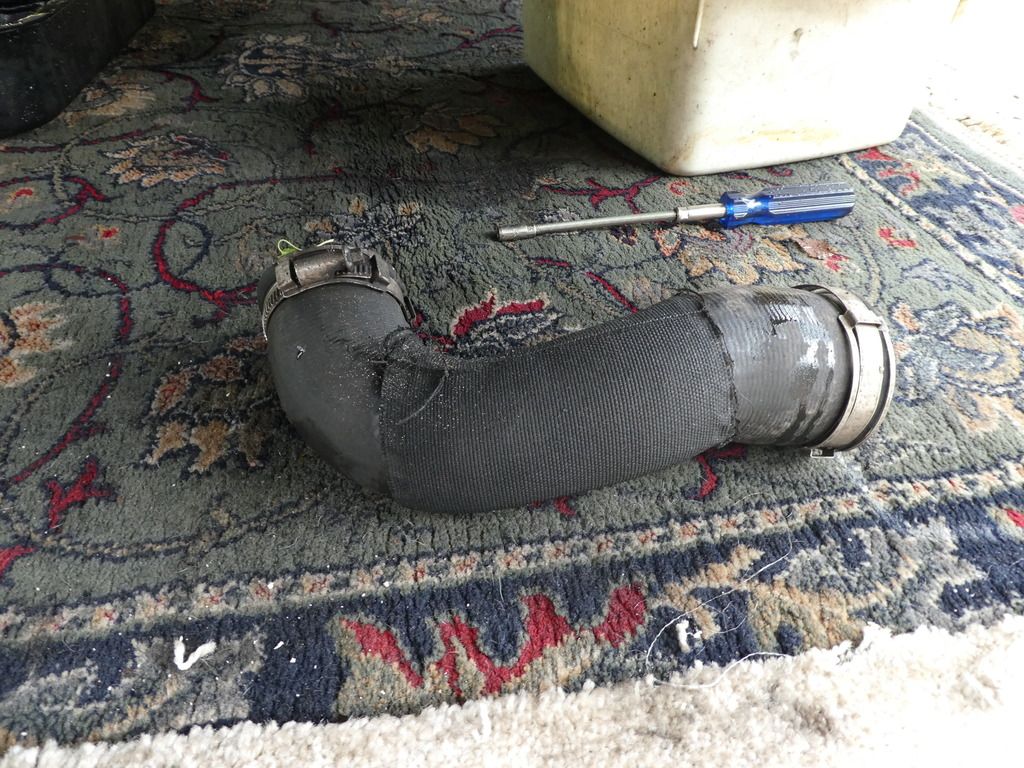
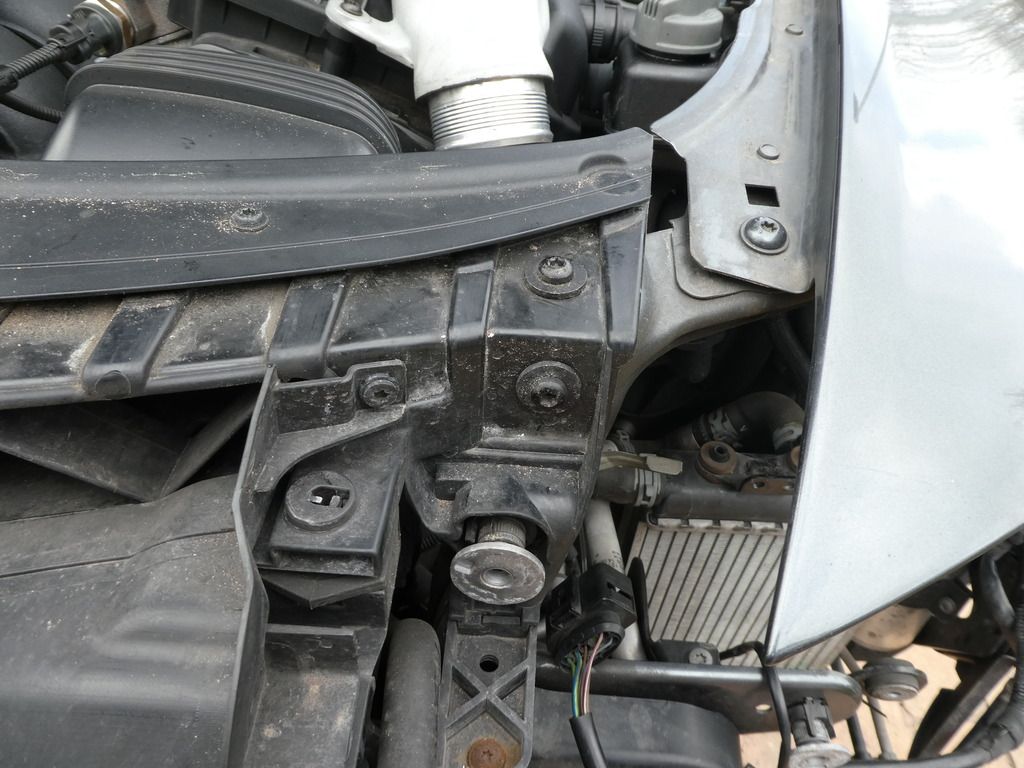
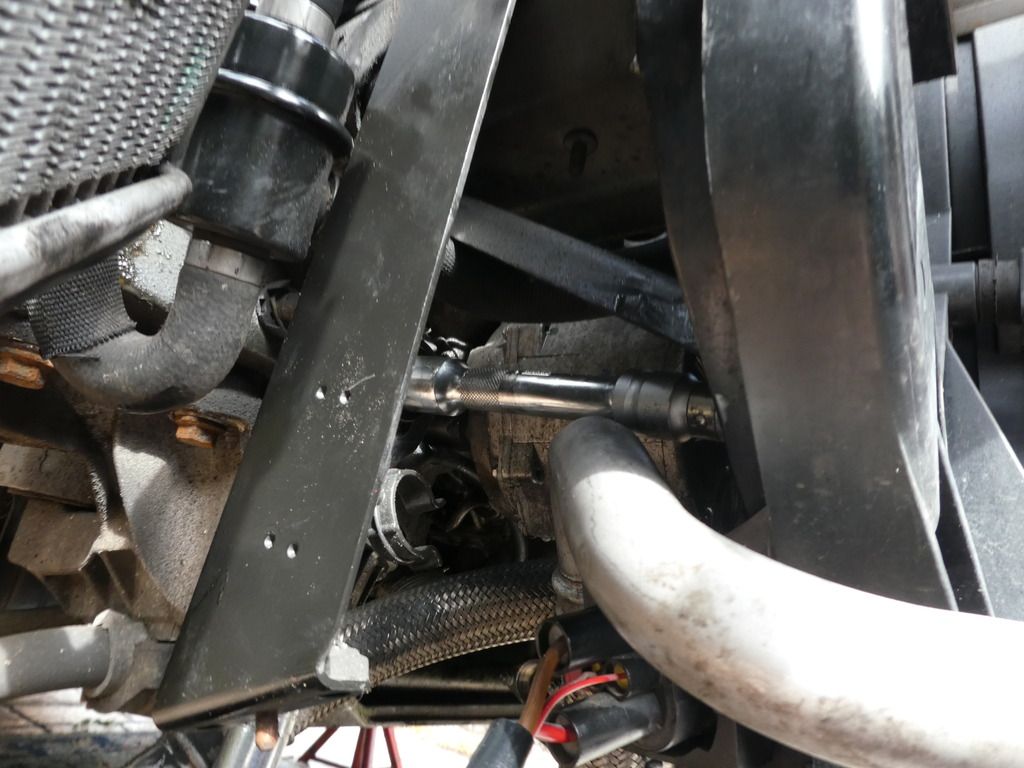
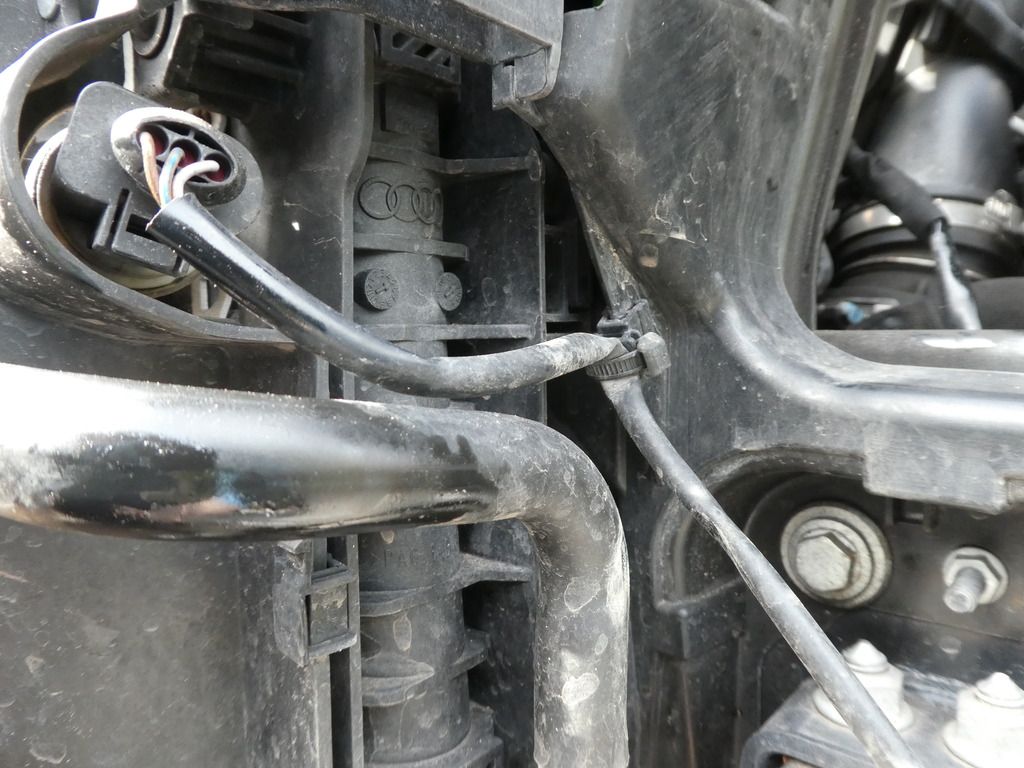
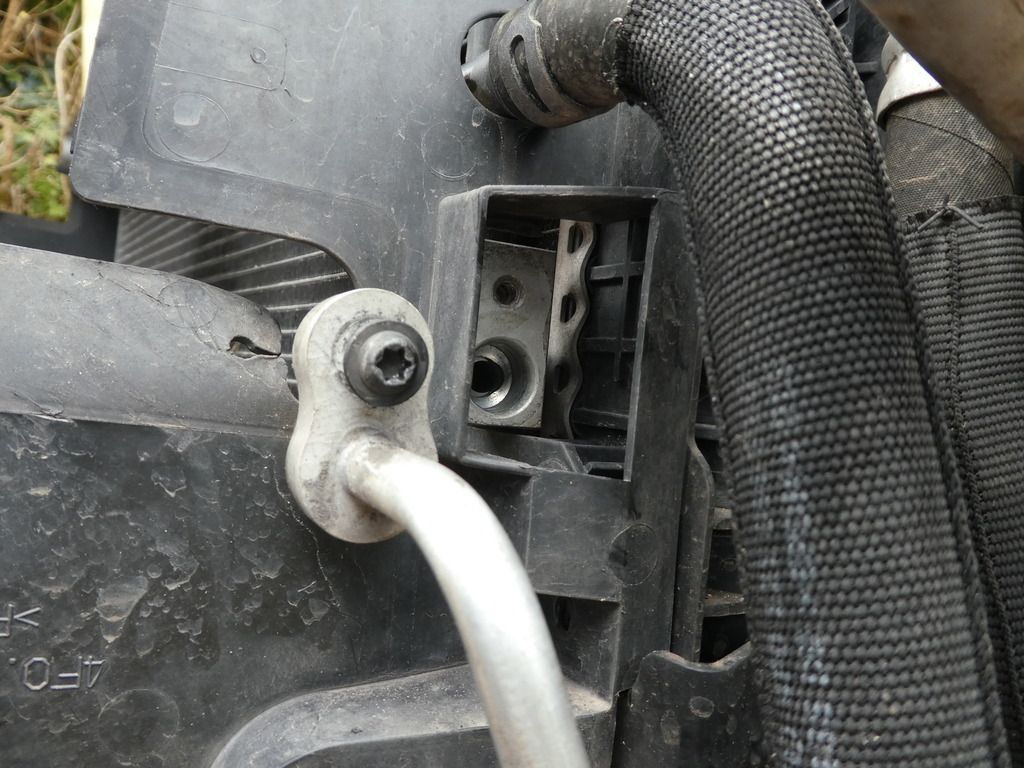
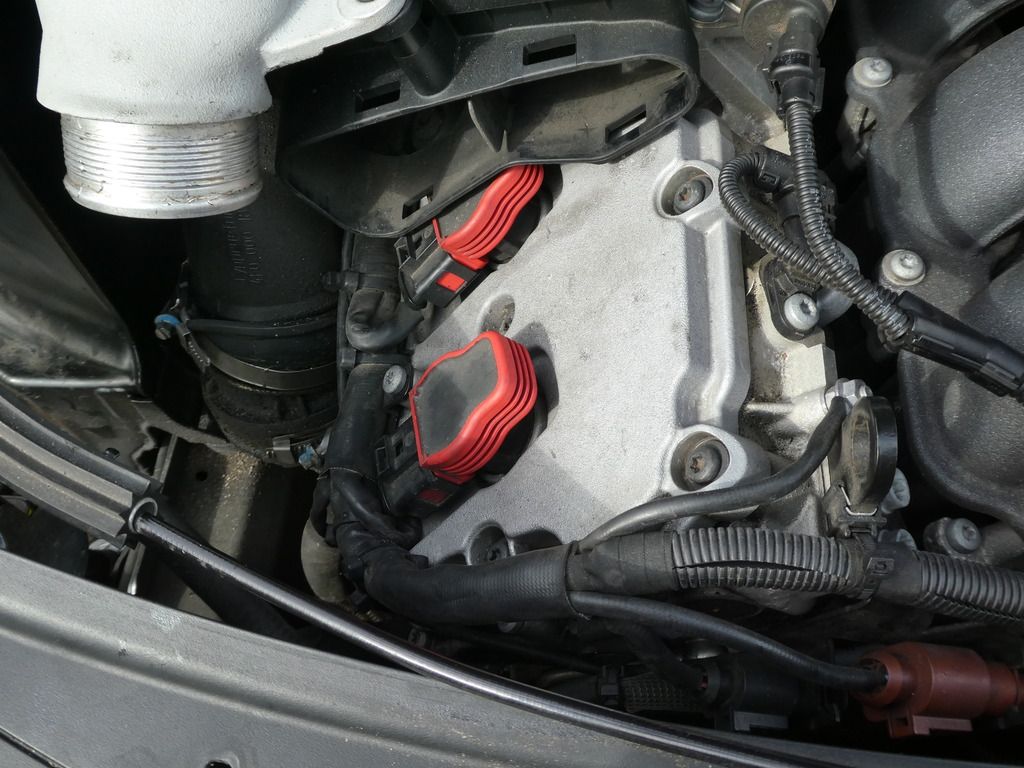
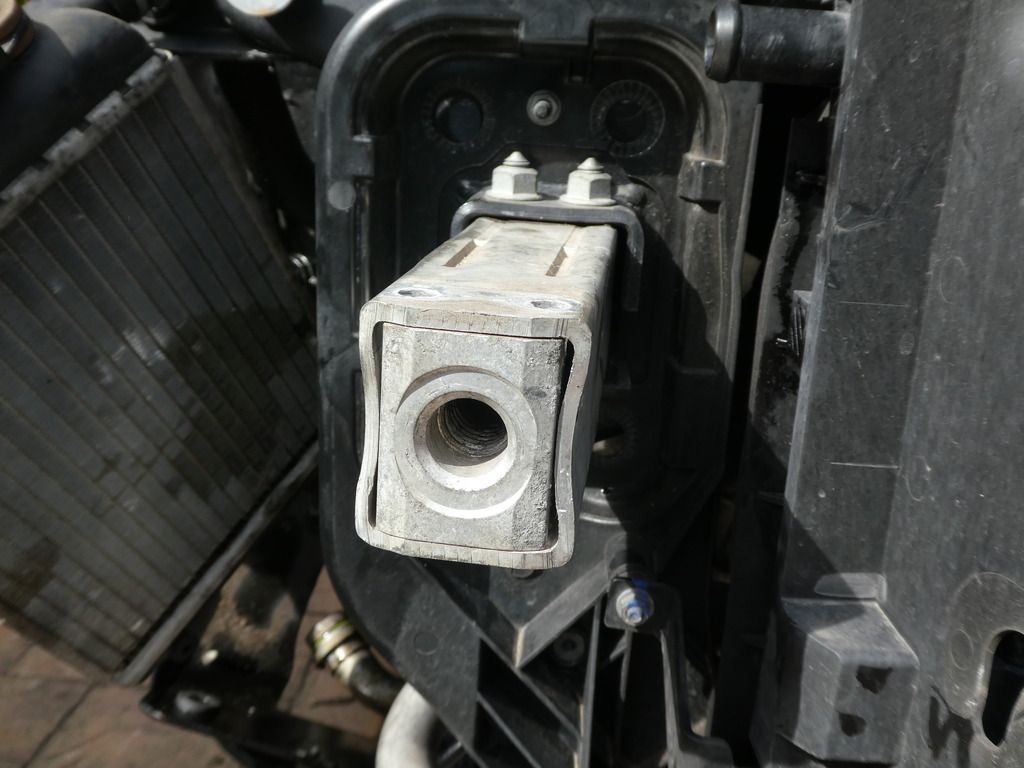
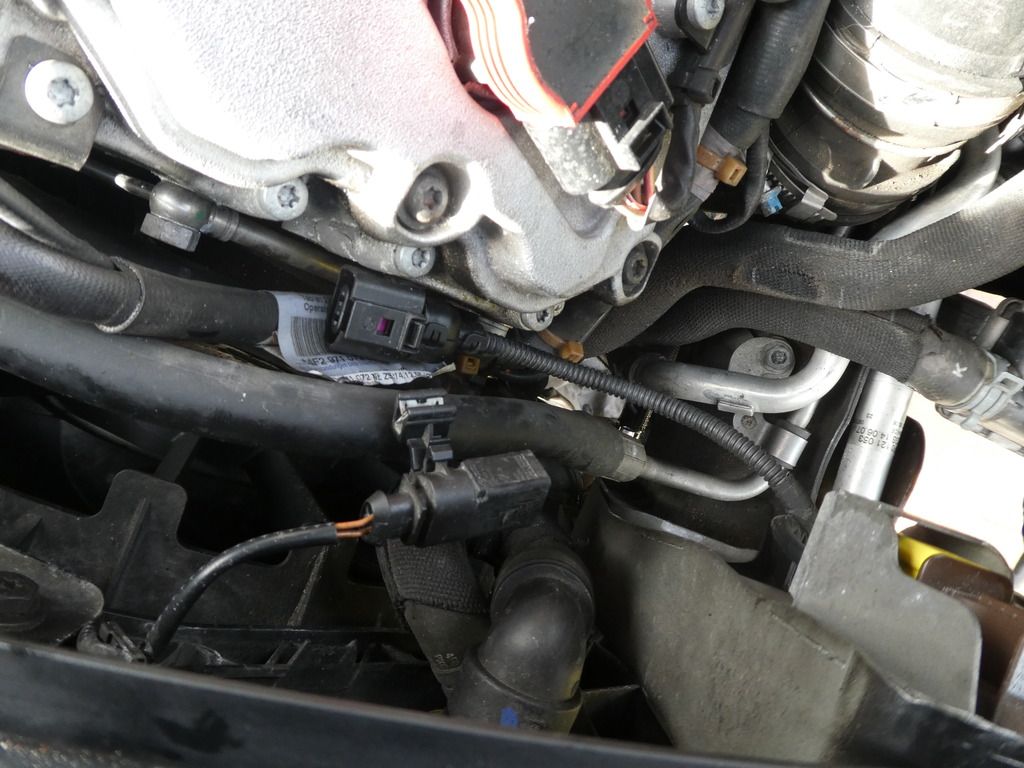
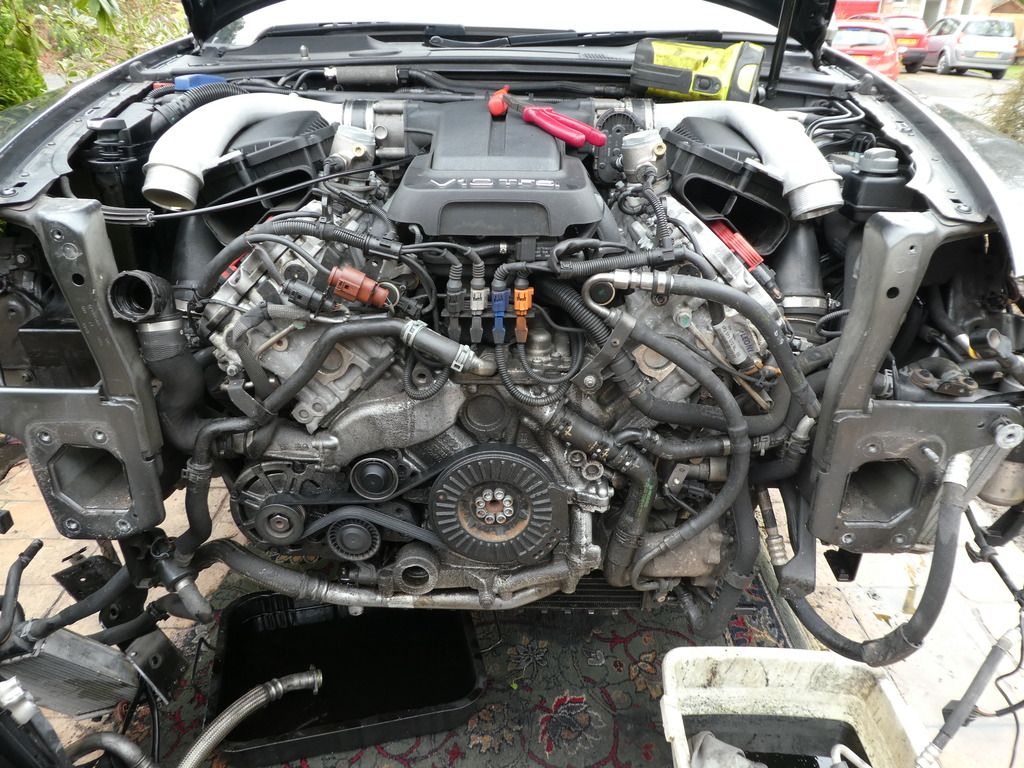
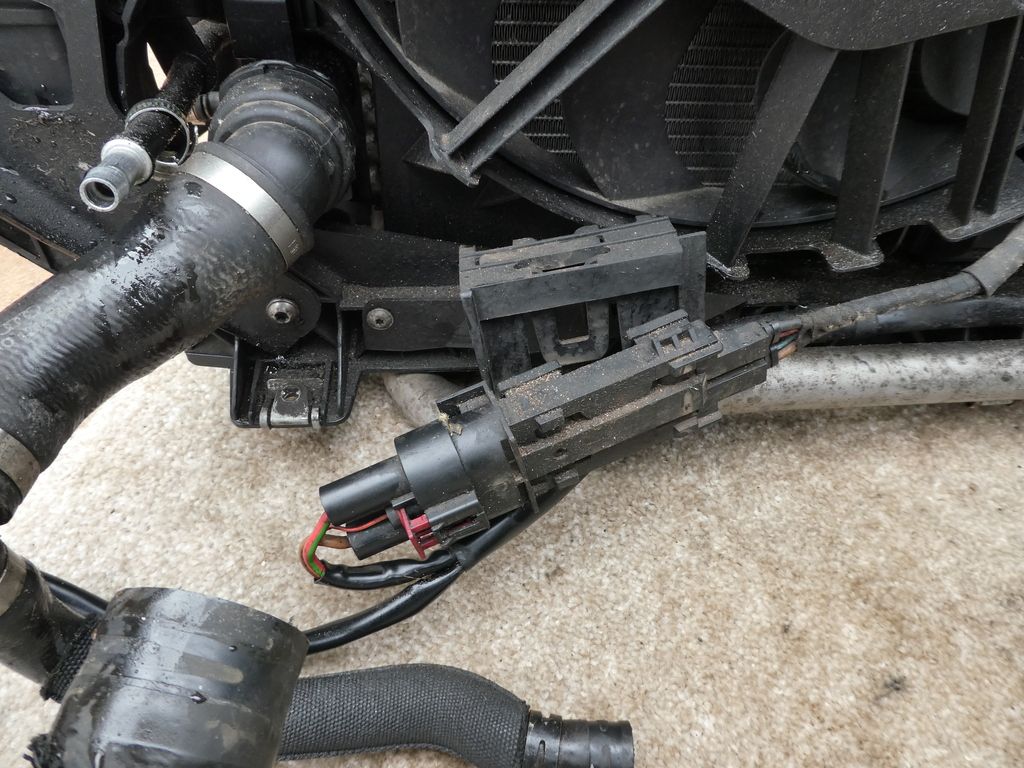
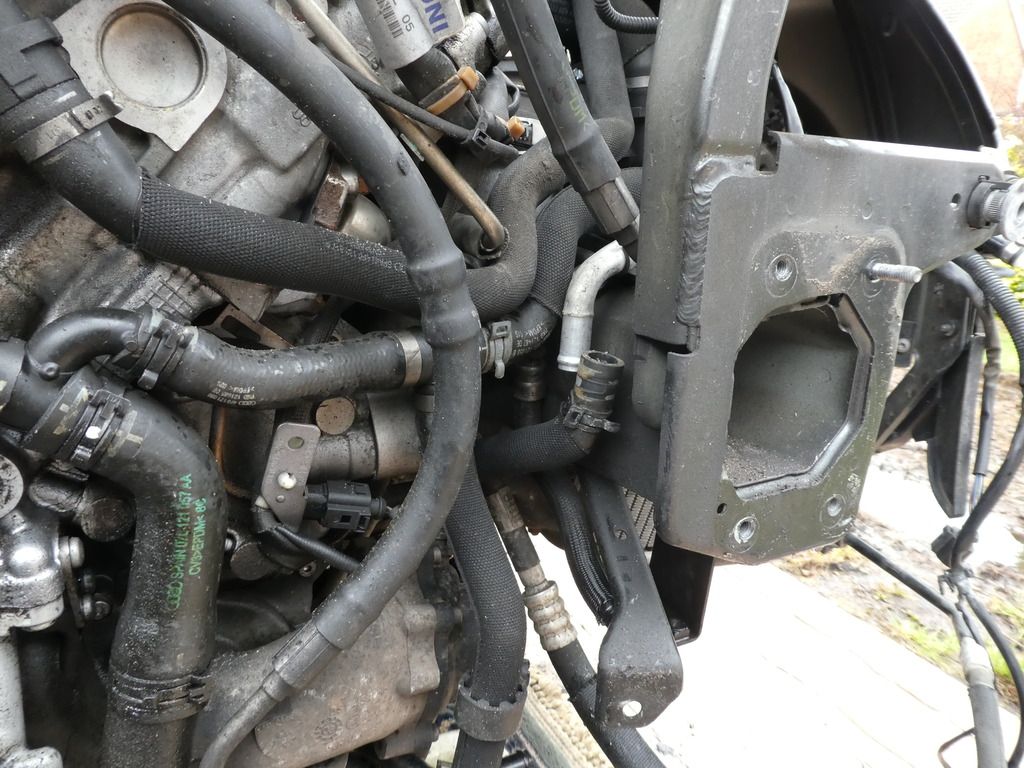
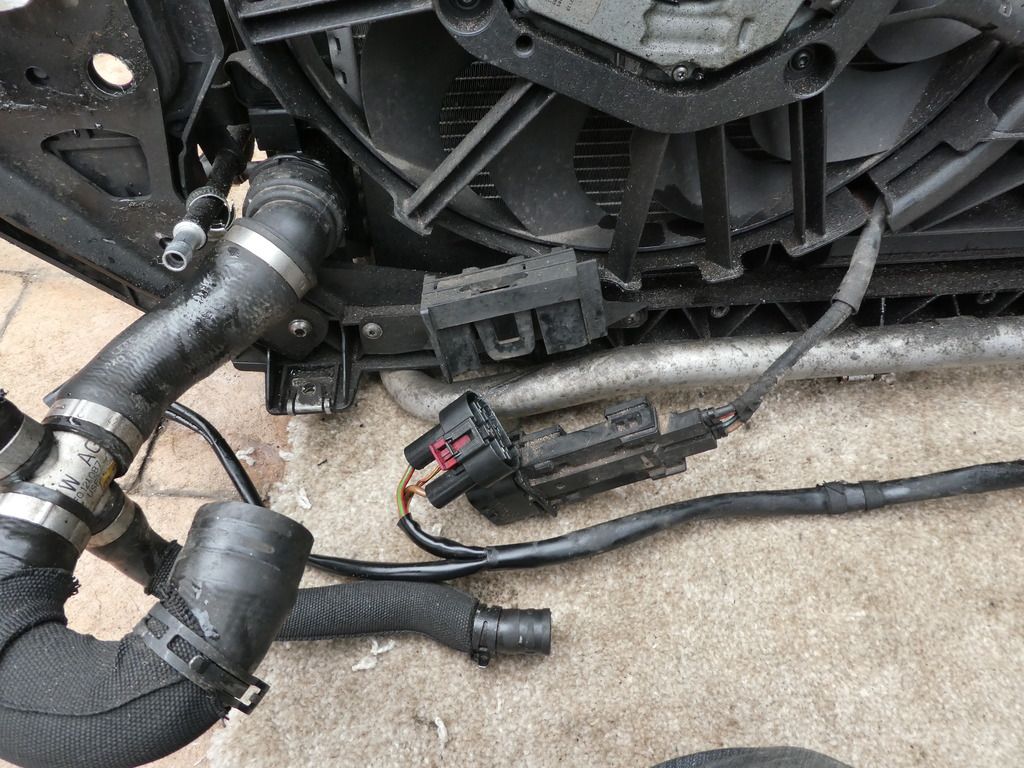
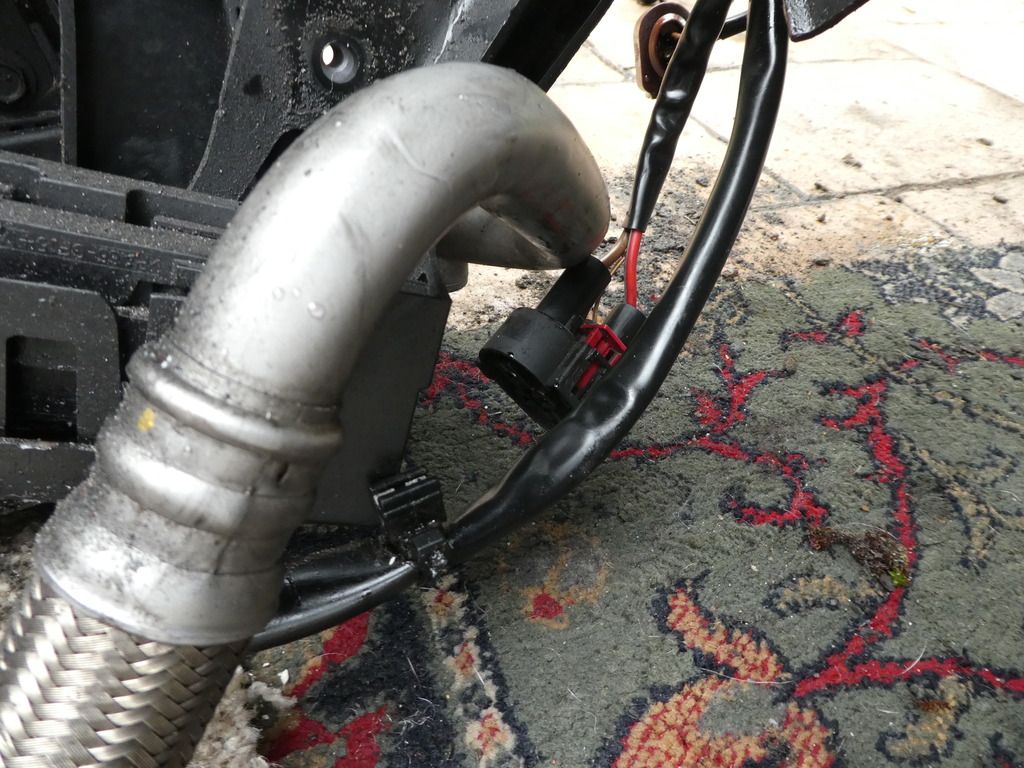
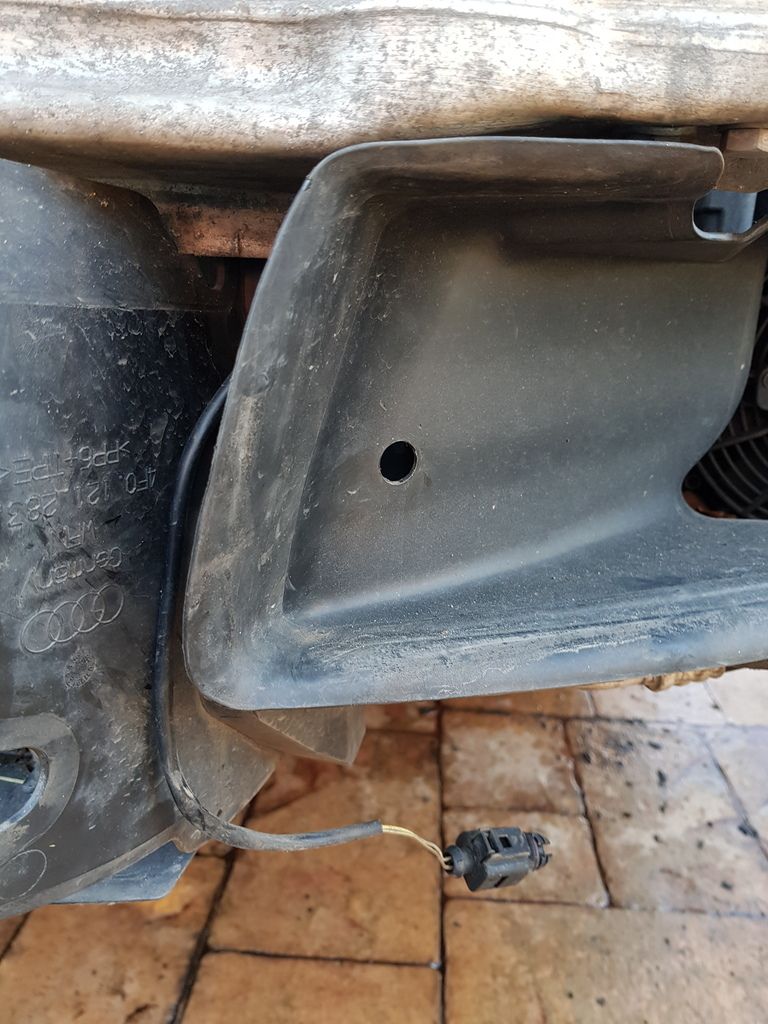
Unclip the sensor from the n/s charge air cooler scoop - I'm sure someone will let us know what this sensor is...
Image

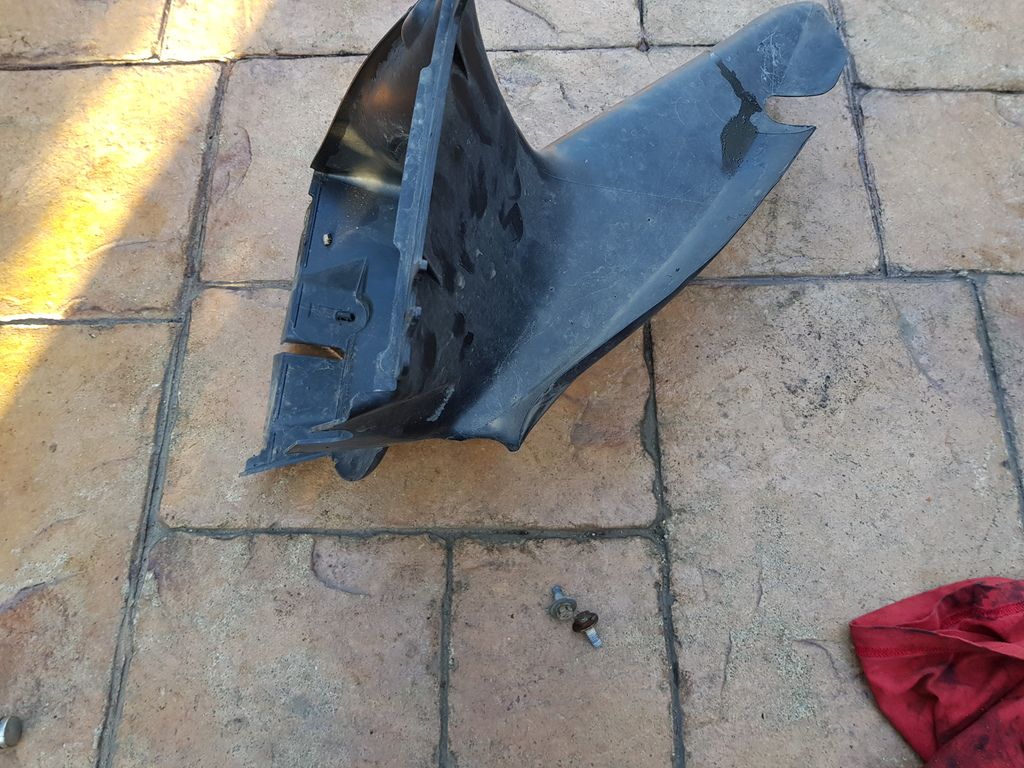
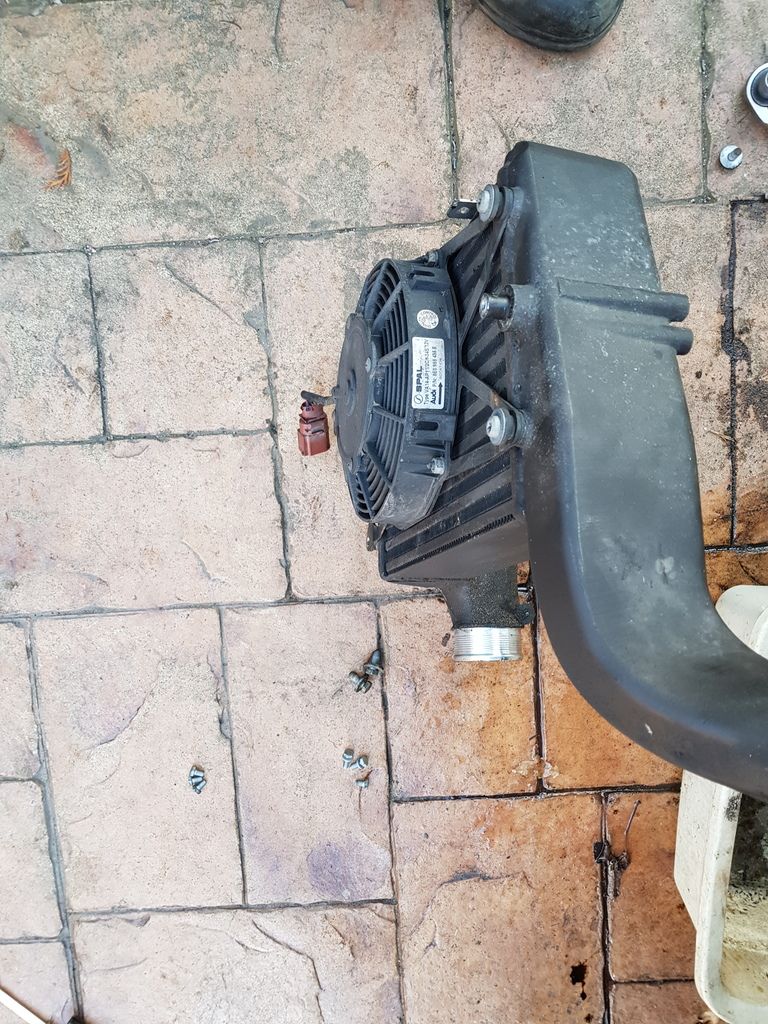
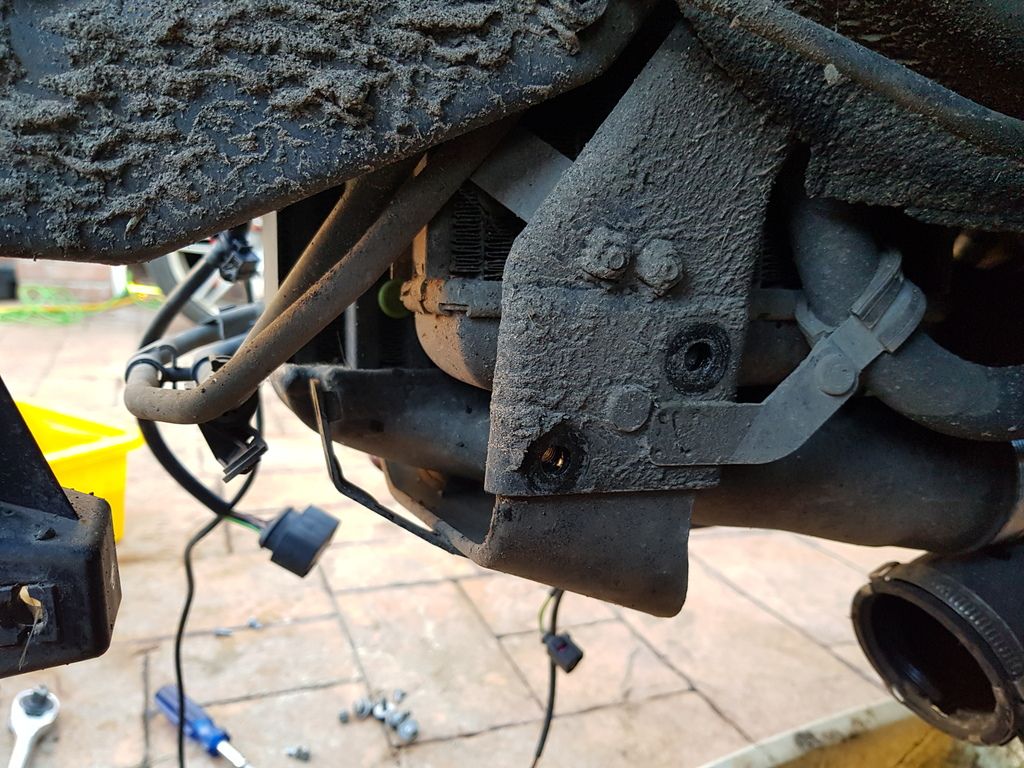
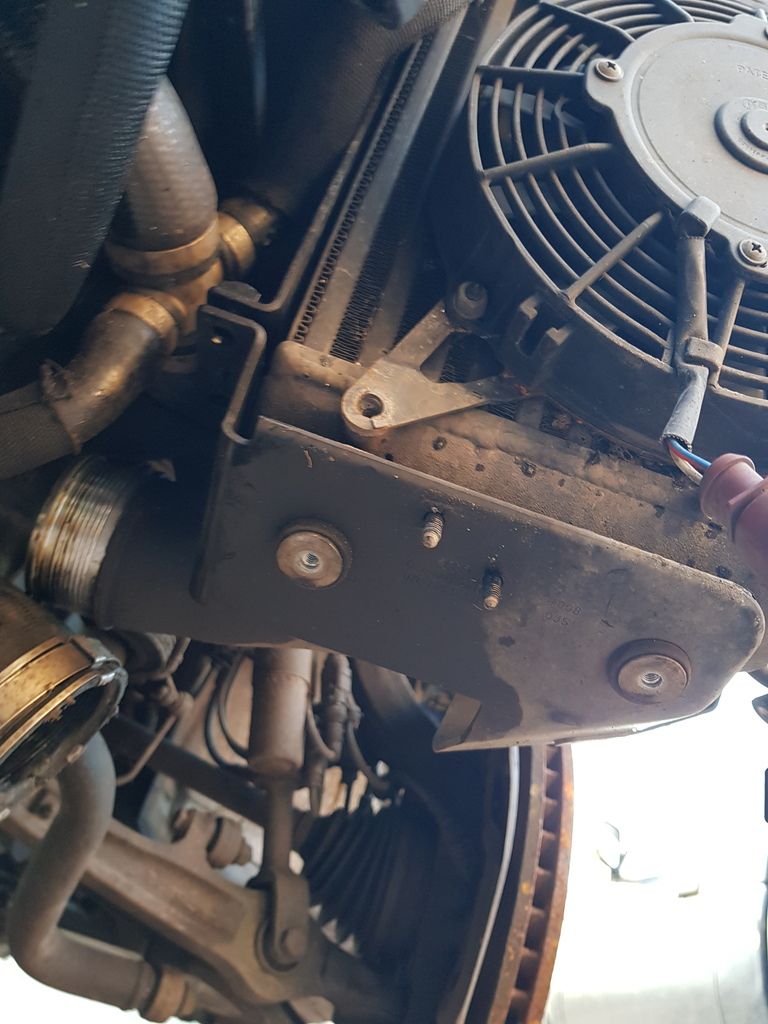
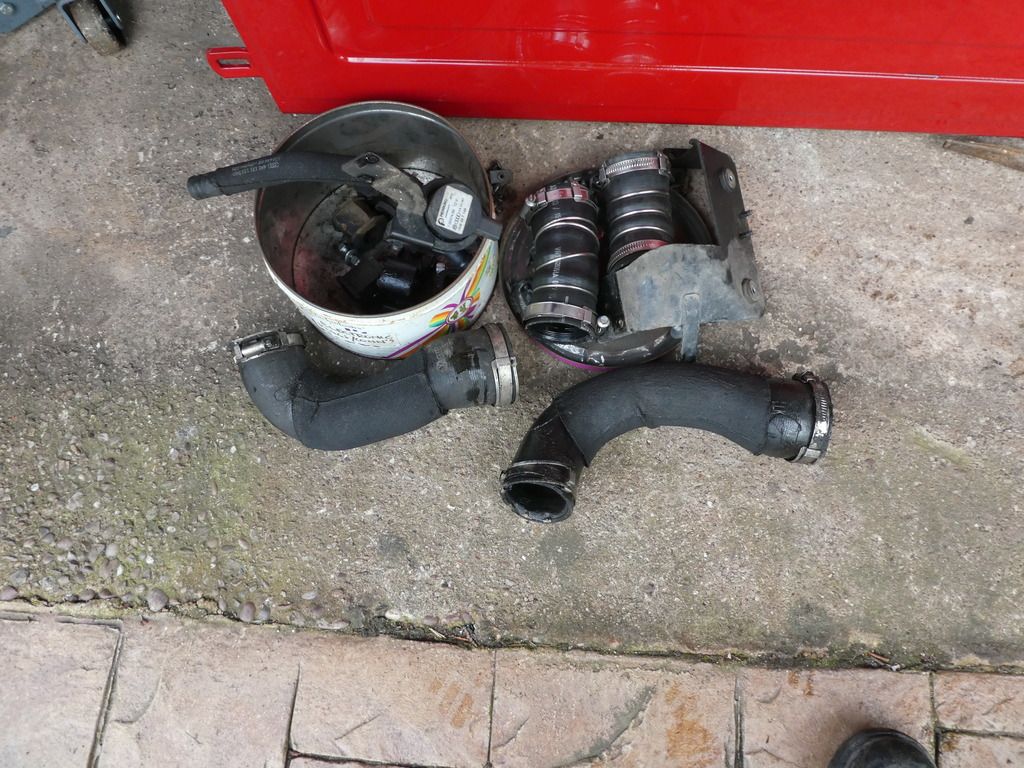
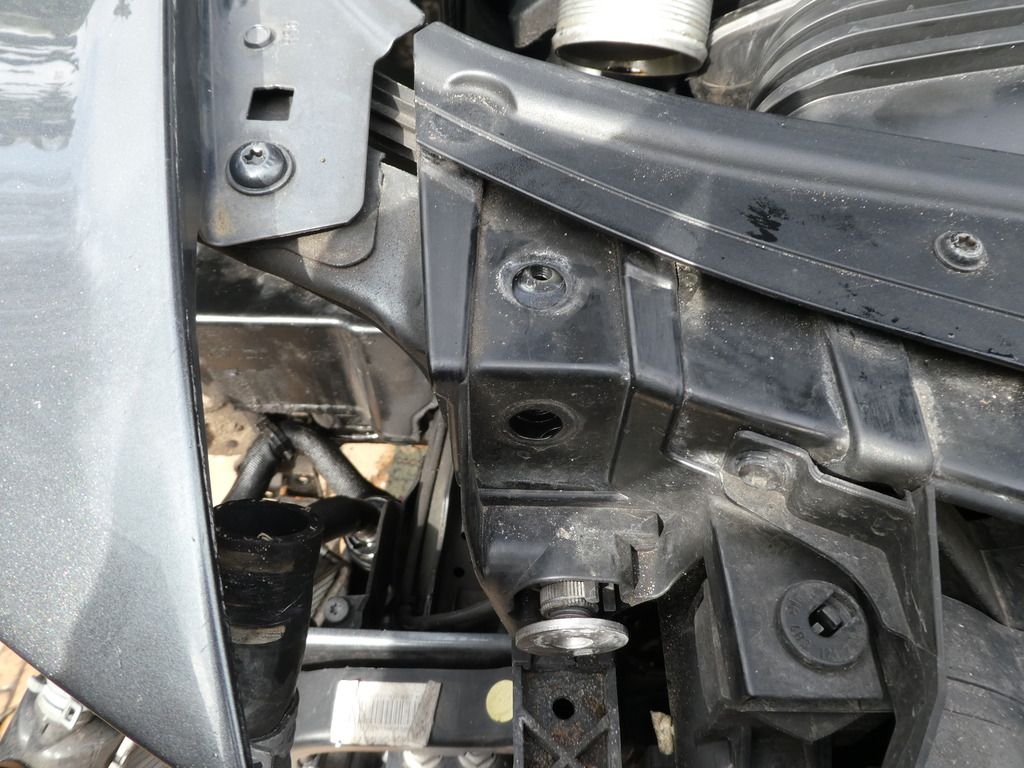
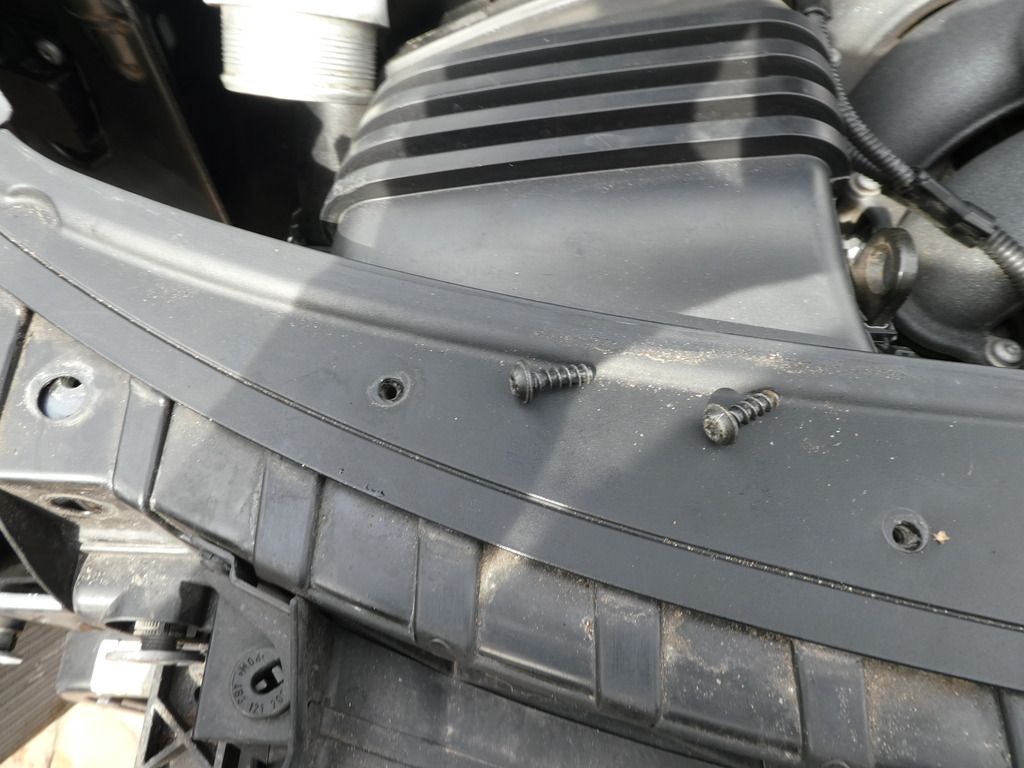
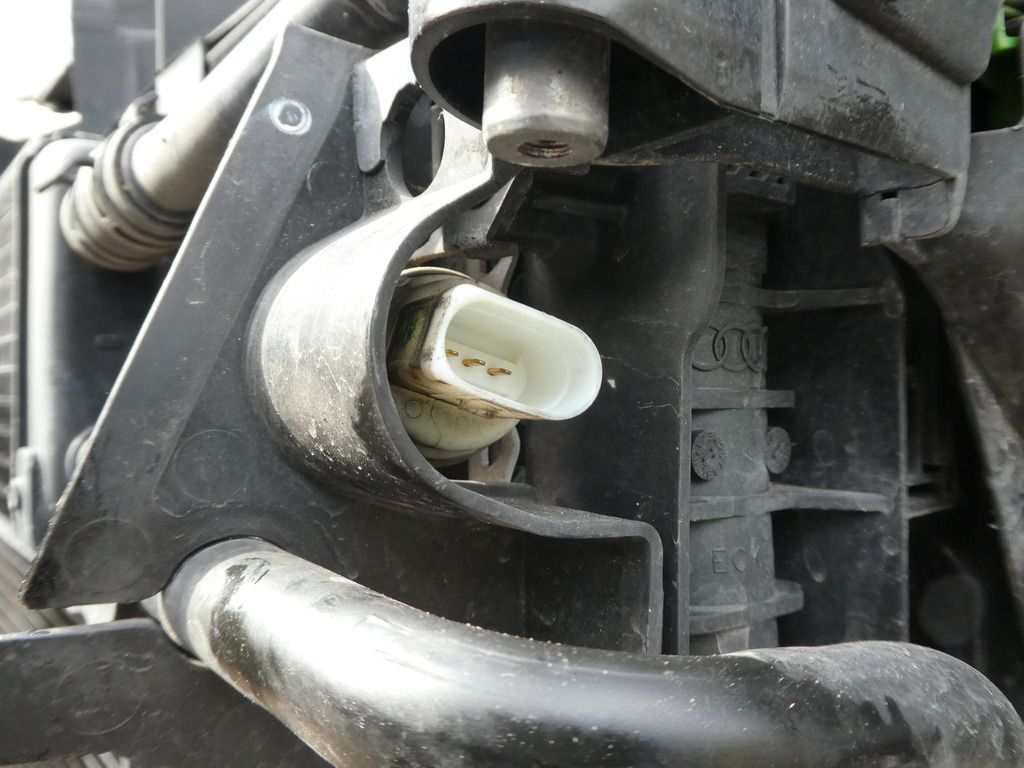
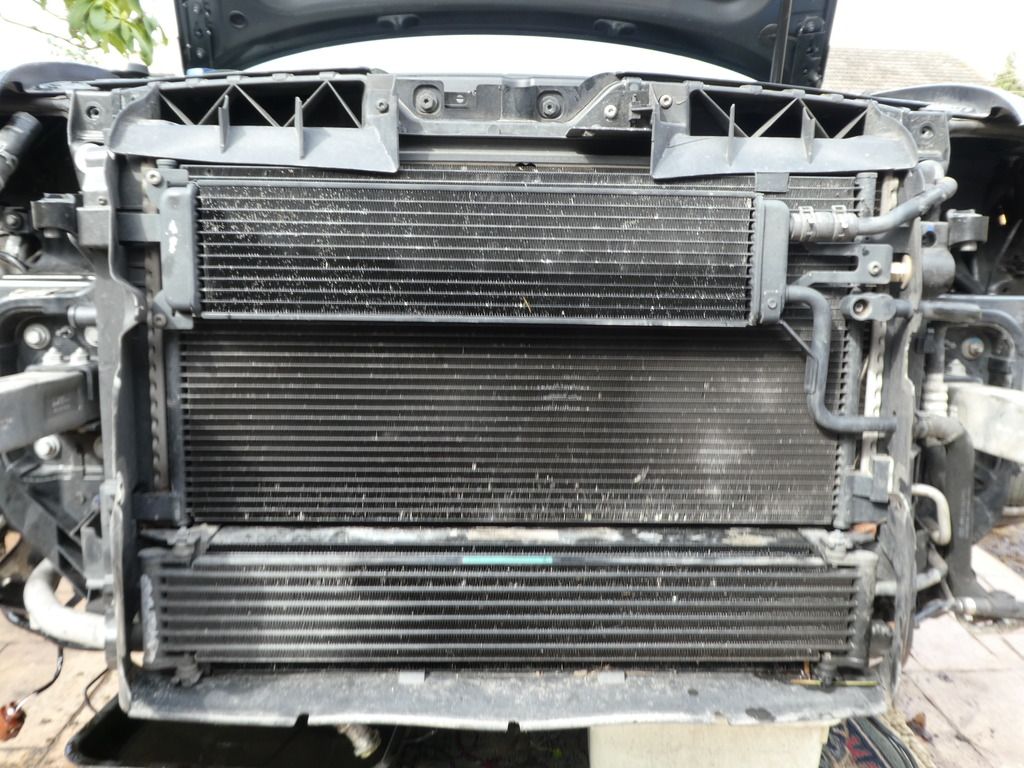
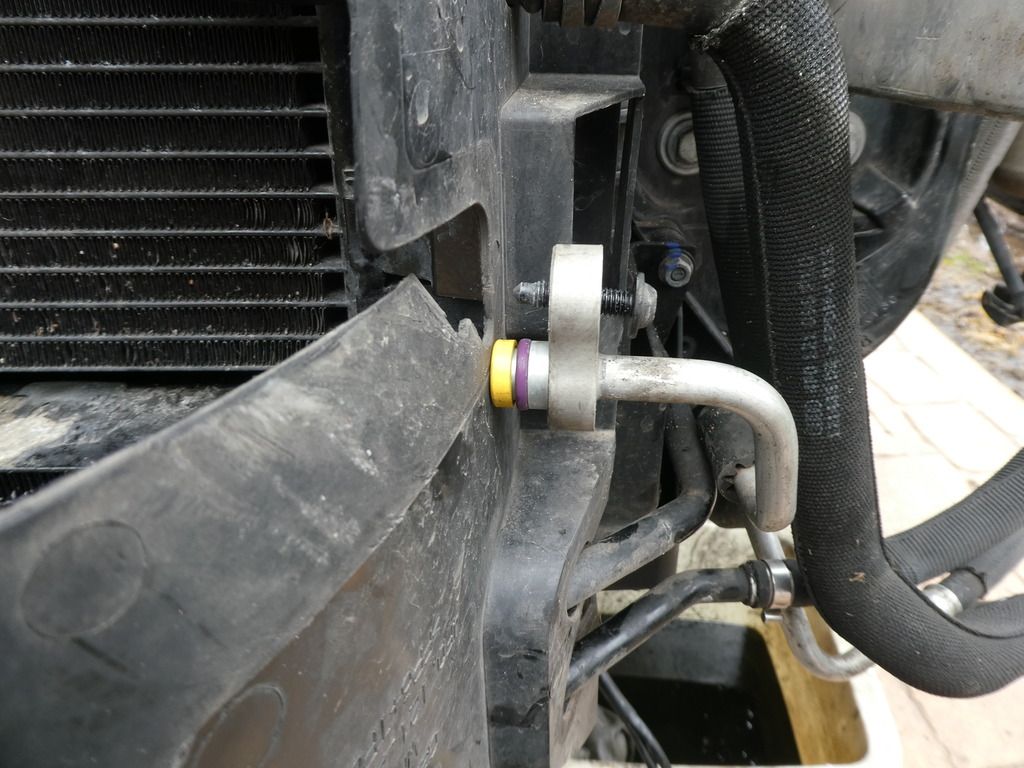
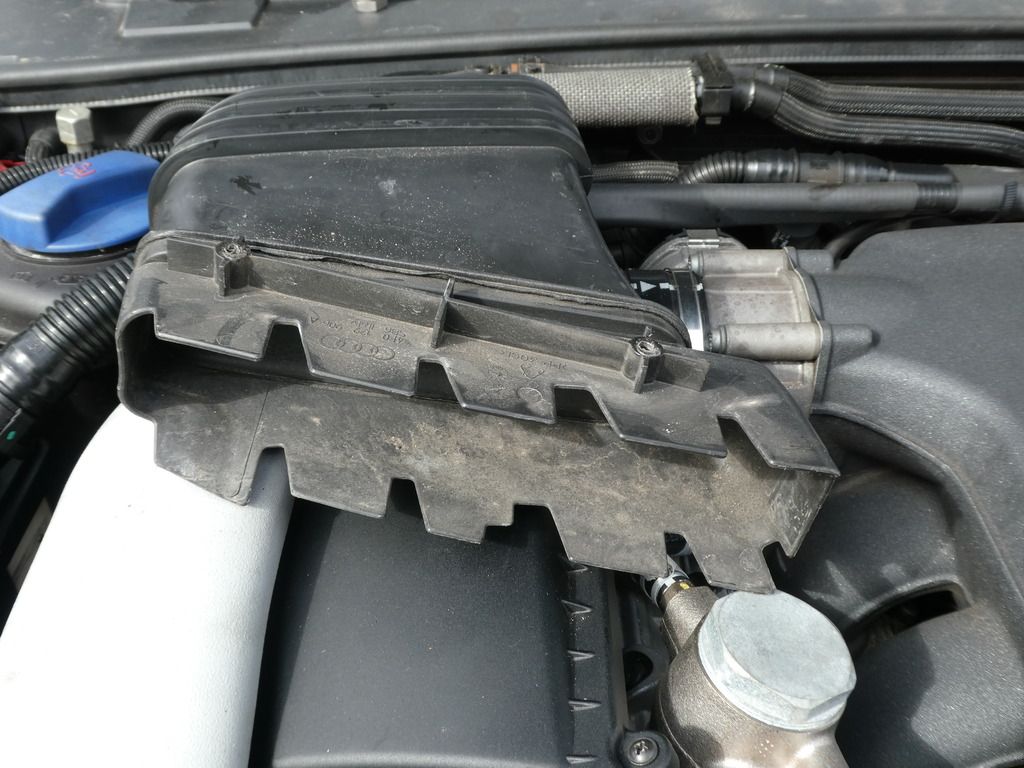
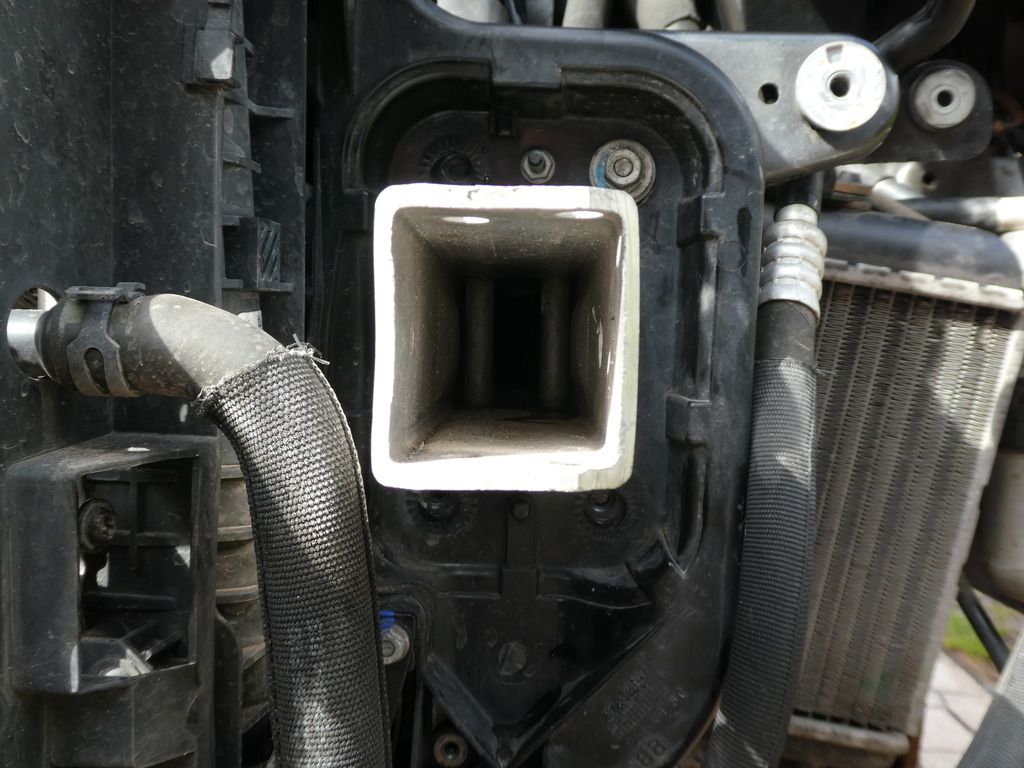
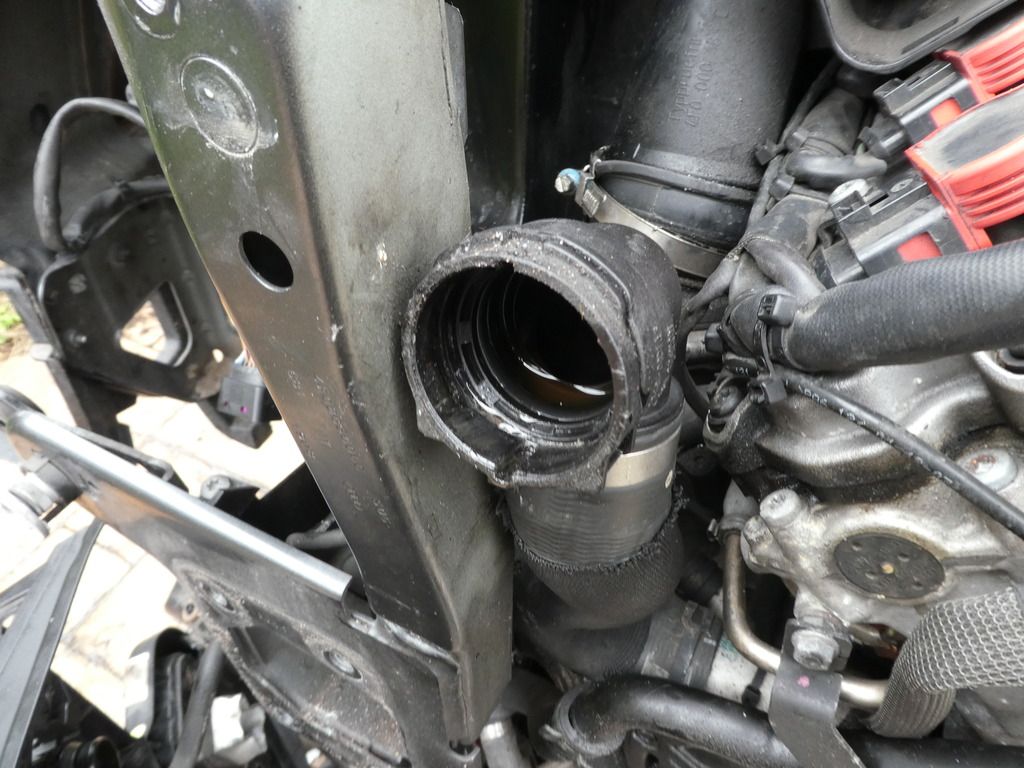
Remove said n/s charge air cooler scoop...
ImageImage

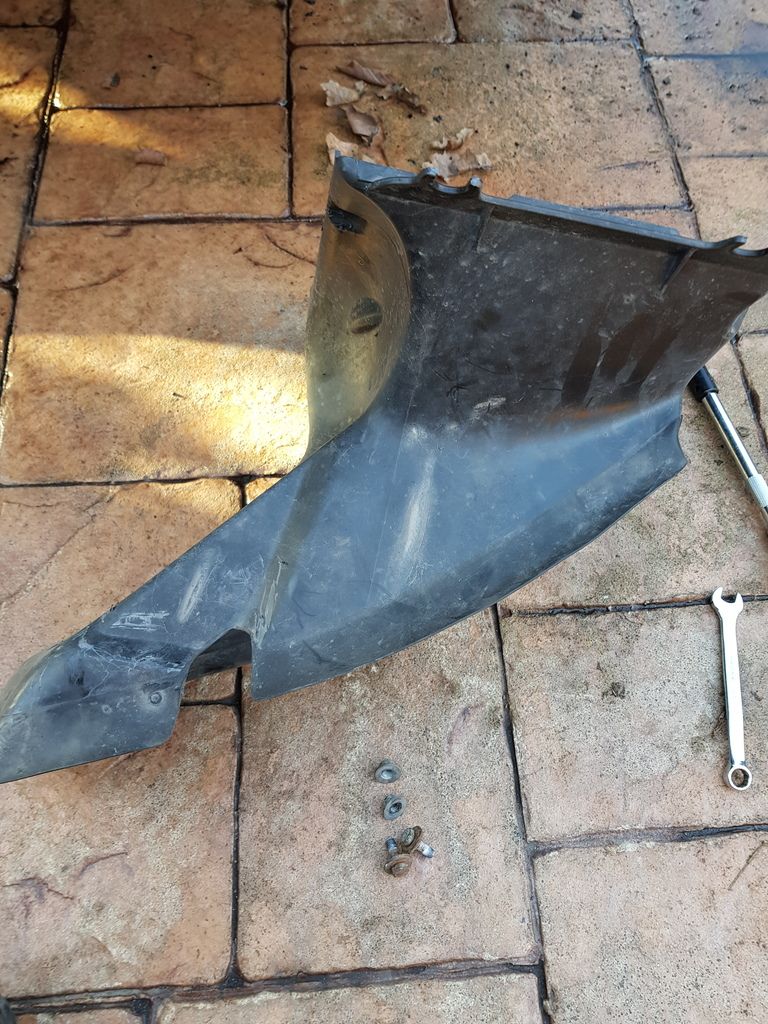
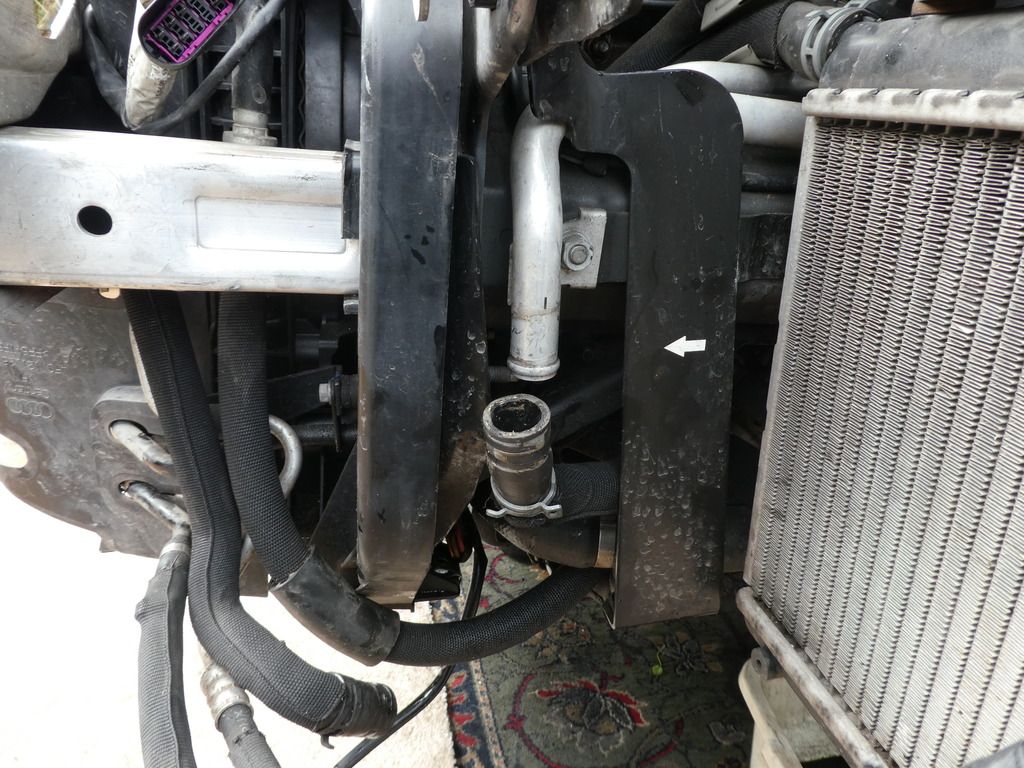
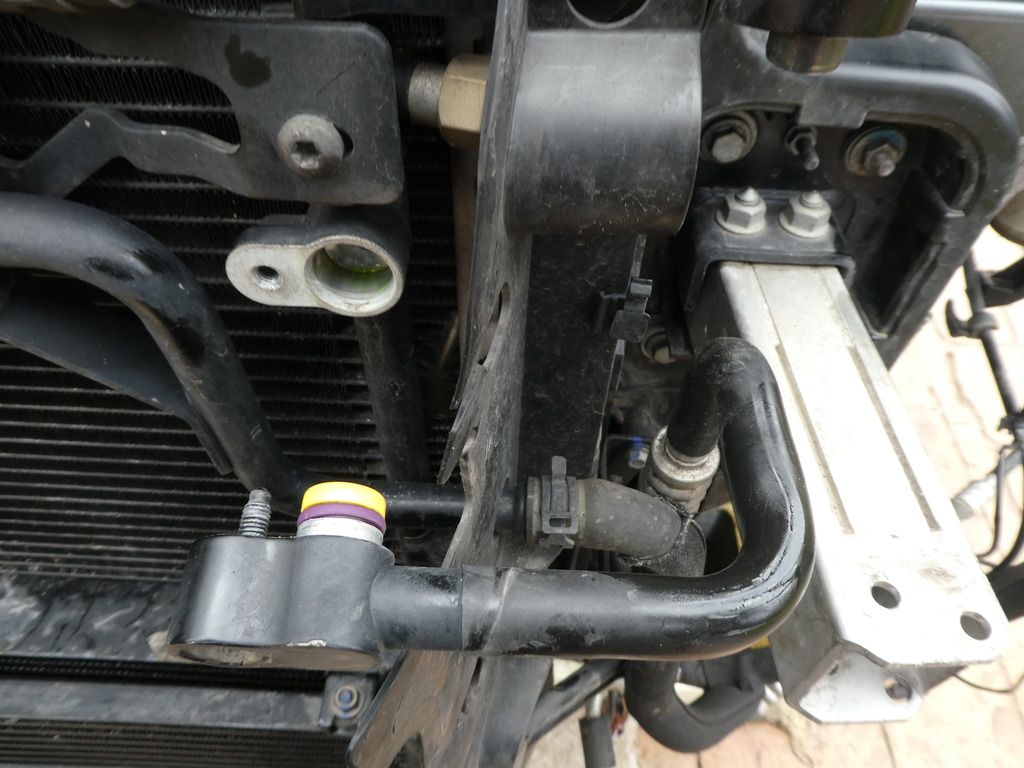
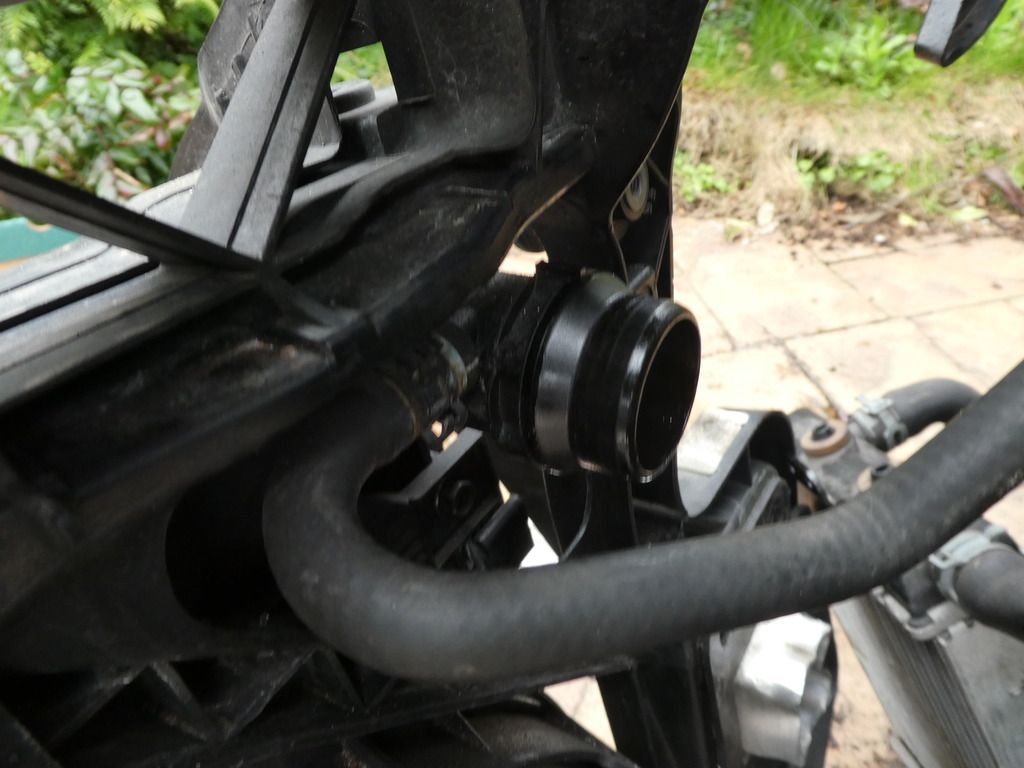
Ditto remove o/s charge air cooler scoop...
ImageImage
Last edited by ATinOf on Mon Jul 16, 2018 9:16 am, edited 4 times in total.

ATinOf
3rd Gear
Posts: 395
Joined: Fri Jul 06, 2018 7:32 pm
Location: Cheshire

Re: Engine / Gearbox Removal

Post by ATinOf » Sat Jul 14, 2018 11:14 pm

Nows time to drain fluids. In my instance I kinda drained them as I went, not recommended it can get messy as you will see in future images
Coolant - I dropped the hoses off the bottom rad
Image

Oil I drained at the hose manifold under the block (bolt top of image) which I found later didnt drain much :bash:
Image

Then I removed the coolant pump mounted under the n/s charge air cooler
ImageImageImage
Last edited by ATinOf on Mon Jul 16, 2018 9:17 am, edited 2 times in total.

ATinOf
3rd Gear
Posts: 395
Joined: Fri Jul 06, 2018 7:32 pm
Location: Cheshire

Re: Engine / Gearbox Removal

Post by ATinOf » Sat Jul 14, 2018 11:22 pm

Followed by o/s charge air cooler
ImageImage

In my instance I found a small puddle of oil had collected in the bottom hose for this side cooler, so be prepared for some mess here. I put this down to the PCV system in general rather than a fault somewhere.

n/s charge air cooler was pretty clean in this respect
ImageImageImageImage

Clearly weve only skimmed the surface of the task here; more to follow
Image
Last edited by ATinOf on Mon Jul 16, 2018 9:18 am, edited 1 time in total.

ATinOf
3rd Gear
Posts: 395
Joined: Fri Jul 06, 2018 7:32 pm
Location: Cheshire

Re: Engine / Gearbox Removal

Post by ATinOf » Sun Jul 15, 2018 6:53 am

So we dont lose this hose clip that was bolted to the charge air cooler, holding this pair of hoses together (centre of image), or forget where it went; its the coolant hoses at the n/s radiator. It always amazes me how many bl##dy rads this gals got keeping her cool !!
Image

Now for the n/s and o/s hoses that fed the bottom of the charge air coolers
ImageImageImage

ImageImageImage
Last edited by ATinOf on Mon Jul 16, 2018 9:19 am, edited 2 times in total.

ATinOf
3rd Gear
Posts: 395
Joined: Fri Jul 06, 2018 7:32 pm
Location: Cheshire

Re: Engine / Gearbox Removal

Post by ATinOf » Sun Jul 15, 2018 6:59 am

Top tip is to bag your nuts, bolts and clips up as you go and keep them together with the items they go with. Resealable food bags do a good job and cheap as chips. I went one step further and photographed every nut and bolt that was removed after photogrpahing every item removed - a full story book of images; but i'm not posting nut and bolt images here !!!
Image

ATinOf
3rd Gear
Posts: 395
Joined: Fri Jul 06, 2018 7:32 pm
Location: Cheshire

Re: Engine / Gearbox Removal

Post by ATinOf » Sun Jul 15, 2018 7:12 am

Next up is the braided oil hoses at the bottom manifold block, take note of their routing and which hose is connected to which outlet
Image
Image
Image

Now disconnect two of these hoses at the oil container, you will need a 6mm allen key for the retaining bolt for these that is in between the hoses, the only way I could get onto this bolt was to cut the allen key down and even then angle of rotation was only a few degrees; it took a while...
Image
Image
Image
You will note from that last image I removed the hose from the front radiator to try and improve access; it didnt help a lot (but needs to come off anyway)

Now you see why its best to drain the fluids off properly before you start :oops:
Image

ATinOf
3rd Gear
Posts: 395
Joined: Fri Jul 06, 2018 7:32 pm
Location: Cheshire

Re: Engine / Gearbox Removal

Post by ATinOf » Sun Jul 15, 2018 7:18 am

Time to start removing the front radiator assembly 2 Torx screws top and front of the mountings on both sides

ImageImage

ImageImage

and the 4 screws on the top cover, cant remember if these 4 were necessary looking at them now, but off they came
ImageImage
Hang on, they hold the front air scoops, so yes makes life easier if they come off separately
Last edited by ATinOf on Mon Jul 16, 2018 9:20 am, edited 1 time in total.

ATinOf
3rd Gear
Posts: 395
Joined: Fri Jul 06, 2018 7:32 pm
Location: Cheshire

Re: Engine / Gearbox Removal

Post by ATinOf » Sun Jul 15, 2018 7:37 am

Yet another coolant hose for disconnection n/s of Radiator assembly. Maybe I will add up the number of hose disconnections required for this task; its a lot !!
Image

Disconnect hose from thermostat housing
Image

Disconnect hose from power steering rad at the return hose and drain fluid
Image
I have pics of this at removal but the flash wasn't on so here's one from reinstatement.

ATinOf
3rd Gear
Posts: 395
Joined: Fri Jul 06, 2018 7:32 pm
Location: Cheshire

Re: Engine / Gearbox Removal

Post by ATinOf » Sun Jul 15, 2018 7:43 am

There are 2 angled brackets supporting the front radiator assembly either side underneath where the socket is in the image, not particularly easy to get to, n/s being a lot easier than o/s, remove the front Torx fixings from them
Image
Image

In my case the off-side one subsequently fell off, clearly no screw in the back end; will have to resolve that at reinstatement. Someone obviously decided that one was too hard to bother with :evil:
Image

ATinOf
3rd Gear
Posts: 395
Joined: Fri Jul 06, 2018 7:32 pm
Location: Cheshire

Re: Engine / Gearbox Removal

Post by ATinOf » Sun Jul 15, 2018 7:51 am

Next off the aluminium front spar across the front radiator assembly
Image

I disconnected the 2 horns; found later there is a connector as a break point one side, didn't have to remove these from the horns...
ImageImage

Now disconnect what I think is a temperature sender n/s of main radiator
ImageImage

We are getting there, just a few more disconnections to go, honest!
Image
Last edited by ATinOf on Mon Jul 16, 2018 9:21 am, edited 1 time in total.

ATinOf
3rd Gear
Posts: 395
Joined: Fri Jul 06, 2018 7:32 pm
Location: Cheshire

Re: Engine / Gearbox Removal

Post by ATinOf » Sun Jul 15, 2018 8:03 am

Now the book say's dont bend (stress) the A/C pipes, well you have to to some degree, but to protect them I decided to remove the ones in my way.

Its about now the environmentally conscious people out there will be saying you should have drained the system down professionally before doing this task and disposed of or recovered the R134a responsibly. Of course. Did I not mention that at the start? :o

Remove the securing screws from the near side A/C pipe bracket
Image

Now remove the bottom hose from the A/C rad
ImageImage

And the top hose from the A/C rad
ImageImage
Last edited by ATinOf on Mon Jul 16, 2018 9:21 am, edited 1 time in total.

ATinOf
3rd Gear
Posts: 395
Joined: Fri Jul 06, 2018 7:32 pm
Location: Cheshire

Re: Engine / Gearbox Removal

Post by ATinOf » Sun Jul 15, 2018 8:08 am

Now unclip the bonnet catch cable
ImageImage
Image

and remove the 2 front air scoops, unlike me struggling, you may want to wait until the front rad assembly can be slid forward slightly to make this task easier :bash:
ImageImage

ImageImage
Last edited by ATinOf on Mon Jul 16, 2018 9:22 am, edited 1 time in total.

ATinOf
3rd Gear
Posts: 395
Joined: Fri Jul 06, 2018 7:32 pm
Location: Cheshire

Re: Engine / Gearbox Removal

Post by ATinOf » Sun Jul 15, 2018 8:15 am

Remove the 3 screws both sides of the front radiator assembly and undo the nut fully but leave the nuts on loose till you are ready to lift off the rad assembly. Its about now you can pull the rad assembly forward for improved access :?
Image
Image

Now you can just about reach the connector mounted to the n/s back face of the rad cowl assembly and disconnect it, someone may know what's this for?
Image

Now unclip the top radiator hose, I'm guessing you dont have to split this hose here, you could do the other end? But I did it here.
Image
Image
Image

And the assembly can be lifted off, but we have some loose ends to attend to yet before it can be moved far
Image

So that's what state the front of the engine is in, hmmmm, tad sh#tty
Image

ATinOf
3rd Gear
Posts: 395
Joined: Fri Jul 06, 2018 7:32 pm
Location: Cheshire

Re: Engine / Gearbox Removal

Post by ATinOf » Sun Jul 15, 2018 8:20 am

Now disconnect the fans on the back of the rad assembly to release the cabling, these are bl##dy tight, and awkward to grip when slimy
Image

Since the o/s rad was basically hanging off I decided to remove it; disconnect the hose at the front bottom left of the engine
Image

and its off, that was easy!
Image

ATinOf
3rd Gear
Posts: 395
Joined: Fri Jul 06, 2018 7:32 pm
Location: Cheshire

Re: Engine / Gearbox Removal

Post by ATinOf » Sun Jul 15, 2018 8:29 am

Now I did say you didnt have to remove the top hose off the rad? The hose is actually in your way now, so you have to remove this at the engine, doh
ImageImage

Now since that was a lesson learned I'm not going to fall foul of it twice. Leave the bottom hose on the main rad and disconnect the hoses at the engine/bay

This one here unclipped in the engine bay n/s
Image

The one just next to it here unclipped at the n/s
Image

Now remember how these are routed;
ImageImage

Now unclip the cabling from the fan cowl assembly
ImageImage
Image

And you can remove the main rad assembly out the way
Last edited by ATinOf on Mon Jul 16, 2018 9:23 am, edited 1 time in total.

Post Reply

Return to “RS6 / RS6 Plus (C6 Typ 4F) 2008-2010”

Who is online

Users browsing this forum: 03slatt and 143 guests