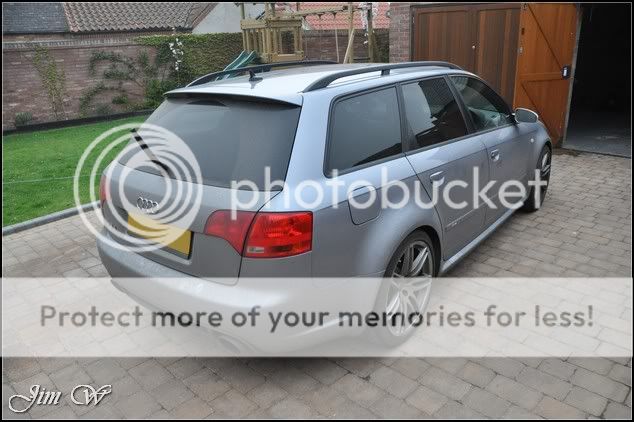
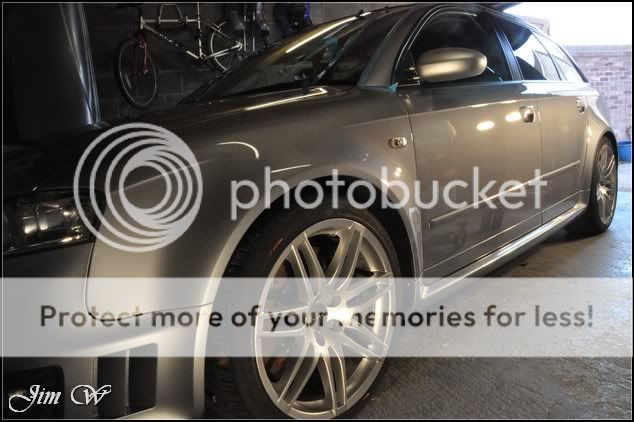
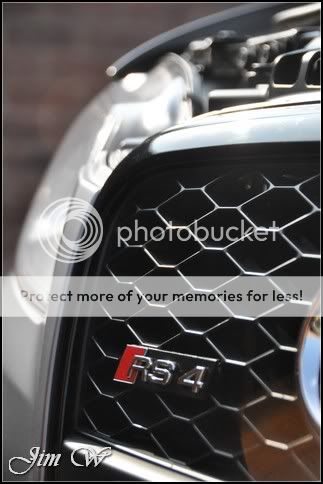
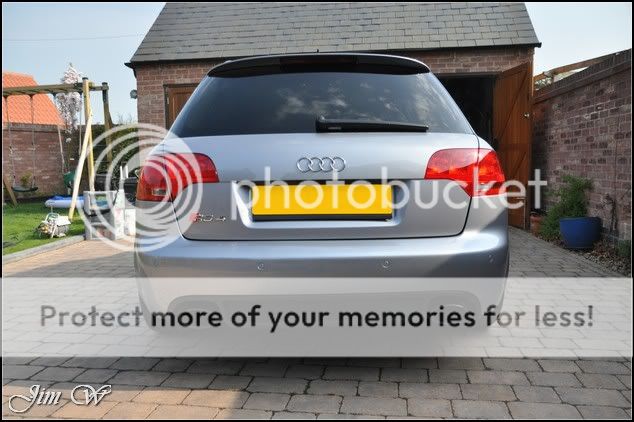
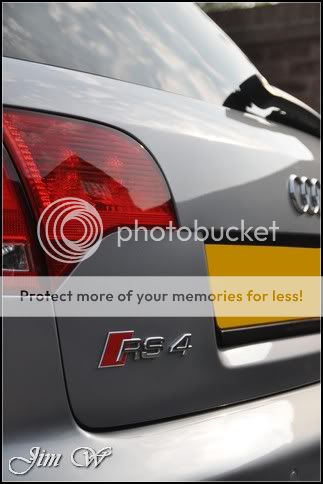
b7 RS4 Avant - Avus Silver
Posted: Thu Apr 21, 2011 12:55 pm
Hi all - a forum members' car for you this time. 
Report is short and sweet, but, enjoy.
Audi RS4 Avant b7 in Avus Silver
Been on the books for a little while this one. I managed to meet the owner a couple of weeks back to cast my eye over the car and work out the best plan of attack.
An exterior Minor Paint Correction Detail with added interior and engine-bay work was agreed on and a date was set. A single-stage ‘minor’ correction focuses on light swirls and scratches; a polish combination tough enough to correct such defects but at the same time mild enough to give the refined and much desired ‘jewelled’ look.
Product
3M Glass Cleaner
3M Ultra fina
AutoSmart G101
AutoSmart Tardis
AutoSmart Reglaze
AutoSmart Hazsafe
AutoGlym Vinyl & Rubber Care
AMDetails mild clay
Belgom ALU
Bilt Hamber Autofoam
Chemical Guys JetSEAL109
Chemical Guys New Look Trim Gel
Dodo Juice Born To Be Mild
Jeffs Werkstat Prime
Jeffs Werkstat Jett Trigger
Iron-X
LTT Auto Ultra leather kit
Meguiars Super Degreaser
Menzerna 203s Power Finish
Menzerna 85RD 3.02 Intensive Polish
Before:

After:

.
Inspection.


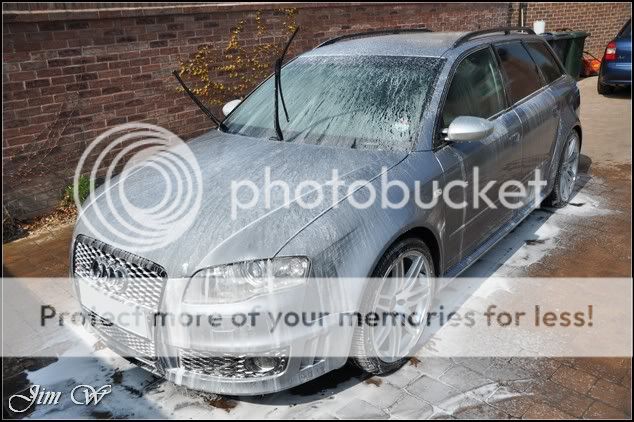
Vehicle doesn’t get driven much but in this instance, it was left especially grubby just for me!
Overall, it looks to be a well cared for example. A bit soiled on the edges (door shuts, engine bay, wheels etc) but in all, a clean car.
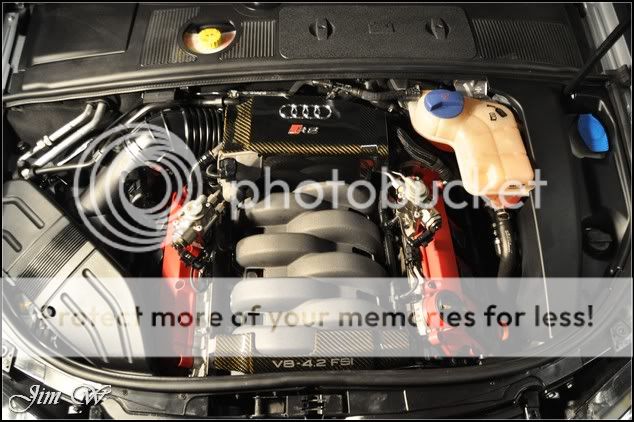
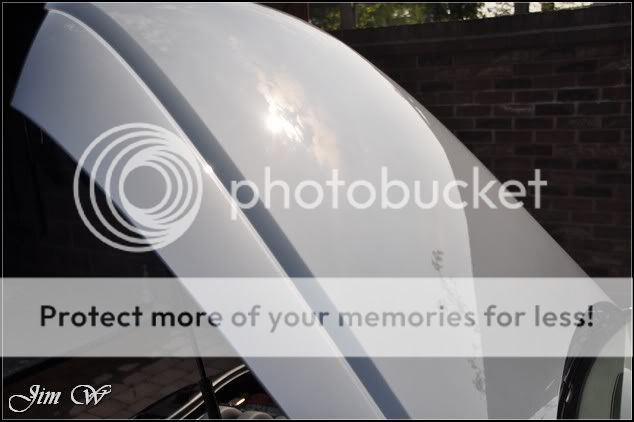
First up was the engine bay (all 4.2 V8 of it)

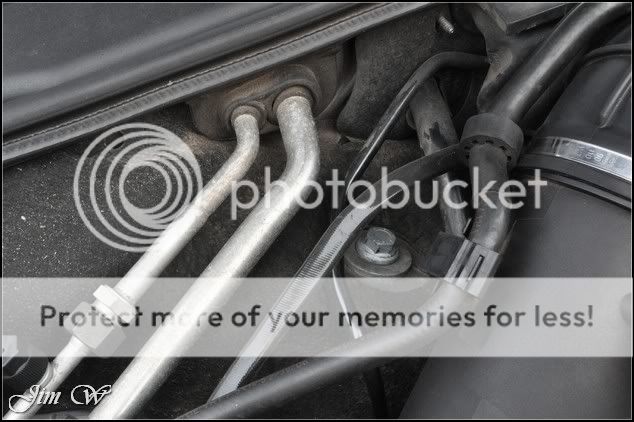


The underside of the bonnet and the rest of the bay was soaked in Megs Super Degreaser and allowed to soak for a minute before light agitation. Rinsing at low pressure, the vehicle was left to idle to assist the drying out process.
Later, once dried, all britework was polished with Jeffs Prime by hand (carbon fibre and metal work) and plastics/hoses/rubber dressed.


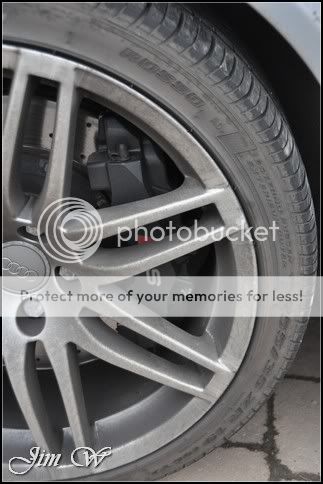
Wheels. Starting off by degreasing the tyre walls with Megs Super Degreaser. Megs Wheel Brightener used for the inner rim and then AutoSmart G101 for the alloy facing and wheel arches. Agitated with a selection of brushes and mits.
With the wheels rinsed down, Iron-X was used to help shift some of the more stubborn build-up in the wheel crevices. Iron filings, brake dust etc…

AutoSmart Tardis used to remove tar deposits on the arch lips.
Before/After:

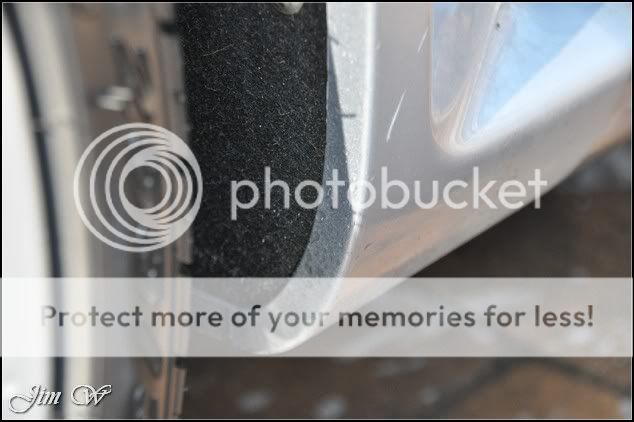
With the engine and wheels out the way, my focus turned to the door shuts and sills.
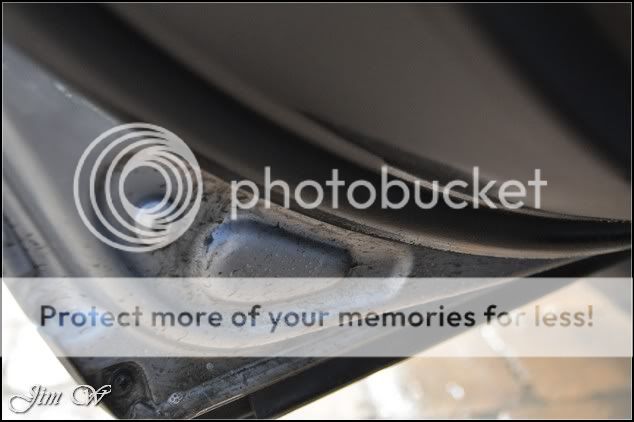
No after photos I’m afraid. Grubby all round – requiring multiple hits and finally some Tardis to help chew up some of stubborn grease.
Lower half of the RS was soaked with AS Hazsafe and allowed to dwell. Bilt Hamber’s Autofoam applied soon after to help lift surface dirt prior to physical contact with the paintwork…
Once rinsed, heh, we had a pretty clean car!!


With the two-bucket (one wash, one rinse) system in place, Dodo’s Born To Be Mild shampoo used alongside a Merino washmit.
After safely removing all traffic film, it was time to remove surface contaminants
AutoSmart Tardis applied from the glass down…


Deposits removed and vehicle re-rinsed to shift residues.
AMDetails’ mild clay bar used to pick up other surface contaminants.

Not much pick-up to be seen other than small tar deposits from the rear window.
Dried with an ‘uber plush fat fluffy’ deep-pile drying towel and the Black Baron Vehicle Dryer leaving the car the bone dry.

.


Once inside, the lights were rigged up and paint conditions checked.
Before purchasing the car, the owner was aware that the N/S rear quarter had seen paint due to a 5mph car park bump… Turns out, at the time of the repair, the complete N/S was blown over resulting in high thickness readings throughout.
A few bodyshop niggles and areas with overspray were found but nothing that our Minor Correction wouldn’t fix.


Overspray:

Initial polish and pad combinations were good but felt I could push a little more… The paint was rock hard after all… Using a yellow 3M polishing pad, I settled on Menzerna 85RD 3.02 Intensive Polish with a blob of 3M Ultra Fina to help extend the polishing set.
Correction was good, >70% from the single-pass.
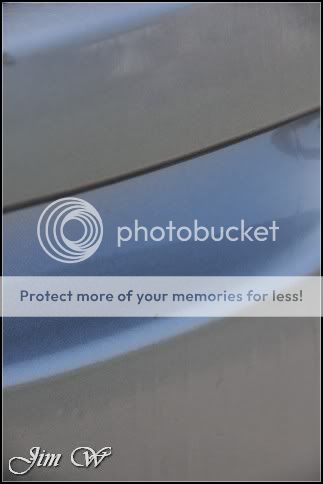
Before:

After:

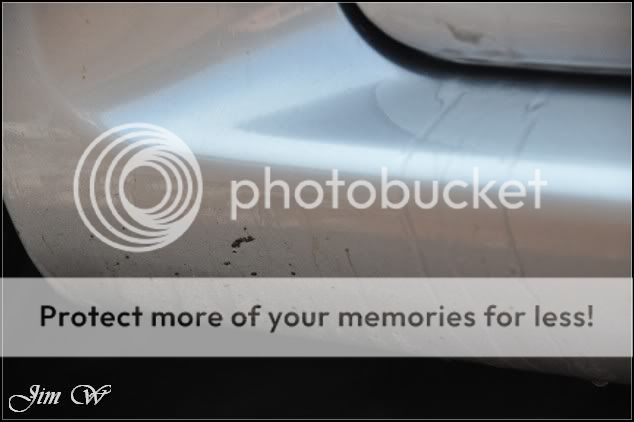
Before:

After:

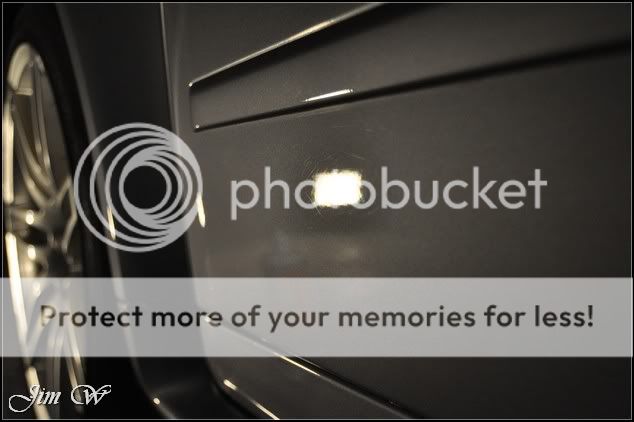
Before using the LED brinkman:

After

The beauty of Avus Silver (and, one of the reasons why we settled on a Minor Paint Correction as opposed to a Major) is the remaining deep marks are extremely difficult to spot in everyday light conditions. 95%+ correction is of course possible, just, it requires much more time.
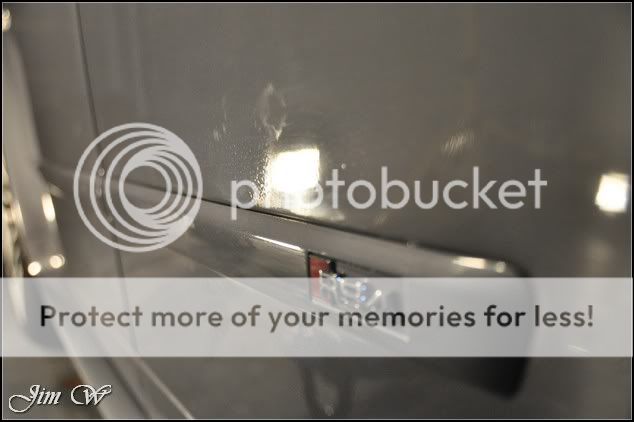
N/S front door lower – before:

And after:
N/S complete.
Rear lights before/after (menz 203s on a white Hexlogic polishing pad)


With the O/S, the roof line, bumpers and boot-lid complete, the car was brought back outside for a quick rinse.


Dried down with the ‘uber plush fat fluffy’ drying towel and Black Baron drier and then wiped with Isopropyl alcohol (IPA) to remove any remaining polishing oils.
For protection, based on the vehicles colour and ease of use for future maintenance for my customers, I chose Jeffs Werkstat Jett Trigger. Delivering razor sharp clarity and mirror-like reflections (which can sometimes be lost on lighter coloured cars when using a carnauba wax)
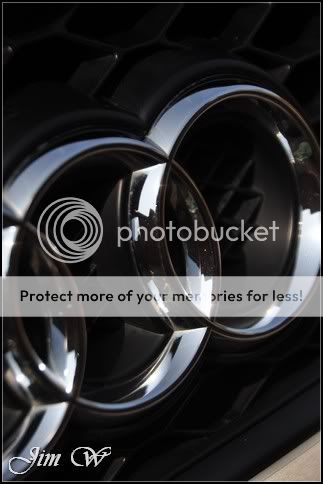
Inbetween coats of the sealant, interior and exterior glass was cleaned, alloys sealed, exhaust’s tidied, tyres dressed and exterior britework polished.


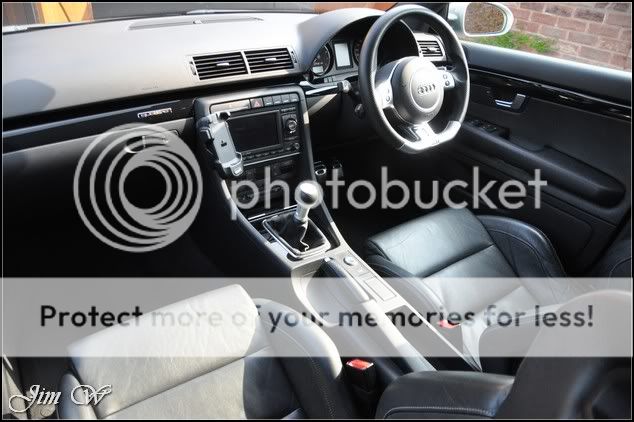
Interior was hoovered, plastics/console wiped down and leather was cleaned and re-hydrated.

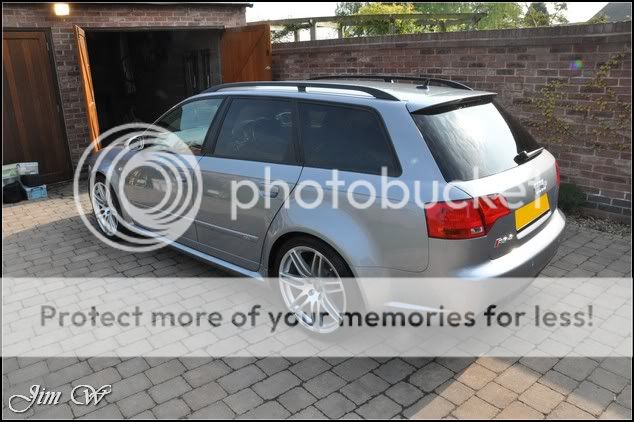
After shots.


Some 16 hours put into this one and I must say, I’m sporting a killer t-shirt tan!
Still my favourite car out there… If only the economy of my 1.9TDi wasn’t so important!
Thanks. Jim
Report is short and sweet, but, enjoy.
Audi RS4 Avant b7 in Avus Silver
Been on the books for a little while this one. I managed to meet the owner a couple of weeks back to cast my eye over the car and work out the best plan of attack.
An exterior Minor Paint Correction Detail with added interior and engine-bay work was agreed on and a date was set. A single-stage ‘minor’ correction focuses on light swirls and scratches; a polish combination tough enough to correct such defects but at the same time mild enough to give the refined and much desired ‘jewelled’ look.
Product
3M Glass Cleaner
3M Ultra fina
AutoSmart G101
AutoSmart Tardis
AutoSmart Reglaze
AutoSmart Hazsafe
AutoGlym Vinyl & Rubber Care
AMDetails mild clay
Belgom ALU
Bilt Hamber Autofoam
Chemical Guys JetSEAL109
Chemical Guys New Look Trim Gel
Dodo Juice Born To Be Mild
Jeffs Werkstat Prime
Jeffs Werkstat Jett Trigger
Iron-X
LTT Auto Ultra leather kit
Meguiars Super Degreaser
Menzerna 203s Power Finish
Menzerna 85RD 3.02 Intensive Polish
Before:
After:
.
Inspection.
Vehicle doesn’t get driven much but in this instance, it was left especially grubby just for me!
Overall, it looks to be a well cared for example. A bit soiled on the edges (door shuts, engine bay, wheels etc) but in all, a clean car.
First up was the engine bay (all 4.2 V8 of it)
The underside of the bonnet and the rest of the bay was soaked in Megs Super Degreaser and allowed to soak for a minute before light agitation. Rinsing at low pressure, the vehicle was left to idle to assist the drying out process.
Later, once dried, all britework was polished with Jeffs Prime by hand (carbon fibre and metal work) and plastics/hoses/rubber dressed.
Wheels. Starting off by degreasing the tyre walls with Megs Super Degreaser. Megs Wheel Brightener used for the inner rim and then AutoSmart G101 for the alloy facing and wheel arches. Agitated with a selection of brushes and mits.
With the wheels rinsed down, Iron-X was used to help shift some of the more stubborn build-up in the wheel crevices. Iron filings, brake dust etc…
AutoSmart Tardis used to remove tar deposits on the arch lips.
Before/After:
With the engine and wheels out the way, my focus turned to the door shuts and sills.
No after photos I’m afraid. Grubby all round – requiring multiple hits and finally some Tardis to help chew up some of stubborn grease.
Lower half of the RS was soaked with AS Hazsafe and allowed to dwell. Bilt Hamber’s Autofoam applied soon after to help lift surface dirt prior to physical contact with the paintwork…
Once rinsed, heh, we had a pretty clean car!!
With the two-bucket (one wash, one rinse) system in place, Dodo’s Born To Be Mild shampoo used alongside a Merino washmit.
After safely removing all traffic film, it was time to remove surface contaminants
AutoSmart Tardis applied from the glass down…
Deposits removed and vehicle re-rinsed to shift residues.
AMDetails’ mild clay bar used to pick up other surface contaminants.
Not much pick-up to be seen other than small tar deposits from the rear window.
Dried with an ‘uber plush fat fluffy’ deep-pile drying towel and the Black Baron Vehicle Dryer leaving the car the bone dry.
.
Once inside, the lights were rigged up and paint conditions checked.
Before purchasing the car, the owner was aware that the N/S rear quarter had seen paint due to a 5mph car park bump… Turns out, at the time of the repair, the complete N/S was blown over resulting in high thickness readings throughout.
A few bodyshop niggles and areas with overspray were found but nothing that our Minor Correction wouldn’t fix.
Overspray:
Initial polish and pad combinations were good but felt I could push a little more… The paint was rock hard after all… Using a yellow 3M polishing pad, I settled on Menzerna 85RD 3.02 Intensive Polish with a blob of 3M Ultra Fina to help extend the polishing set.
Correction was good, >70% from the single-pass.
Before:
After:
Before:
After:
Before using the LED brinkman:
After
The beauty of Avus Silver (and, one of the reasons why we settled on a Minor Paint Correction as opposed to a Major) is the remaining deep marks are extremely difficult to spot in everyday light conditions. 95%+ correction is of course possible, just, it requires much more time.
N/S front door lower – before:
And after:
N/S complete.
Rear lights before/after (menz 203s on a white Hexlogic polishing pad)
With the O/S, the roof line, bumpers and boot-lid complete, the car was brought back outside for a quick rinse.
Dried down with the ‘uber plush fat fluffy’ drying towel and Black Baron drier and then wiped with Isopropyl alcohol (IPA) to remove any remaining polishing oils.
For protection, based on the vehicles colour and ease of use for future maintenance for my customers, I chose Jeffs Werkstat Jett Trigger. Delivering razor sharp clarity and mirror-like reflections (which can sometimes be lost on lighter coloured cars when using a carnauba wax)
Inbetween coats of the sealant, interior and exterior glass was cleaned, alloys sealed, exhaust’s tidied, tyres dressed and exterior britework polished.
Interior was hoovered, plastics/console wiped down and leather was cleaned and re-hydrated.
After shots.
Some 16 hours put into this one and I must say, I’m sporting a killer t-shirt tan!
Still my favourite car out there… If only the economy of my 1.9TDi wasn’t so important!
Thanks. Jim