DIY to replace both exhaust downpipe flexi’s
Posted: Fri Feb 10, 2017 6:32 pm
DIY to replace both exhaust downpipe flexi’s
Hello all. Just did this job to my car after suffering both front flexi’s failing simultaneously. My car has Milltek downpipes, but the replacement of the flexi’s would be very similar with the standard downpipes too. Also, not sure if this is really a DIY for everyone as it definitely requires a ramp, a transmission jack and a welder; but it is a pretty straightforward job. The only issues were the difficulty of cutting and grinding off the old flexi pipes, and then doing a neat job of welding the new ones on. Anyway, here goes:
Lift car off the ground.
Take both front wheels off.
Take the engine under tray off.
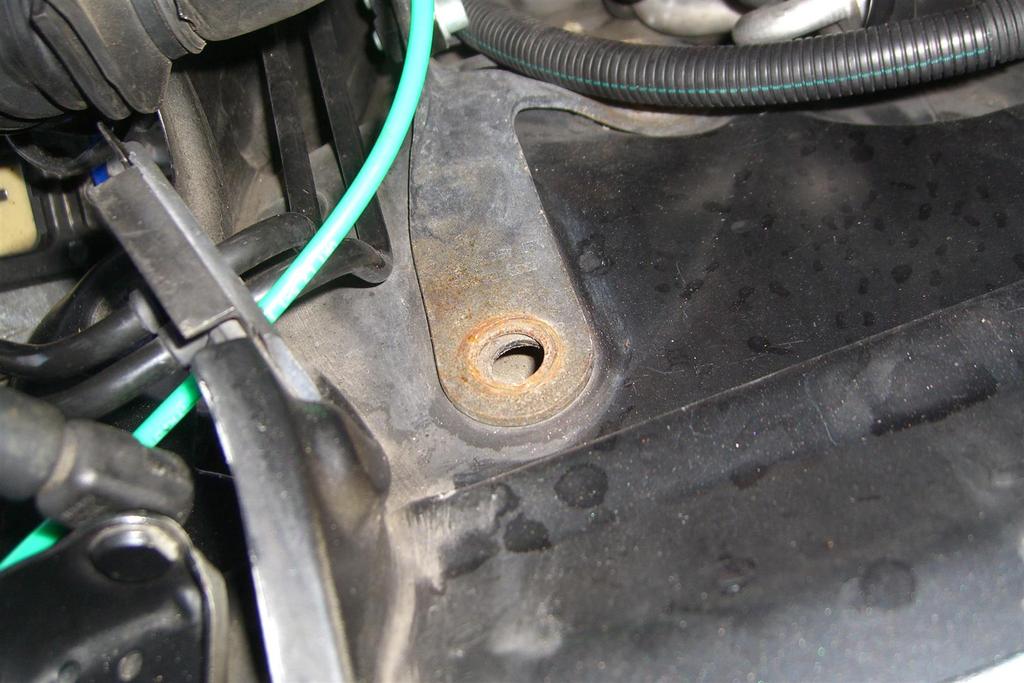
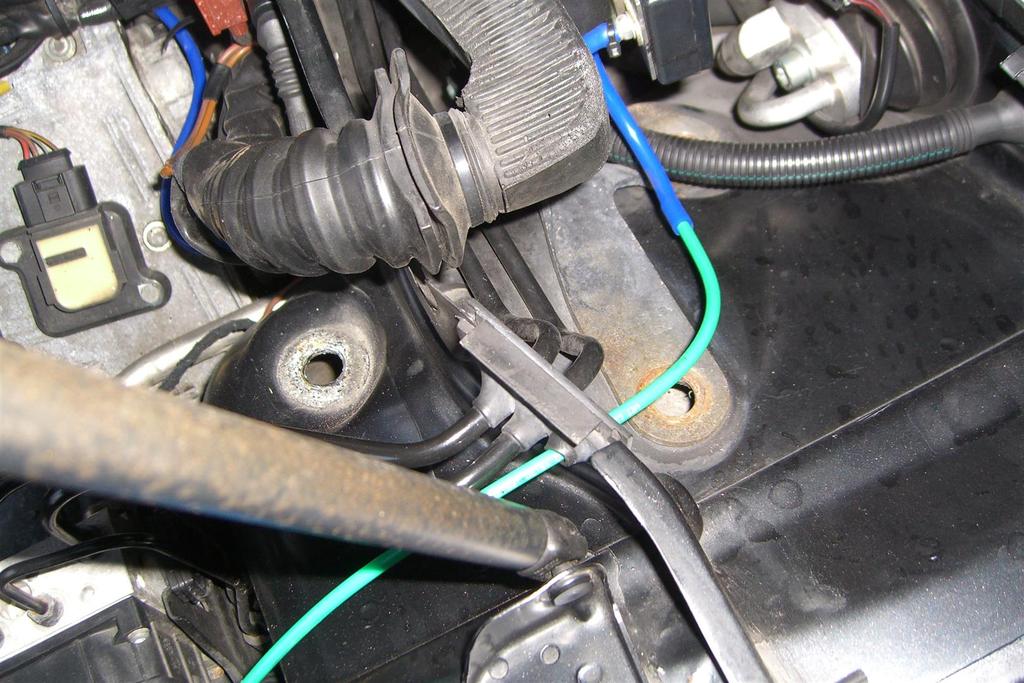
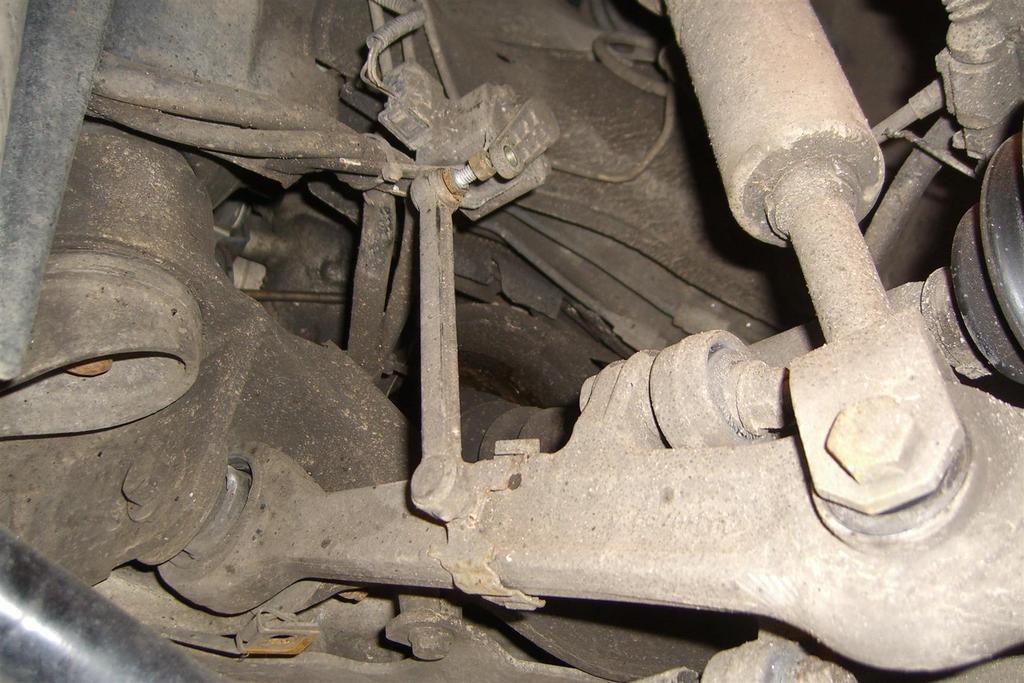
Disconnect the suspension height sensor on the passenger side.
Lower the car.
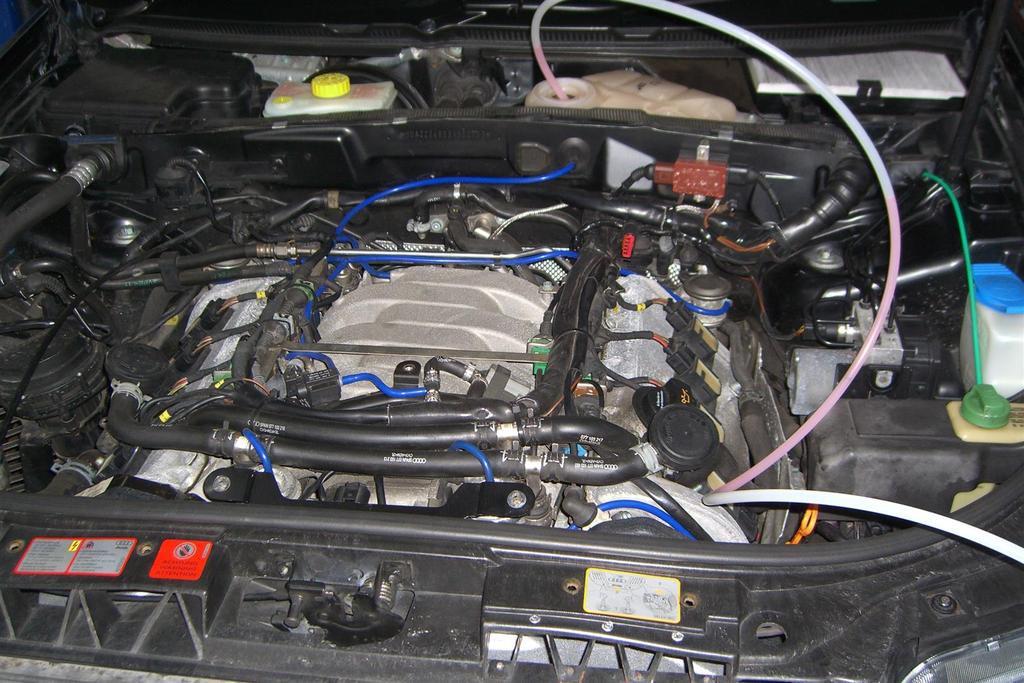
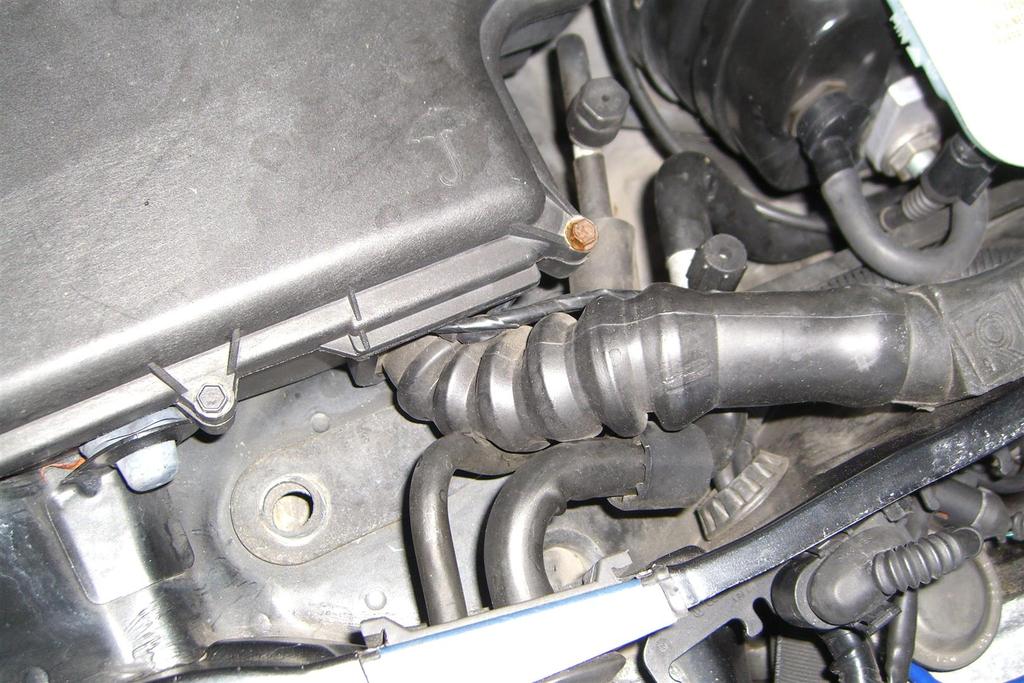
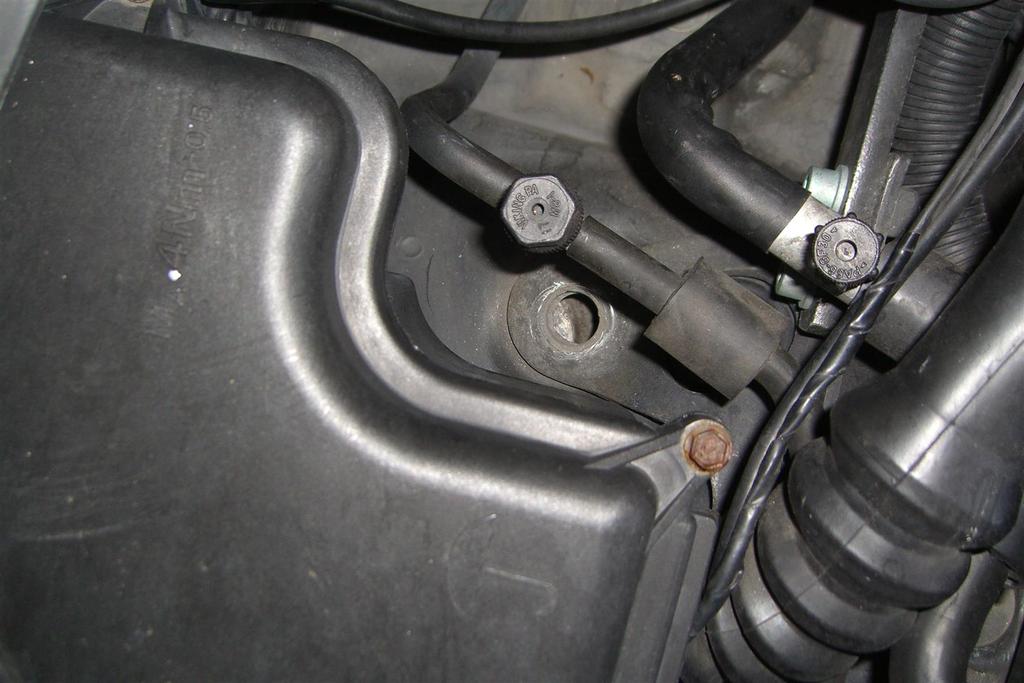
Take the air filter housing off and plug the intake holes with rags.
Unbolt the 3 bolts that hold the suspension strut to the car on each side.
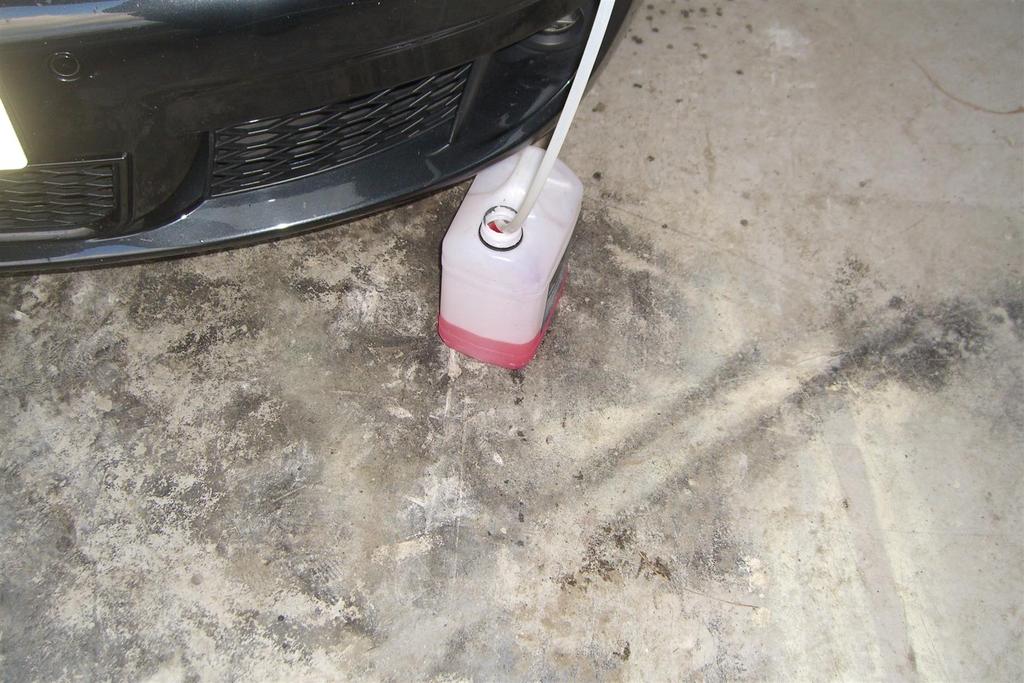
Siphon the coolant from the header tank.
At the back of the engine the 2 coolant pipes that go to the heater matrix need to be disconnected as the engine will be dropped 2-3 inches. About ½ a litre of coolant will be lost when opening these pipes.
With all of the above done, raise the car again.
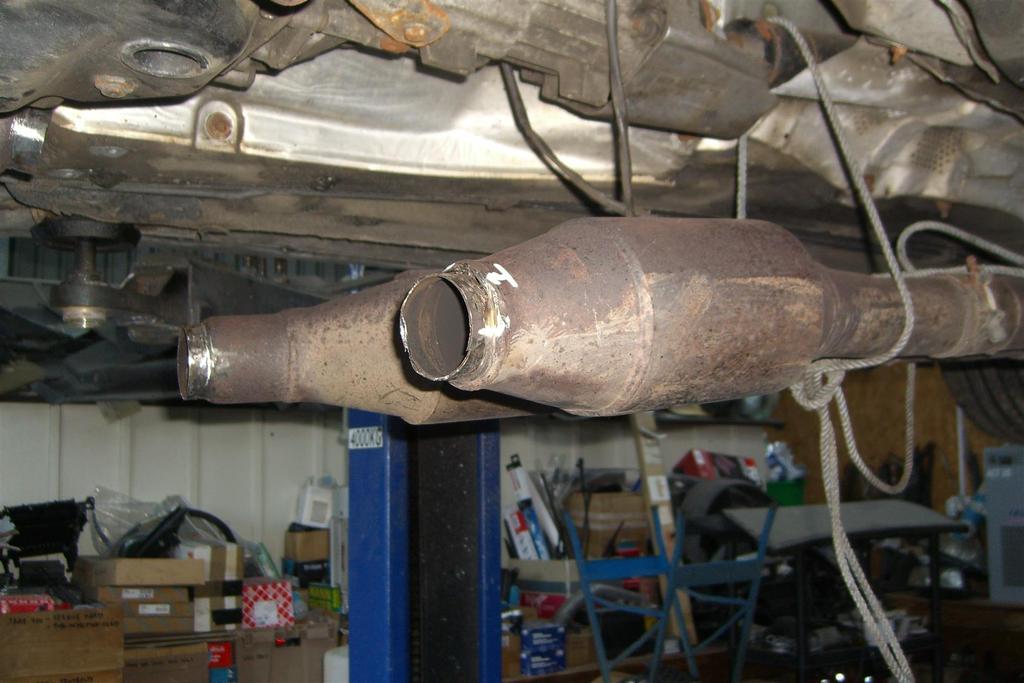
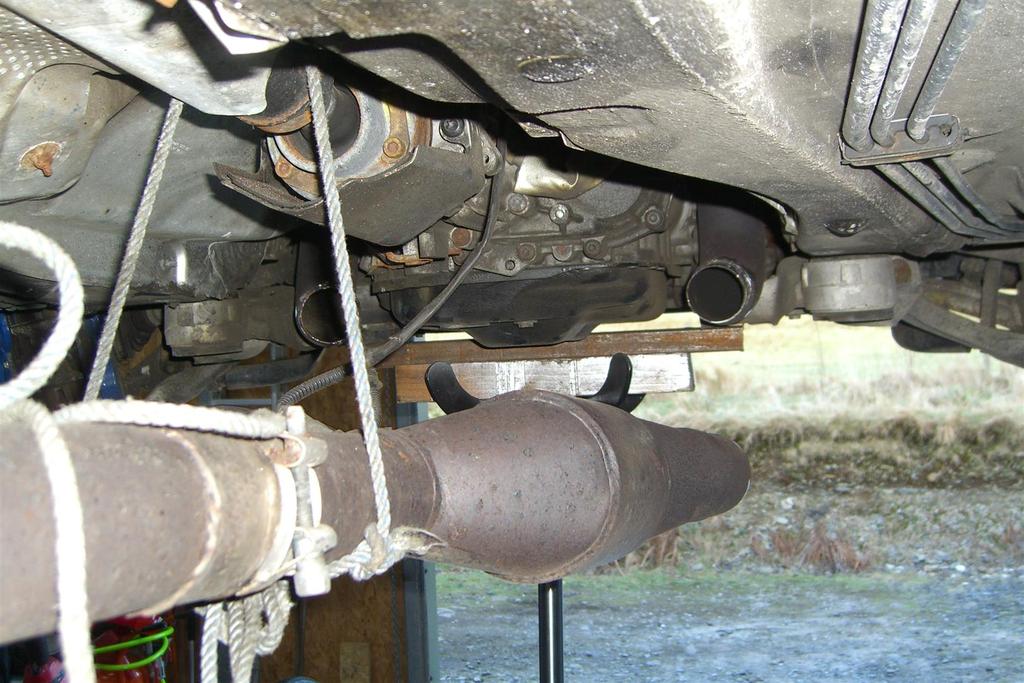
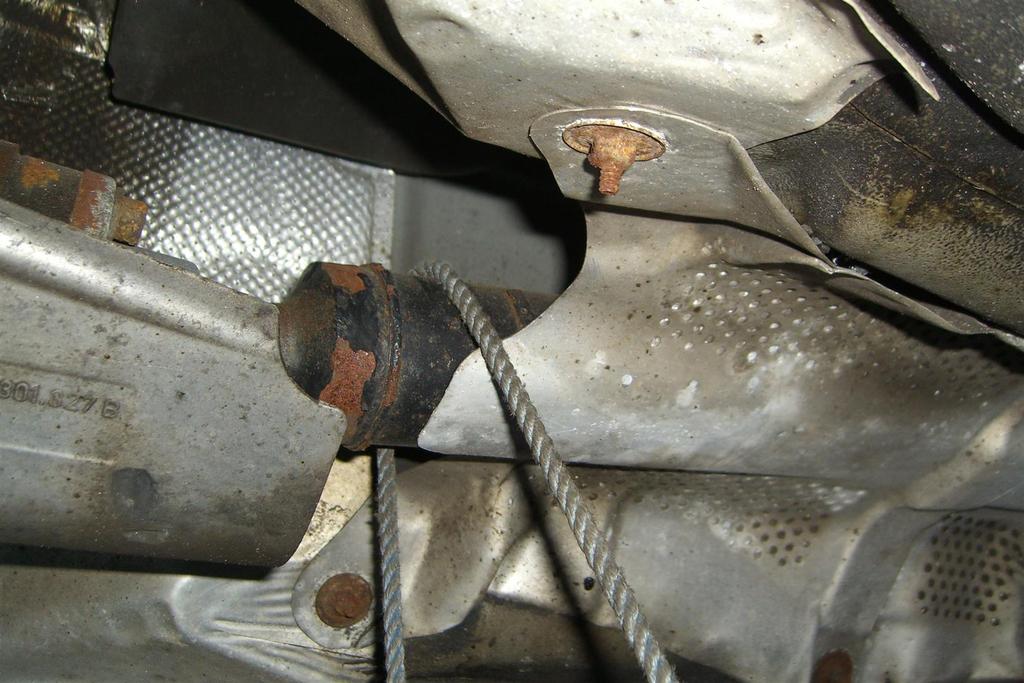
Optionally (and preferably) at this stage the entire rear cat back section of the exhaust can be removed (personally I left it on) but this required a lot of faffing about with ropes to secure the exhaust after I had dropped it from its rubber mounts.
Also of note, at this point, I had considered removing the downpipes from the car completely, but I was unable to free the rear oxygen sensors from after the main cats, so decided to do all work in situ.
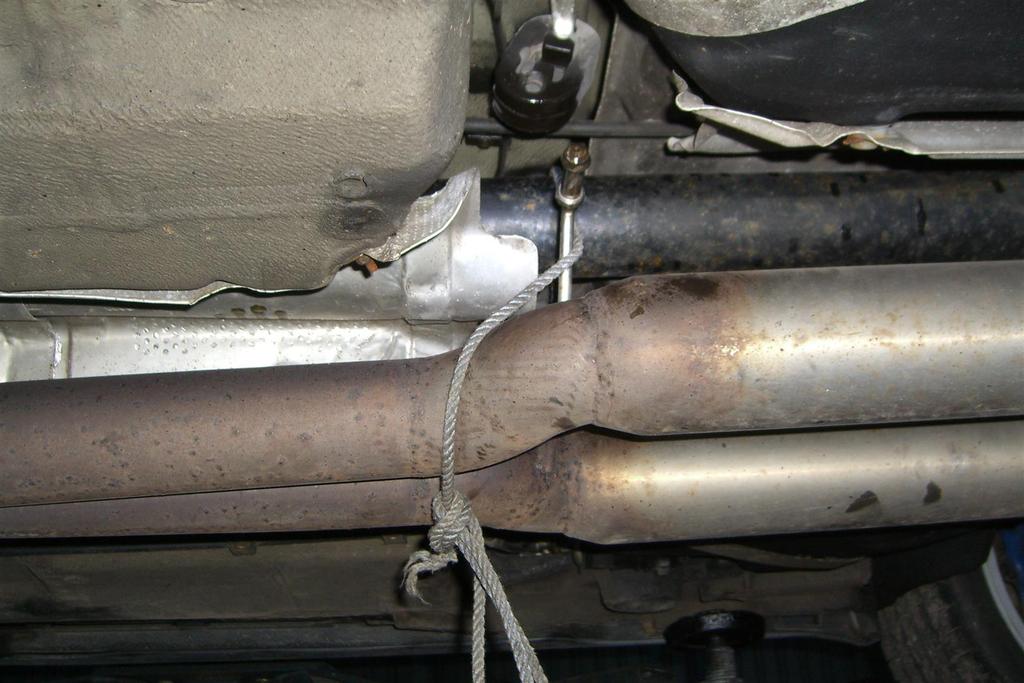
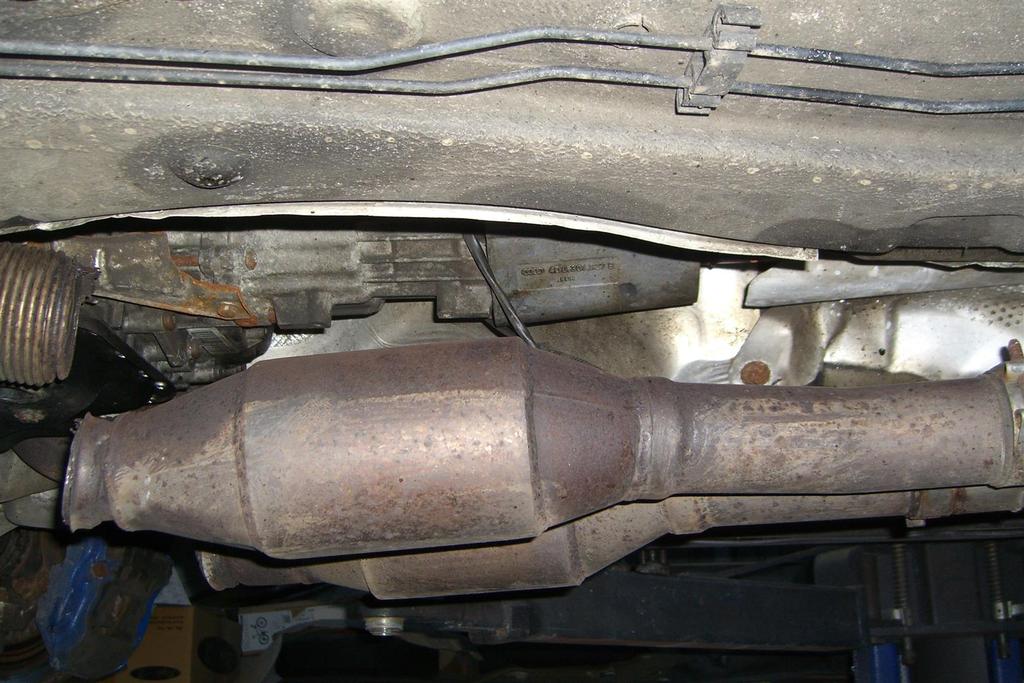
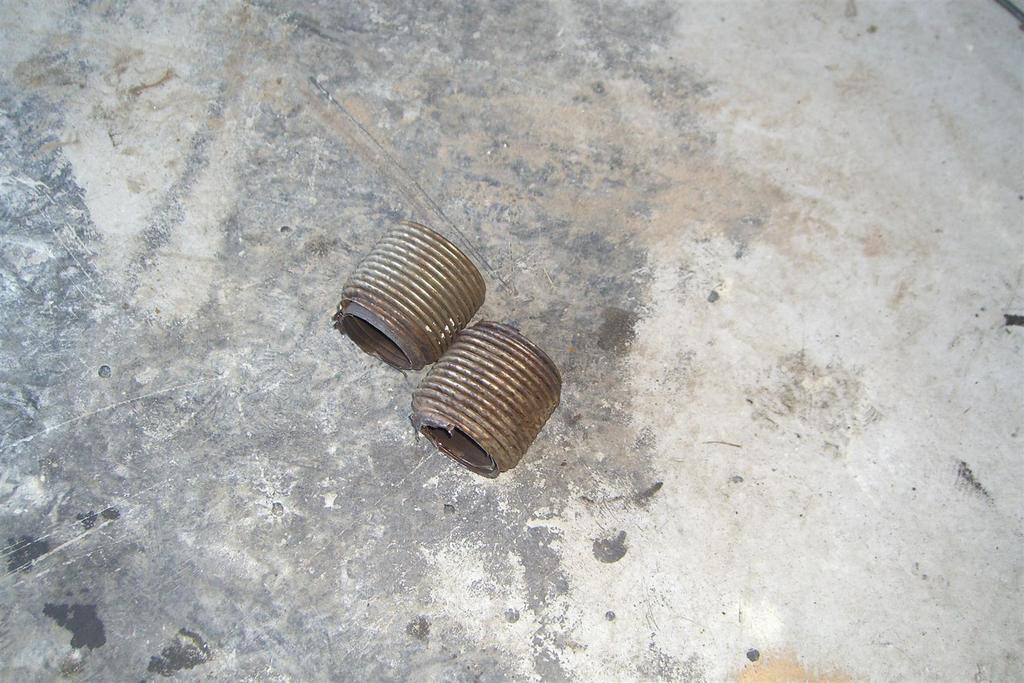
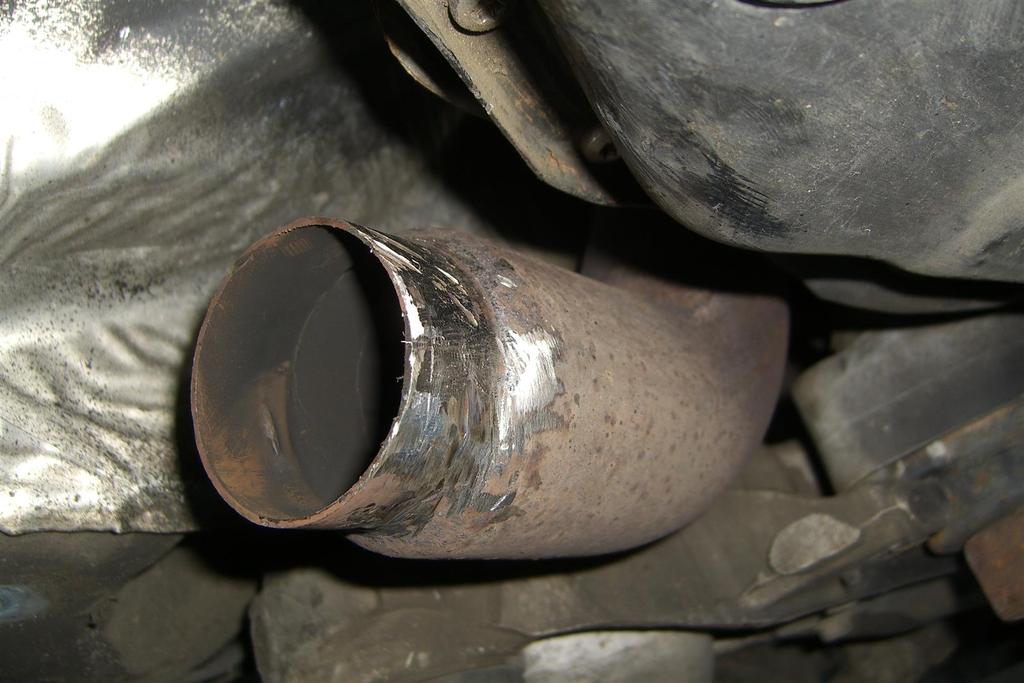
As both of my flexi’s were virtually severed I cut through the remaining metal which separated the exhaust from front to rear.
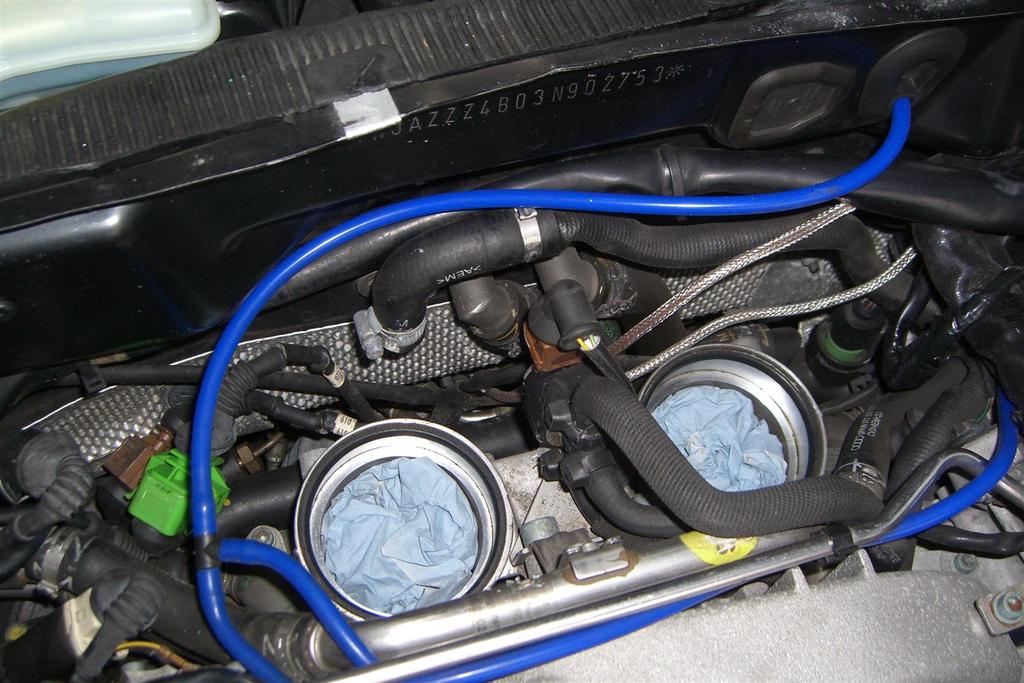
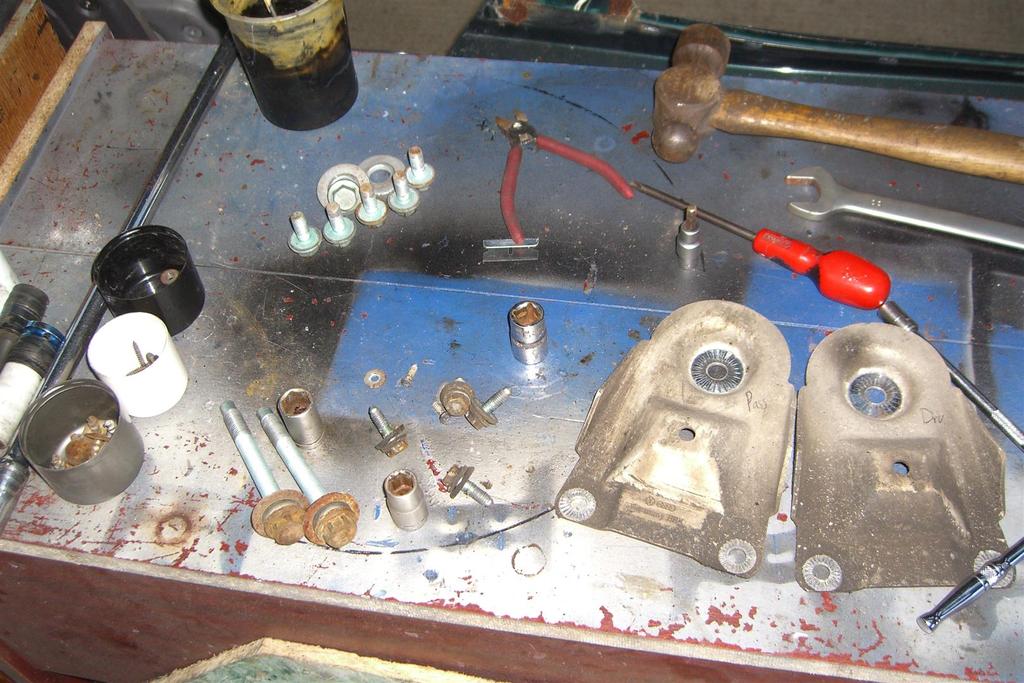
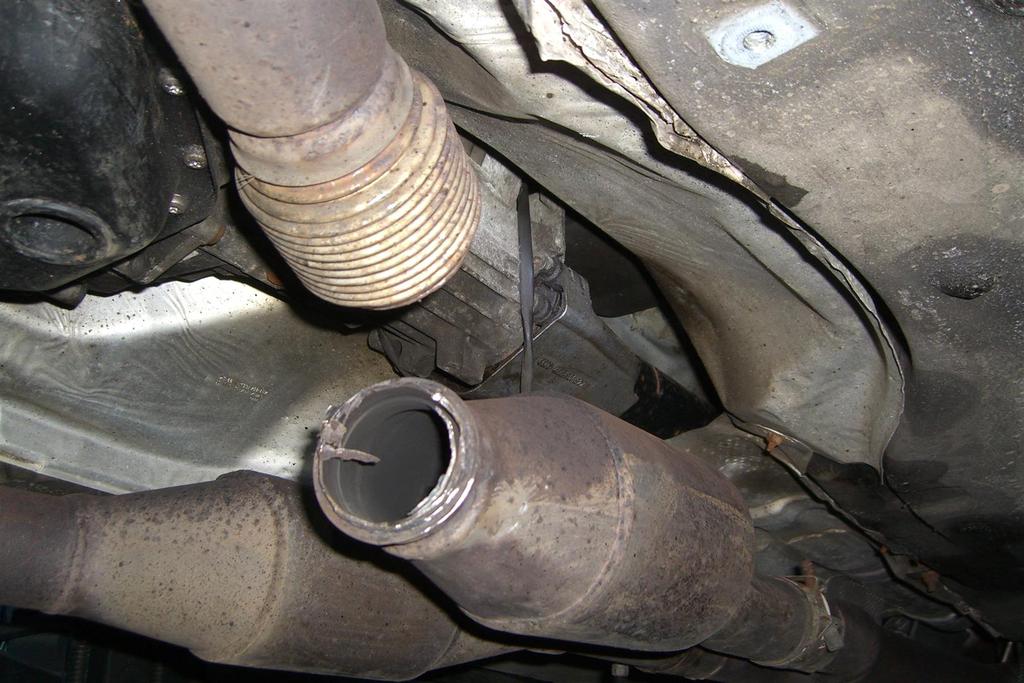
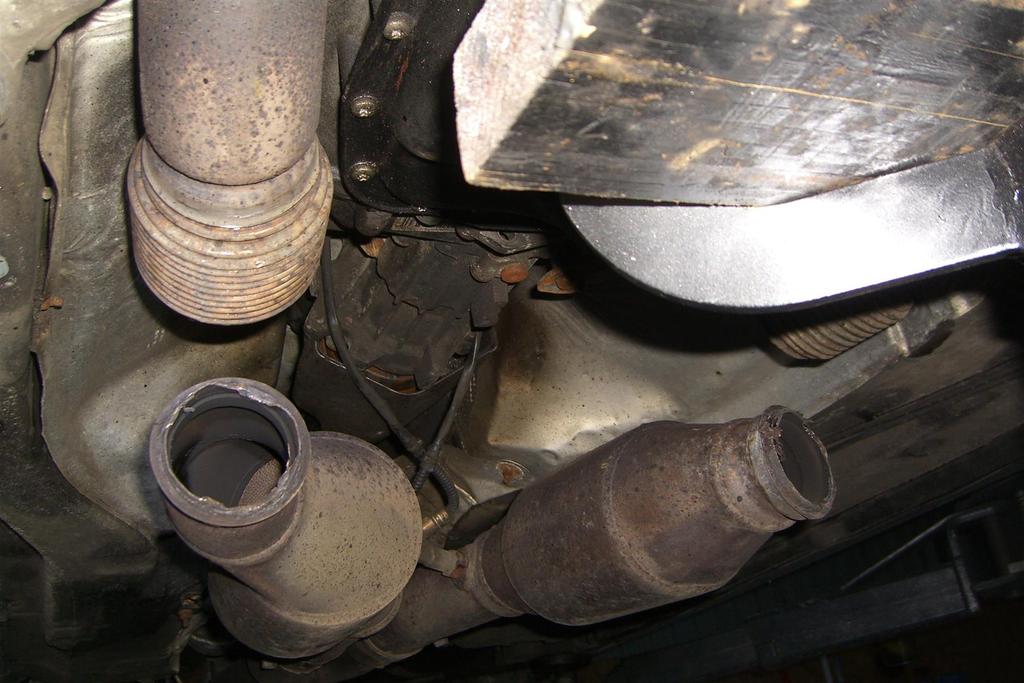
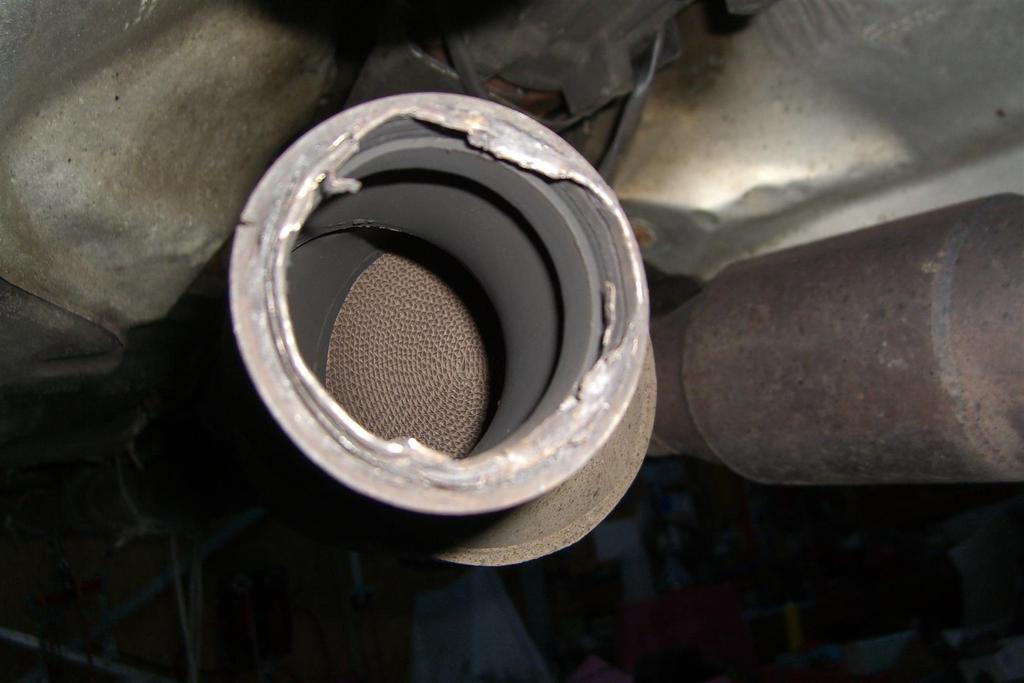
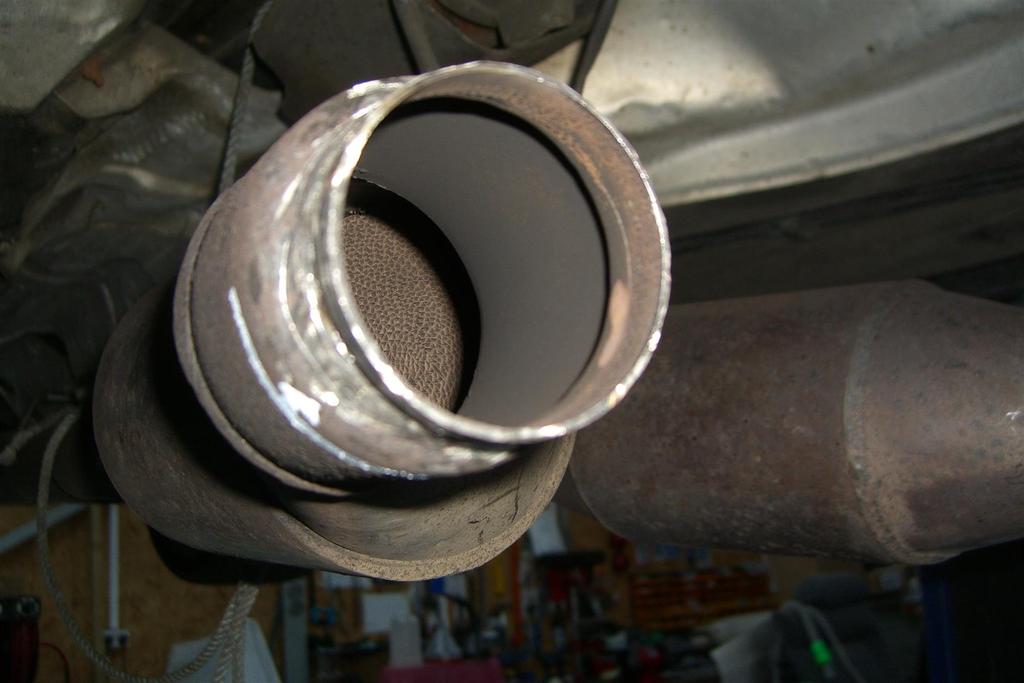
With the pipes cut the (not) fun part of the job of cutting and grinding the old flexi’s from the exhaust began. I used 2 x 4” grinders, one with a cutting disc and one with a grinding I disc. I also used a die grinder connected to my compressor to do the final cleaning. This is a horrible job and needs full PPE including a face mask. I reckon I had all 4 pipe ends cleaned in about 1 hour, but it was a long hour!!
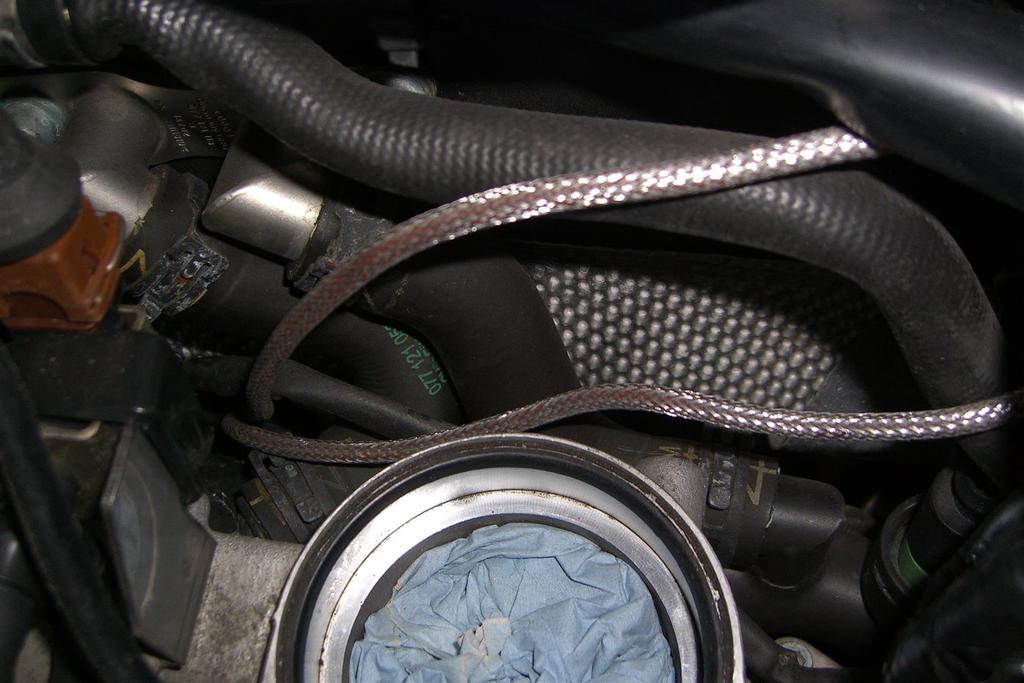
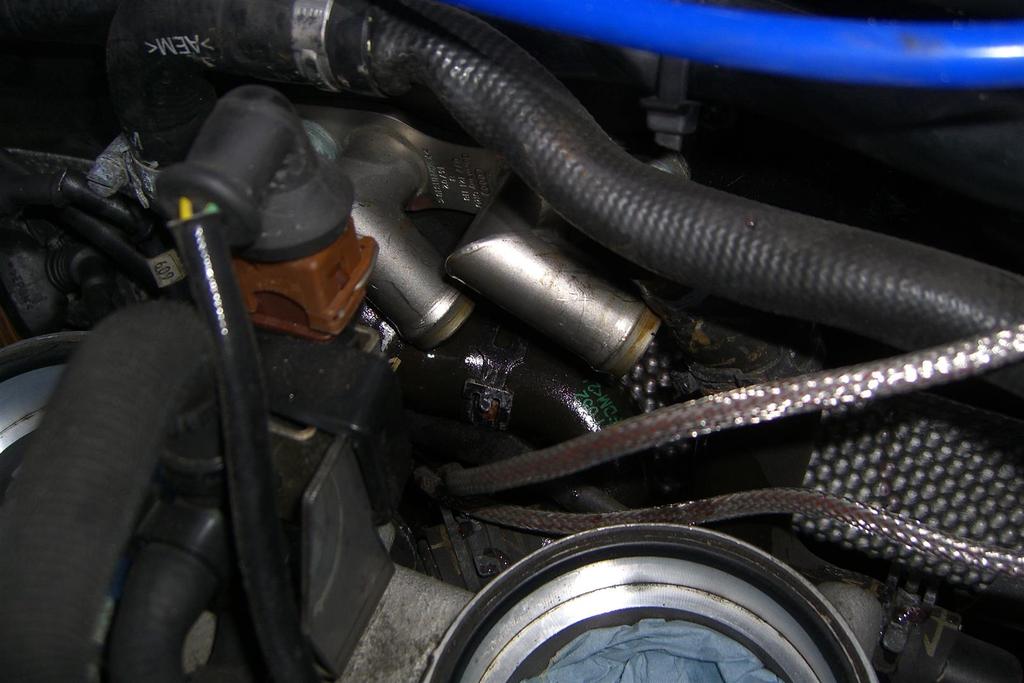
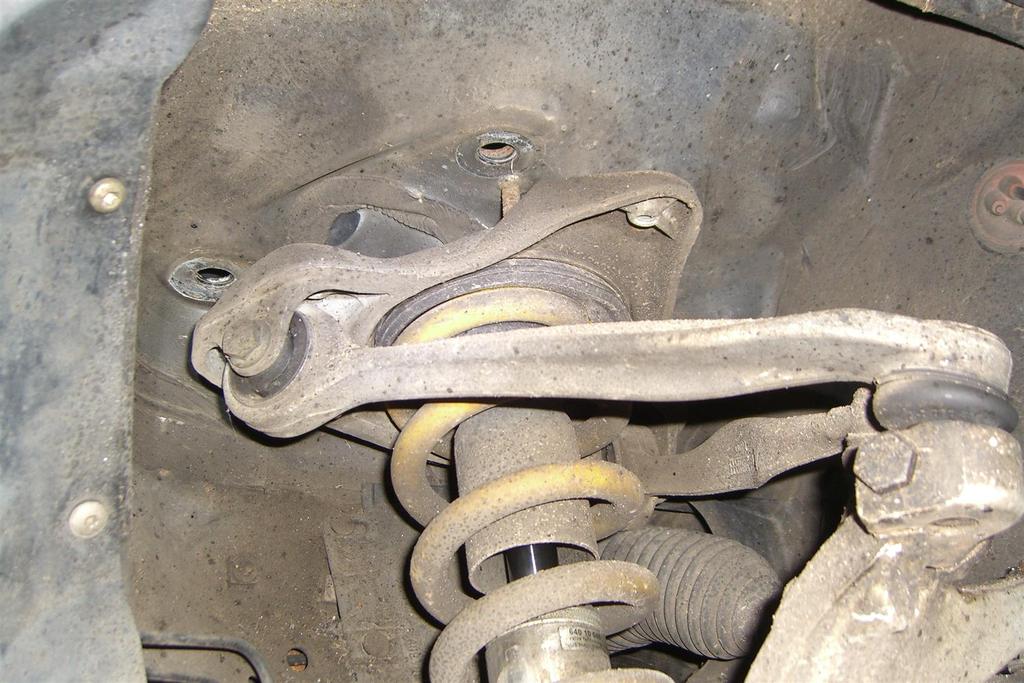
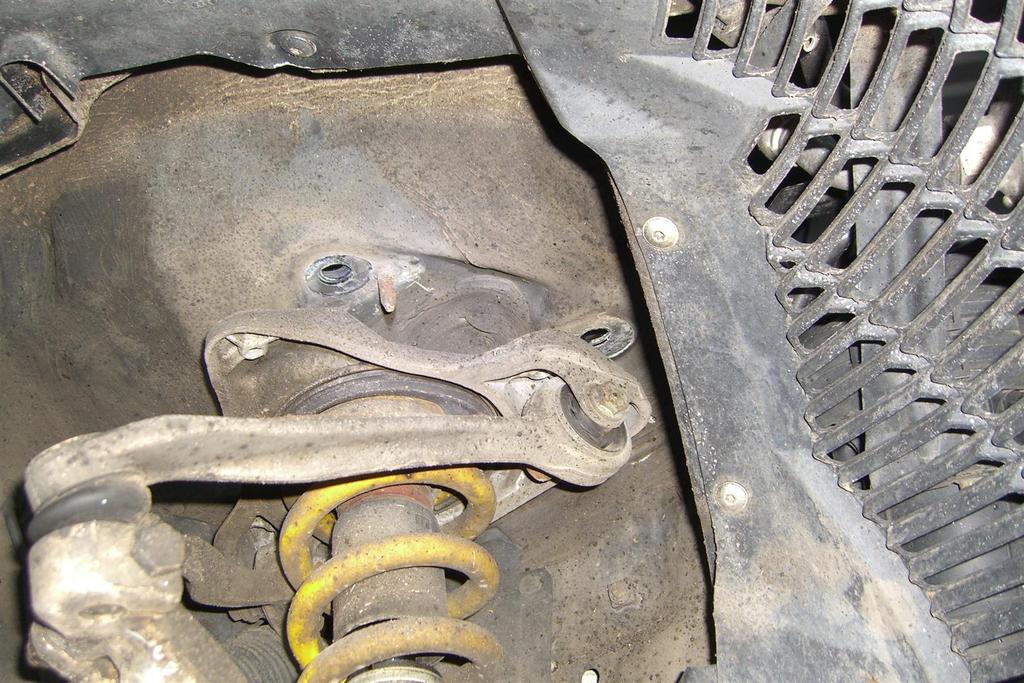
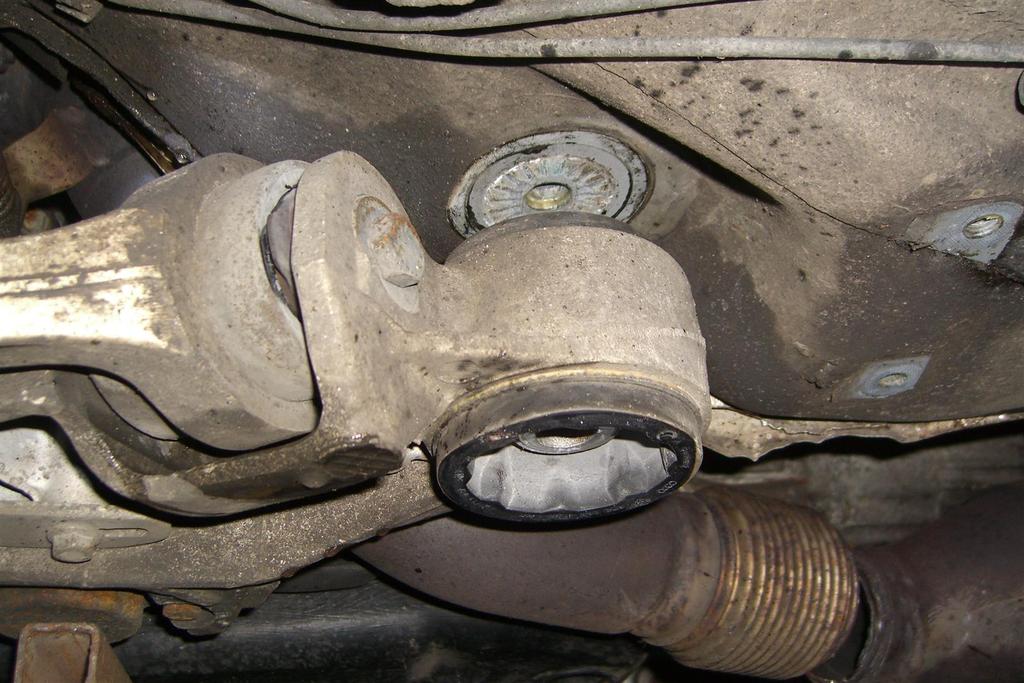
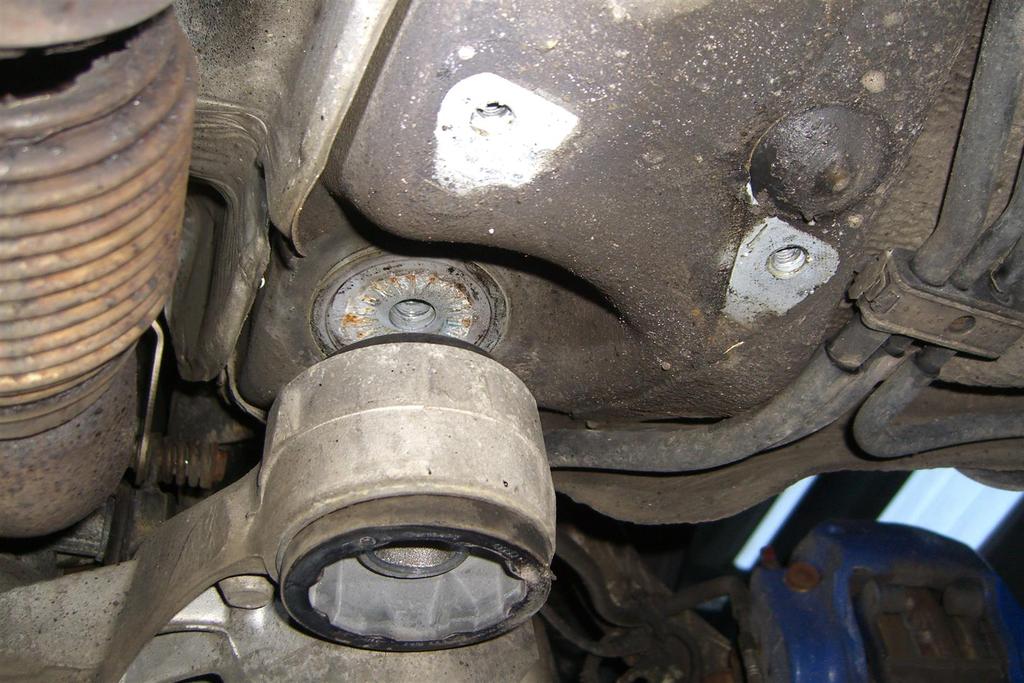
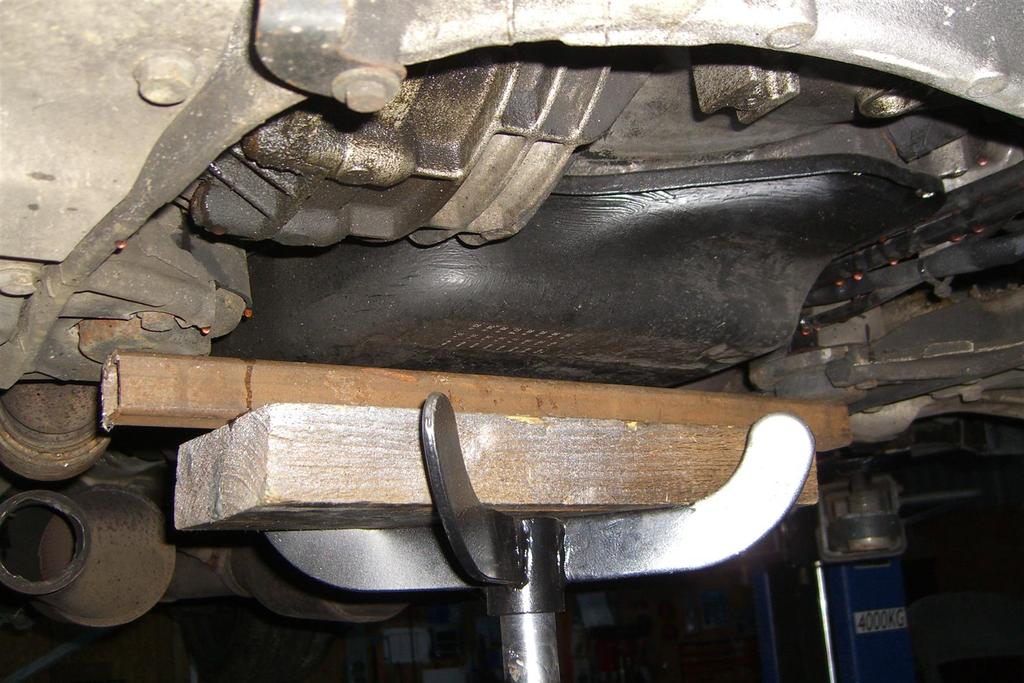
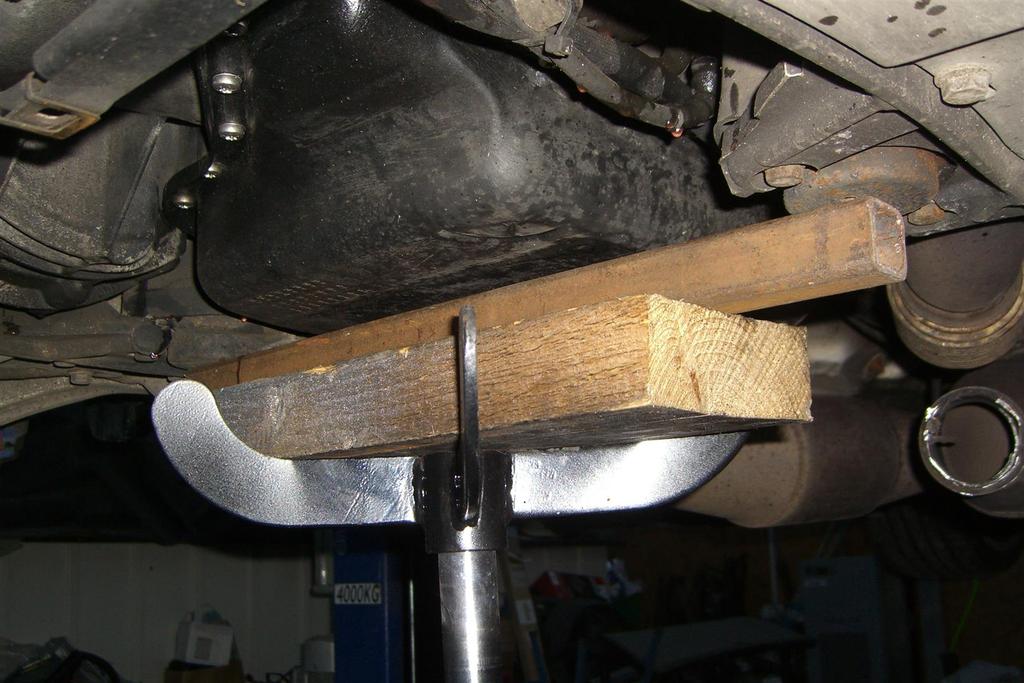
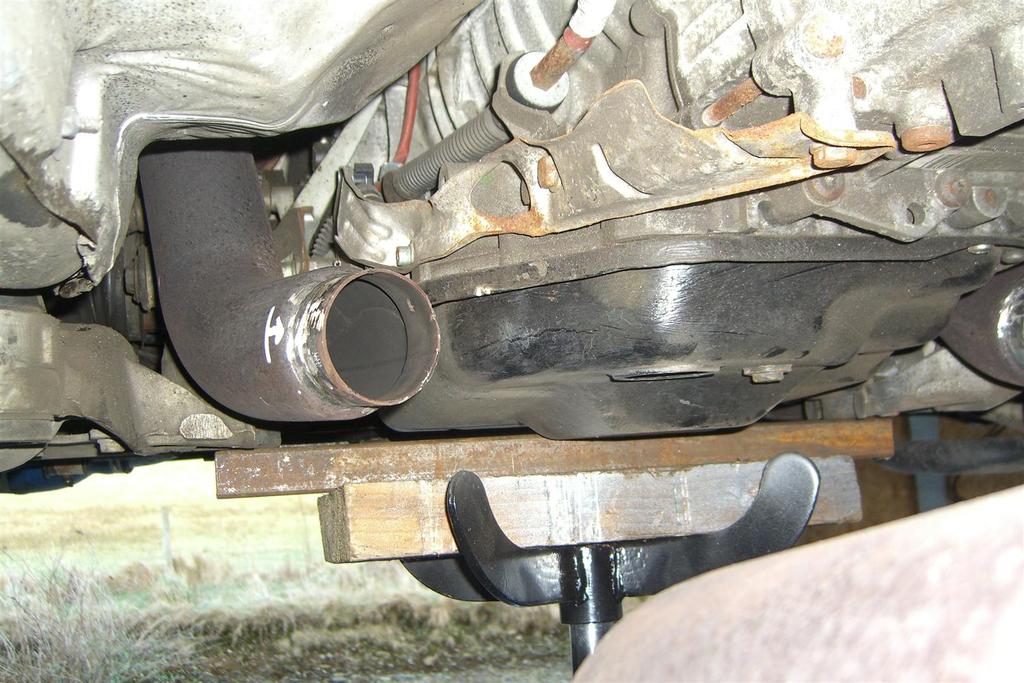
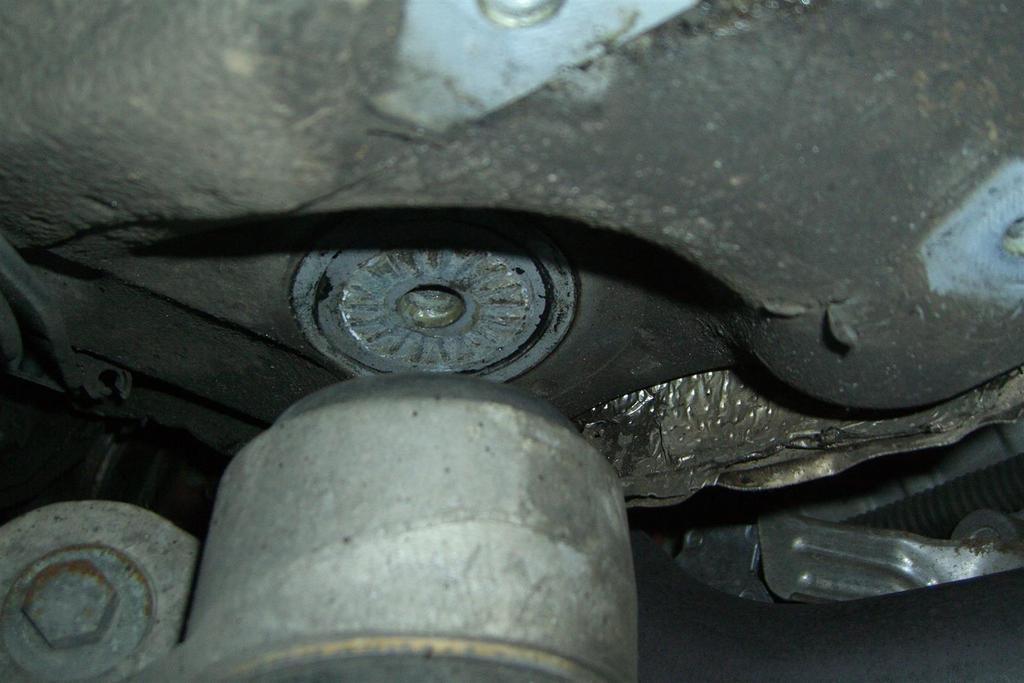
During the above ‘cleaning’ you need to lower the subframe at the rear to give adequate access to the top of the front part of the downpipes.
To lower the subframe, you need to firstly take the weight of the engine and box on your transmission jack (my one has about a 6ft height on it, so easy to adjust to a comfortable position) – I positioned the load bearing points at the bottom of the gearbox mounts and this worked well. Next loosen the 2 forward subframe bolts (18mm socket). I loosened these about 5mm each. Finally remove the 2 small bolts (13mm socket) from the rear subframe mounts and then remove the large rear subframe bolts entirely. Great care must be taken during this stage as the load will shift from the subframe bolts on the transmission jack.
The subframe will need to be lowered and raised a few times during this job to give the required clearance for each task.
Without disconnecting the driveshaft you can lower the subframe about 2 inches, this gives enough room to do this job. If the downpipes were to be removed I imagine the driveshaft would need separated at the aft of the box and this would allow 2 or 3 more inches of drop.
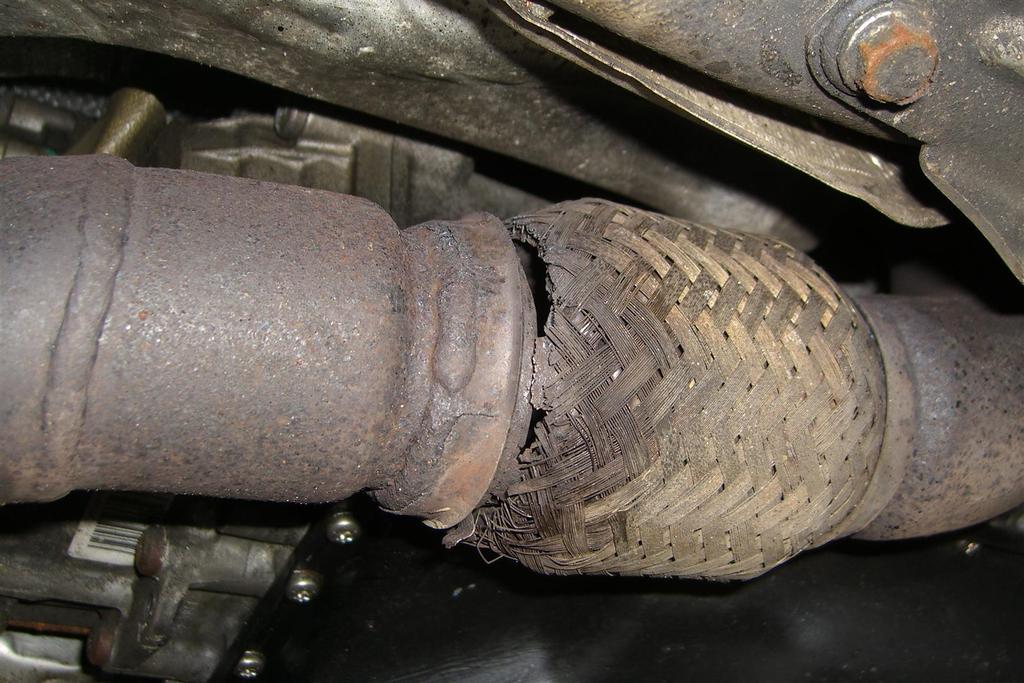
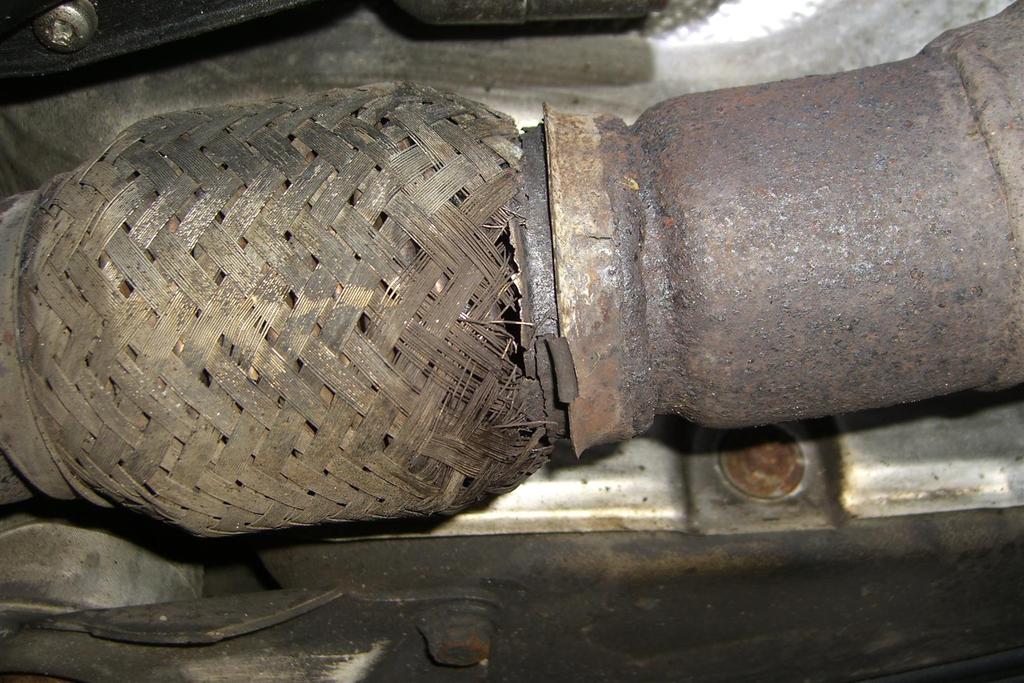
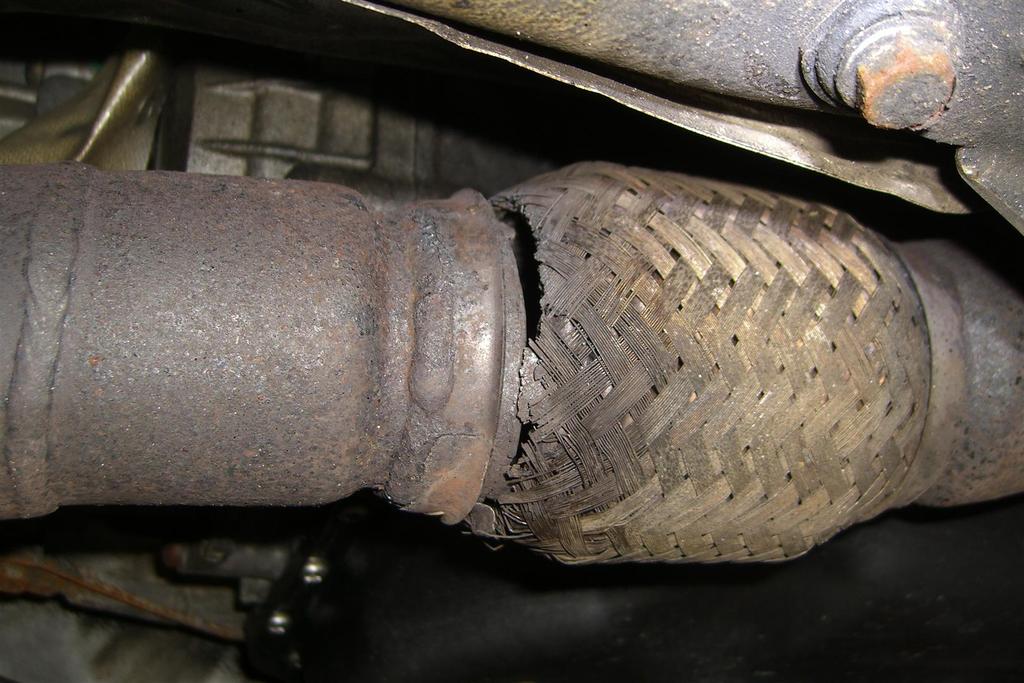
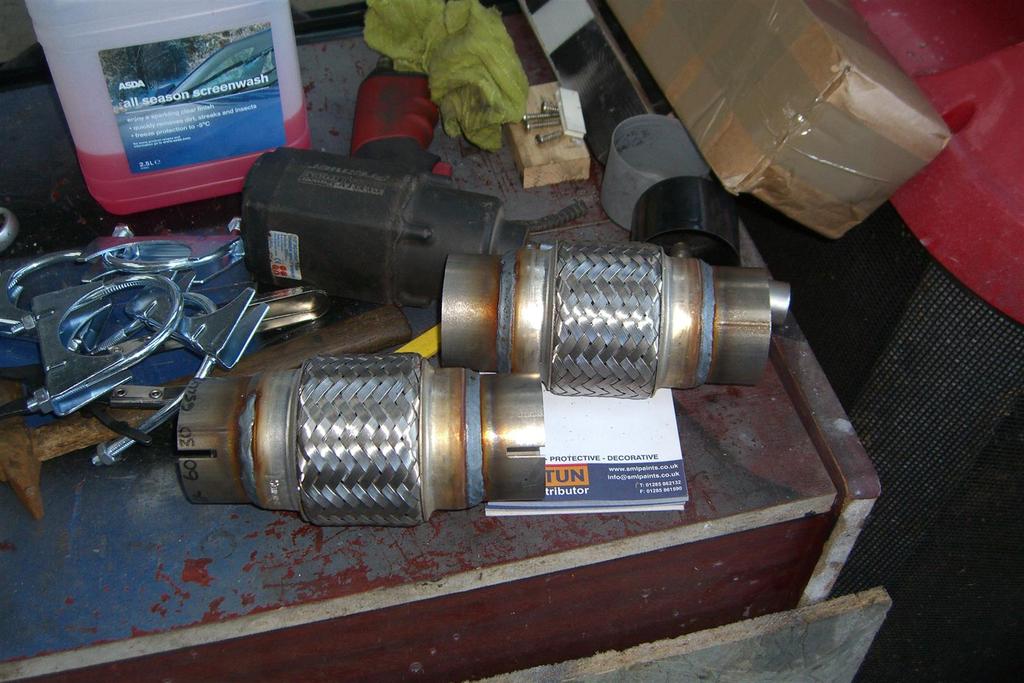
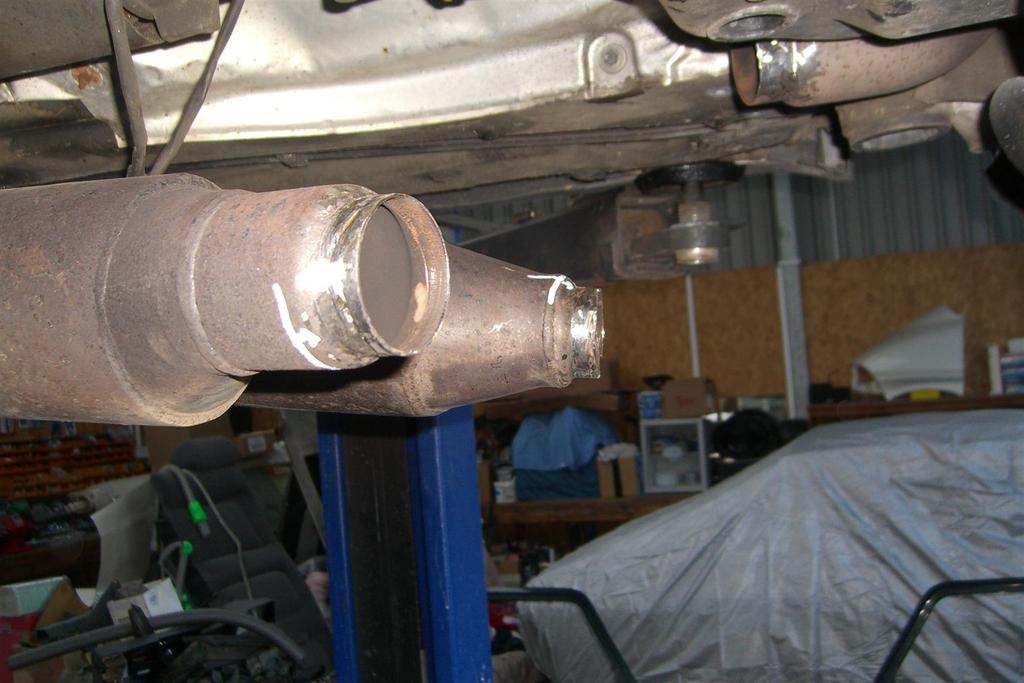
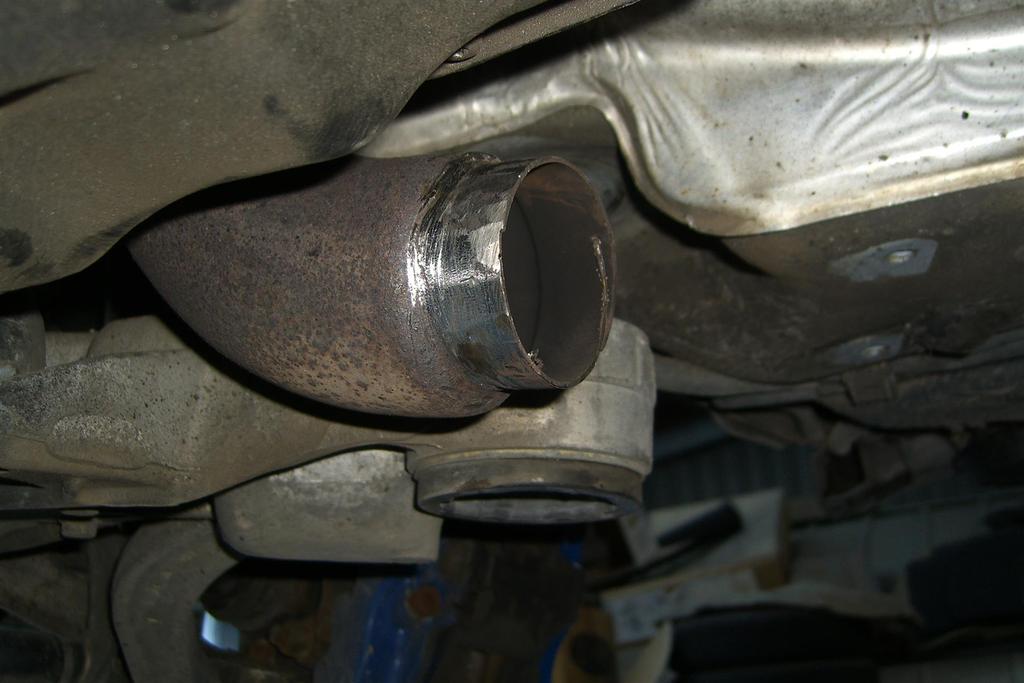
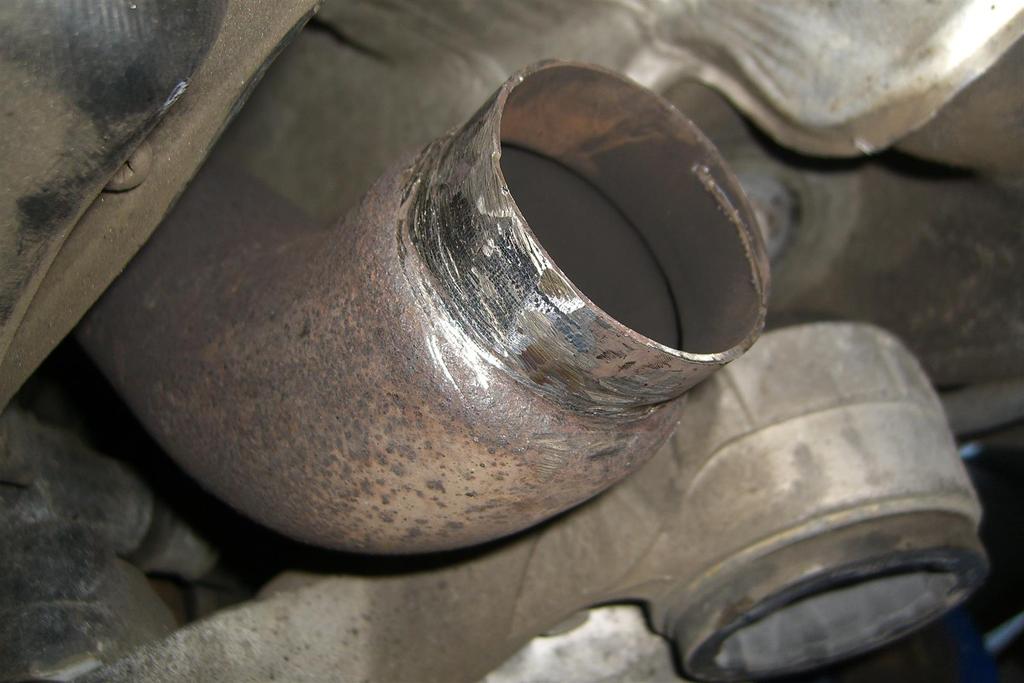
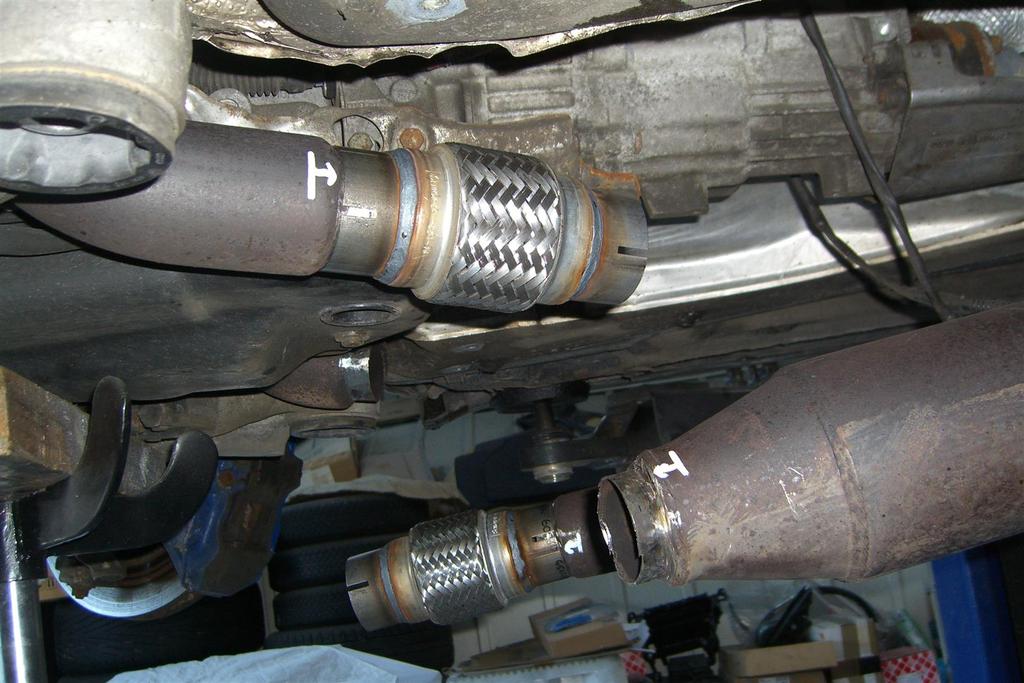
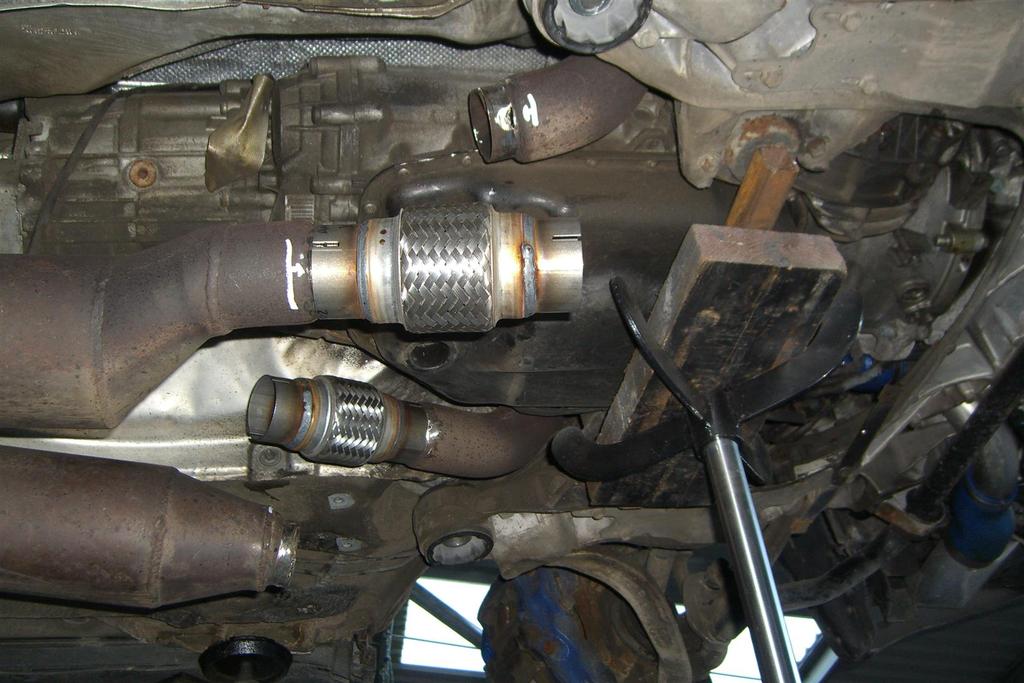
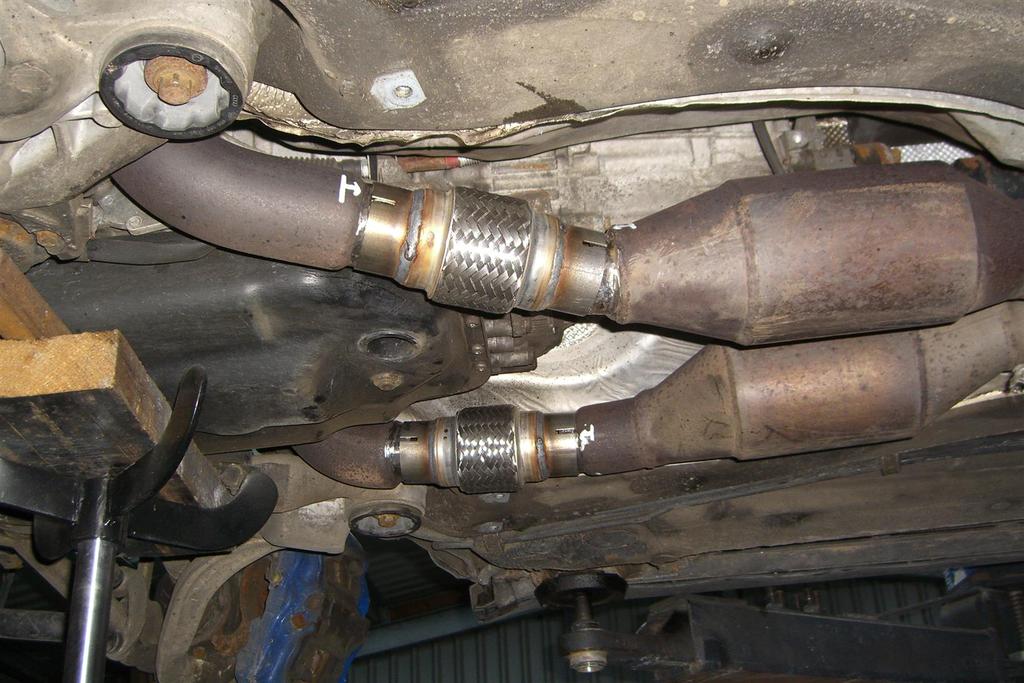
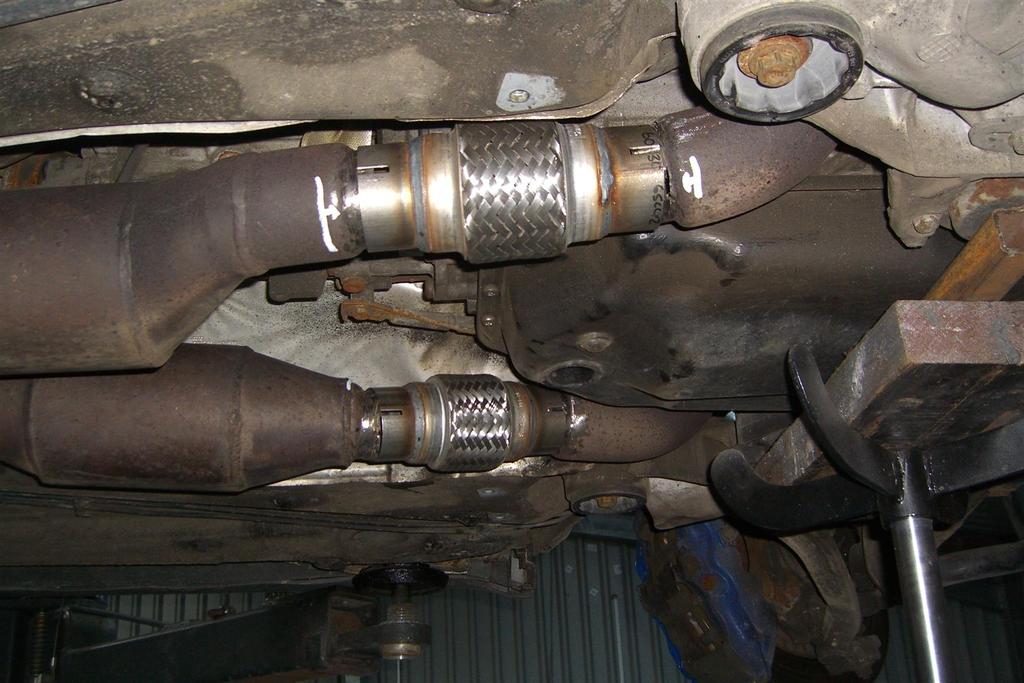
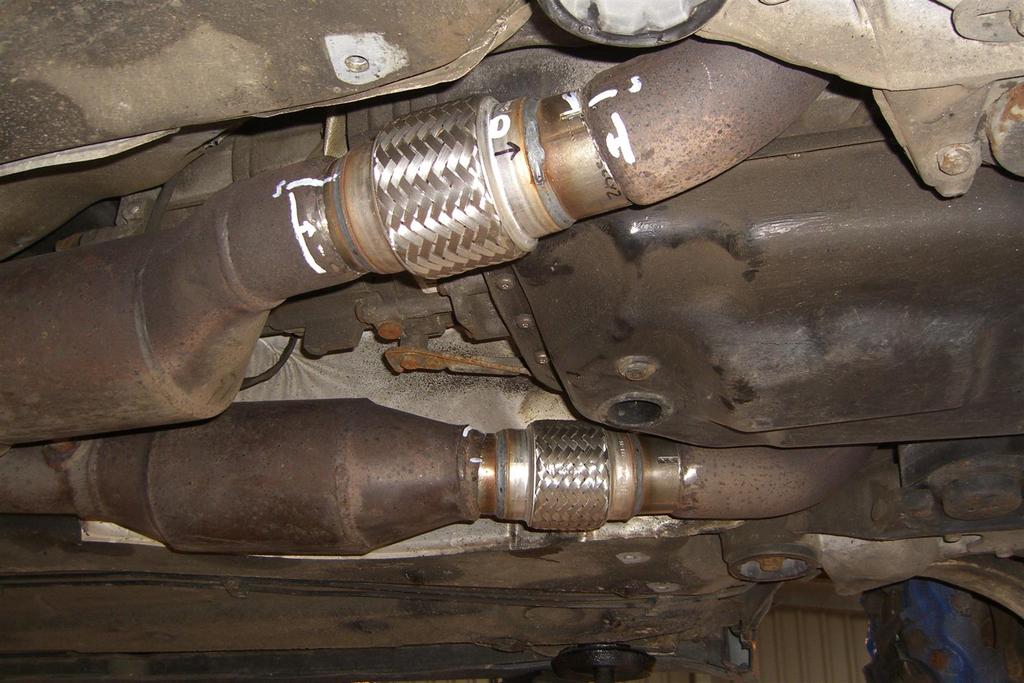
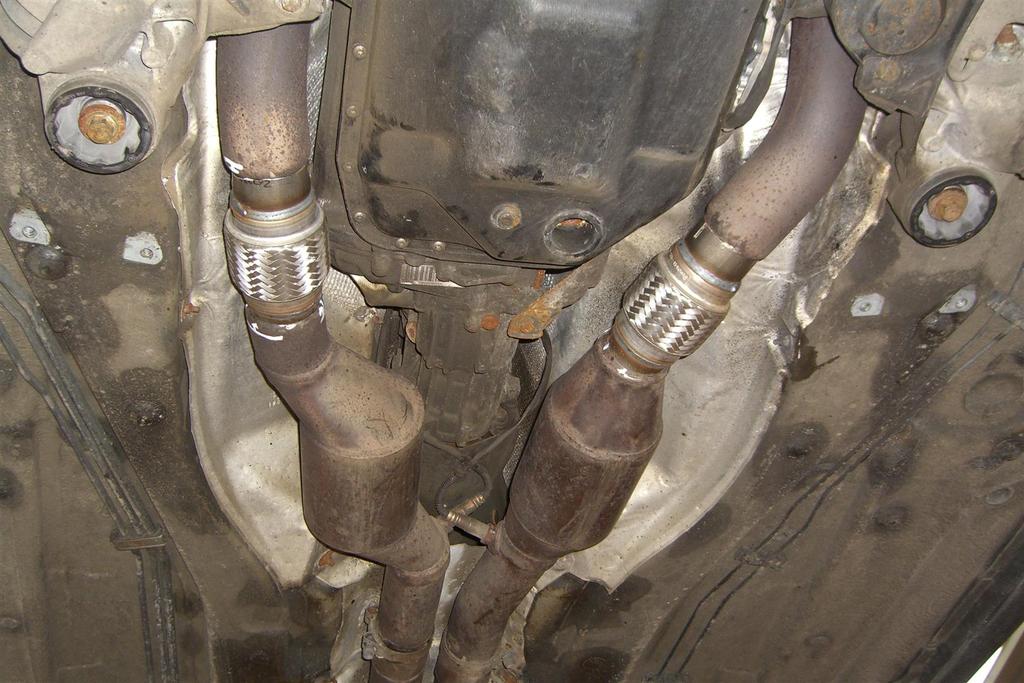
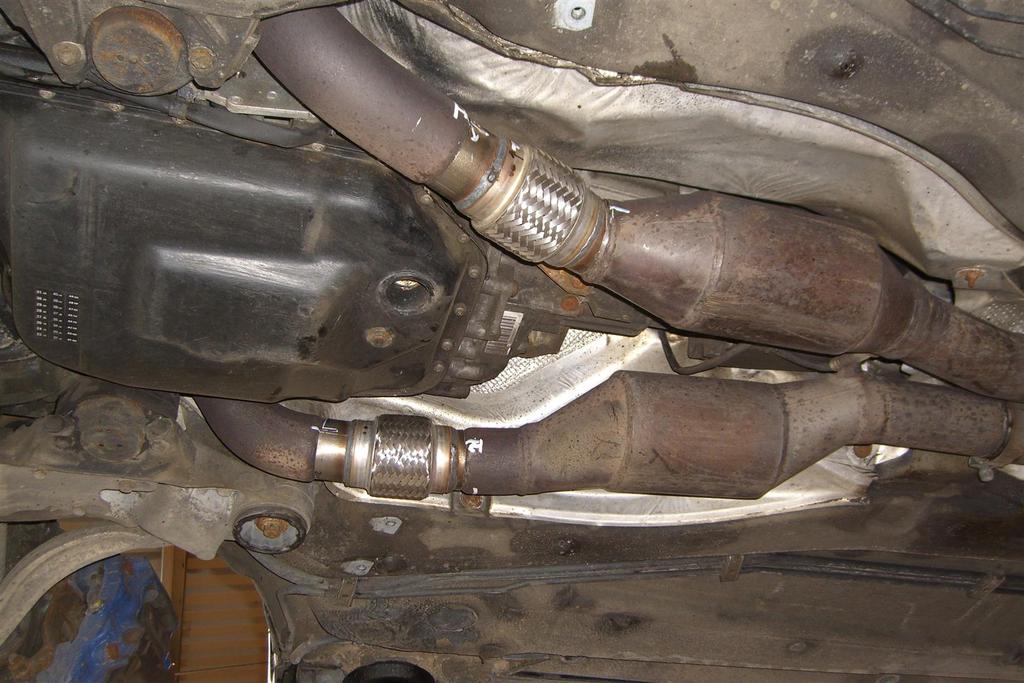
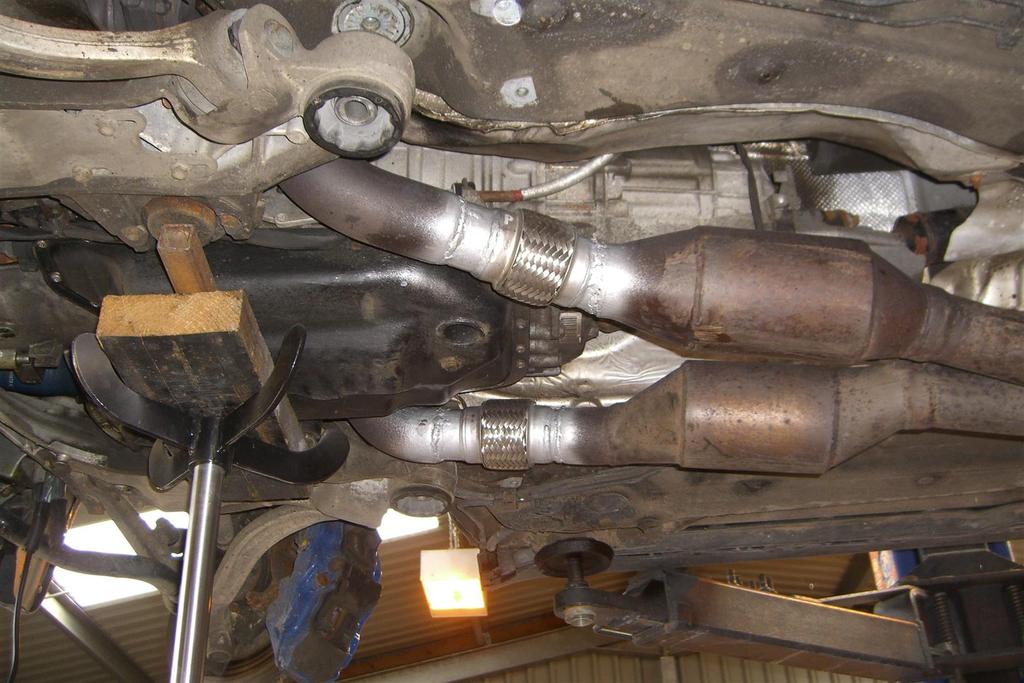
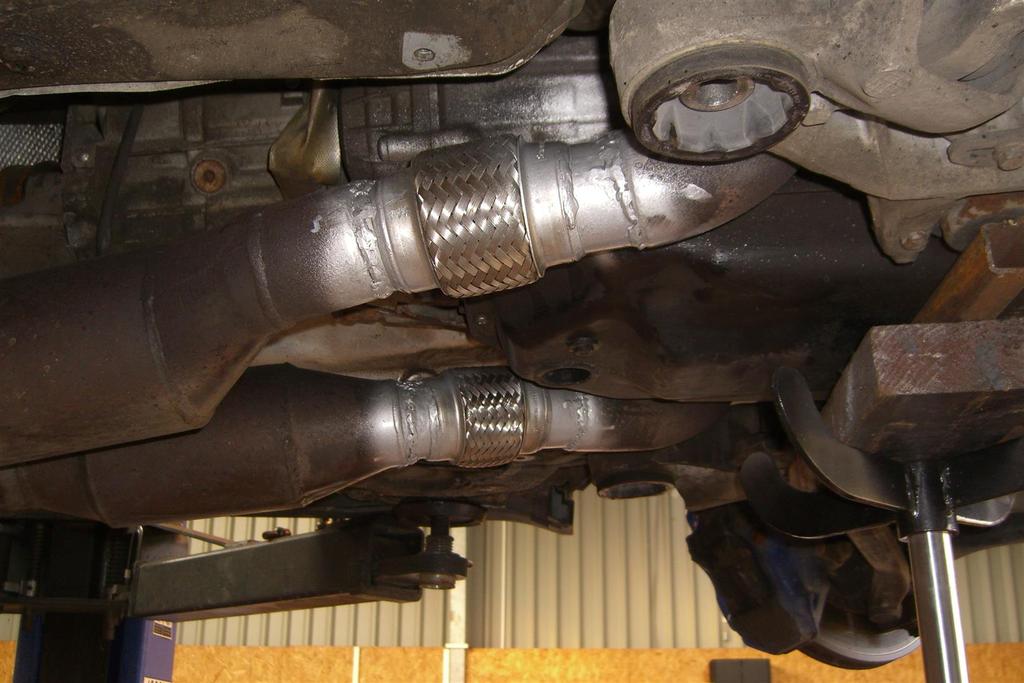
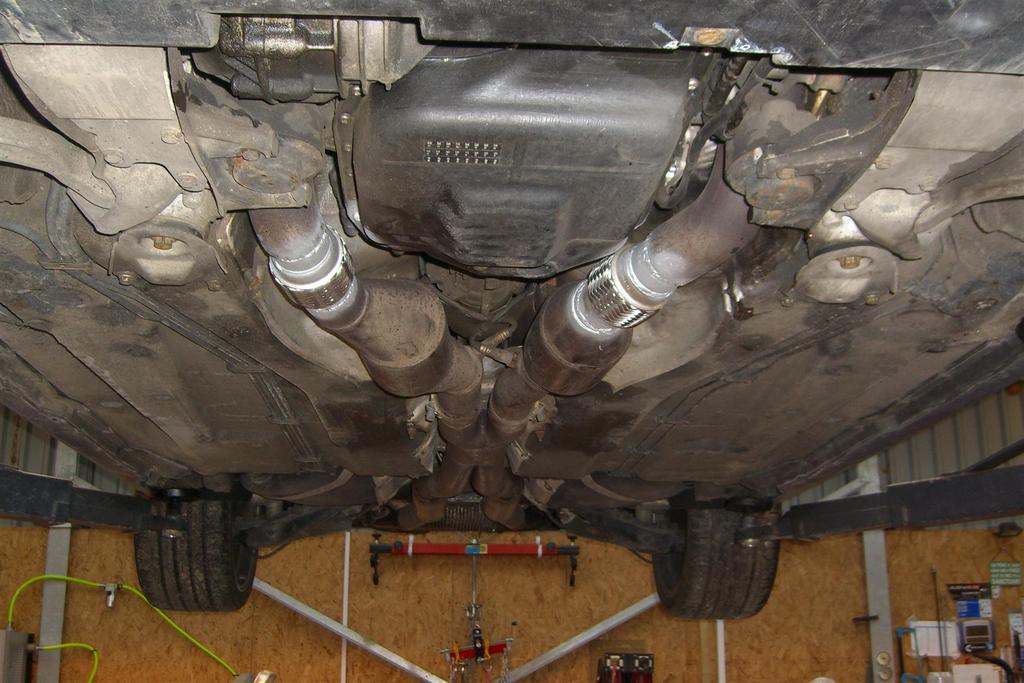
The fitting of the new flexi pipes will be a matter of personal choice. Personally I went for 2 x 150mm long flexi’s that were designed to sleeve over the 60mm pipe ends on the downpipes. It should be noted that the Milltek downpipes are 70mm diameter, but at the connection points for the flexi’s it reduces down to 60mm where the flexi’s are welded on.
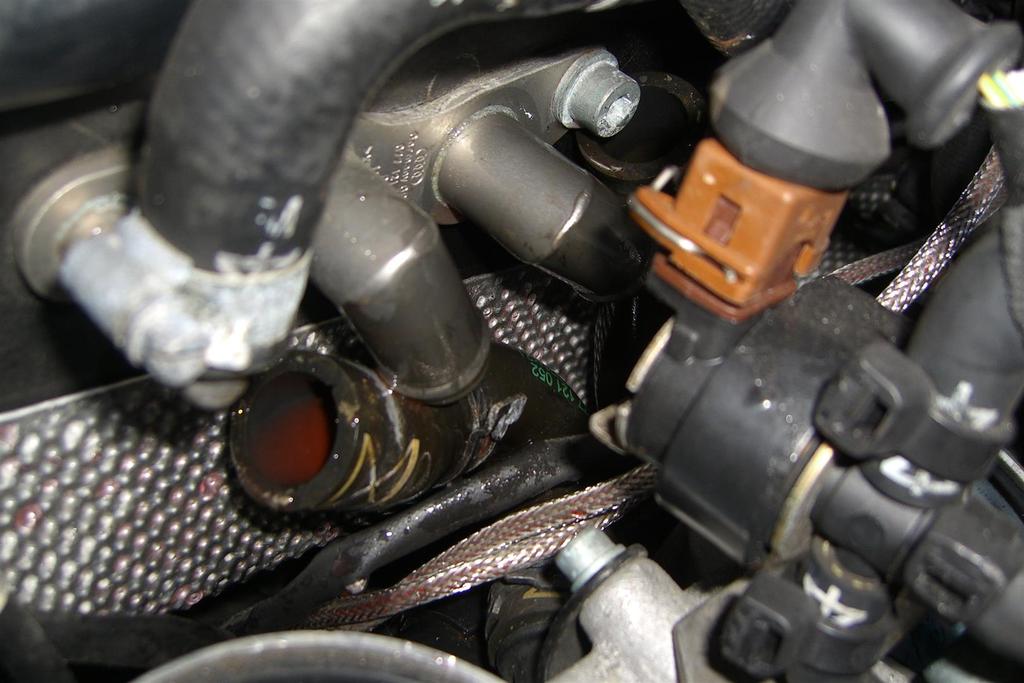
I’m not going to go through the process of cutting and shaping up the new flexi’s, or the welding, but the pictures are self explanatory, however, even with the subframe lowered access to the top of the downpipe for welding is extremely limited and I had to use a mirror to see a few of the spots that needed welded.
When the new flexi’s are welded in place you pretty much put everything back in the reverse order of the dismantling.
When you top up the coolant you need to remember to bleed the coolant system through the pipe in the plenum chamber.
I spent about 6 hours doing this job and it was not really a fun job due to the amount of grinding and the constant awkward access, but the actual dropping of the subframe is very simple. The welding I did was less than perfect, but probably as good as I expected – the welds are air tight but not the prettiest!
Couple of points of note: The subframe should not be shifted from its original position or this will knock the alignment out – it certainly did not move for me, but I had marked everything just in case it did. The silver paint on the downpipes is just heat resistant paint to make the repair look a little neater for the photos!
I hope this was of some interest, for me it showed how relatively easy it is to drop the subframe to get access to the downpipes.
Pics below:
Hello all. Just did this job to my car after suffering both front flexi’s failing simultaneously. My car has Milltek downpipes, but the replacement of the flexi’s would be very similar with the standard downpipes too. Also, not sure if this is really a DIY for everyone as it definitely requires a ramp, a transmission jack and a welder; but it is a pretty straightforward job. The only issues were the difficulty of cutting and grinding off the old flexi pipes, and then doing a neat job of welding the new ones on. Anyway, here goes:
Lift car off the ground.
Take both front wheels off.
Take the engine under tray off.
Disconnect the suspension height sensor on the passenger side.
Lower the car.
Take the air filter housing off and plug the intake holes with rags.
Unbolt the 3 bolts that hold the suspension strut to the car on each side.
Siphon the coolant from the header tank.
At the back of the engine the 2 coolant pipes that go to the heater matrix need to be disconnected as the engine will be dropped 2-3 inches. About ½ a litre of coolant will be lost when opening these pipes.
With all of the above done, raise the car again.
Optionally (and preferably) at this stage the entire rear cat back section of the exhaust can be removed (personally I left it on) but this required a lot of faffing about with ropes to secure the exhaust after I had dropped it from its rubber mounts.
Also of note, at this point, I had considered removing the downpipes from the car completely, but I was unable to free the rear oxygen sensors from after the main cats, so decided to do all work in situ.
As both of my flexi’s were virtually severed I cut through the remaining metal which separated the exhaust from front to rear.
With the pipes cut the (not) fun part of the job of cutting and grinding the old flexi’s from the exhaust began. I used 2 x 4” grinders, one with a cutting disc and one with a grinding I disc. I also used a die grinder connected to my compressor to do the final cleaning. This is a horrible job and needs full PPE including a face mask. I reckon I had all 4 pipe ends cleaned in about 1 hour, but it was a long hour!!
During the above ‘cleaning’ you need to lower the subframe at the rear to give adequate access to the top of the front part of the downpipes.
To lower the subframe, you need to firstly take the weight of the engine and box on your transmission jack (my one has about a 6ft height on it, so easy to adjust to a comfortable position) – I positioned the load bearing points at the bottom of the gearbox mounts and this worked well. Next loosen the 2 forward subframe bolts (18mm socket). I loosened these about 5mm each. Finally remove the 2 small bolts (13mm socket) from the rear subframe mounts and then remove the large rear subframe bolts entirely. Great care must be taken during this stage as the load will shift from the subframe bolts on the transmission jack.
The subframe will need to be lowered and raised a few times during this job to give the required clearance for each task.
Without disconnecting the driveshaft you can lower the subframe about 2 inches, this gives enough room to do this job. If the downpipes were to be removed I imagine the driveshaft would need separated at the aft of the box and this would allow 2 or 3 more inches of drop.
The fitting of the new flexi pipes will be a matter of personal choice. Personally I went for 2 x 150mm long flexi’s that were designed to sleeve over the 60mm pipe ends on the downpipes. It should be noted that the Milltek downpipes are 70mm diameter, but at the connection points for the flexi’s it reduces down to 60mm where the flexi’s are welded on.
I’m not going to go through the process of cutting and shaping up the new flexi’s, or the welding, but the pictures are self explanatory, however, even with the subframe lowered access to the top of the downpipe for welding is extremely limited and I had to use a mirror to see a few of the spots that needed welded.
When the new flexi’s are welded in place you pretty much put everything back in the reverse order of the dismantling.
When you top up the coolant you need to remember to bleed the coolant system through the pipe in the plenum chamber.
I spent about 6 hours doing this job and it was not really a fun job due to the amount of grinding and the constant awkward access, but the actual dropping of the subframe is very simple. The welding I did was less than perfect, but probably as good as I expected – the welds are air tight but not the prettiest!
Couple of points of note: The subframe should not be shifted from its original position or this will knock the alignment out – it certainly did not move for me, but I had marked everything just in case it did. The silver paint on the downpipes is just heat resistant paint to make the repair look a little neater for the photos!
I hope this was of some interest, for me it showed how relatively easy it is to drop the subframe to get access to the downpipes.
Pics below: