
its the strip that sits on top of the rear bumper below the bootlid! havent started the porting yet but its all stripped ready i just need to get some tooling to do it!TonyHayers wrote:What's that you're carbon skinning Ben? How's it going with porting/polishing that intake you got?
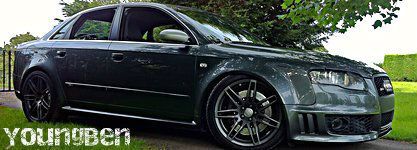
Daytona Grey Goodness
Re: The story so far...
Re: The story so far...
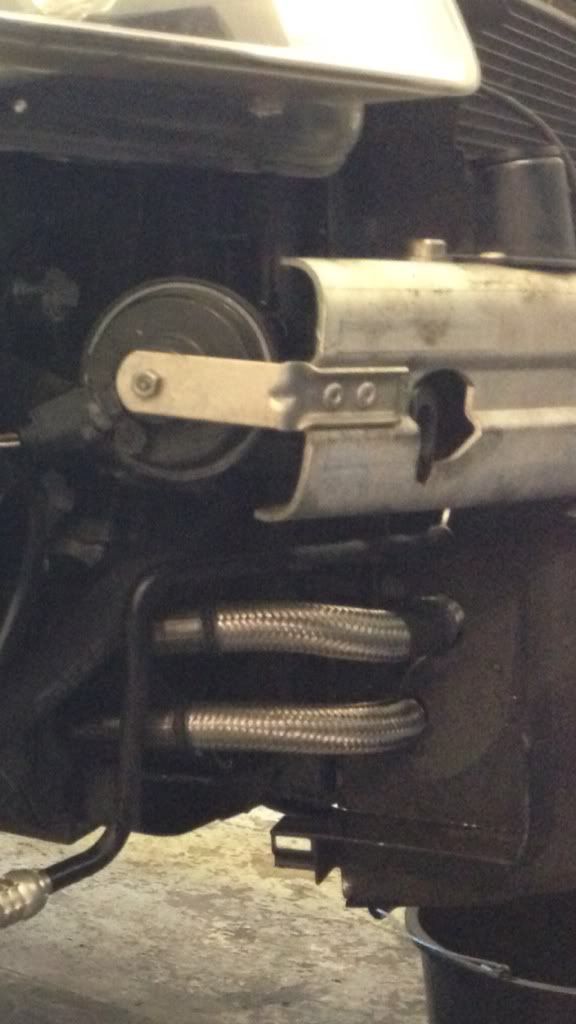
my day in pictures! my oil cooler pipes were not to bad just surface rust but still solid! but due to recent stories i am working along side a well known and respected company in getting ally aux rads made and also a replacement oilcooler setup which will replace the standard item all this will come together in time as they are very busy but i will update as and when.
Fitted the new ballast which isnt compatible with the active headlights or may need calibrating i need to look up more info on this! At the moment i have the headlight logo on my dash with a arrow over the top pointing left so guessing that is to do with the ballast and active headlights as its wasnt there before! but the light works as it should havent had a chance to try active just yet as it isnt dark enough.
Finnishing off the evening with flatting and laquring my bumper strip to refit and i have removed the front grill surround to get wrapped in the next few weeks! along with the new additions today i will be leaving it at that as dont want to go to far with the outside.
Anyway the bit we all like.....
Bumper off

Drivers aux rad got removed and all blocked off for minimal coolant loss


Damp on passenger side showing signs of a leak

Drivers v's passenger

Found a perfect T piece in my box of bits


Tided

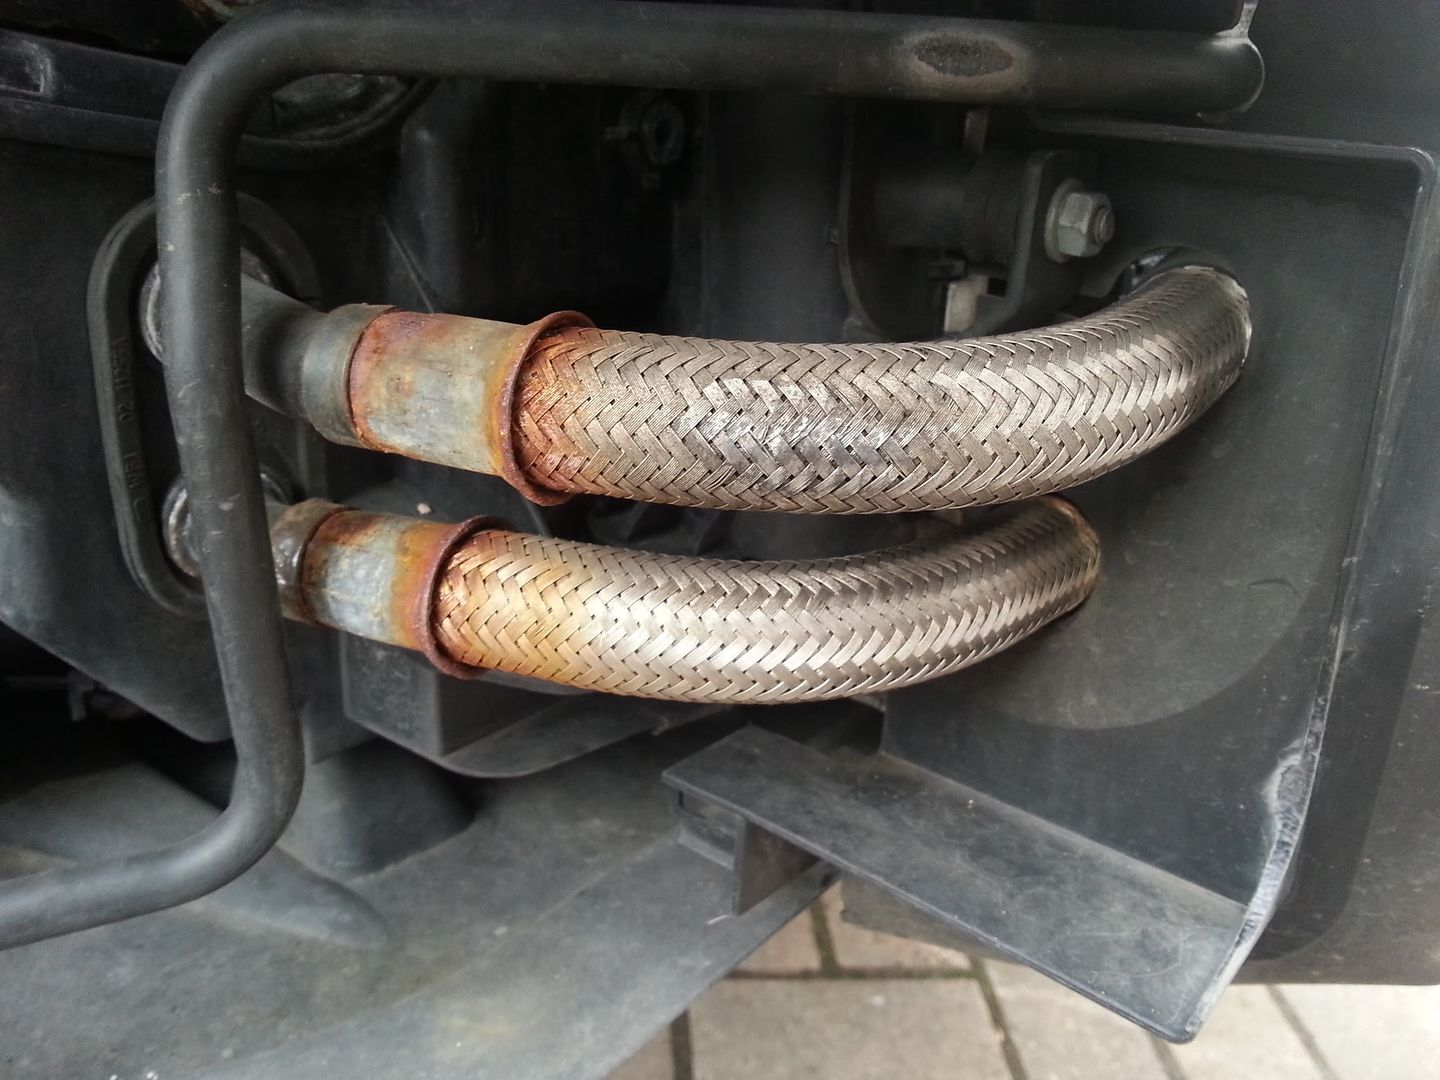
Oil cooler pipes

Rubbed down and wax applied to slow down corrosion

Fitted cold air intake


Cleaned all threads on the bumper adjusters to loosen them and copper slipped everything to ensure it stays loose

Ballast comparison

Carbon fitted


And back in 1 piece minus the grill surround

Fitted the new ballast which isnt compatible with the active headlights or may need calibrating i need to look up more info on this! At the moment i have the headlight logo on my dash with a arrow over the top pointing left so guessing that is to do with the ballast and active headlights as its wasnt there before! but the light works as it should havent had a chance to try active just yet as it isnt dark enough.
Finnishing off the evening with flatting and laquring my bumper strip to refit and i have removed the front grill surround to get wrapped in the next few weeks! along with the new additions today i will be leaving it at that as dont want to go to far with the outside.
Anyway the bit we all like.....
Bumper off
Drivers aux rad got removed and all blocked off for minimal coolant loss
Damp on passenger side showing signs of a leak
Drivers v's passenger
Found a perfect T piece in my box of bits
Tided
Oil cooler pipes
Rubbed down and wax applied to slow down corrosion
Fitted cold air intake
Cleaned all threads on the bumper adjusters to loosen them and copper slipped everything to ensure it stays loose
Ballast comparison
Carbon fitted
And back in 1 piece minus the grill surround
Re: The story so far...
Nice job done, all looks well but don’t think your better half will be to chuffed with the mess on your driveway !
Re: The story so far...
Haha all is well its just a little coolant and some cleaning products it will all be gone with the first bit of rain

Re: The story so far...
Looking good Ben. That is a good view of the underside of the Induction kit.
Money can't buy you love, but it can buy you a well sorted racecar

Re: The story so far...
Good work mate. That's some of the best condition oil cooler pipes I've seen yet!
Re: The story so far...
You're cheating, they are new pipes!
Re: The story so far...
No no!! not new honestYou're cheating, they are new Pipes!
Re: The story so far...
looks smart, love the crbon, where did you get the materials, was it difficult?

Re: The story so far...
Youngben how did you fix the plastic ducting back on the car, doesn't that fix to the rad??

Re: The story so far...
Do you need to take bumper off to remove the alloy strip?Youngben wrote:its the strip that sits on top of the rear bumper below the bootlid! havent started the porting yet but its all stripped ready i just need to get some tooling to do it!TonyHayers wrote:What's that you're carbon skinning Ben? How's it going with porting/polishing that intake you got?
Liking the carbon bits, I've had the seat backs and a few interior bit done on mine too.
Phantom Black R8 V10 plus, Capristo Exhaust
Phantom Black (B7) RS4 Saloon, MRC Stage 2
Mercedes E-Coupe 350CDi
Phantom Black (B7) RS4 Saloon, MRC Stage 2
Mercedes E-Coupe 350CDi
Re: The story so far...
Thankyou for the comments makes it worth while updating
heres the part now after 6 clear coats


Cheers i got them from here there and everywhere really! i use surf board gel coat and got black base coat from carbon mods and got the 3k carbon material from somewhere else but carbon mods also supply it! its kind of difficult as it isnt forgiving if you get it wrong or if you sand through to the material! it takes a lot lot lot of time depending on how good you want your finnish! i have sanded mine down the grades today and just put 6 coats of lacqure on it before i flat it again with 1500 grit and then finnish with a good polish! the materials are not cheep for a couple of parts to be honest to justify the cost you need to do a few bits! i am going to send my grill surround away as i dont think i can finnish it to the standard requiredRick_RS4 wrote:looks smart, love the carbon, where did you get the materials, was it difficult?
heres the part now after 6 clear coats
Used some black cable ties just to fix it where it would screw into the aux rad and it sat naturally where it should beSilas wrote:Youngben how did you fix the plastic ducting back on the car, doesn't that fix to the rad??
Re: The story so far...
No mate just put pressure on the srip at the edge closest the boot compartment and pull towards you and it unclips out! dont do it in cold though as it will be more brittle and its not the easiest of tasksnij wrote:Do you need to take bumper off to remove the alloy strip?Youngben wrote:its the strip that sits on top of the rear bumper below the bootlid! havent started the porting yet but its all stripped ready i just need to get some tooling to do it!TonyHayers wrote:What's that you're carbon skinning Ben? How's it going with porting/polishing that intake you got?
Liking the carbon bits, I've had the seat backs and a few interior bit done on mine too.
Re: The story so far...
Ben
What did you do with the nearside aux rad? You put a new one in or bypassed it?
What did you do with the nearside aux rad? You put a new one in or bypassed it?
Who is online
Users browsing this forum: No registered users and 98 guests